When I was approached by Before Chocolate to product review for them I was very excited. It is rare to find a chocolate product that is dairy free and made to a standard that is so exceptional. Today on my blog I am going to talk about my experience and taste testing of this delicious brand.

About Before Chocolate
Established in 2019 by Harry and Mandi. A UK based company with high standards for producing a chocolate that is not only good for you, containing natural ingredients, as well as no allergens. But their mission was a simple one, to create a product that was chemical and additive free, that tasted like real chocolate should.
They work closely with the Cacao growers they use to find the finest beans for their products. Harry is an EU Organic Superfood importer, and Mandi is a mother of two who has always had a passion for real chocolate.
Before Chocolate is made from South American Fino de Aroma Cacao beans. And are Winner’s of 17 Great Taste Awards. They have also been featured on ITV.
Some Words from Before Chocolate and how they create their Artisan Hot Chocolate
Our chocolate products are a result of our collaboration with some of the world’s best cacao growers and chocolatier’s. Our range is inspired by the finest traditional superfood ingredients, multi-generational chocolate-making expertise and a desire to go back to the roots of chocolate making.
Chocolate as we know today is industrially processed, contains refined sugar, E numbers and many other nasty ingredients making it nutritionally poor. We’ve simply taken chocolate back to its origins; simpler, healthier and more natural than modern day chocolate as we all know it today. Our cacao-rich super smooth chocolate is made up of high quality organic wholefoods, ethically sourced directly from the very best farmers around the world.
We’ve kept our ingredients list as short as possible with just single origin Peruvian and Ecuadorian Organic Cacao, Organic Coconut Sugar (15%) and with added superfoods such as Camu Camu, Turmeric, Maca, Lucuma and Chia seeds.
Before Chocolate products are allergen-free, vegan, organic, free from refined sugar and most importantly taste delicious. Great for all of the family, convenient healthy treats on the go or to simply have as a healthy snack at work. Now you can enjoy your chocolate, guilt free knowing its actually a better alternative. Before Chocolate represents simple, clean and natural ingredients. Exactly how Chocolate should be enjoyed.
What’s In Before Chocolate Hot Chocolate?
Organic Cacao Paste
Unrefined Muscovado Sugar
Organic Light Agave Nectar
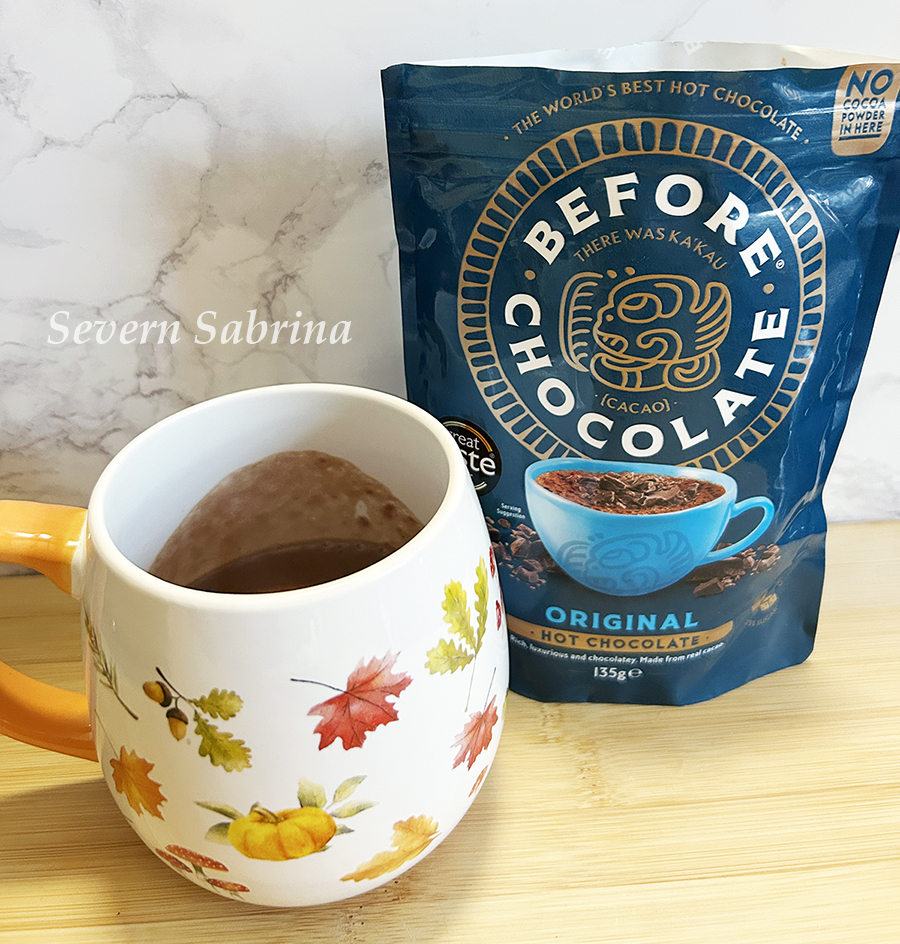
Cacao solids are 51% of the packet. I was given 135g bags which turn into 5 portions (regular mug size).
The Products I Have Reviewed
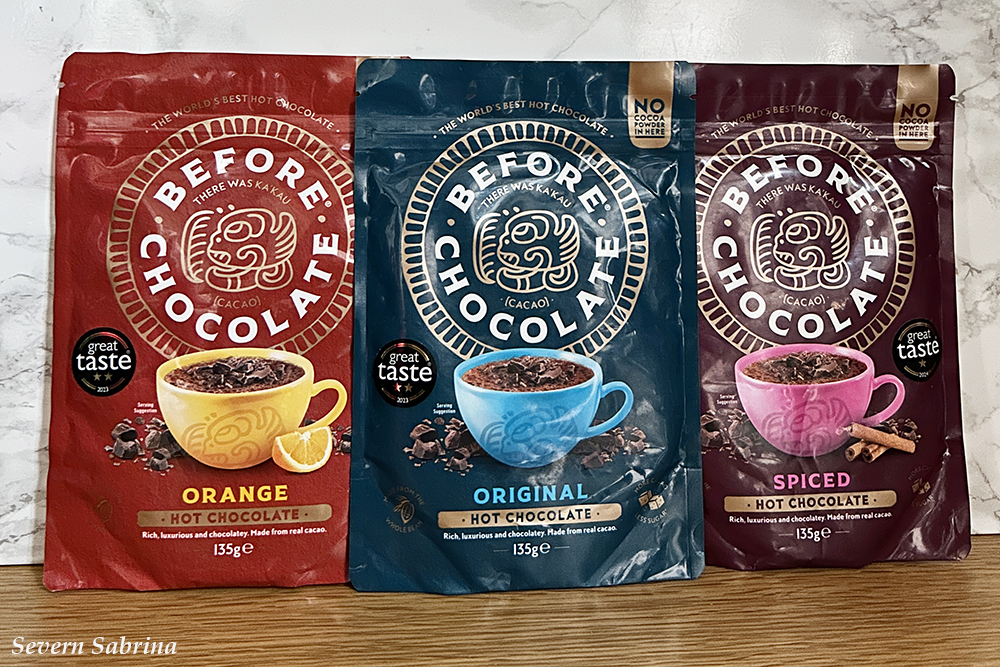
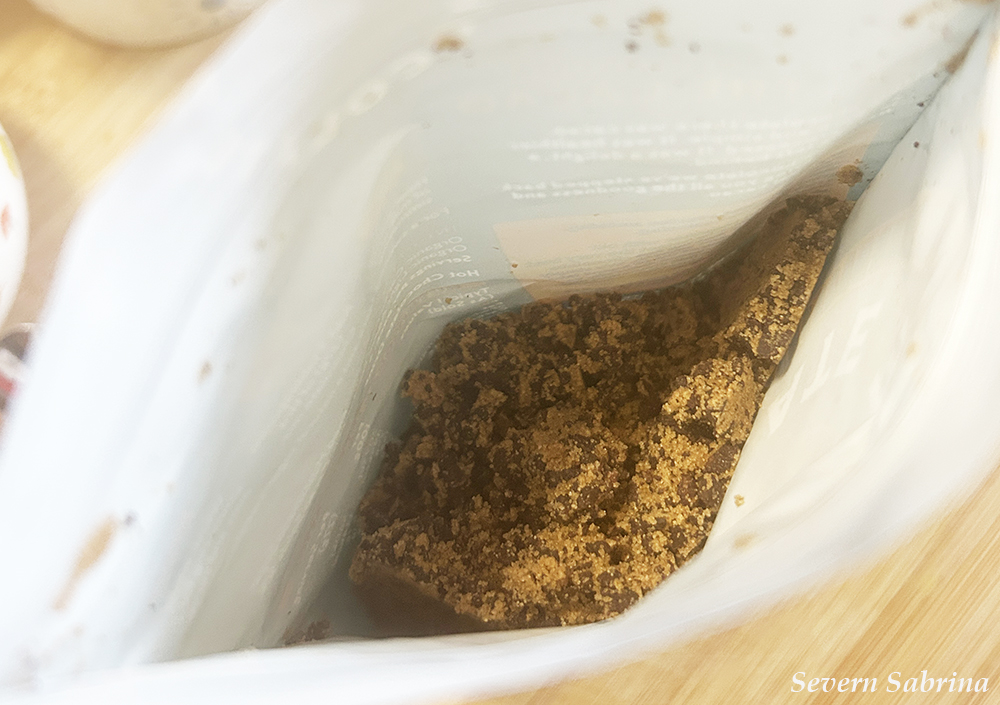
When I was sent the hot chocolate pouches I could tell from the packaging that it was made to a high standard. Everything was clearly labelled with all the information that you could wish for. From the ingredients list to everything you needed to know about the product that was inside, including how to prepare it. The pouches are also resealable with a wonderful enclosed lip, this allows you to use just what you wanted and save the rest for another day.
I found that the bags contained 5 portions per bag, but liking my hot chocolate quite strong and also using a large mug I decided to add a little more into my saucepan than the recommended 3 spoonful’s, I used four. We had 4 portions of drink from the Original pouch, and 5 portions for the Orange and Spiced flavours.
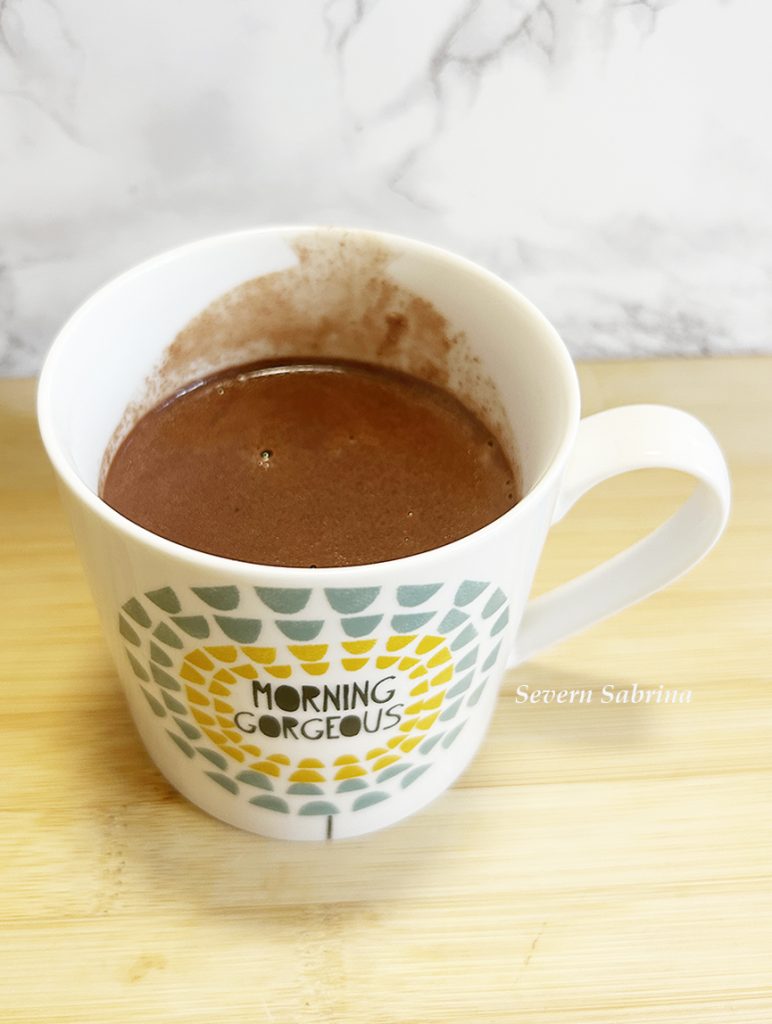
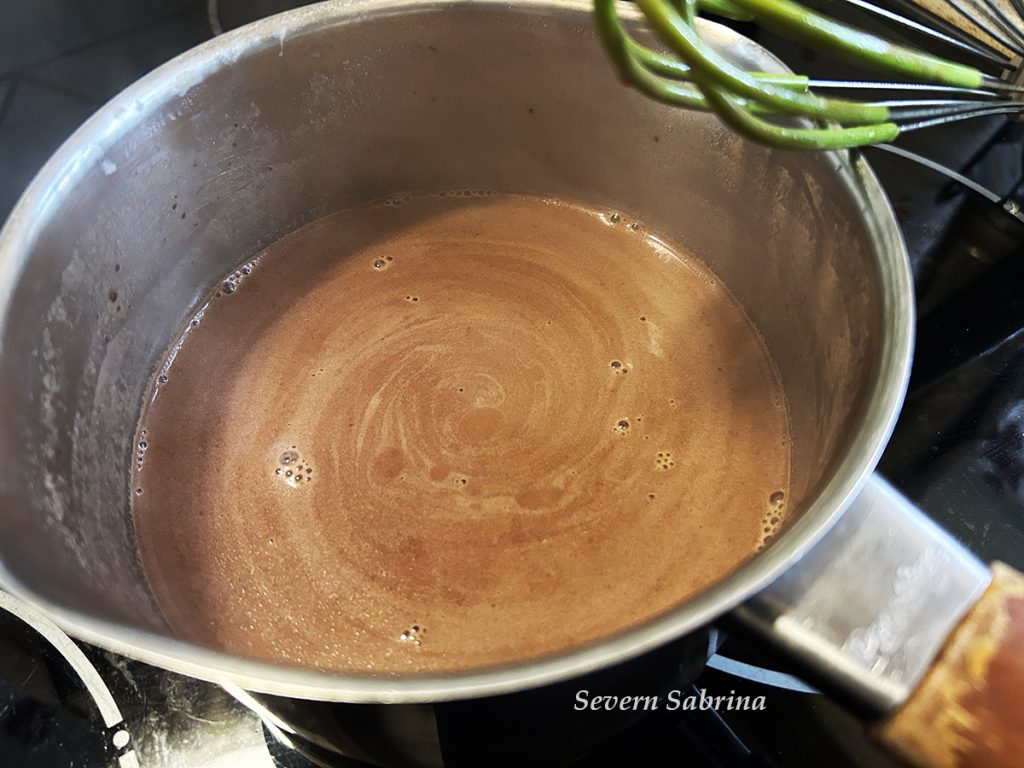
I invited some family members over for the afternoon where I made everyone a hot chocolate of their choice using Almond Milk (we are a dairy free household) and I found it was simple to prepare. Using my favourite milk saucepan I poured in enough almond milk for the mug chosen and waited for it to simmer. Then I began stirring in the wonderful rich Cacao from the Before Chocolate packet. I used a silicone whisk to ensure a smooth finish. I made each drink one at a time for the different flavours, and then we sat around drinking them.
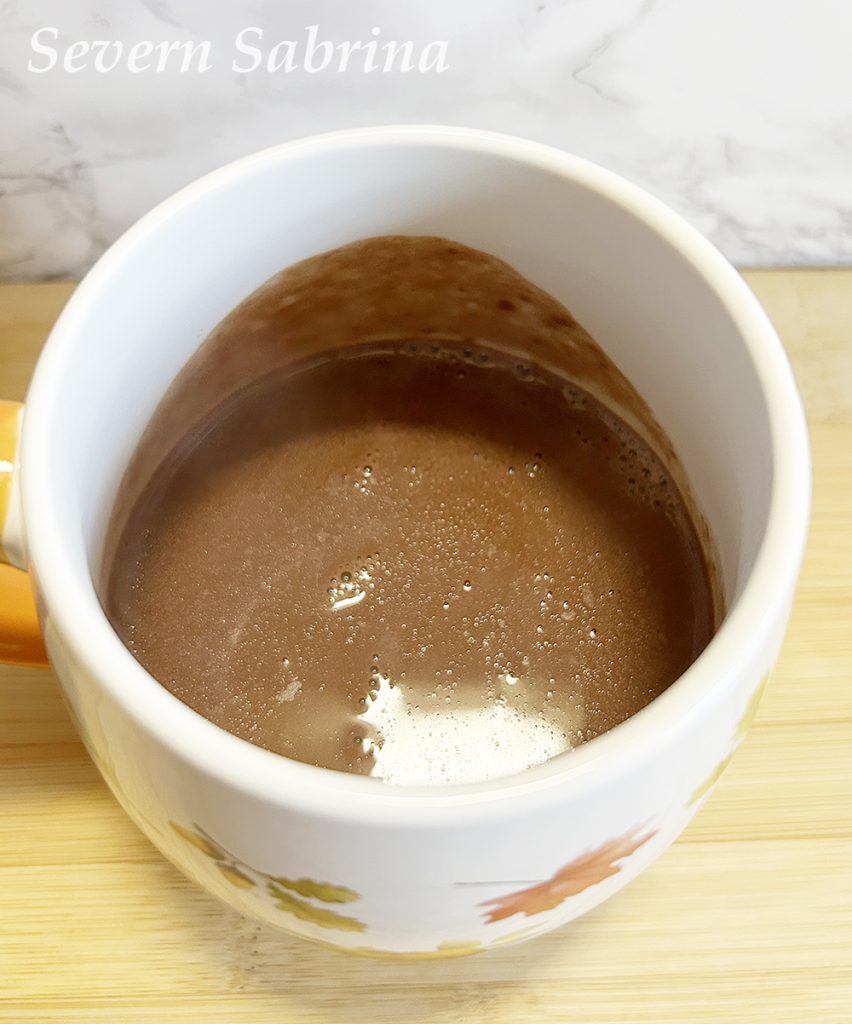
The overall view was that each one was certainly smooth and rich in flavour, I had personally never had a hot chocolate with such defined flavour. I actually think my choice of almond milk really complimented it. The before chocolate drinks were like velvet across your tongue, strong chocolate flavour and a nice after taste.
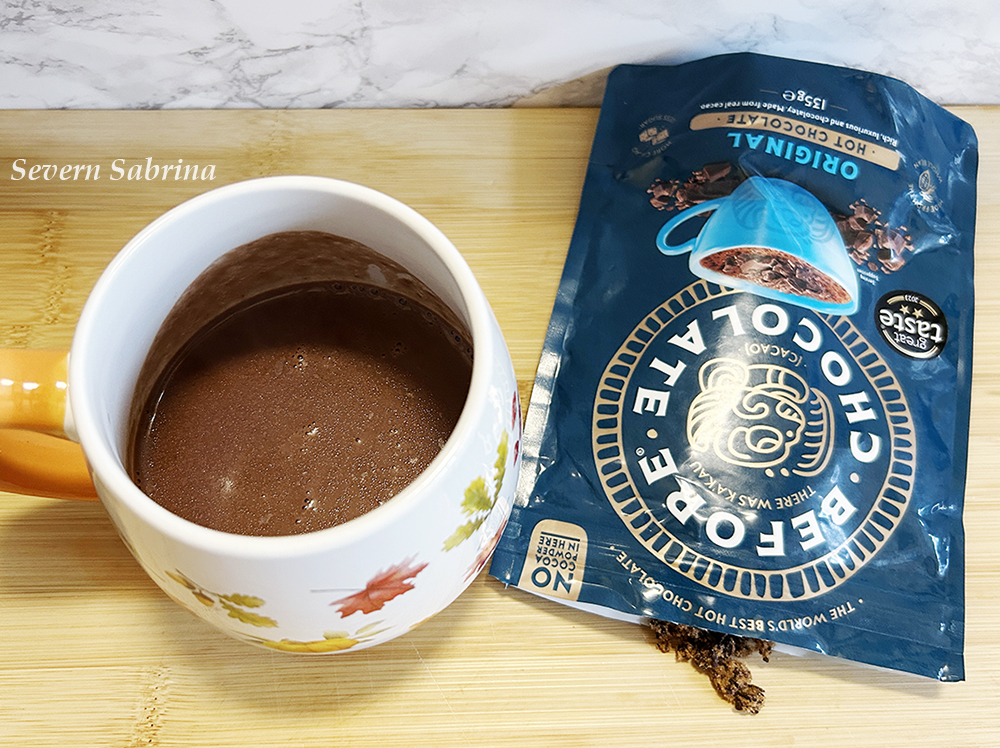
Original
This has to be the smoothest hot chocolate I have ever tasted, rich and delicious. A few minutes after I had finished it I did find myself in need of a glass of water, I think due to the richness. It was an indulgent and decadent treat for my taste buds. Knowing it was good for me, even though it tasted divinely naughty with its strong chocolate taste made it even better. Halfway down my mug I decided to squirt a little dairy free cream on the rest, and that complimented it very well too. The overall view was that it was a hot chocolate ideal for any time of the day or night, and it was ready in only a few minutes.
Orange
Well if you like orange flavours this would be the choice for you. As my mother said as she tasted hers “it’s like drinking a liquid chocolate orange”. Again a deliciously smooth feeling as you drink it, and full of flavour throughout every mouthful. It was even mentioned between us that you could make this and pour a little over ice cream or other desserts. Something we might have to try with the little bit left in our packet!
Spiced
A delicious chocolate flavour with a lightly spiced taste. It’s smooth and that hint of spices is so warming alongside the hot chocolate and its created warmth from the saucepan. This one is particularly good for this time of the year, ideal for the festive season, definitely one for adults to enjoy more so.
Although you could add portions of half original and half spiced and your children would likely love the smooth lightly spiced flavour of this hot chocolate with the rich smoothness the finished product provides.

Where Can I Buy Before Chocolate
Buy direct from Before Chocolate online. The website link below this sentence will help you to find out more and you can view the current range of products that are available to purchase as well.
The Website for Before Chocolate
Would I recommend it?
Yes I would recommend it. Not only is the hot chocolate incredible taste wise, but it is better for you than a high street or supermarket variety of hot chocolate. I would rather be putting this Cacao made version into my body than anything that has added sugars, E numbers and chemical additives in it.
Before Chocolate ingredients are actually good for you, they are delicious, it’s vegan friendly and it’s made with it’s growers in mind too – good karma! Overall it is an inviting and indulgent chocolate delight, a warming and comforting drink in the colder weather. The fact that it’s made in a way that is not harmful to your body just makes me want to drink it more, it tastes naughty and rich and yet it’s so good! It’s a win win for everyone.
Product Packaging Quality 5✩
Product Quality (Taste and Flavour) 5✩
As Advertised Online 5✩
Product Variety 5✩
Ease of Preparation 5✩
5✩ Overall I rate it 5 Stars 5✩
Thank you for reading my blog post today, I hope you have enjoyed learning about this brand and perhaps I have inspired you to try it. I also have a little video on my social media below if you’d like to watch that.
Instagram / Facebook / YouTube
Thank you for visiting my blog, I hope you have a wonderful day.
✩ Sabrina ✩

✩✩✩
Collaboration: I have been provided with these hot chocolate pouches from Before Chocolate in order to complete this honest product review. I would like to thank them for the opportunity to showcase their fabulous brand across my platforms. I have loved taste testing them over the last few weeks and it was also nice to get my family involved as well. Thank you Before Chocolate, I have thoroughly enjoyed trying your delightful drinks and will be telling everyone I know how good they are.
All words, photography and opinions in my blog are my own, unless otherwise stated.
Please do not copy any information without my written permission but feel free to share the link to my blog with people you know if you believe this product would benefit them knowing about it.
If you have any questions or would like me to review a product for your business, please get in touch via my contact tab across the header of my blog homepage. Thank you, Sabrina.