October 2022 Treatbox UK Reveal and Review

Oh yes it’s time for another Reveal and Unboxing!

Today it’s the turn of the October 2022 box from Treatbox UK!

Are you as excited as I am? I love October! Autumn colours and Halloween!

I wonder how many themes are contained in this months box! Let’s open it and see!


If you would prefer to watch my unboxing video you can find it on my Facebook here

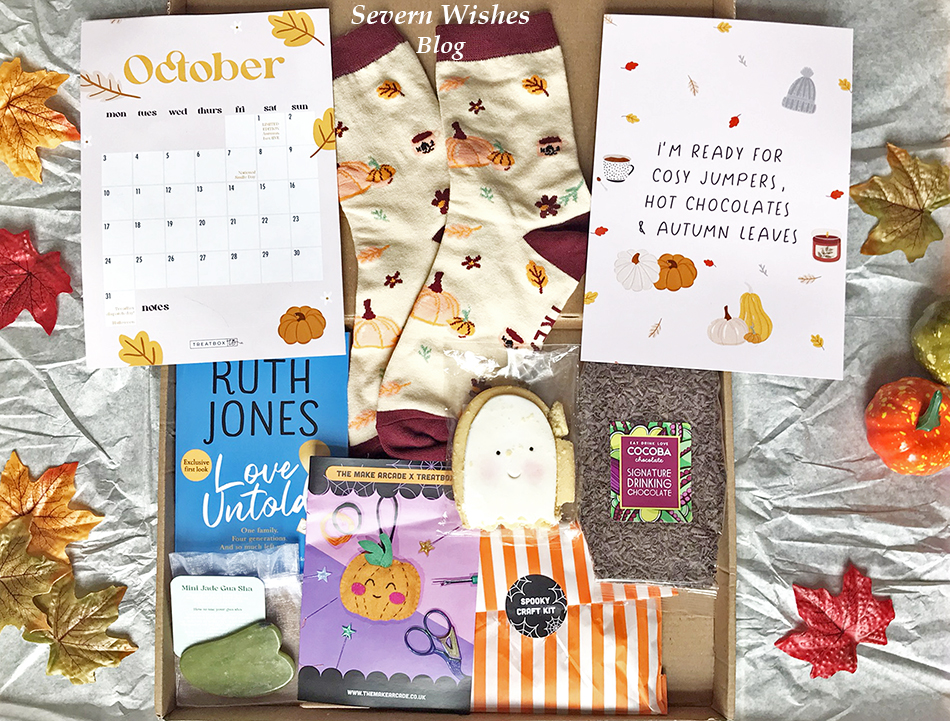
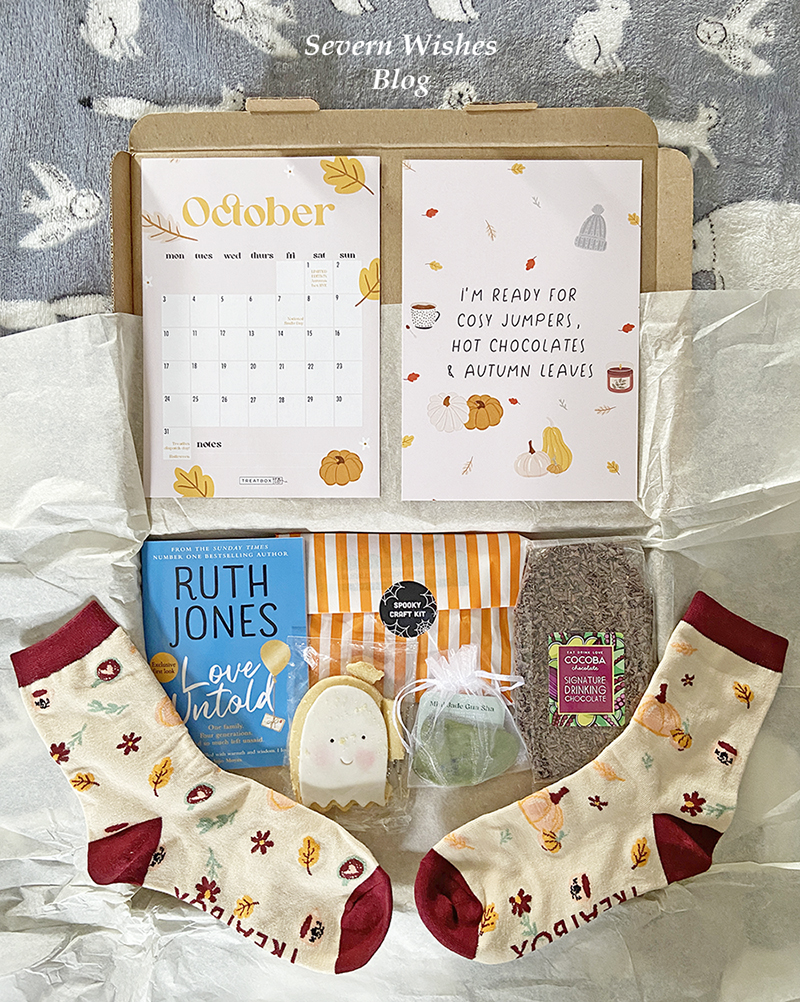
What’s Inside the Box for October 2022?

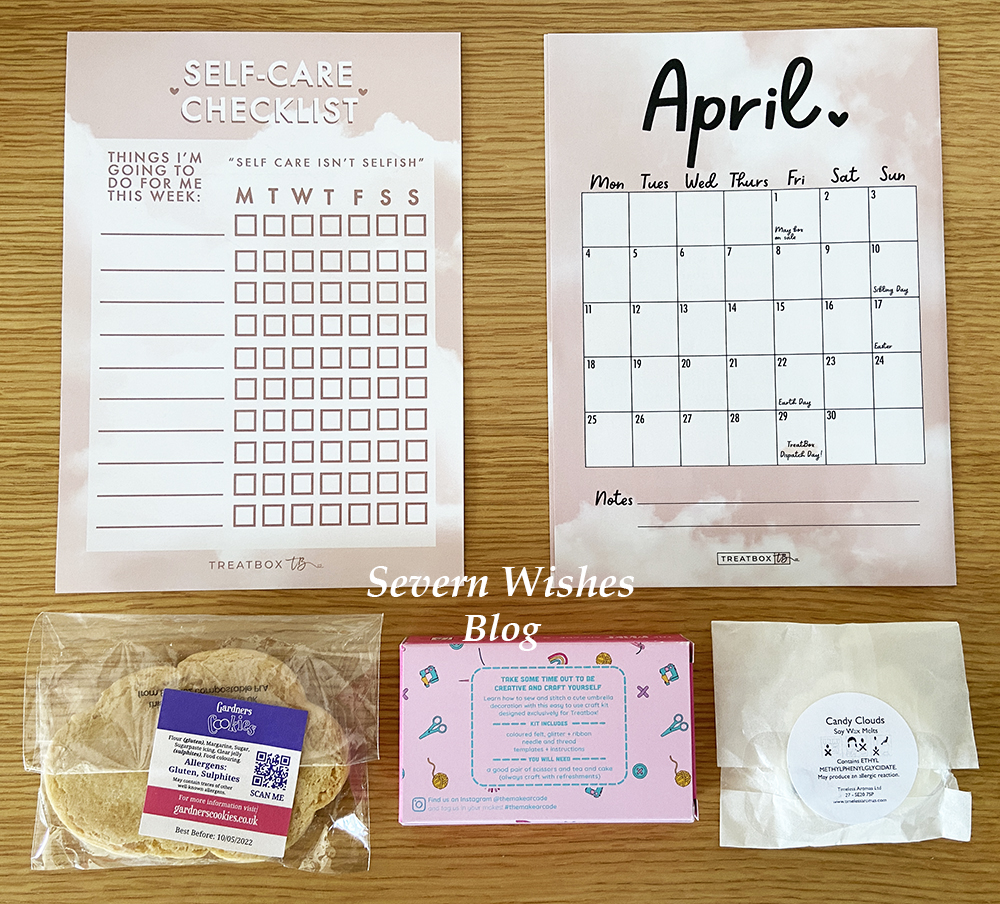
Treatbox Calendar Print – October
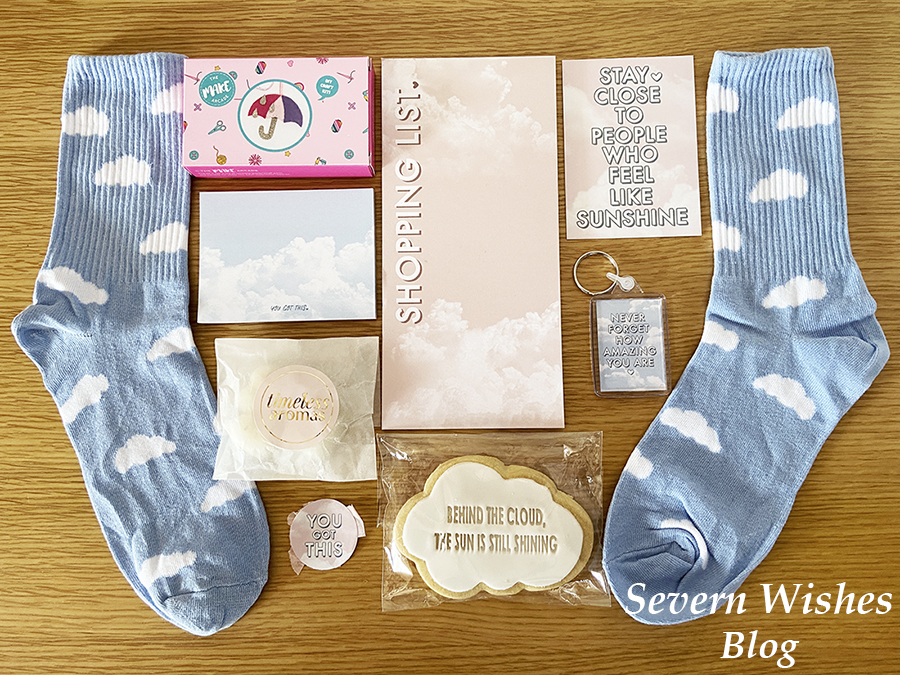
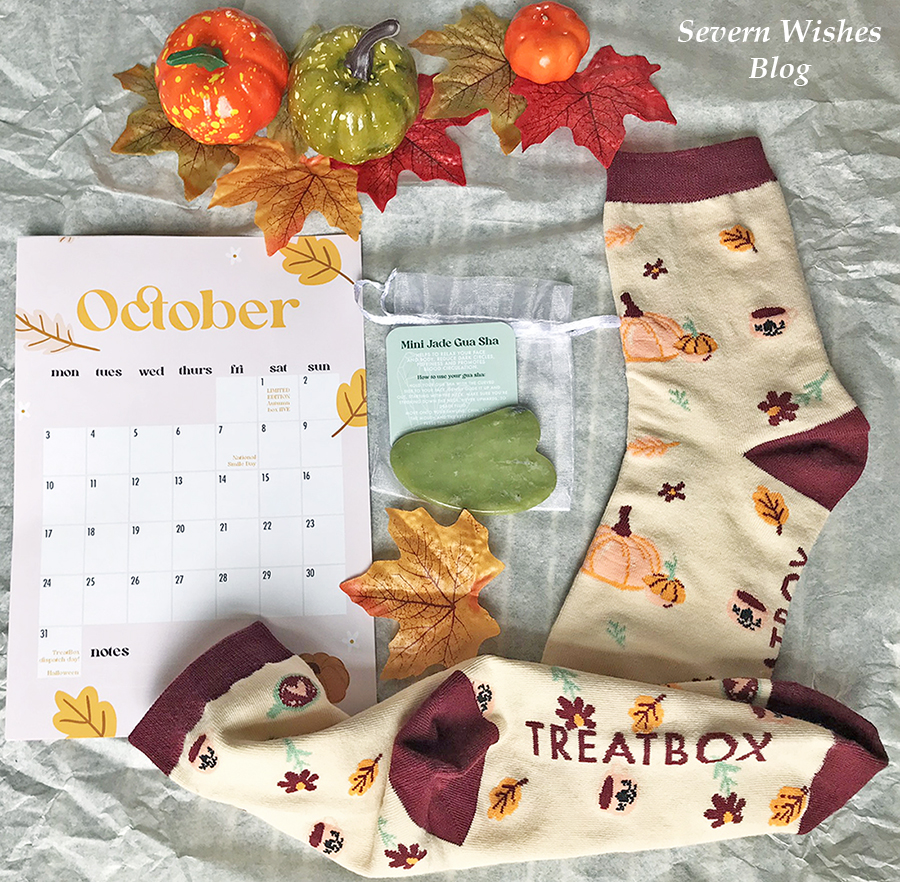
Treatbox Original Autumn Theme Socks
Treatbox Original A5 Print “I’m Ready for Cosy Jumpers…”
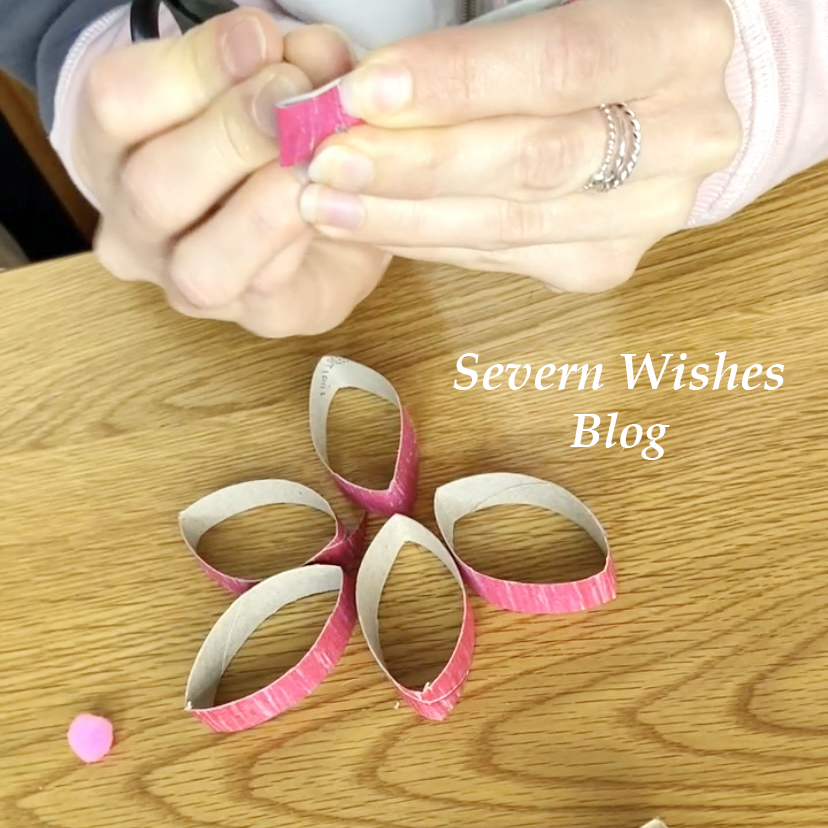
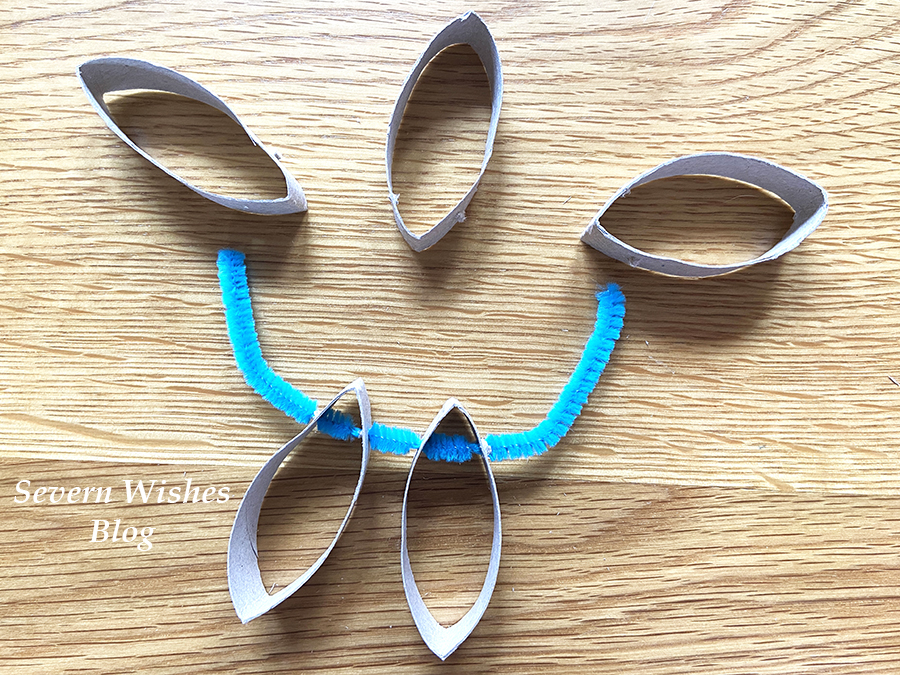
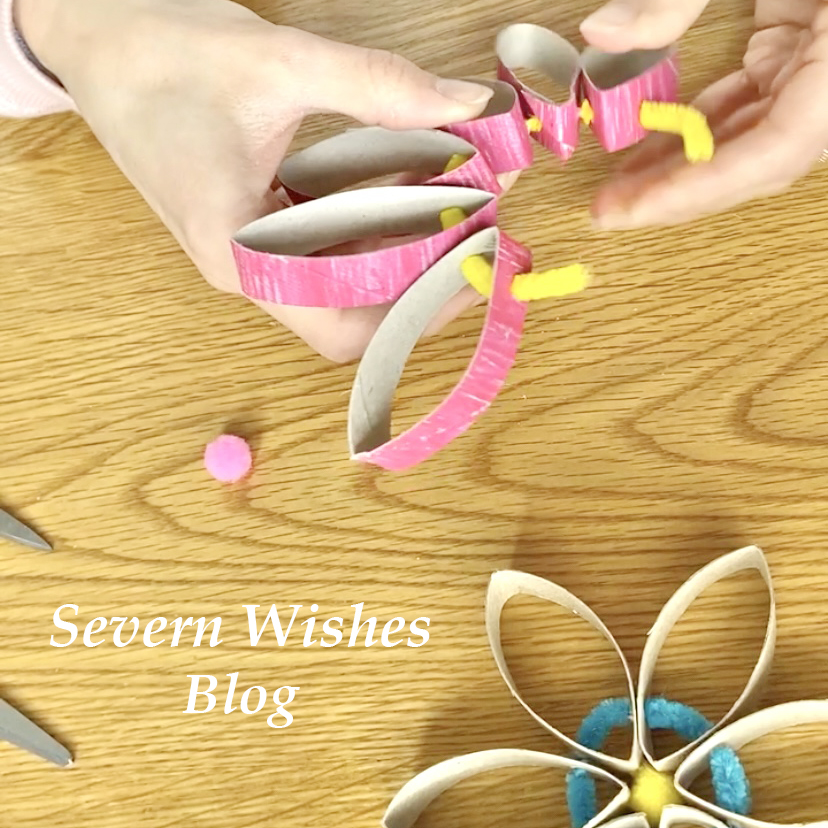
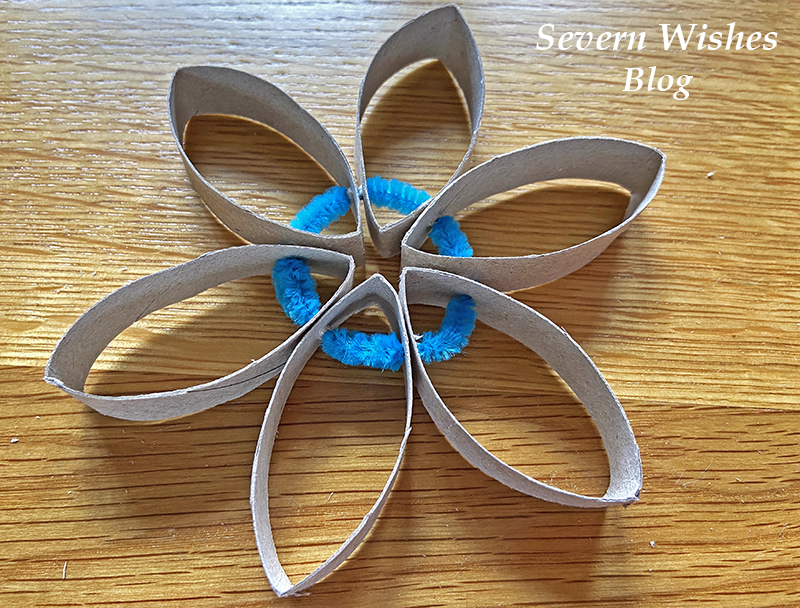
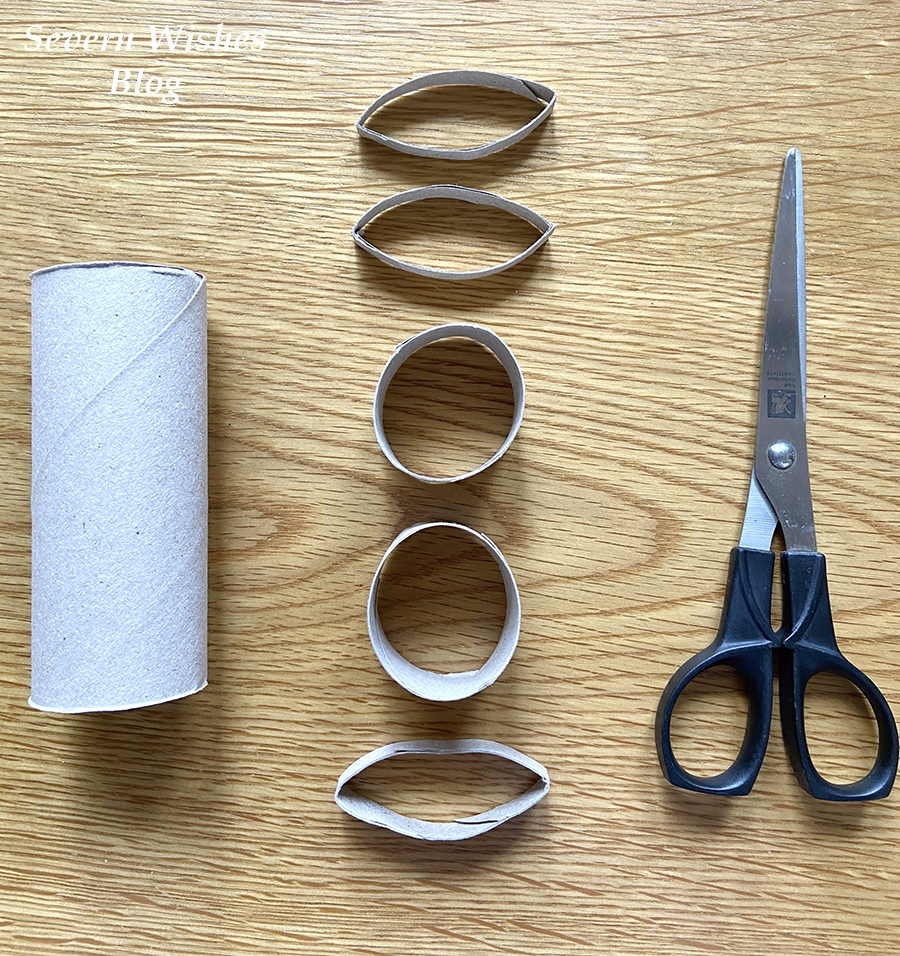
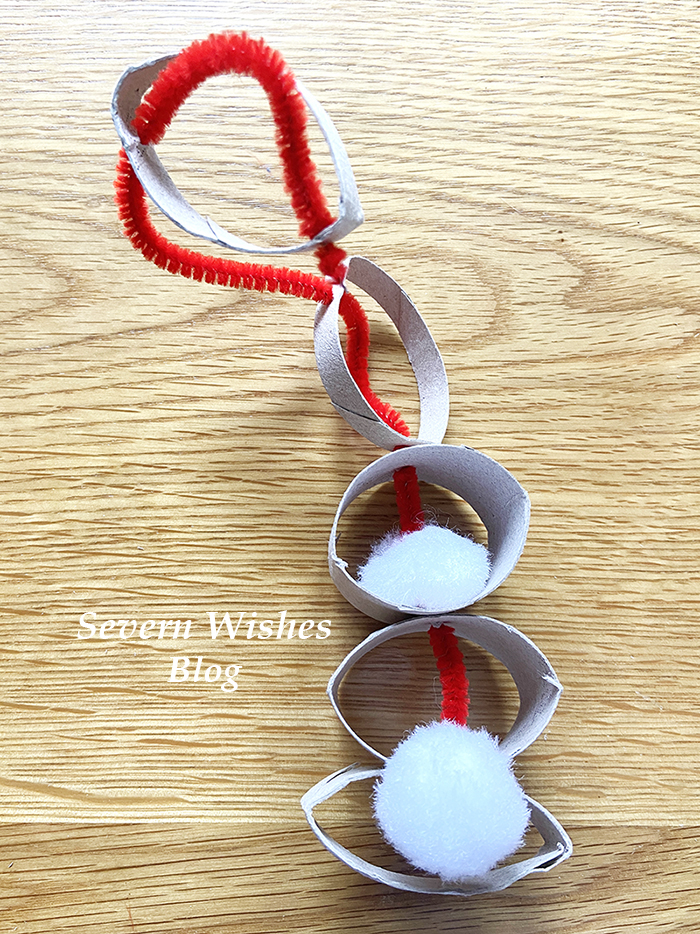
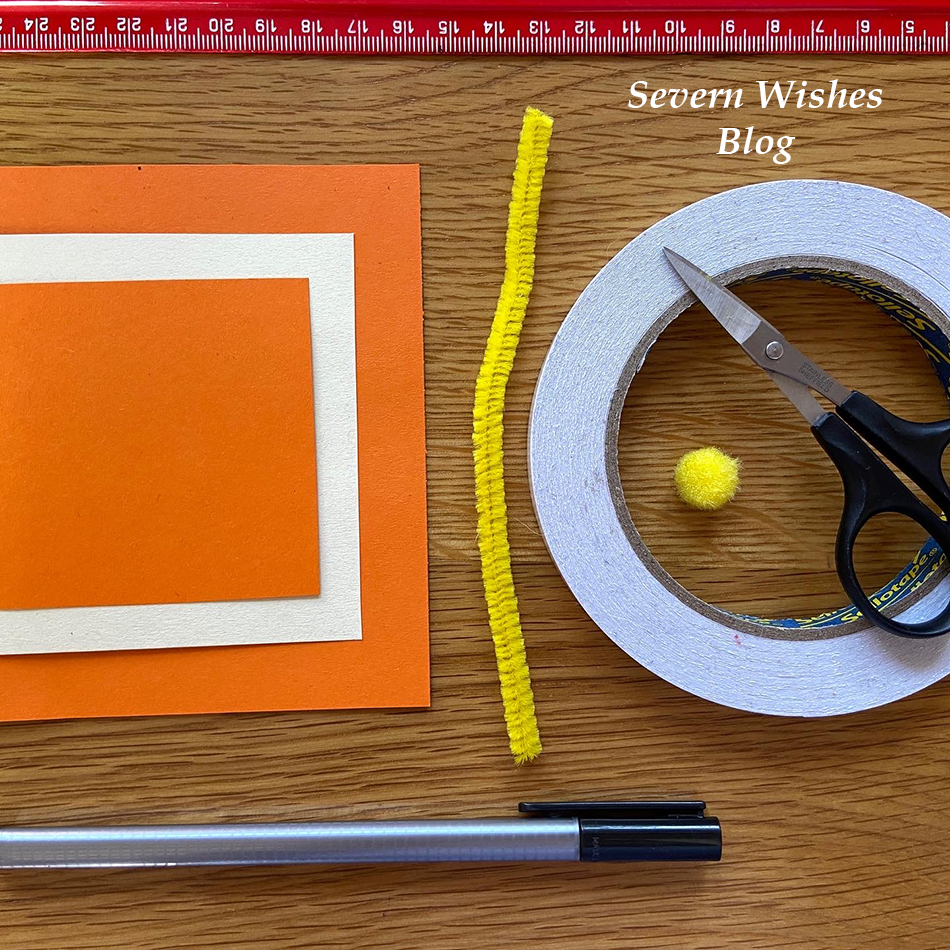
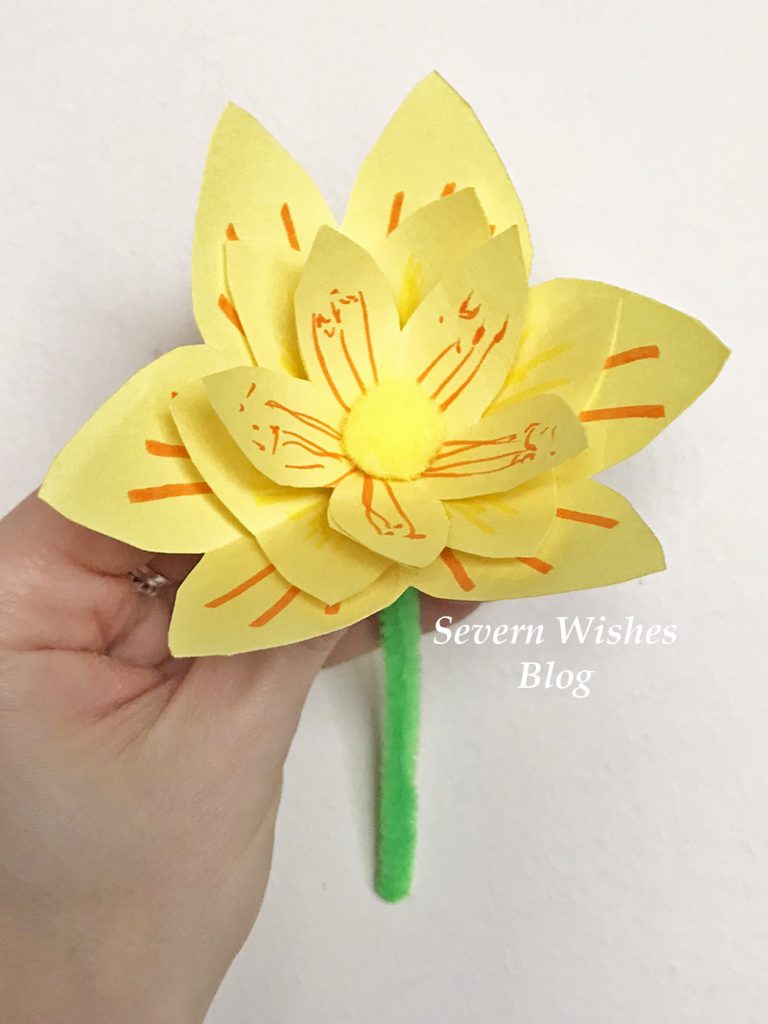
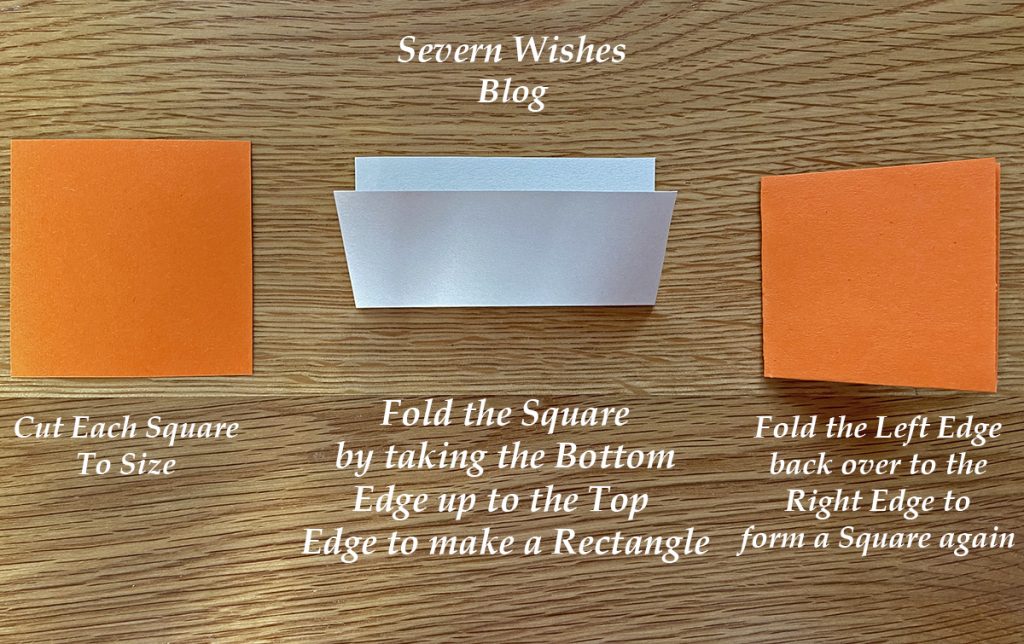
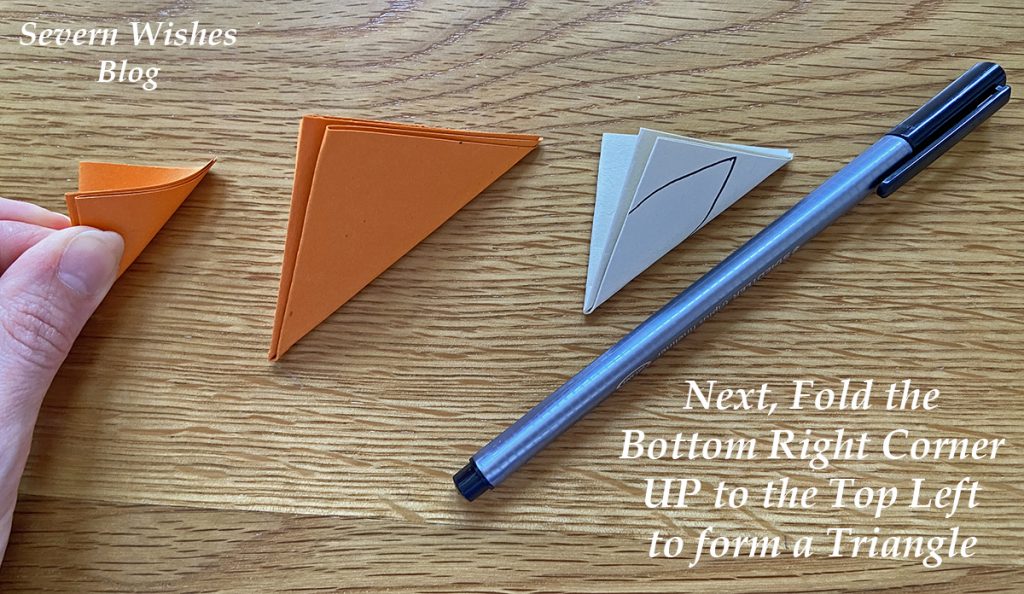
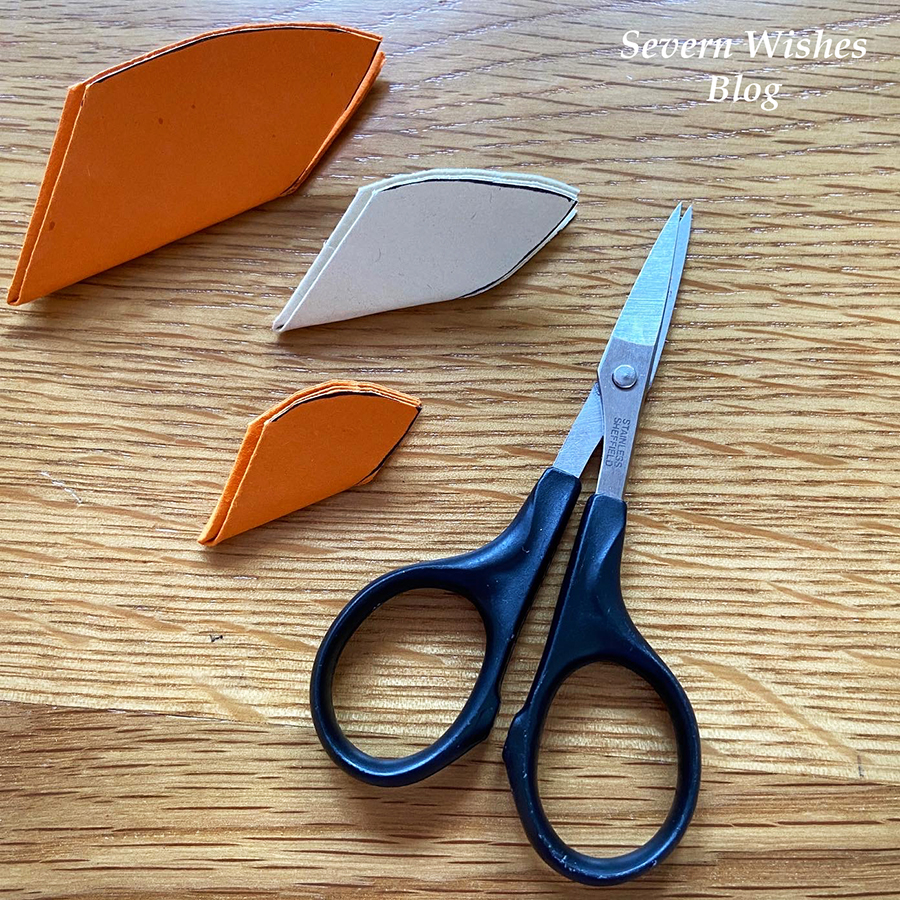
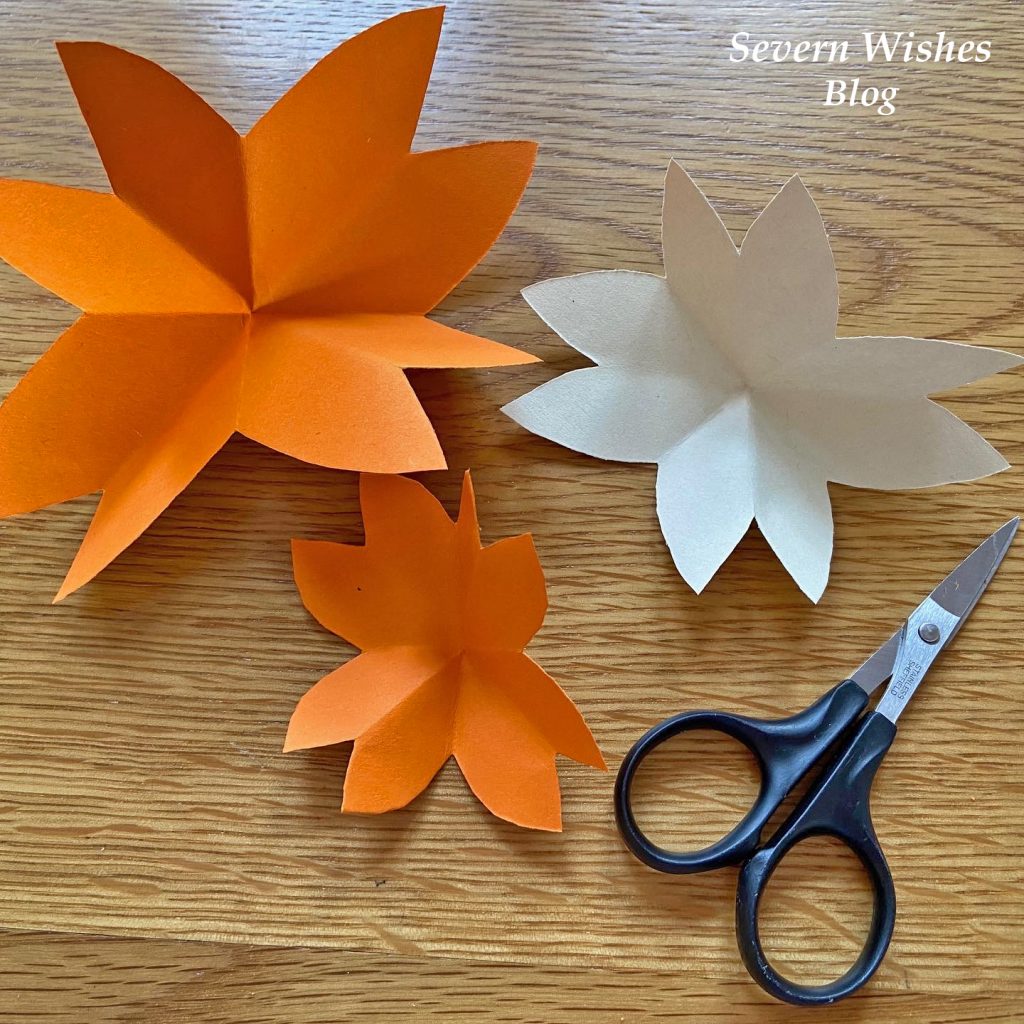
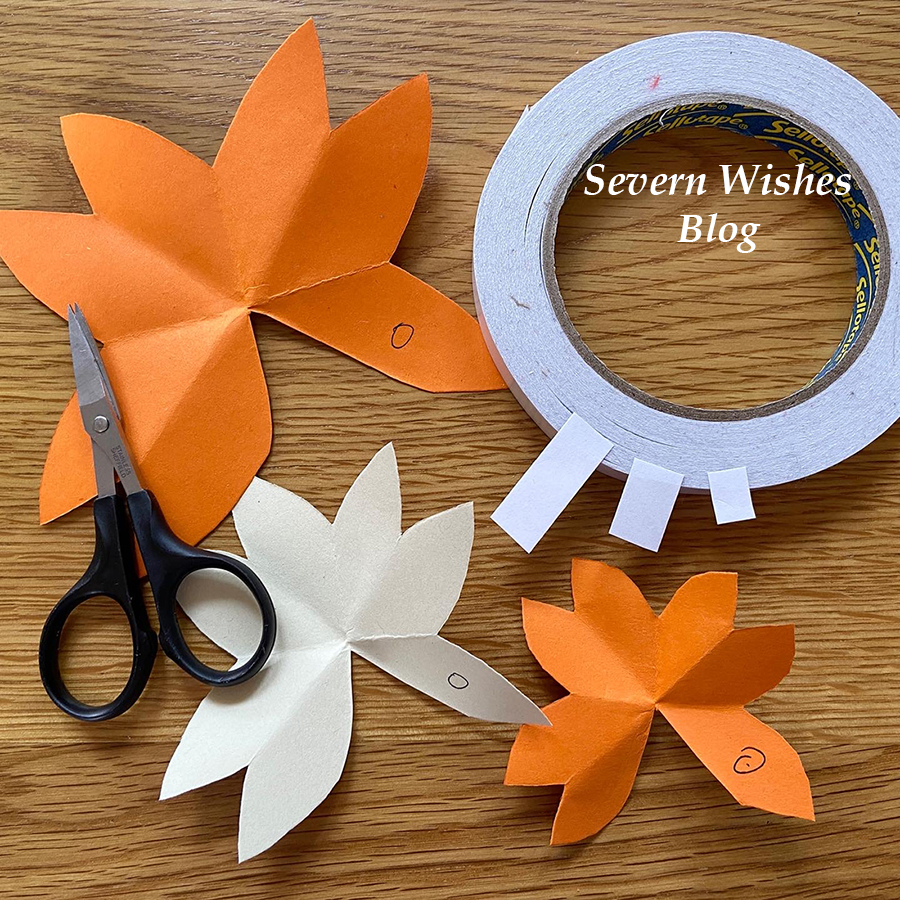
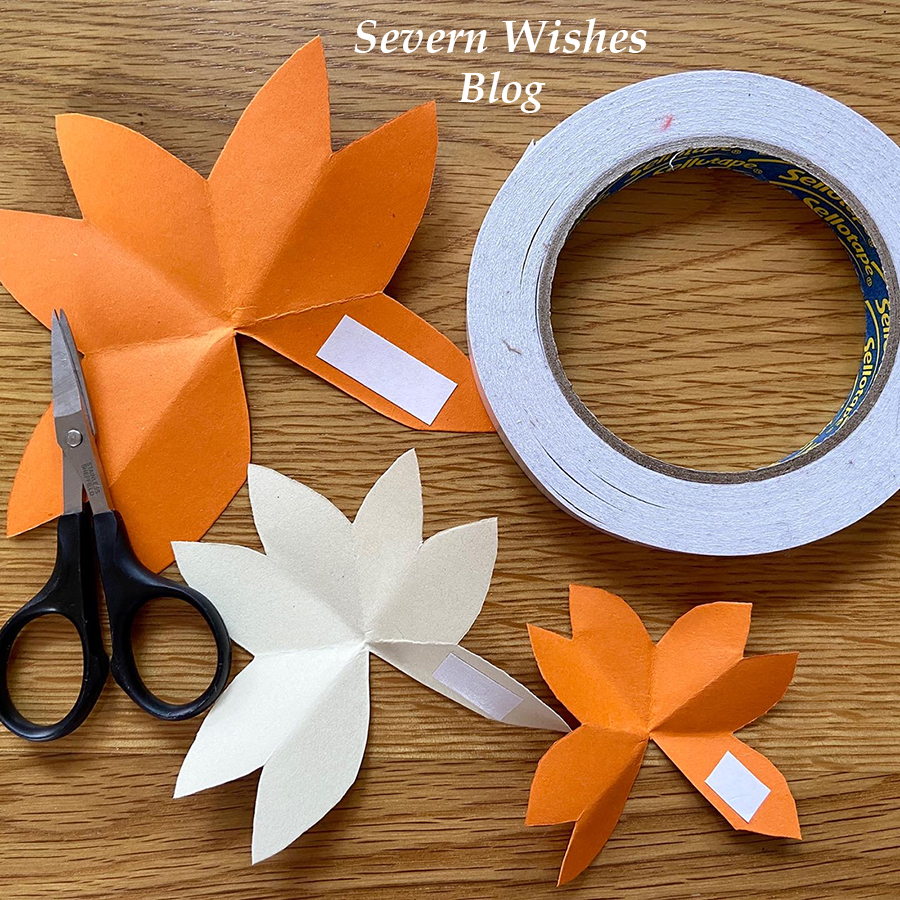
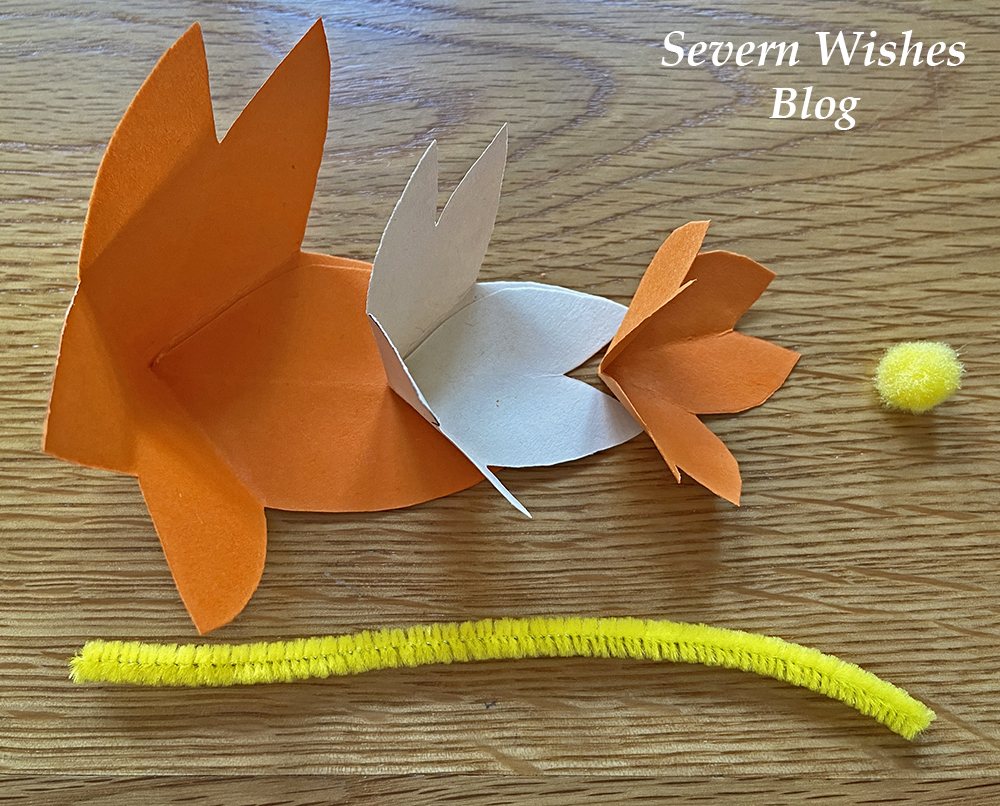
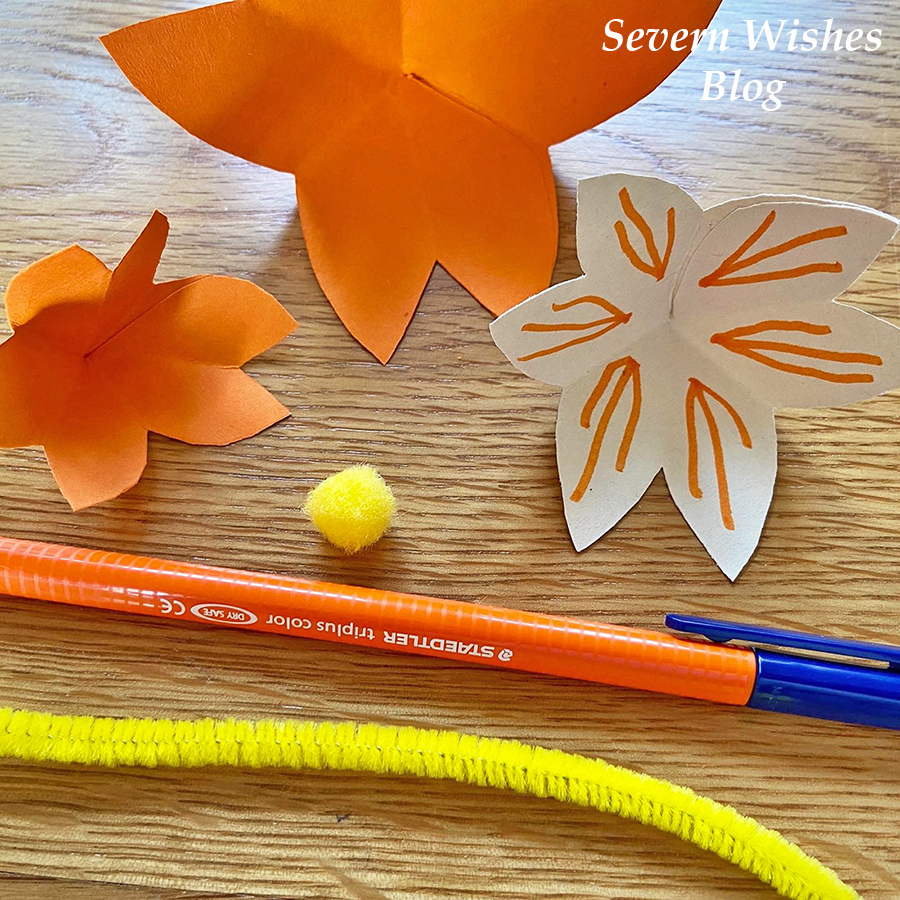
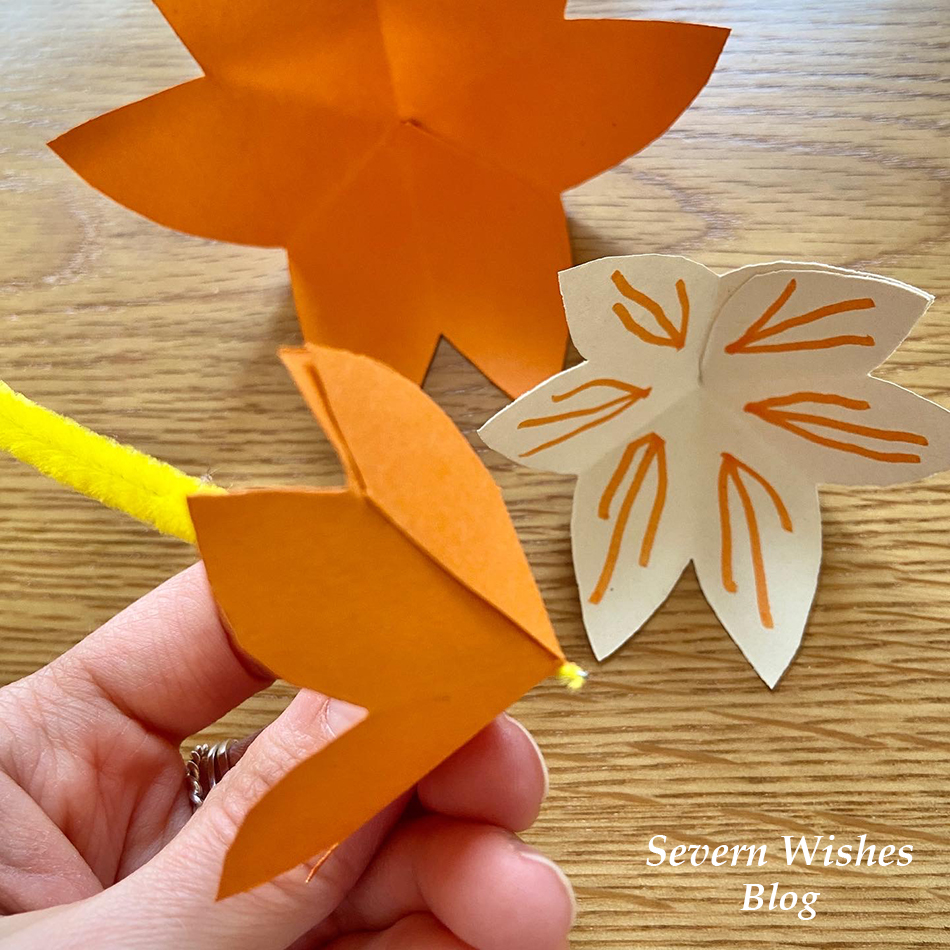
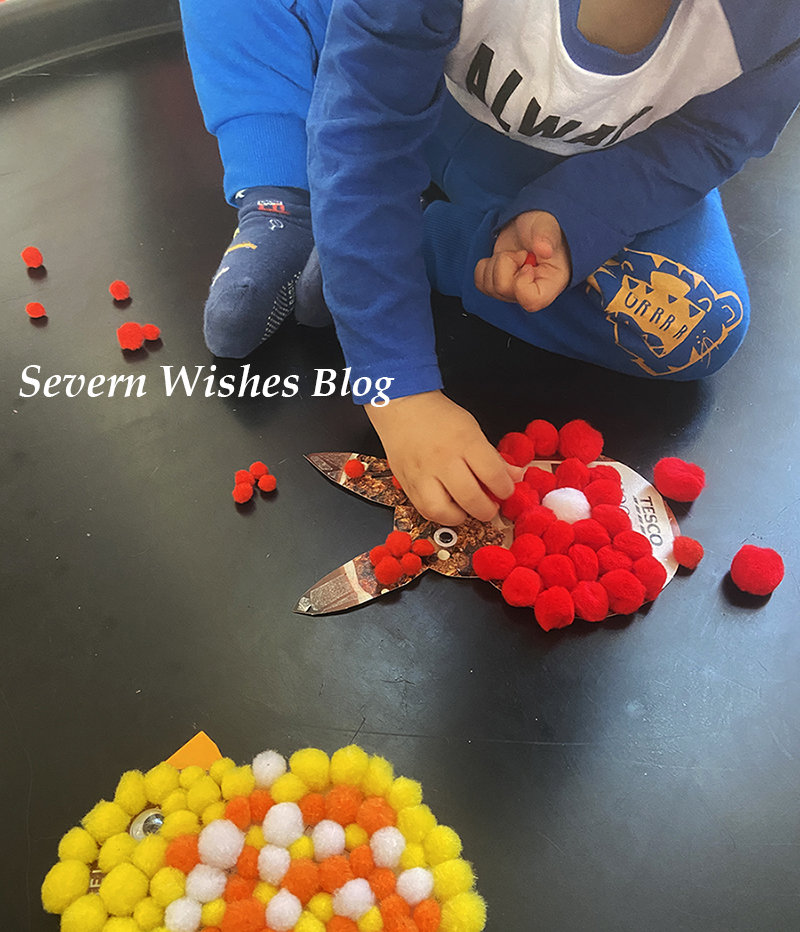
The Make Arcade X Treatbox – Spooky Craft Kit – Pumpkin
Bag of Cocoba Signature Drinking Chocolate – Eat Drink Love
Mini Book by Ruth Jones – Love Untold (Excusive First Look)
Mini Jade Gua Sha – Face Relaxing Tool in Organza Bag
Spooky Biscuit Little Ghost

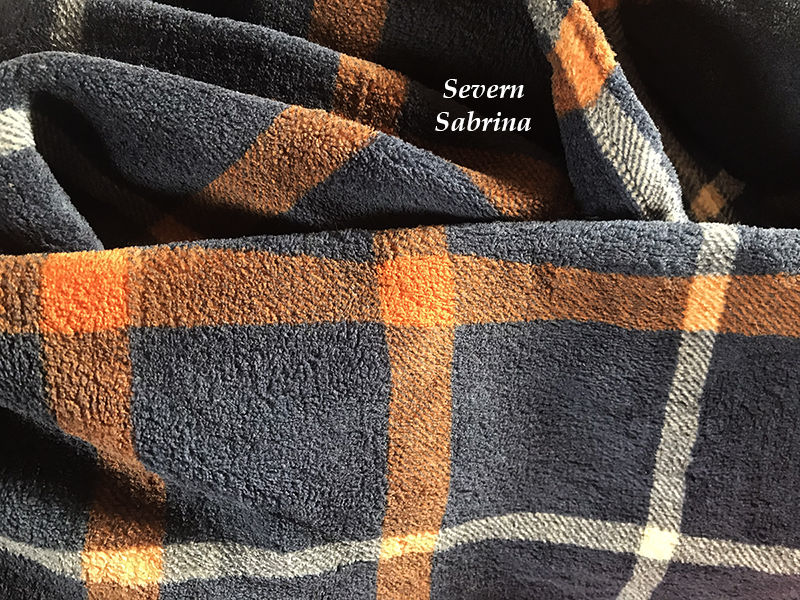
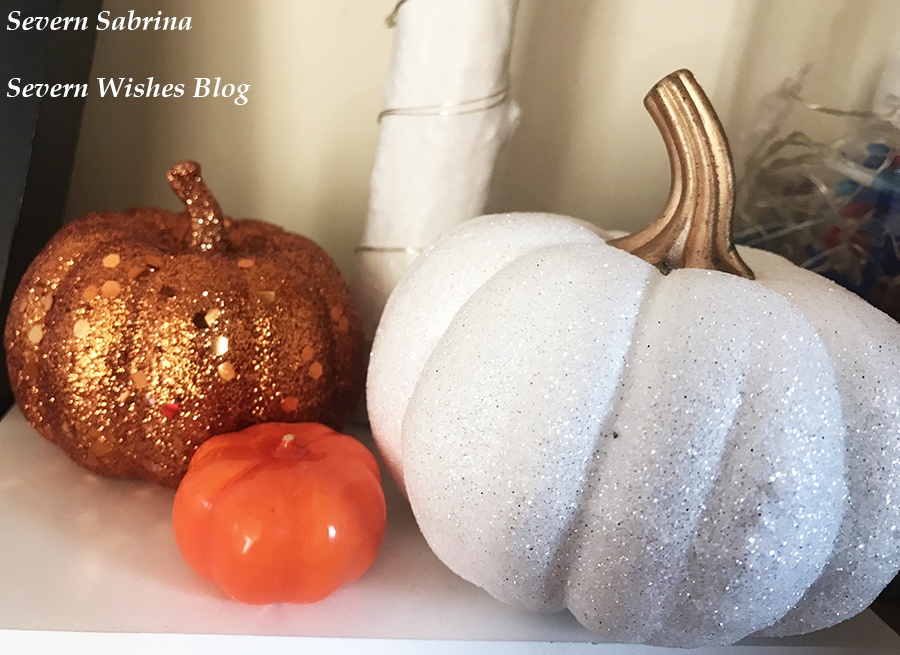
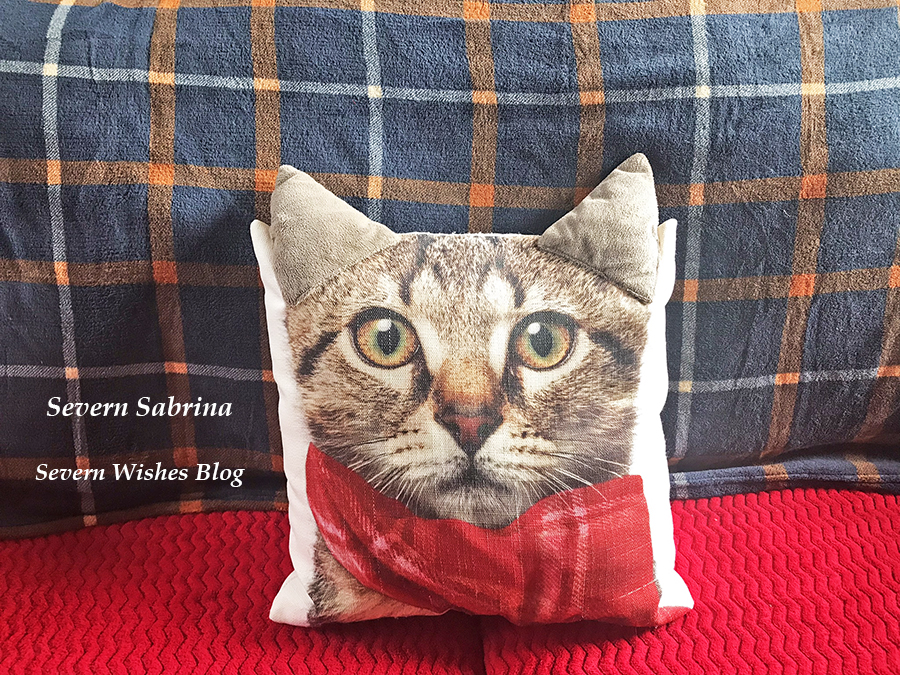
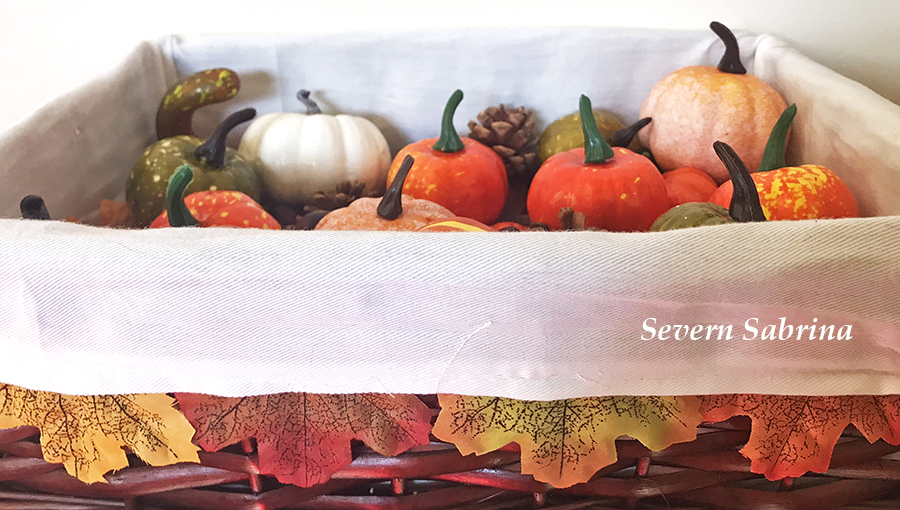
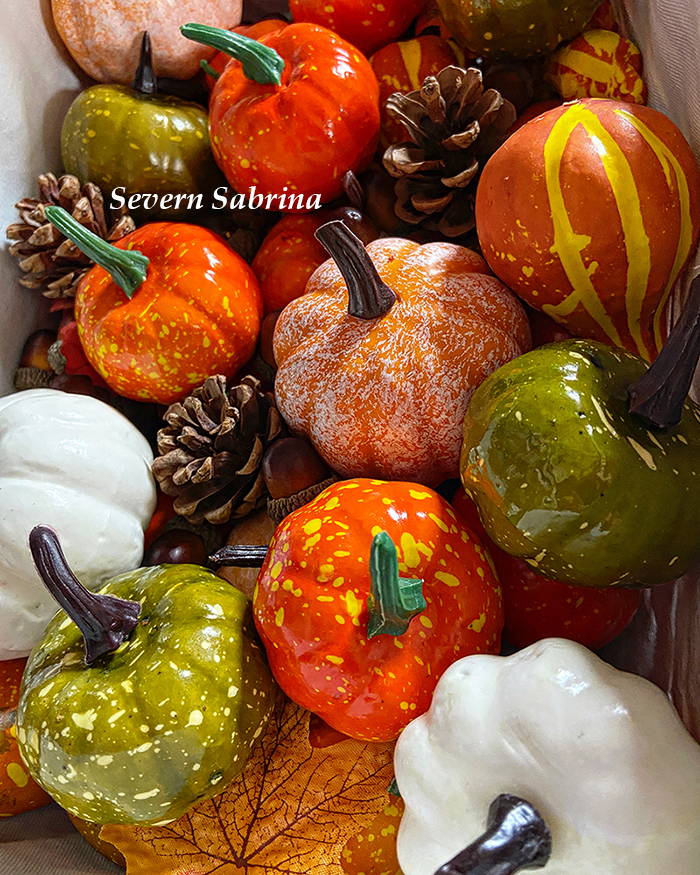
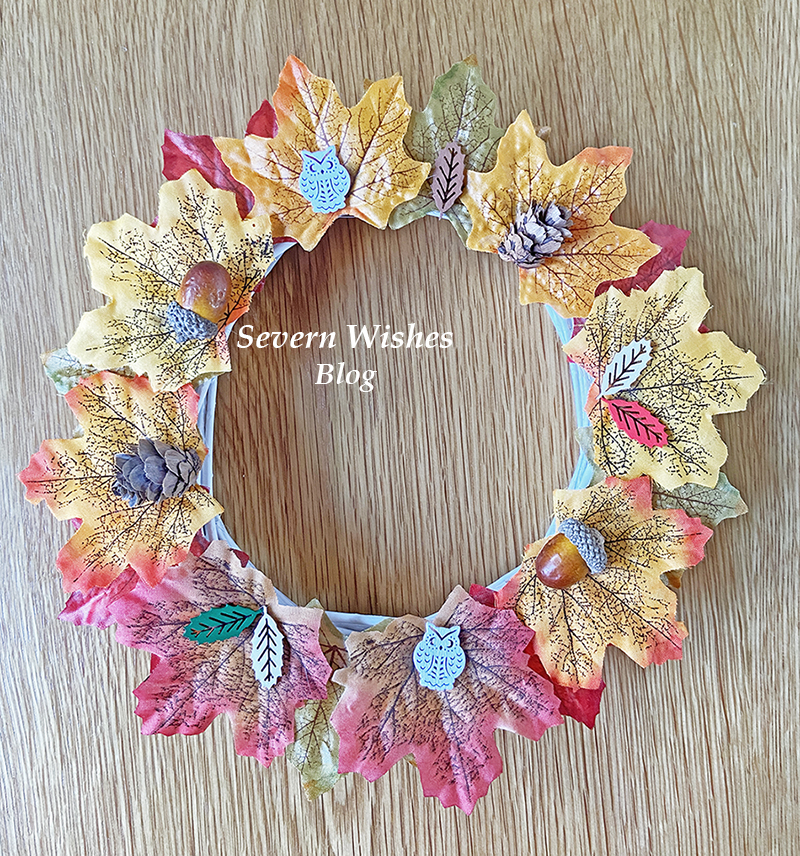
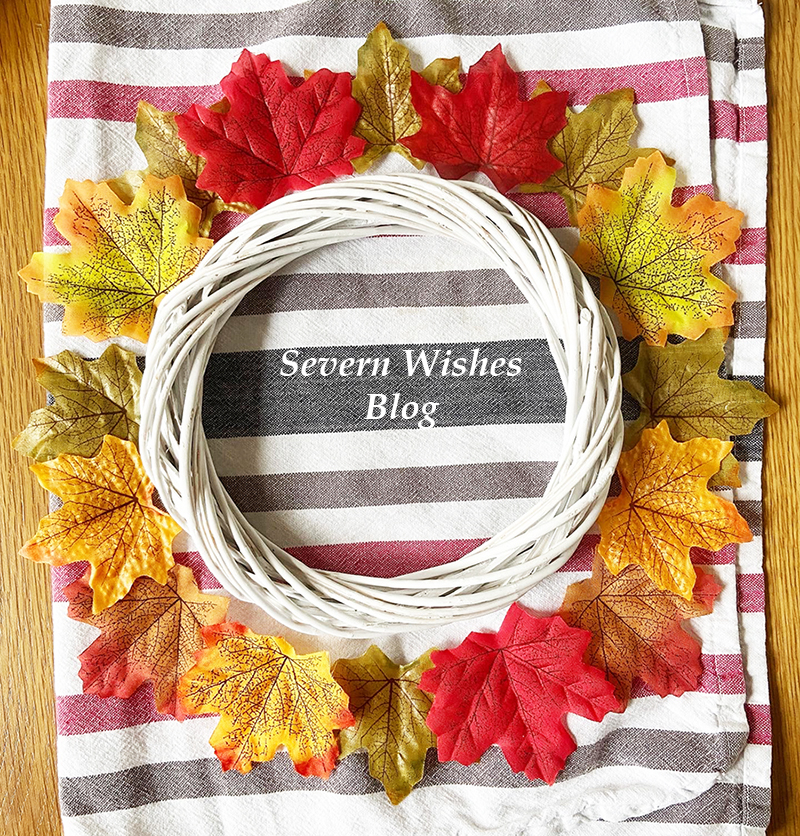
Here are more of my pictures… (leaves and pumpkins were not included in the box)

What’s my honest opinion for this month?

When I first opened this box and took a peek inside I just knew I was going to love it. I also appreciate just how hard it must be to keep regular subscribers like myself, happy, due to them not wanting to constantly repeat certain items. But this month Zoe and her Treatbox team have really out-done themselves!

Where do I start?! Let’s go with my favourite item, and it has to be the socks! I’m someone who has continually said I love the socks that come in Treatbox, but this time they are extra special due to them having Treatbox sewn into the design along the base. Autumnal themed and beautiful as well makes all the difference too.


Following on from the socks to receive a brand new item is excellent, the Jade Gua Sha is a face relaxing tool to help aid the skin and blood flow. We haven’t had anything of this sort before and I cannot wait to give this a go over the coming weekend.


The usual Calendar Print and the A5 Print are lovely again this month, I like to rotate my prints around my home and I just put up the ones from the last three years of Autumn Treatboxes! I must get a photo of them all together for my social media to show you!


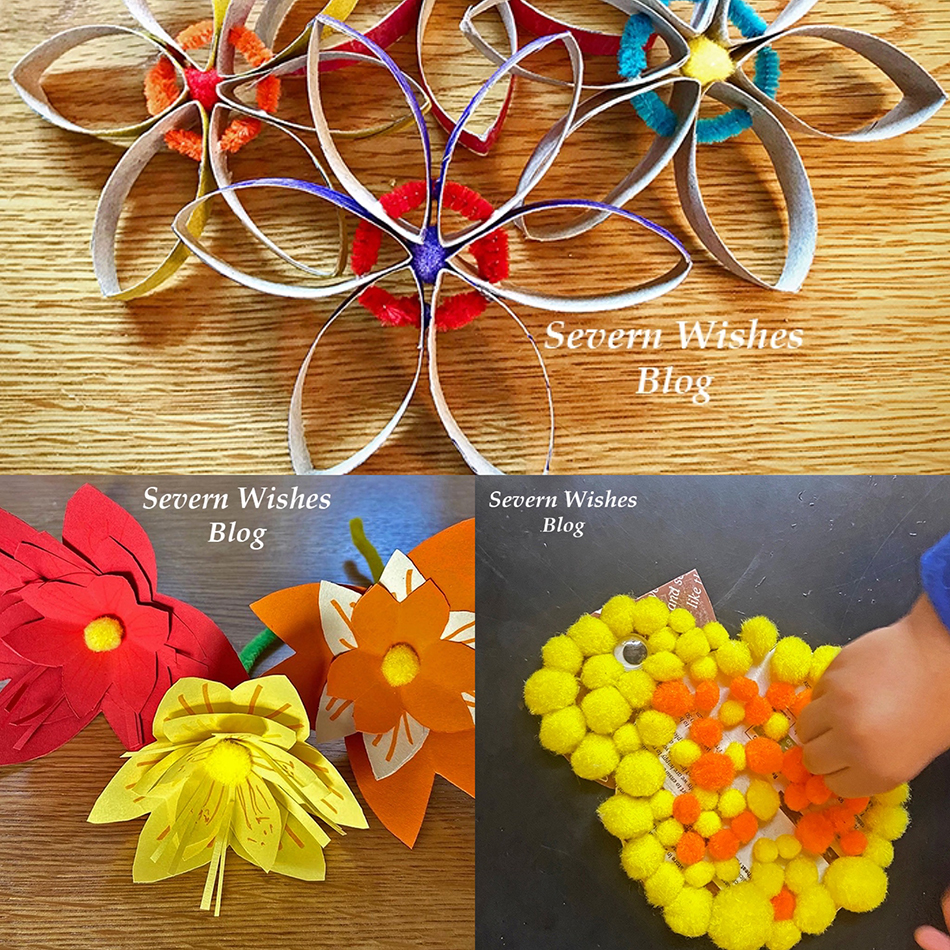
We also have a make-able item this month which I love! Crafting our own little Pumpkin! Yay! It’s not the first time we’ve seen Make Arcade and Treatbox collaborate however it’s the first Spooky Craft Kit we’ve had, and every kit has so far been unique and unusual and I love that! We get to make something and keep it and by making it our own it becomes personal too!
Watch out on my socials because I will update you when I do this Craft kit!

What’s next? Oh yes, the huge bag of 54% cocoa chocolate! Which can be enjoyed eaten, drunk or melted. And you can even enjoy it with your Biscuit! Mine was a little Ghost and he’s so cute! Despite being smashed up in the post he will be enjoyed over the weekend too!

Finally we have the Ruth Jones mini book which is a first look chapter of an up and coming new story she’s done. Ideal to pop into your handbag if you know you’re going to be sat in a waiting room at any point this month.

Overall I think this has been one of my favourite boxes of this year so far. We have got something to eat, something to make into a drink, something to do, an item to read and something to create, an item to display and an item to wear. Plus an item which could be seen as our new self care. All of which when combined make an all rounded box or treats and will make October better for having them. With the autumn and Halloween themes combined with general luxury treats it’s a lovely box this month.

Thank you for joining me for another Reveal and Review from me, Severn Sabrina!
I loved this box it was fantastic!

Don’t forget to follow me on my social media for more updates and individual
product reviews as well as items in use too.
Search #SevernSabrina or #SevernWishesBlog

Have a great October and don’t forget to keep up to date with my socials so that
you can see when I do make my Craft Kit and use the other bits of this box too.

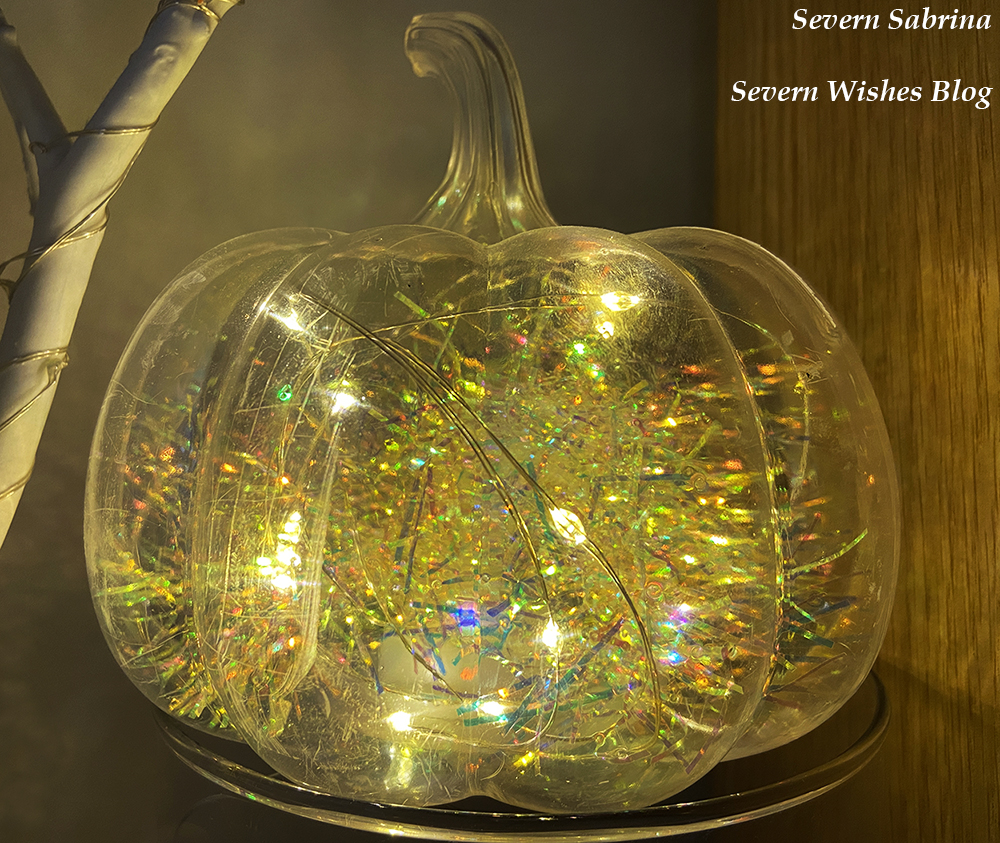
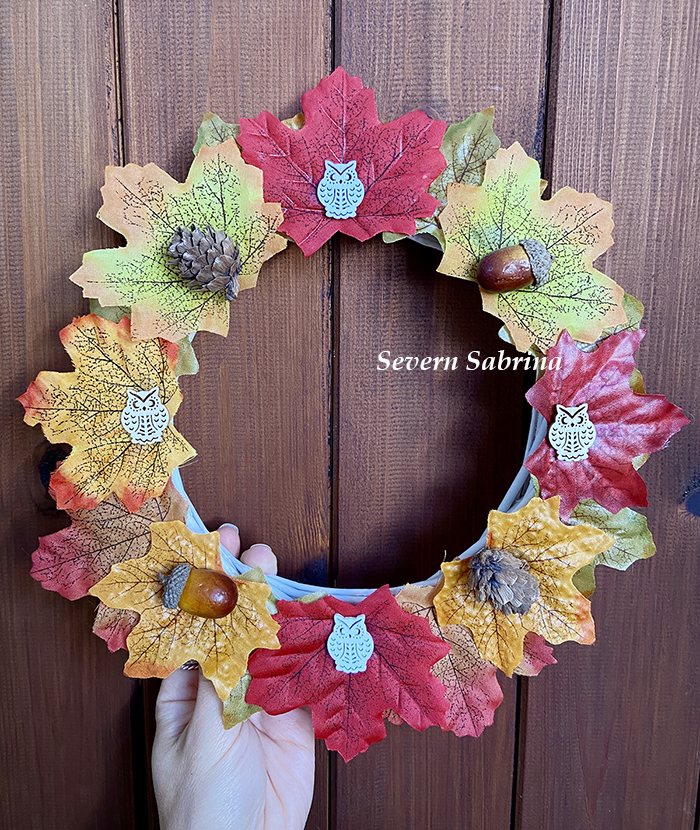
This month is always a great one for pictures!
I share Lifestyle and Nature Photography on my Instagram as well.

✩ Sabrina ✩

How to Dress your Home for a Beautiful yet simple Autumnal look with Décor on a Budget


I love everything about a crisp Autumn day, the colours of nature in the trees, the warm sunshine and the cooler air. Wrapping up in warm clothing and taking a walk in the countryside cannot be beaten at this time of year. But how can you bring that beauty of Autumn into your home in simple yet beautiful ways and on a strict budget! Well here is how I do it!

Throw – Dunelm

My Items I bought on a Budget for Autumn Décor over the last few years

Glitter Pumpkins – Poundstretcher – £1
Plastic Light Up Pumpkin – B&M – £4
Artificial Autumn Leaves – The Works – £1 a bag (50 leaves per bag)
Wreaths, Craft Items and Wooden Pieces – The Works / eBay – 50p – £5
Autumn Fleece Throws – Asda £6 / Tesco £6 / Dunelm £7+
Artificial Pumpkins / Pine Cones / Acorns – eBay – £4-£12 depending upon how many pieces you want and which country you decide to order them from (China prices are cheaper but you’ll wait around 3 weeks for the delivery).
Autumn Cushions – Autumn Designed Cushions or Cushion Covers – Amazon / eBay / Dunelm £3 – £9

(Some of the items in my pictures I have purchased from years 2020, 2021 and 2022 and only similar items may now be available from their respective sellers).

Glitter Pumpkins – Poundstretcher
My delightful Cat in a Scarf Cushion from Next from 6 years ago.

I love nothing more than to cuddle up on my sofa with my cushions and fleece throws, getting cosy as the cold nights draw in. I have a whole box filled with throws, I have some for every season. It’s the turn of my Autumn throws like the one above, it’s navy and orange design emanating the colours of autumn.

Autumn Basket

I used an old wicker basket that I had laying around to create an Autumnal display. Inside I placed artificial leaves, pumpkins and acorns, with some pine cones. Take some leaves and gently slot them in around the outside, so that no matter what angle you look across at it you will see an autumnal theme.
You can use any spare Basket or even a Box you have laying around, paint it if you wanted to! And any size works too, the smaller your item the less things you’ll need to fill it up.

Autumn Basket from above
Light-Up Battery Pumpkin Clear – B&M (2021)

Autumn Wreath

An autumn wreath is simple to make from some of the items you’ve already bought for decorations like the pine cones and artificial leaves. You can also go on a nature walk, gather items off the floor (do not remove them from hedges or trees) and dry them out on a towel over the course of the next week. My wreaths are from The Works and eBay. You can buy them as Metal, Rattan or Wicker, but I try to buy plant based ones where they are sustainably grown and made when possible.
To make a wreath take your circle base and then using a glue gun attach a selection of artificial leaves as a base layer for your other items like pine cones and artificial pumpkins. Leave it to dry for at least a day before hanging it up, or lay it flat as a centre piece of a table for example. You could stand a vase in the centre of it to continue the theme.
I used some Wooden items as decorations for my indoor only wreath as well, which I picked up from The Works over the past two years. The Owls are a particular favourite of mine.
I am proud with how both of my wreaths have turned out. See my images below.

Homemade Wreath I made 2021

My outdoor wreath is a metal ring that I have glued a selection of items including the artificial leaves and pumpkins, small pine cones and artificial acorns.

Homemade Wreath I made 2022

Thank you for reading this Lifestyle blog post today, I hope you have enjoyed looking at my Autumn décor and I do hope I have inspired you to decorate your own home – even if it is on a strict budget like mine has been over the last few years!

Your children may also enjoy making some Autumn Craft pictures with dried autumn leaves that can be painted and printed, or simply glue a nature picture together in autumn glory and all the colours you can find. It’s so easy to do a nice printed picture using dried shapes from nature and you can even display it in your home after as part of the seasons décor.


✩ Sabrina ✩

Autumn Craft Printing for Children

Sabrina’s Easter Craft Ideas 2022

Happy Easter! I hope you’re having a wonderful long weekend!

If you’ve already been out and about and are now looking for something to do within your home to keep the children entertained, then why not check out all my craft pieces below, show your children and they might want to give them a go! They are all really easy and just need a few minutes of your time as the adult to deal with some scissor cutting and poking holes, and then they can begin! You won’t need any fancy craft equipment for any of these either, just gather the following items on my list below and you’re good to go!

If you were wondering what it cost me to make all of the craft items I have done in recent posts it was about £15. That includes all of the double sided tape, various packs of white and coloured card, good quality colouring pens, craft balls and pipe cleaners among other things. But I have lots of them left over from these purchases too for use in future craft projects. I actually have more crafty items in the works and I’m still using up the same items and haven’t needed to buy any additional ones.

Sabrina’s TOP TIP: Making up a Craft box is a great idea, it will keep everything neat and tidy. Throw in left over pieces of card, toilet rolls and crafting left overs. I recommend a Really Useful Box or a similar one which has a tight fitting lid. These are also really strong and stackable for easy storing away.

✩✩✩ What Will We Need for all these Projects ✩✩✩

Toilet Rolls
Cereal Box Cards
Pens to Decorate
Scissors
A Pen or Pencil
A Ruler
Pipe Cleaners
Fluffy Craft Balls
Coloured Card
Googly Eyes
Double Sided Tape
Pritt Stick or PVA used sparingly

✩✩✩

How to Make Sabrina’s Fluffy Craft Easter Animals

These cute and fluffy animals were made using cereal box card, double sided tape and a bag of craft balls! In all it cost me about £2! And we have a ton of balls left over which we can use as flower middles and things like that – I use them in other projects too. This one is easy for little children, you do the templates and then add the glue on and then they can go to town with all the sticking!

Step 1. Draw on a cereal box, inside on the flat side piece, whatever shape you like, a Rabbit, a Chick, an Easter Egg, whatever you like or your children want.
Step 2. Cut out your templates, make them as big or as small as you like.
Step 3. Use PVA or Pritt Stick or Doubled Sided Tape to coat your template with glue.
Step 4. Provide a clean and flat surface for your little ones to sit and stick the fluffy craft balls to their card template.
Step 5. Add googly eyes or card beaks or any other items you want to finish them off.
Step 6. Let them dry overnight, place a piece of kitchen roll or newspaper on a flat surface, add the template, add another layer of tissue or newspaper, and then place a heavy book on top overnight to flatten them down and help the balls to stick.
Step 7. Next day you can display them around your home.

✩✩✩

How to Make Sabrina’s Toilet Roll Flowers

My easy toilet roll flowers are so simple to do! They only take about ten minutes to make once your toilet roll is decorated and dry. You could make a load of these, if you have a kitchen roll tube you may even get 3 flowers worth of petals from one tube! I would like to try and make a Rainbow of these!

Step 1. Let the Children decorate their toilet rolls and let them dry.
Step 2. An adult then cuts the toilet rolls into equal width pieces to make the petals.
Step 3. An adult also then uses the pointy end of their open scissors to poke holes that are 1cm up from the end and through both sides of each petal. (See my photo).
Step 4. The petals can now be opened out and gently threaded on to a pipe cleaner through the holes made with the scissors. Push them on until they hit the middle of the pipe and keep adding round.
Step 5. Curve the Pipe Cleaner round as you go, after each petal, and then after the final one is added you push the ends of the pipe back through the final petal holes to neaten it up. Line it up spaced between the petals while it is flat on a table and then push a fluffy craft ball into the middle.
Step 6. Hang your flowers up around your home on ribbon or string for a nice decoration.

Step 3 – 1 cm in from the petal end
Step 3 – making holes through the petals
Step 4.
Step 4 to 5.
Step 5.
Step 6.

✩✩✩

Step 2 – Cut the Decorated Roll into 5 Pieces

How to Make Sabrina’s Toilet Roll Easter Bunny

My cute toilet roll bunny’s are great for the Easter break! And they should stand up all by themselves! They are a little trickier than the flowers, but lots of fun still! They all start with a decorated toilet roll anyway so make sure you just save them up and get little ones to colour them in.

Step 1. Children decorate toilet rolls and let them dry.
Step 2. An adult cuts the toilet rolls into 5 pieces, a base, two ears, a middle and a head. (See Photo).
Step 3. An adult uses the pointy end of scissors to poke holes in the pieces, each one is specific. So…
Base is one hole, central on one side. Middle piece is two holes, one top one bottom just push the card flat together and the scissor end straight through. The Head piece needs one hole in the base at the centre, and off centre at the top it needs two holes. Each ear needs two holes, both on the same side at either end before the point. (See My Photo).
Step 4. Using a Pipe Cleaner push it on to the base and bend the end, attach the fluffy tail.
Step 5. Add the Middle to the pipe cleaner, push it down until it is flush and flat against the base.
Step 6. Take the Head piece, thread it on through the single hole, make it flush on the Middle piece of roll and then push another fluffy ball down the pipe cleaner until it sits in the middle of the roll.
Step 7. Push the pipe cleaner up through one of the holes in the top, and curve the pipe cleaner round, make sure the bunny parts are all flush and together for the body.
Step 8. Add each ear by pushing the pipe cleaner up through one side with the holes on, in through the bottom hole and out of the top hole, bend the pipe cleaner round and then through the top hole of the final ear and down through the bottom hole.
Step 9. The final step is to push the rest of the pipe cleaner down through the second hole on the bunny head, if you have more than 1cm of pipe left cut it off, then push the last 1cm into the fluffy ball within the roll bunny head, this neatens it up and gets the pointy end of the pipe cleaner hidden away.
Step 10. Adjust your bunny feet base and middle parts so that the bunny is aligned and he should stand up all by himself!

Step 3 – use my guide to make the necessary holes
Step 4 – Base and Tail
Step 7 and Step 8 – Threading the Ears

My bunny making video tutorial can be found on my Facebook page if you get stuck which is right here

✩✩✩

How to Make Sabrina’s Circle Petal Flower Card

This one is nice and easy and once all the cutting out is done, children can stick them down however they like to design their own flowers.

Step 1. Fold a Piece of Card in half for your card base.
Step 2. Draw around a circular object many many times on some different pieces of coloured card.
Step 3. Cut out these circles carefully and assemble flat.
Step 4. Every circle needs to be folded in half.
Step 5. Assemble your Flower by arranging the petals with one side sticking up to make it 3D.
Step 6. Cut out a small circle in a bright colour for the centre of each flower.
Step 7. Once happy with the design either pritt stick or double sided tape each petal down to the card.
Step 8. Make leaves or stems from card, or use pens to decorate your card.

✩✩

Thank you for reading this (long) Craft related blog post today, I always showing you my latest “Sabrina’s How To Make’s”! And if you have any questions for me about how to do something you’ve seen on my blog then please comment below on this post and I will happily answer them for you. I hope that you have seen something you would like to try and make yourself!

If you do make any of my craft items please tag me on social media using the hashtag #SabrinasHowToMake I really look forward to seeing them!

✩ Sabrina 

Check out my previous How to Make Craft posts for these beautiful 3D paper flowers!

Sabrina’s How To Make Paper Flowers for all Occasions

Hello and Welcome! If you’re a regular visitor to Severn Wishes Blog then you’ll know that I love to do lots of Art and Craft! If you’re new here then hi, and after this blog post please check out the remainder of my fun Crafts in the section here.

Paper Flowers are a wonderful alternative to buying fresh ones, the beauty of these homemade gifts is that they won’t wilt and have to one day be thrown away, these can be treasured by the loved one receiving them, forever! Give a single flower or make a bouquet it’s up to you!

What Do I Need?

A Ruler (30cm)
A Pen or Pencil
Pipe Cleaners various Colours
Thin Coloured Card or Thick Coloured Paper
Pens for Decorating the Petals (optional)
Fluffy Craft Balls (Flower Centres)
Scissors

My Step by Step Visual Guide is really easy to follow, but I also uploaded videos to my social media if you would prefer to follow that! Carry on reading for my step by step and photographic guide.


SABRINA’S STEP BY STEP GUIDE

1. Cut Squares from your chosen Coloured Card. For example I made my Orange Flower with a 7cm, a 8cm and a 10cm Square. Three Squares is an ideal amount of layers but you can do just two or even more layers if you wish. Assemble these squares on a flat surface ready for the individual folding process. (See my images below for additional guidance).

2. Fold each square you have in half to form a rectangle, do this by folding the bottom line up to the top line and line up the crease and push flat. Repeat for every piece you have.

3. Next, you fold each rectangle back into a square shape by folding it from the left to right and flatten and crease down flat once again.

4. Finally you will have all your layers into folded squares, and these now need to be made into Triangles. But to do this correctly for the next steps you must not rotate them at all during the folding process. Make sure that you fold the bottom right corner of your squares up to the top left, flatten and crease.

5. Next you need to draw a petal shape on every flattened triangle, make sure not to rotate it from when you folded it when you draw on it, otherwise it won’t cut intact during step 6.

6. Now you need to carefully cut out your shapes, gently follow the line and then discard these cut offs for the recycling because you don’t need them.

7. Time for the moment of truth, open out the flowers gently and slowly so as not to tear them. Lay them out flat and make sure they are an entire piece.

8. With the crease lines facing at each compass point you need to mark the petals that are in the South East corner of each flower. (See my images below if you are uncertain).

9. Carefully cut these petals away from the flower, be sure to only follow the crease lines of the folds when you cut and don’t be tempted to cut it too low in the centre, just enough for the spare petal to gently come free. You don’t need these now and these spare pieces can all be recycled at the end of your crafting session.

10. Next step is to mark the petal on the right of the one you just cut away, on each of your flower layers, and then stick a piece of double sided tape or a blob of glue on to that mark.

11. Doing each layer one at a time now, gently place the flower into your hand, and with the other hand carefully fold the petal on the left side over the petal on the right side. The creases and folds we made at the start should allow you to do this easily, if not gently fold the creases again and try again, the flower should (with some gentle persuasion) create a 3D flower with the shape similar to a cone. Push down on the glued part and make sure that you have aligned the petals and that it is stuck down. Repeat this for all flowers and layers that you want to make.

12. Carefully lay out each of the Flower layers now that they are 3D. You now need to decorate them if you want to with lines or dots before we assemble them. If making them with small children you may want them to decorate at Step 10, before you make them 3D.

13. During this step you want to use the end of the Pipe Cleaner you have chosen to gently pierce through the middle of the Flower layers, take one at a time, and force the pin end of the Pipe Cleaner directly through the centre where the creases and folds meet. Once all of the layers are pierced you can now arrange them in order of size.

14. Assemble your finished Paper Flower by sliding the layers on to the Pipe Cleaner, you do want to leave about a 4mm bit of the pipe cleaner poking out so that you can push on a coloured fluffy craft ball (if you have one) and this neatens the whole look of the flower plus it covers the pointed end of the pipe cleaner.

15. Adjust the Petals by rotating the layers slowly on the pipe cleaner stem until you are satisfied with the flowers final look. I hope you are happy with your flower! You can play around and add other things too if you like! Be creative and I cannot wait to see yours! Tag me! #SabrinasHowToMake

✩✩

Thank you for reading this Craft related blog post today, I always love doing my “Sabrina’s How To Make’s”! And if you have any questions for me then please comment below on this post and I will happily answer them for you. If you make some flowers please tag me on social media using the hashtag #SabrinasHowToMake and I really look forward to seeing them!

✩ Sabrina 

April 2022 Treatbox UK Reveal and Review

Hello! It’s Treatbox Day! And it’s time for the April 2022 Treatbox Reveal and Review.

View my Unboxing Video over on my Facebook or my Instagram.


Hello April!

It’s been quite a nice start to the month, some sunshine with occasional snow showers – the usual weird mix for Spring! But the Blossom is out and that is my favourite!
I was very much looking forward to Revealing this box due to the success of March 2022, I was not disappointed! Let’s unbox this one now!

What’s Inside the April 2022 box from Treatbox UK?

April Calendar Print
Light Blue Ribbed Cloud Design Socks
Gardners Cookies (Egg & Dairy Free) Iced Biscuit “Behind the Cloud. the Sun still shines”
Treatbox Original Sticky Notes – Cloud Design “You Got This”
Treatbox Original Shopping List Notepad – Dusky Pink Cloud Design
Treatbox & The Make Arcade Collab – Umbrella Glitter Shower Make Your Own Craft Kit
Treatbox Original Positive Affirmation Card “Stay Close to People Who Feel Like Sunshine”
Treatbox Original Keyring (Cloud Design) “Never Forget How Amazing You Are”
Treatbox Original Self Care Daily Checklist (2 + Months Worth)
Timeless Aromas Heart Shape Wax Melts in Candy Cloud Scent

My Honest Opinion on this month’s Contents.

There were several really nice and unique Treatbox original items in this April box, which I will most definitely be using! The shopping list comes in particularly handy for someone like myself, and the sticky notes are again a great piece of stationery that can be used all around the home. It was also nice to have an array of different items, an edible one, a wearable one, a make-able thing and plenty of positive affirming ones too.

I love the socks! I love socks in general but I love the quality of these socks that we receive from Treatbox, they wash and wear really well. Love the clouds design!
Again the keyring and the small card are positive reinforcement because I am sure we could all do with some with everything that is going on for us all both personally and on a global scale.

Love the idea of the self care checklist, though I’m not sure if I will get to tick off a square every single day – though I will certainly try! Self Care is not Selfish yet as a single parent some days I do struggle to find that balance. But I am trying to do better for myself.

Overall a lovely box, some really useful items, I look forward to a cup of tea with my biscuit and I will sit down and attempt the Craft Kit before the end of the month! And I promise I will put the finished piece on my social media for you all to see it! (Hides face in hands) Sewing is not my forte folks but I am very craft orientated so I shall give it my best shot!

The April 2022 Treatbox was filled with a positive and self care importance vibe, and with the calming clouds design I definitely feel as though it’s starting April off in the right way.
Now let’s hope it stays that way!


Thank you so much for joining me for this April 2022 Treatbox UK Unboxing, Reveal and Review. I really hope that you have enjoyed reading this blog post. I will be uploading various photography during the month from the products featured this month so don’t forget to follow all my socials and keep in touch for all the latest from Severn Wishes Blog!

Have a wonderful April!

✩ Sabrina ✩

Talking About All the Different Ways that We Use a Tuff Tray at Home

Hello Severn Wishes Blog Fans! Today I am bringing you a Lifestyle / Parenting / Hacks / Product Review article I have written all about something I have now owned for well over a year!
And that item is… The TUFF TRAY!

These fantastic trays are usually found in a school setting, especially with younger children like those in a preschool or nursery setting, but due to their versatility they have been becoming more and more popular with mums who are able to do a lot with their children at home.

As soon as I heard about them I knew it would be a great investment for the future. I ordered mine in black but they do come in a variety of colours. I preferred the black due to it not getting stained or if we made any scuff marks with toys they wouldn’t be showing up as easily. Overall I’m really happy with the quality of the tray for what I paid for it. So far it has withstood a toddler doing all sorts on it and in it!
I chose to purchase without the stand so it was then just suitable for laying down on the floor.

Be it Sensory, Messy Play or just toys on a flat surface, the Tuff Tray is ideal for lots of reasons when you have little ones growing up. Here are just some of the many ways that we have used our tray this past year or so! Both in visual form and I made a little list too!

  • 1. Ideal for Craft to keep the craft pieces and mess contained in the tray borders.
  • 2. Great for when you want to do some Messy Play and use paint so it doesn’t get on the floor.
  • 3. Doing some experimenting with foods in toddlerhood? Keep those rice crispies, rice grains and other food stuffs within easy clean up-able reach. You can wipe clean anything off it.
  • 4. Using Glitter today? This tray is ideal to wipe clean after your picture making as the bits will all be contained within the tray walls. Sit your children outside of it and let the mess be inside (mostly).
  • 5. Potty Training? Stick the Potty in the centre of the tray on the floor, and it will be easy to clean spillages off the plastic rather than off your floor!
  • 6. Building Lego or Duplo or Blocks? It can be annoying for little ones if pieces are rolling away or falling over all the while! But on the tuff tray they won’t get far at all! It also means it is a flat surface for the building to become easier on little hands.
  • 7. Doing a Jigsaw? Be it an adult one or a children’s one? Do it on your Tuff Tray and you’ll be able to move it at a moments notice off the floor and then continue it later.
  • 8. Want to do some baking with the kids but you want to do it at their level? It is much safer to do it on the floor where nobody is balancing and this tray doubles as a big flat surface, just clean it with sterilising spray and let it air dry before you start any food preparation.
  • 9. Sensory Play can involve all sorts of things like craft or food stuffs, having it all contained within the Tuff Tray makes life easier for you and if you planned to do it for a few sessions over a week you could even leave it on the tray and just move the whole tray instead of packing everything up.
  • 10. Play-Doh can get messy and easily sticks to hard surfaces like tables or floors, but by using a Tuff Tray base for all of the items they are contained within its sides. If you choose to get a stand with your tray you can even have the tray at a suitable height for your little ones. Or you can do what I do and maintain it on a flat floor, whichever is easier for you.
  • 11. A Tuff Tray can be used outside for a water table or a sand table due to its sides being all the way around with no holes within its surface.
  • 12. Design a World – Use your Tuff Tray and things like chalks or washable paint to create a world, a map or a world for your children to put their toys in to and play. I have drawn a road on mine for my sons toy cars before now and also used elements like sand made of ground cereal to make a beach.


So overall the Tuff Tray doubles up as another useful hard surface within your home and is ideal for playing, learning and food preparing. Young children can safely sit within its boundary or outside of it leaning in in order to play. There are no sharp edges on the Tray and the hard plastic is coated so its easy to wipe clean after every use.
I purchased the standard (medium) size but it is also available in small or extra large depending on the supplier you’re purchasing it from. They are also available in many colours.
Prices range from £11 to £70 and all Tray prices do depend upon the colour, and the size and whether you wish to buy a stand with your Tuff Tray purchase.
They can be used inside or outside but I would recommend you keep them out of direct sunlight and harsh weather conditions and keep them inside a garage or shed when not in use in order to maintain the sturdiness of the plastic.

What do we use our Tuff Tray for the most?

Craft and Messy Play and Sensory Play mainly.

Thank you for reading this blog post today, I hope I have inspired you and if I have then I would love to hear what you and your family use your Tuff Tray for!

Enjoy the rest of your February!

✩ Sabrina ✩

Sabrina’s How to Make an Autumn Wreath

Welcome to one of my latest Craft Project posts that I am very proud of.
I have been wanting to make a wreath for about four years now,
and I never got around to it until this Autumn. Oops!

Autumn Wreaths like this can be placed indoors flat or indoors hung up.
If you have a nice sheltered porch over your doorway you could even hang it outside!
I chose to make an indoor wreath using false leaves, dried pine cones, acorns and wooden craft pieces.

Here are all the things I have used to make my two wreath rings.
It’s a good idea to decide on your design before you start gluing anything, I place mine around the outside.

How to Make

Step 1. Prepare your design before you glue anything down.

Step 2. Glue the first layer of items down using a glue gun and wait for that to dry and the glue to harden before you add the next layer. Use a blob of glue per item, just enough to stick it down because you don’t want lots of excess glue on the wreath.

Step 3. Repeat the second layer with the glue and take care when pressing down the items when it is hot. Layer by overlapping the leaves until all the white on the front is gone. Once you’ve done the leaves let the wreath dry a few minutes and the glue harden.

Step 4. Keep adding to your design and let the layers dry in between, it only takes a few minutes to dry each time. You can put as many layers on as you would like to, and then add the three dimensional items last.

Step 5. When the design is fully dry then you are able to either lay it out or hang it up in your home. If you are hanging it up on a window you may want to repeat the design on the other side so that you can see leaves on both sides.

Take Care when Pushing the Items on the the Hot Glue

TOP TIPS! Make sure you only use a little glue, it’s hot and a little goes a long way!

TOP TIPS! Layer the leaves up until you cannot see any more of the white,
overlap them slightly so as to create depth to the wreath ring.

Make sure to decide on where you want to put the items before hand so that you don’t make a mistake when gluing.

What You Need

Wreath Base – Wicker or Rattan or Wood Sticks
Glue Gun and Glue Sticks
Decorations or Naturally Sourced Dried Out Items (like Pinecones) or Both!

Where I Bought From

I did a Nature Foraging Walk with my son.
I got the wooden pieces like owls and leaves and the artificial leaves from The Works in their craft part of the store.
I got the Rattan Wreaths from eBay.
I got the Glue Gun and Sticks from Amazon.

✩✩

Thank you for reading this crafty and make blog post today, if you have any questions for me then please comment below this post and I will happily answer them for you. If you like my wreath please let me know!

✩ Sabrina