This June I am so happy to announce I have a wonderful collaboration with Gift Company to share with you all. The store and I go way back, and when they approached me to showcase their brand new stationery collection I jumped at the chance (of course!) to do that.
The main design is a floral one, with butterflies and intricate flowers in pastel shades. The designs flow similarly throughout the set, tying in their compatibility and their uses. There are notebooks, planners, organisers, reminders set and even a pop up weekly calendar.


Gift Company have three designs for their stationery. Spring Breeze is the one I am reviewing, but there is also a Running Hare and Blue Floral set, they are all stunning. The Spring Breeze set contains 18 matching / similar items.
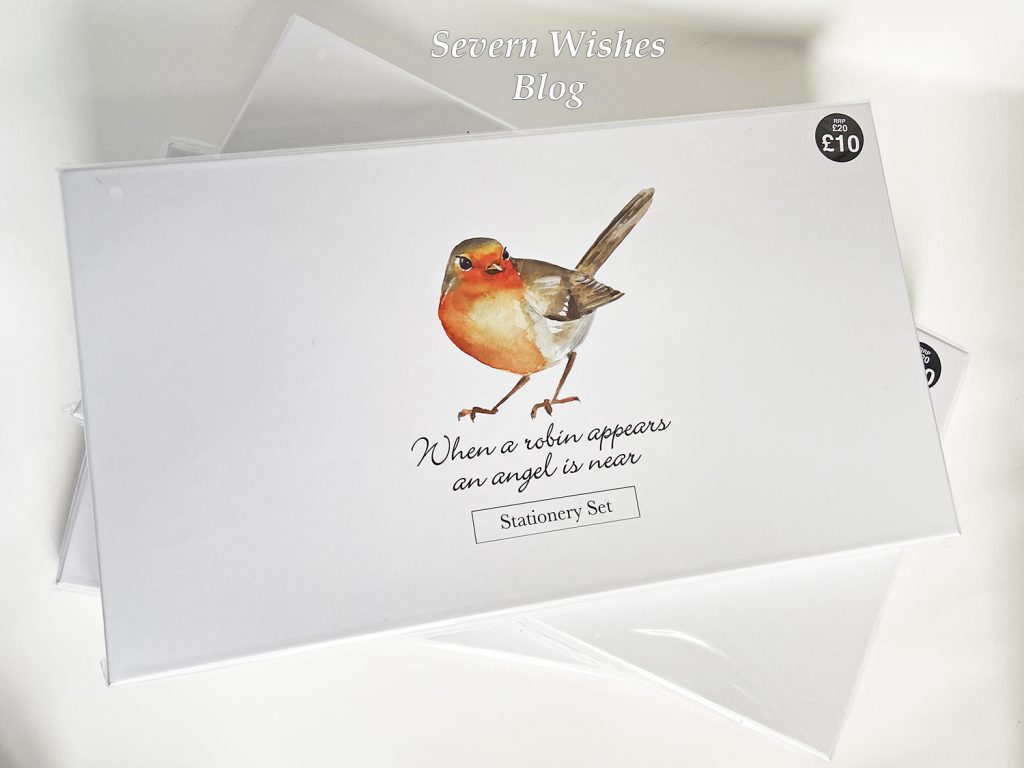
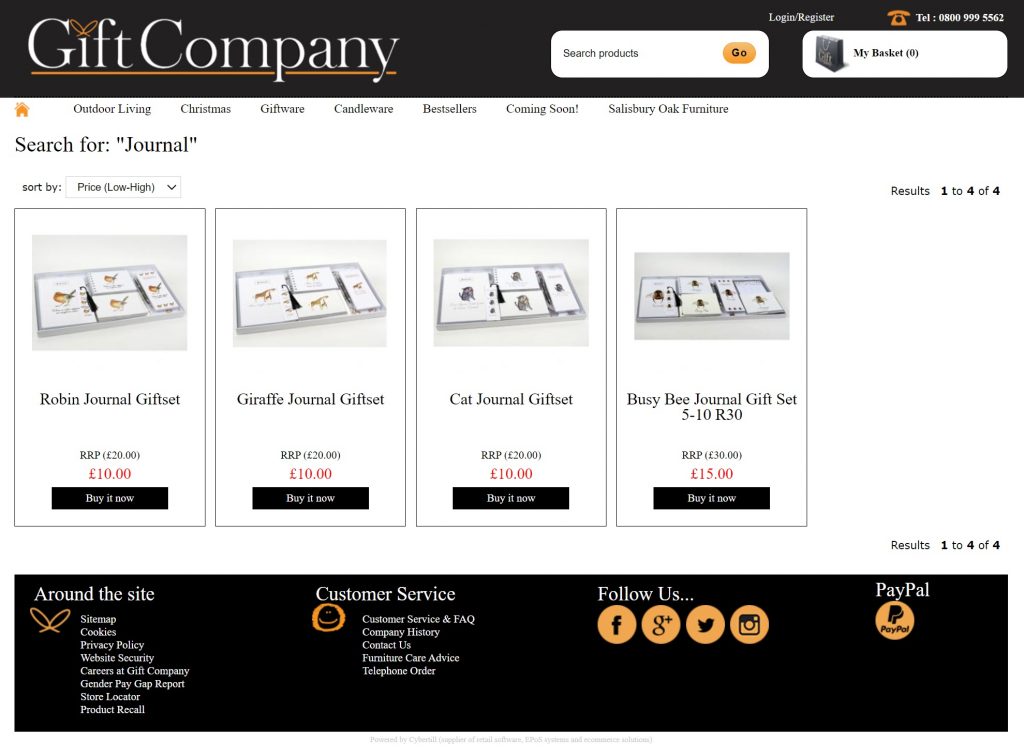
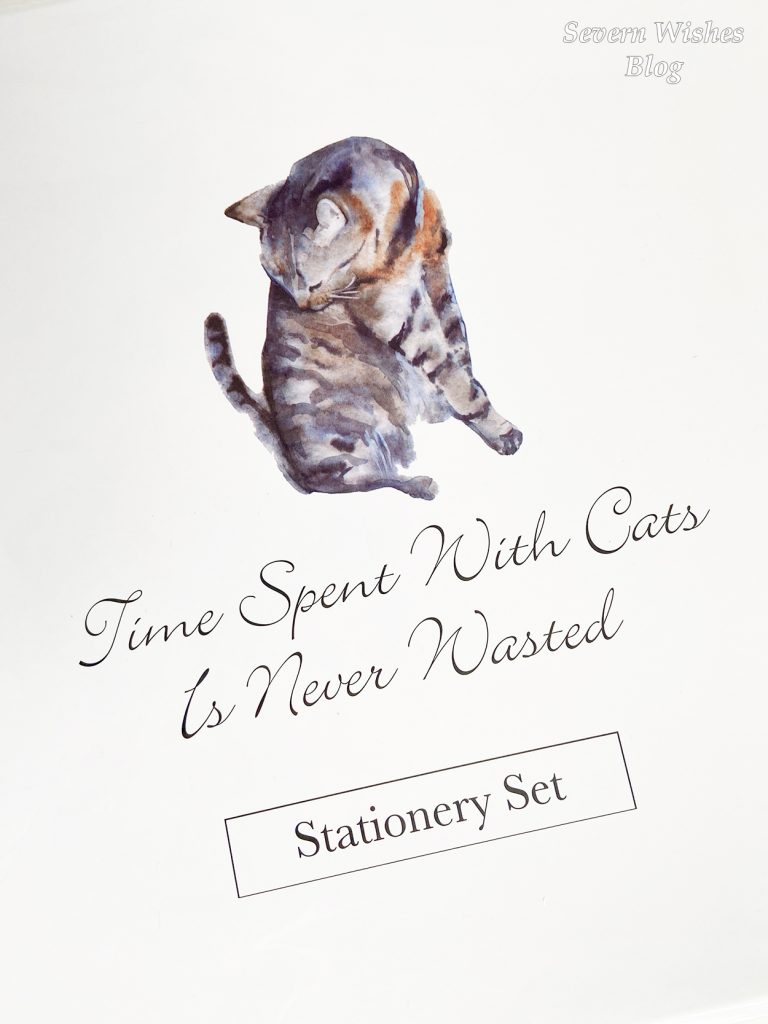
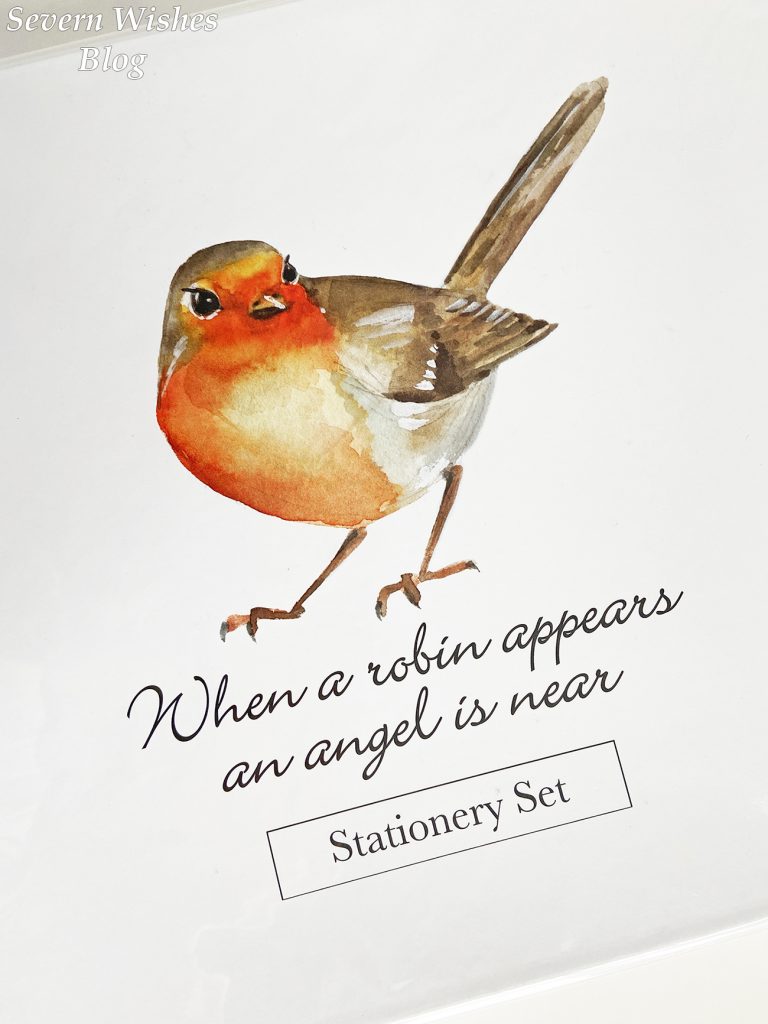
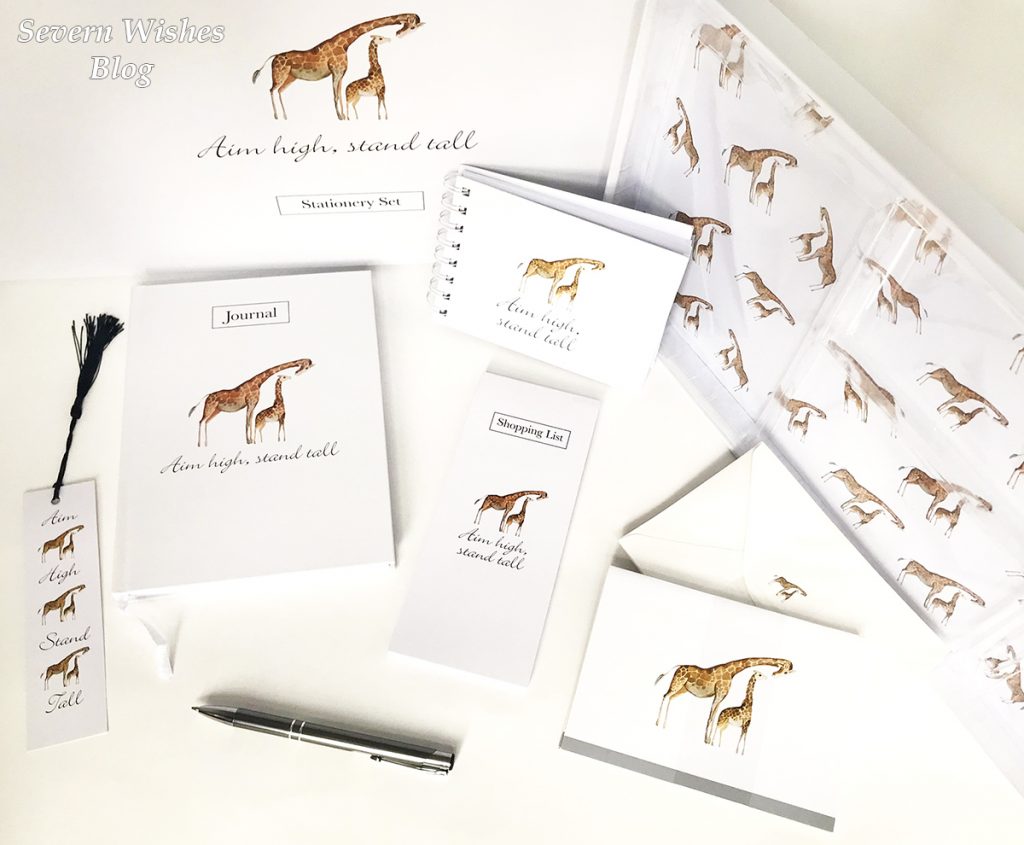
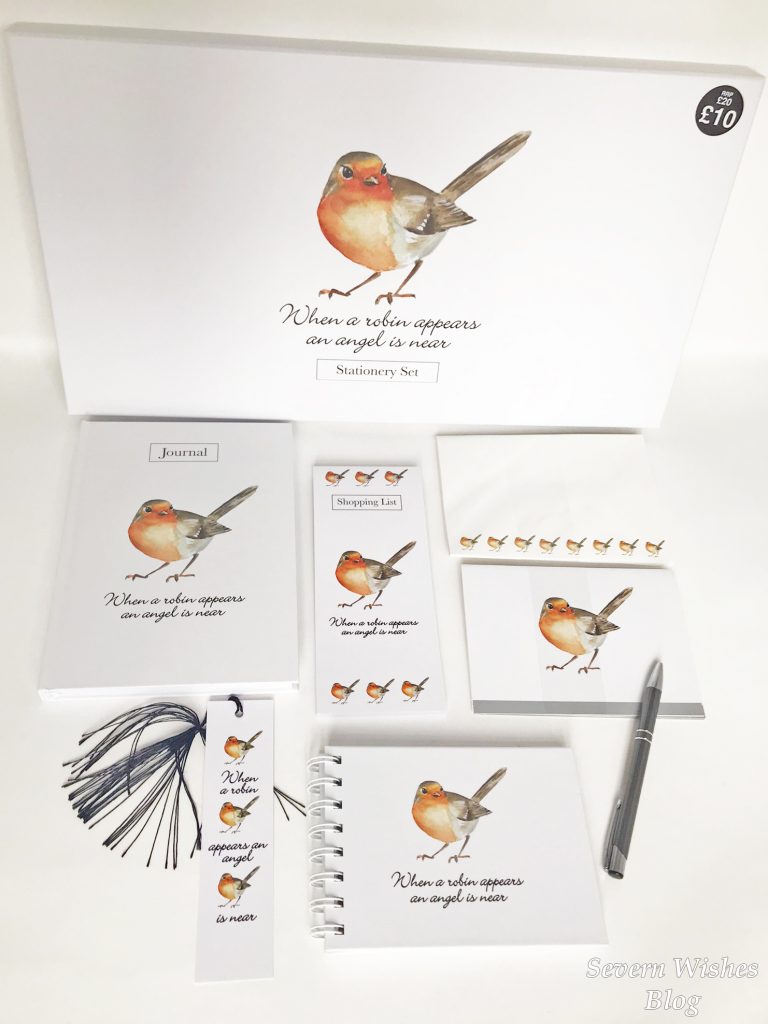
They also sell boxed sets with a repeating design including Hedgehogs, Mum’s Organisation, Bee’s, Robin’s, Cockapoo’s, Woodland Friends, Country Animals and more Pets too. So much choice that is ideal for everyone, something to suit everybody’s tastes.
If you would like to check out the sets I will be popping some links further on below my review scores, but until you get to that point please enjoy some of my photography, showcasing the stationery in it’s best light and detailing the beautiful designs.


The weekly pad I received has 56 pages which means you have more than a years worth of weekly pages ready for use. The weekly planner I got given has 61 pages, so you get way more than a years worth here too. Both are ideal for keeping track of things. The planner has more room to write in the columns, however the weekly pad also has the additional boxes of “Notes”, “I’m Working On It”, and “Quote of the Week”. So it would all be down to personal preference.

Gift Company also kindly sent me one further gift in the form of a pet memorial stone. I recently lost my eldest fur baby in May, and it hit me very hard. It was a lovely gesture from them as they reached out for this collaboration. And I want to thank them whole heartedly for the stone, here is an image of it. I can recommend it to anyone in the same position, it’s intricate details and kind words are comforting in a moment of grief. The sentence “You have left our lives but will never leave our Heart” is so poignant and true, and I am grateful for this memorial for my beloved pet.

Sabrina’s Product Review Scores
Product Quality 5✩
Product Design 5✩
Packaging 5✩
Value for Money 5✩
Product as Advertised 5✩
I am giving this set of products a 10/10 and an overall Sabrina rating of 5✩
All of the products are finished to the highest quality and their affordability makes them even more appealing. The amount of choice is also wonderful, with something to suit everyone’s tastes and preferences. The entire Spring Breeze set is beautifully presented and there are plenty of pages on the items to ensure longevity.
I filmed myself unboxing these items if you would like to watch it you should head to either my Instagram, Facebook or YouTube, my links are all below.
Instagram
Facebook
YouTube


Links to Products
Gift Company Homepage Website
Gift Company Stationery
Gift Company Spring Breeze Stationery Set
Gift Company Store Locater
If you don’t want to buy online please consider visiting a local store near you. Click the last link above to view the Gift Company store locator map and see which is closest to your location.
✩
Thank you for visiting Severn Wishes Blog today, I hope you have enjoyed what you’ve read for this review and that I see you on my website again soon. Have a great day.
✩ Sabrina ✩

✩✩✩
Collaboration
I have been supplied these for the purpose of a review. I get to keep the items once I have fulfilled the review parameters as discussed with the company. I have not been paid for this review. All the words are my own, and all the photography is my own unless otherwise stated.
As a writer I pride myself on giving my honest opinion, and my readers can leave me comments asking about the products if they wish, I am happy to answer them based upon my experiences.
Please do not copy any information or images without my written permission, but do feel free to share the link to my blog with people who you know would benefit knowing about it. Thank you.