Sabrina is a Lifestyle, Parenting and Product Review Blogger. A Writer, Photographer, Reviewer, Home Cook, Crafter & Nature Enthusiast. You will find a bit of all those categories here on Severn Wishes Blog, Welcome to Sabrina's Lifestyle Blogging & Honest Reviews.
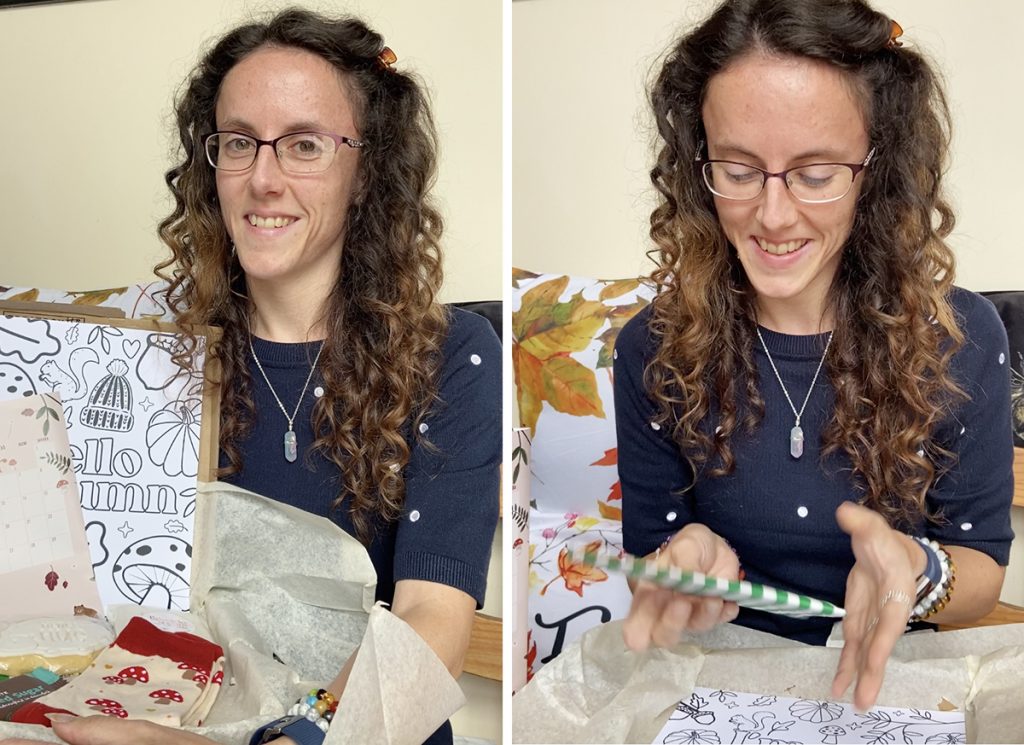
Well, I’m not sure what happened to September, I must have blinked and missed it! The days flew by and before I knew it I was receiving my dispatch email for this October box! Goodness! I hope my latest Reveal finds you well, and that you enjoy seeing what was inside the October box with me. Thank you for joining me today as I go through the contents of the October 2023 Treatbox!
If you would like to see my unboxing video please click this link which will take you to my video onmy Facebook page
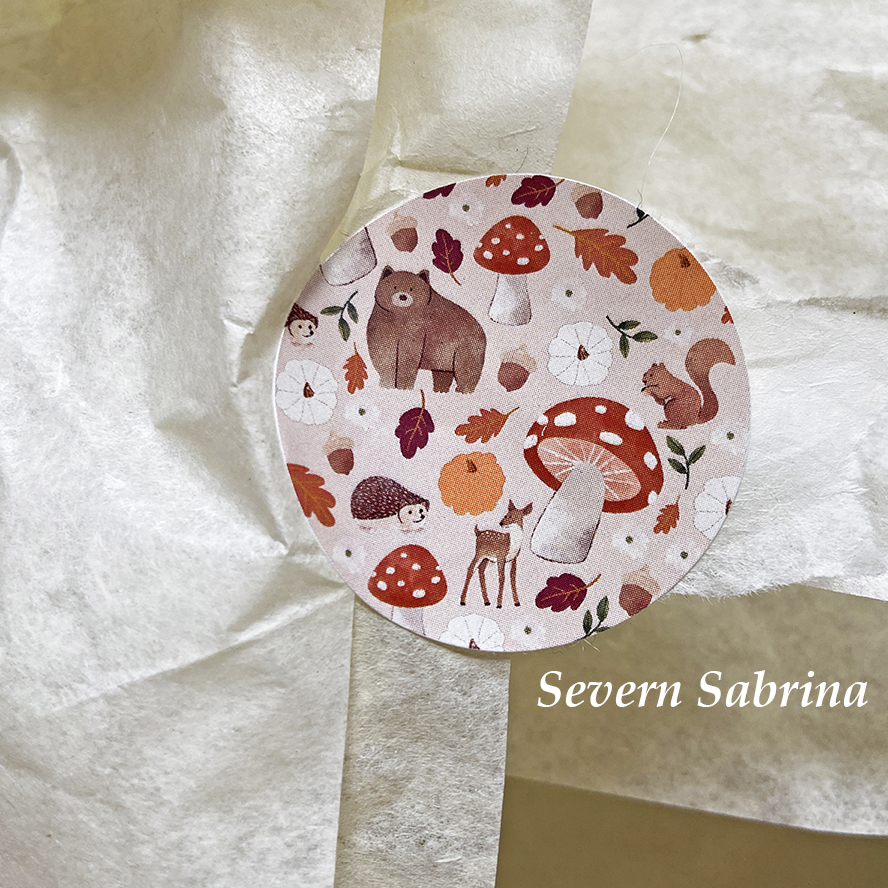
What was inside… a Woodland Theme…
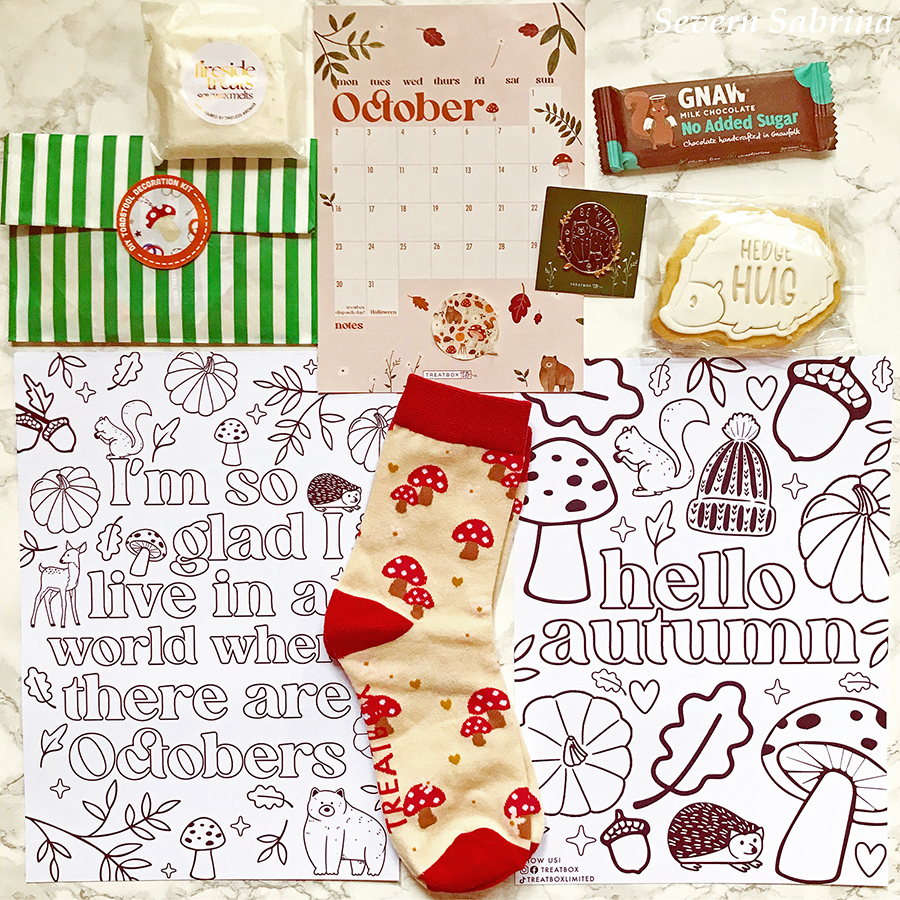
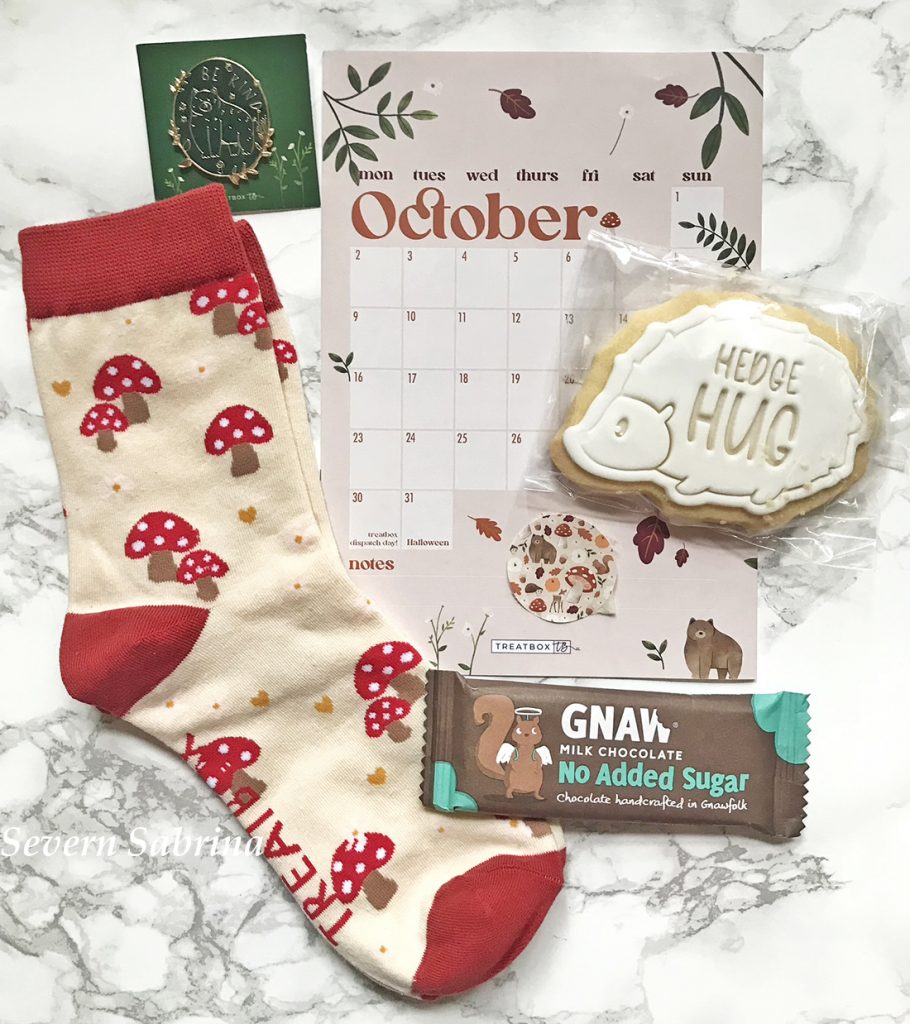
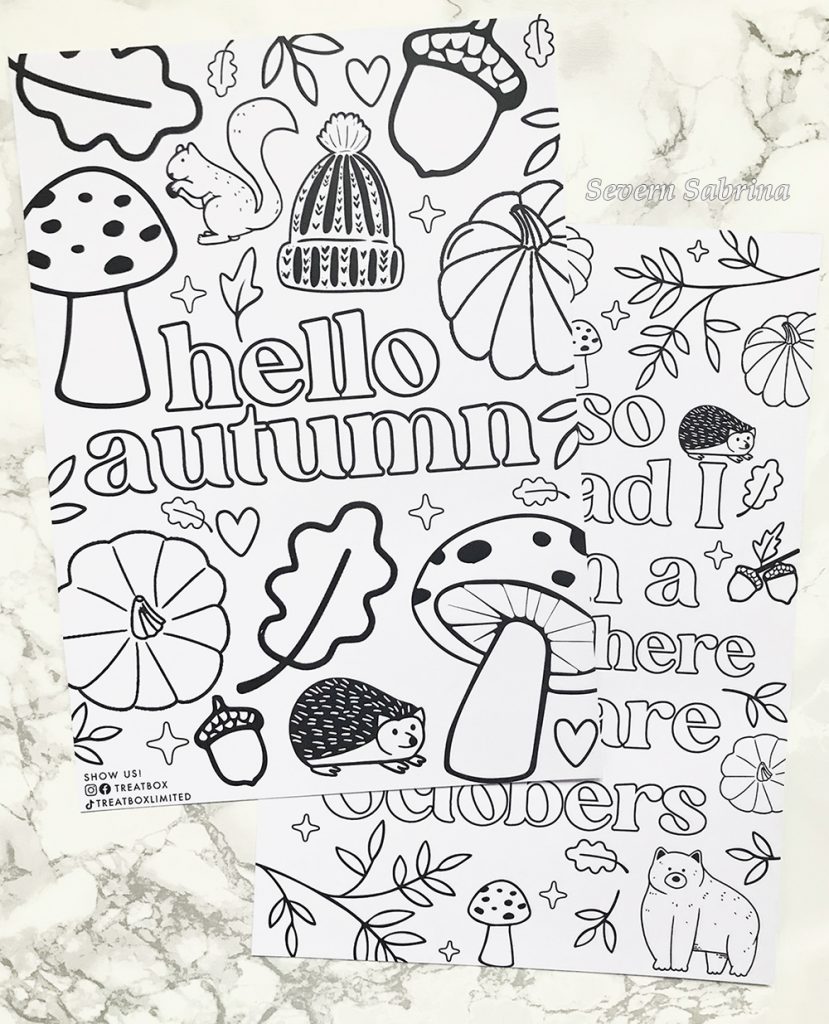
October Calendar Print Treatbox Original Enamel Pin – Be Kind with a Bear Treatbox Original Socks – Toadstools Gnaw Chocolate Bar – Belgium Chocolate 35g The Make Arcade – Toadstool Decoration Kit Treatbox Original Prints – Colouring Sheets for Autumn x 2 Timeless Aroma’s – Soy Wax Melts – Fireside Treats Gardner’s Cookie – Hedgehog Shape Biscuit “Hedge Hug”
My Honest Opinion
I find that every Autumn box is one of my favourite boxes of the year, without a doubt as I look back on them, the themes and items are always excellent in October. This box is up there in my top 3 of this year.
My favourite items are the Bear Pin, the Socks and the cute Biscuit! I thought the colouring pages were also really well designed and I cannot wait to sit around with a mug of something warm to drink, nibbling my chocolate and colouring them in. I loved that we have a real mixture of items this month, and I can’t wait to put my toadstool socks on! I also look forward to doing the Craft Kit, that looks great! We have done Make Arcade before and to add a little handmade Toadstool to my autumn décor is going to be fabulous! (So long as I don’t stuff up the sewing ha ha!) I will do a video of it when I make it and put it on my socials.
I’m really not a fan of the wax melts, we’ve had a fair few of these, I can’t ever use them due to allergies, my son is allergic to soya it makes him very sick. As soon as I’m done with the review they have to be relegated to my garage where my son can’t smell or come into contact with them. This is the only item I didn’t like inside this month’s box. Though the item is lovely and of high quality and lots of other people will find they can use them and enjoy their autumn scent, it’s just not possible in my house sadly.
Even disregarding the wax melts that I cannot use the box is still in my top ten for the year, for the simple fact that it’s been a well executed theme and the items all come in at a very high standard. We have four Treatbox original items which are what makes the box extra special in my eyes.
Overall I love it, what a great box, and I’m really going to enjoy using and eating the products. Check out my social media for the items in use when I do get to each of them as the month goes on. Now for some more of my photography.
Thank you for reading this unboxing post and review with me today. Don’t forget to follow me across my social media for more updates on the products as I use them throughout the month.
Search #SevernWishesBlog on Google or #SevernSabrina on Instagram, Alternatively click here to follow me on Facebook / Instagram / YouTube
If you’re thinking of subscribing to Treatbox I’ve also attached a link to their websiteTreatboxUK Don’t forget to tell them you saw my review when you order too!
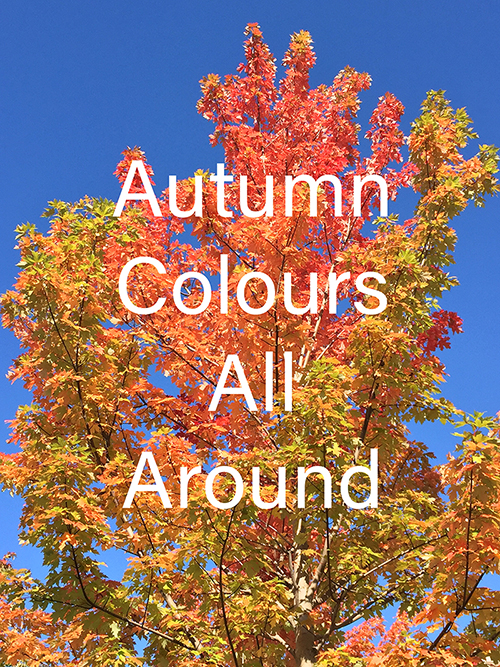
Autumn is such a beautiful time of the year, and it should be enjoyed by people of all ages and of all abilities too. But as the cost of living goes up again with our need for heating on and more food, not to mention the loom of Christmas… most people will vote to stay in, worrying they cannot afford to go out.
Well I’m in the same boat as all of you again this season, knowing that money will be tight but I also want to make the most of weekends I have my son. School takes up so many hours of the week, and the majority of children don’t really want to be stuck inside (unless the weather is gale force and torrential rain!). So it’s important to come up with some cheap ideas that will suit everyone and that can be fun of course, so here’s what I do.
See what can you do for free in your local area. Where do you begin to look?
Start off by writing down on a piece of paper the people in your household, their ages and abilities.
Do you need toilets frequently, baby changing facilities or access for a pram or wheelchair?
Once you have established the type of place you need to find you can look up on an online map what is available for free in your area.
Check local free magazines in supermarkets, check out social media by searching in events local to you by so many miles radius.
Some of these things can include;
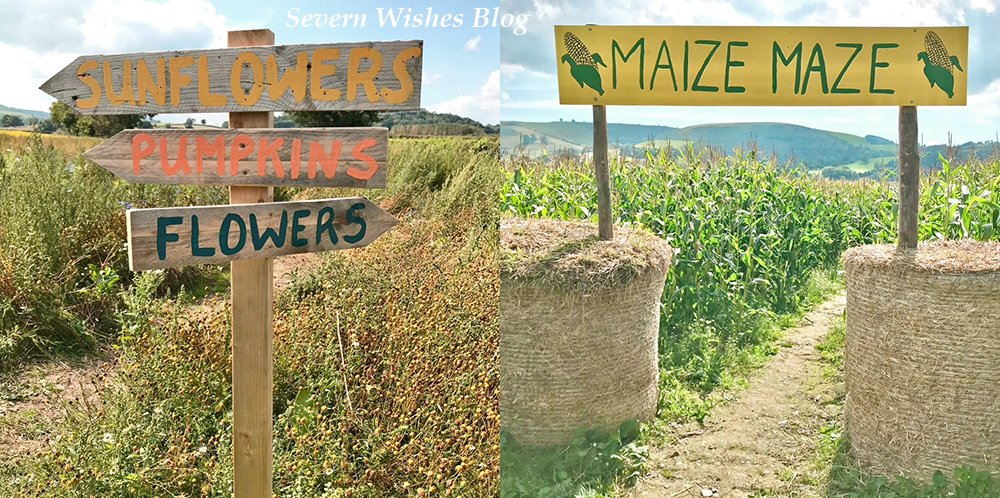
Public Footpaths. Canal Routes or Designated Walkways. Parks and Gardens. Local Heritage Sites. Castles or Stately Homes. Farms with Free Entry to look at Pumpkins, Flowers or do Maize Mazes. Nature Reserves with free car parking so you can do a Nature Walk to collect leaves. National Trust (some people will already be members, sometimes they have reduced entry fees).
What Can You Do While Out?
Enjoy a walk together as a family, don’t forget to take some photograph’s! Gather items to take home and make art and craft pieces another day. Go for a Nature Walk and talk about what you can see and hear (great for young children). Nature Bingo where you make a list before you go and then tick off the items as you find them. Discuss the life cycle of trees with older children and the importance of renewal each year.
(If you don’t mind spending a little money) Pumpkin Patch Picking Maize Maze or Woodland Trails Local Trust Properties or Heritage Sites
Sabrina’s Top Tip: Take a picnic or packed lunch with you, and drinks for everyone too which will save you money, even if you have to eat it in the car then it won’t matter because it’s still family time.
✩✩✩
Thank you for reading this blog post today, I do hope that I have given you some good ideas.
Have a great day and lots of fun if you take on board any of my tips!
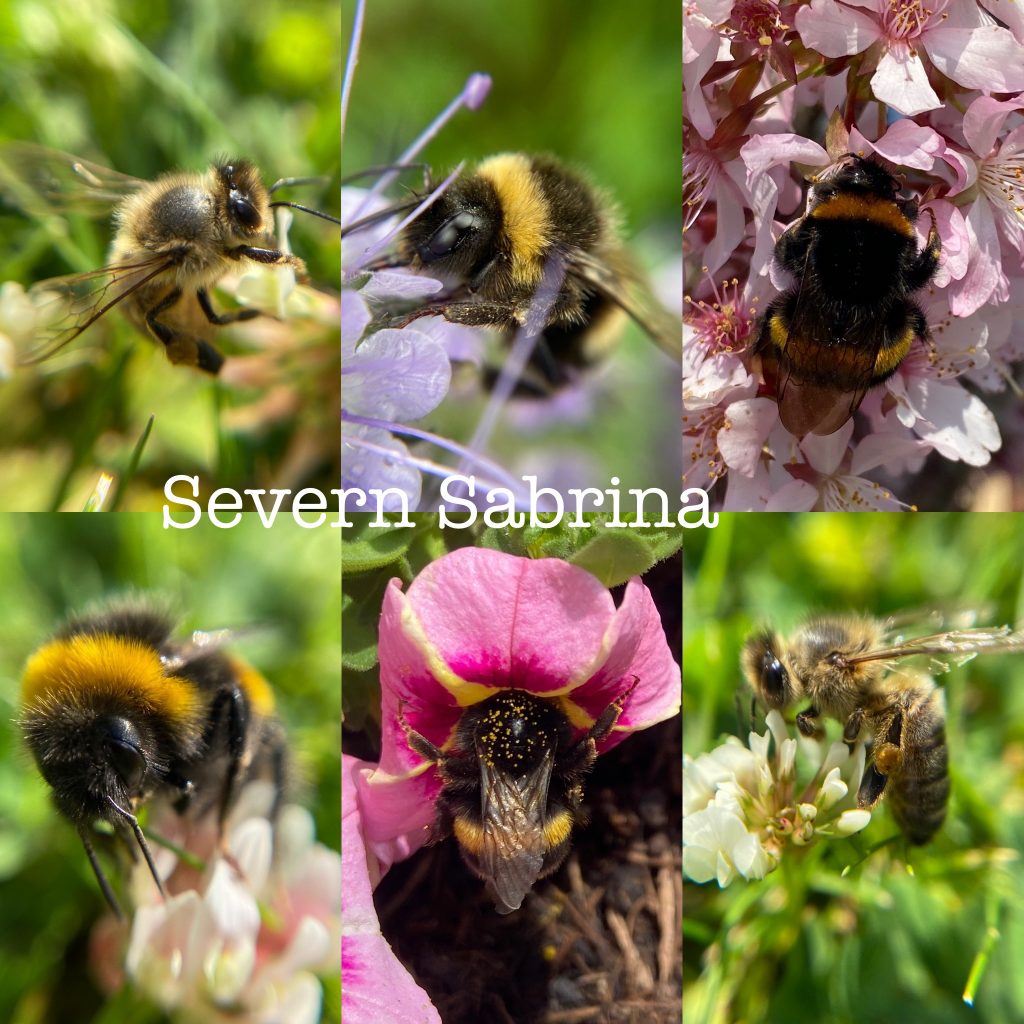
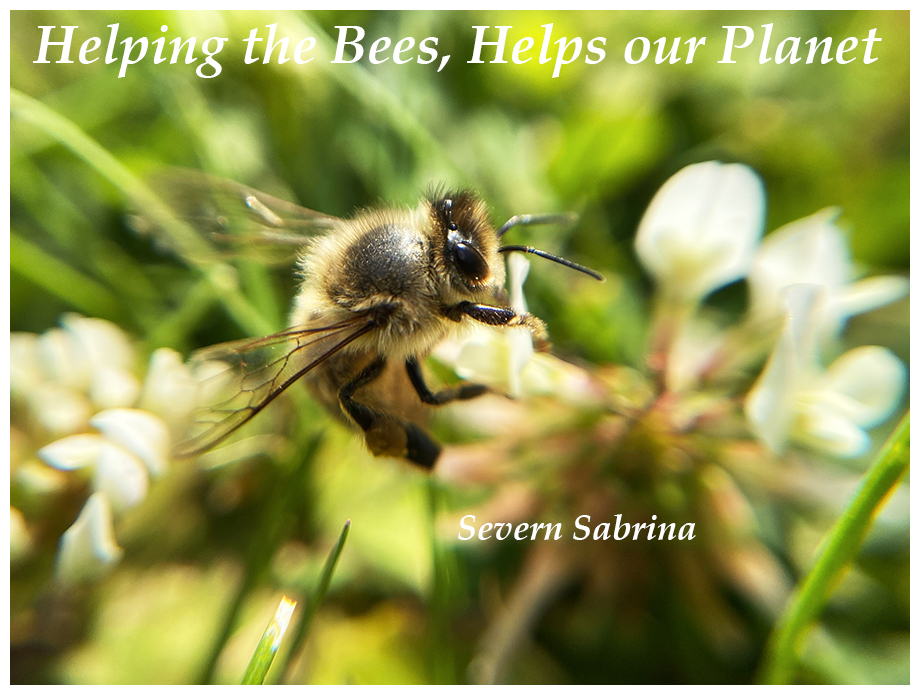
Here is a Photo montage of Bee’s that I have taken this past year… as a Nature Photographer I am constantly making images.
AWESOME FACTS ABOUT BEES
Bees are insects that have 6 legs and 5 eyes.
Bees have been around for approximately 30 million years.
Here in the United Kingdom we house around 270 species of Bees.
Worldwide there are more than 20,000 species of Bees.
Honey made from Bees was found inside the tombs of Egyptian Pharaoh’s and it would still be edible today.
Honey Bees communicate with one another through dancing moves!
Bees can fly up to 20 MPH!
Male Bees are called Drones.
Female Bees are called Worker Bees.
The Queen Bee can lay up to 2000 eggs a day and a hive will only have one Queen.
A Honey Bee will only make 1 Tablespoon of honey in their lifetime.
Some species of Bee are solitary and live alone except for reproduction moments, these often live underground too!
On average a Bee will fly 32,000 miles in their lifetime and visit more than 1 million flowers!
Honey Bees live in Bee Hives where they work together to make Honey.
If a Bee loses its stinger it will die – so make sure not to hit them and let them just fly around you and fly off again – once they realise you’re not a flower you won’t interest them anyway!
SABRINA’S HOW TO MAKE A 3D BEE!
I thought what better way to immortalise the Bee than to make your very own 3D craft version of one! I came up with this last year but sadly I missed the deadline for World Bee Day 2021, so I have saved it all for today! World Bee Day 2022! They are fairly easy to make and I will now tell you exactly what you need before we begin the how to method!
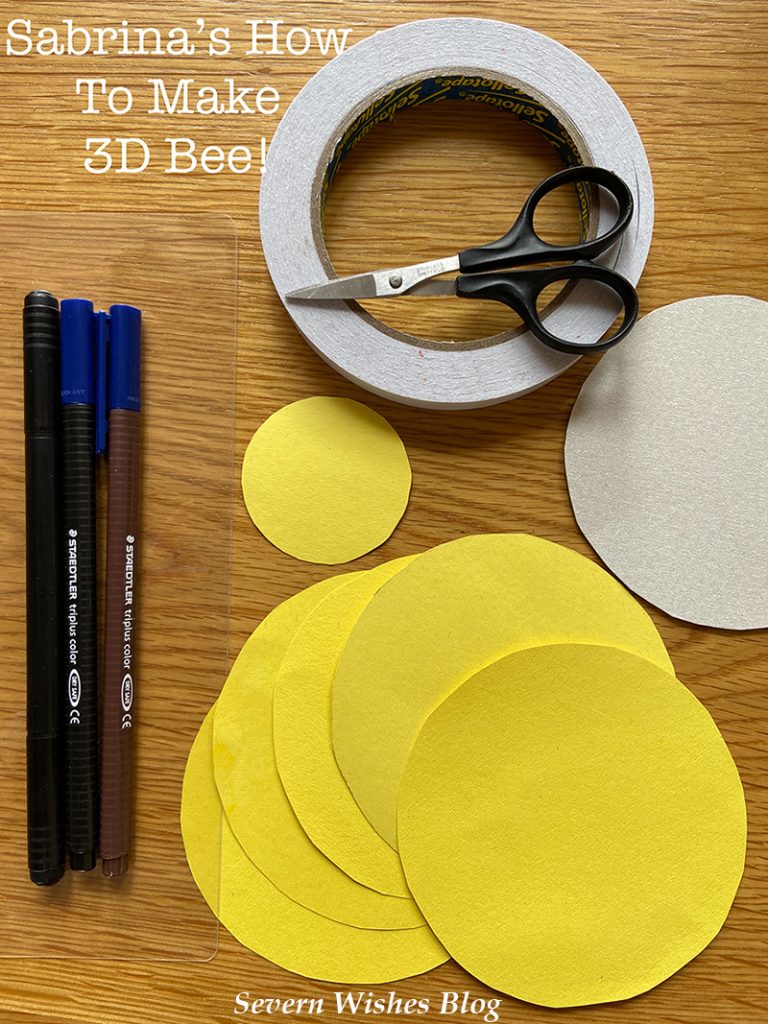
One Sheet of A4 Thin Yellow Card or Thick Paper One Scissors One Piece of Cereal Box Card Pens – black and brown A Permanent Pen – Black with a Fine End (for the Wings) Double Sided Sticky Tape A Piece of Thin Plastic (mine was off some toy packaging) (for the Wings) Two Circular Objects to Draw Around – 1 for the Small Bee Head and 1 for the Body Circles
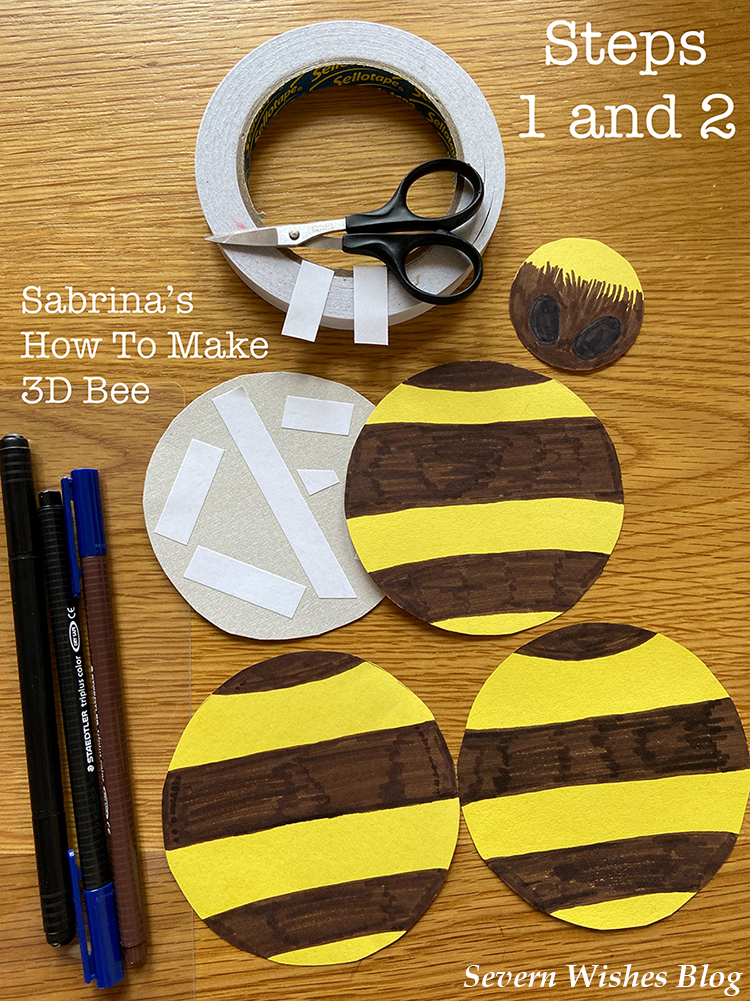
Step 1. Cut All of Your Circles Out – You need 1 head, 1 main body out of box card and four out of the yellow card. The yellow and the body have to be the same size, but the head needs to be 1/4 of the size. Put some double sided sticky tape on the cereal box card circle because this will be your base to work the rest up on. Put the other yellow circles down on a flat surface ready for their details.
Step 2. Draw some sections on the 4 yellow circles that will become the Bee body, you will need to have 3 sections that are lined horizontally and similar in size to each of the other matching circles (See image below). Colour these in Brown. The best thing to do is to have them on top of one another, mark the section the same and attempt to line them up with the opposite side. With the small Circle that is yellow (the Bee head), you need to draw two large Oval Eyes in Black, and then do some vertical lined streaks in brown so it looks like fur. Leave the top section of it Yellow, we will be sticking it to the body shortly.
Step 3. Stick the Head to the Body using double sided tape with only 1/4 of it attached to the Card and the rest sticking out. Now place the Bee in front of you, with the head facing you (facing South). You want to now take one of the striped yellow body sections, choose the one that is least lined up. Put some double sided tape on the back of it and stick it down on to the main card body, covering the edge of the head, with the stripes going horizontally across the Bee body. Place this beneath something heavy for a few minutes so as to stick it all into place while we do steps 4 and 5.
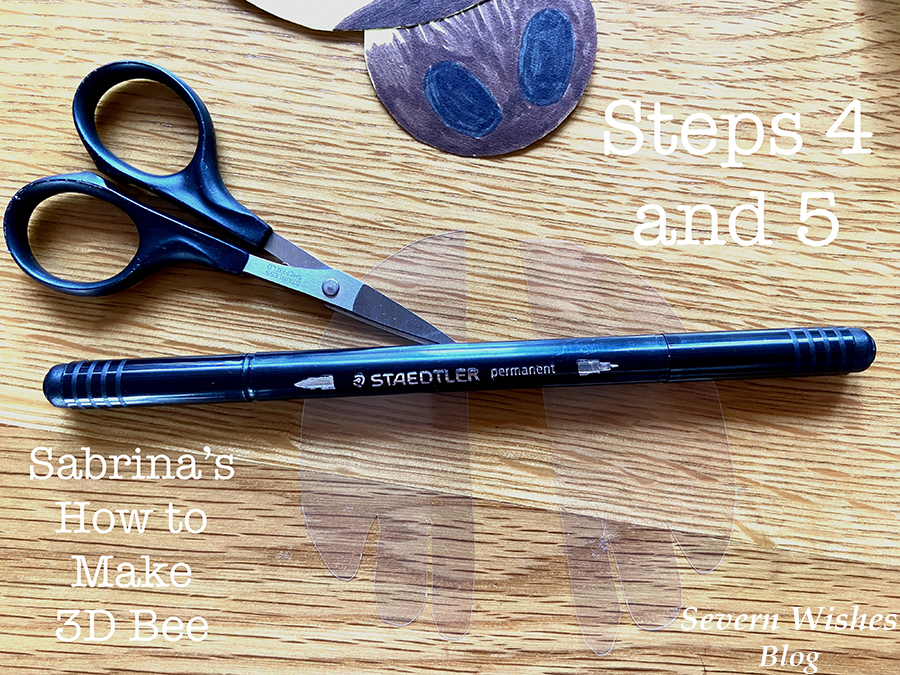
Step 4. Take your Plastic now and Scissors and permanent pen. You want to draw out two identical wings, Bee wings tend to have some ridged ends but you can just do ovals with a pointed end if you’re not confident (See Images below). Look at my Bee montage at the start of this blog post for wing inspiration! Once you are happy with the drawing cut them out, and make sure they’re the same size by overlapping them and trimming any overhanging edges.
Step 5. Draw some lines down the wings with the permanent thin pen, try to match the Bee wings (again take inspiration from my pictures at the start but be creative too this is your own Bee!) and match each other, make the same marks on both wings by having them side by side as you create the lines. Place them off to one side to fully dry. (If you use normal pen on plastic it will likely rub off).
Step 6. Now it comes to the tricky part, you need to take your Bee body parts and fold them in half, all three of them with the coloured lines on the inside of the half fold. Make sure that the centre is through the middle of the horizontal lined sections. Do this for all three and also make sure they are folded the same across the sections so when stacked together they are the same (or close as you can).
Step 7. Once you have folded them and they do match best they can, you need to take two of them to start with, and place some double sided tape strips on the one side of each one, so that is one taped only the left underside and one taped only on the right on the yellow underside of each of them. Take a look at my photograph below for clarification on the folds and the tape.
Step 8. Take your folded Bee body circles and place one on either side of the main Bee body with the head. Line them up with the circle that is already on it, the one you put the tape on the left underside goes on the left, and the right taped side on the right. When you push the body middles together they should be flush and straight in the centre and aligned with the head. Make sure the stripes line up and are horizontal to the head that is facing south, and the crease line for your folds should be straight up from that facing north. If this is accurate you can now remove the double sided tape, stick one side down at a time, to the main body. Then do the opposite side (see Step 7 and 8 images) and this leaves you with the other half of each circle standing up on end. The final circle you still have will go in between them causing the body parts to stand up 3D.
Step 9. Attaching the final circle on to the body is just about lining it up. First you need to put some double sided tape on to the pieces that are already attached to the Bee body that you stuck down in Step 8. (See image Steps 9 and 10 to clarify this next step). With the double sided tape now in place but not removed the tabs yet, you first line up the circles, look at it and think do the edges match and is it horizontal across the body? If the answer is yes then remove the tape tabs and stick that final circle on to the top of the Bee in between the other pieces.
Step 10. Press and hold the Bee body firmly now, gently run your fingers down each of the sides to press the circles fully together and ensuring the tape grips flush. Once they look like they are fully stuck with no gaps anywhere you can now make sure your wings are dry from earlier.
Step 11. Take your plastic wings from before, line them up with where you want them to go on the Bee body (they are usually attached to the middle section of a bee’s body). Then take two thin strips of double sided tape and match those up on either side, stick down the tape. (See Step 10 and 12 image for wing tape placement).
Step 12. Attach the wings now and make sure you press them down on to the tape for at least a minute to ensure the plastic gets a really good grip. Hold the Bee upside down and make sure they don’t come loose, if they do then press again.
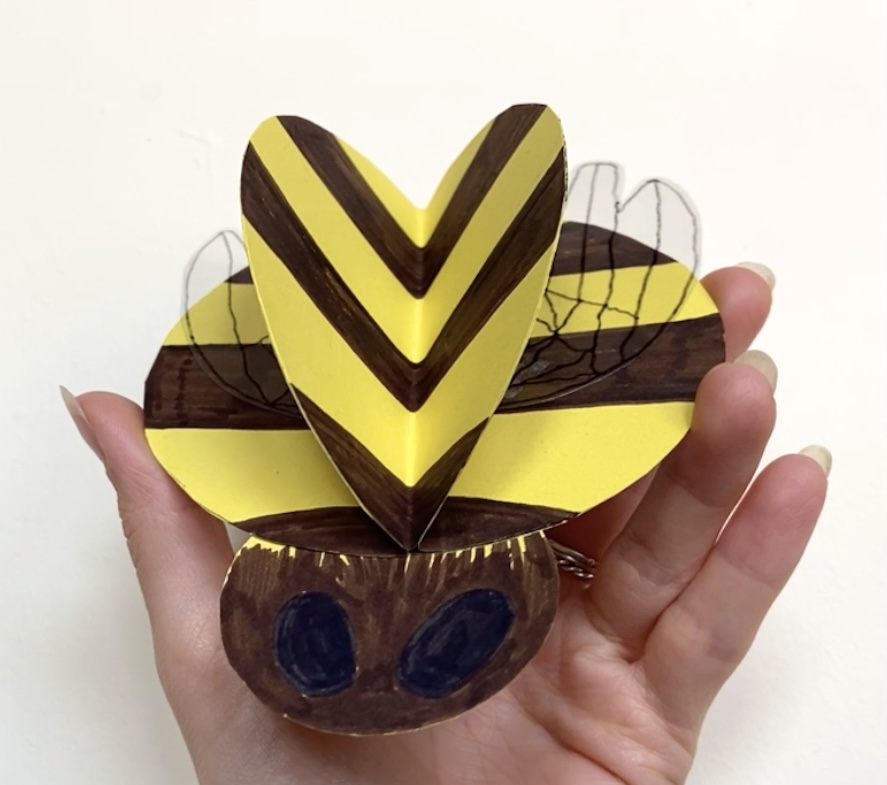
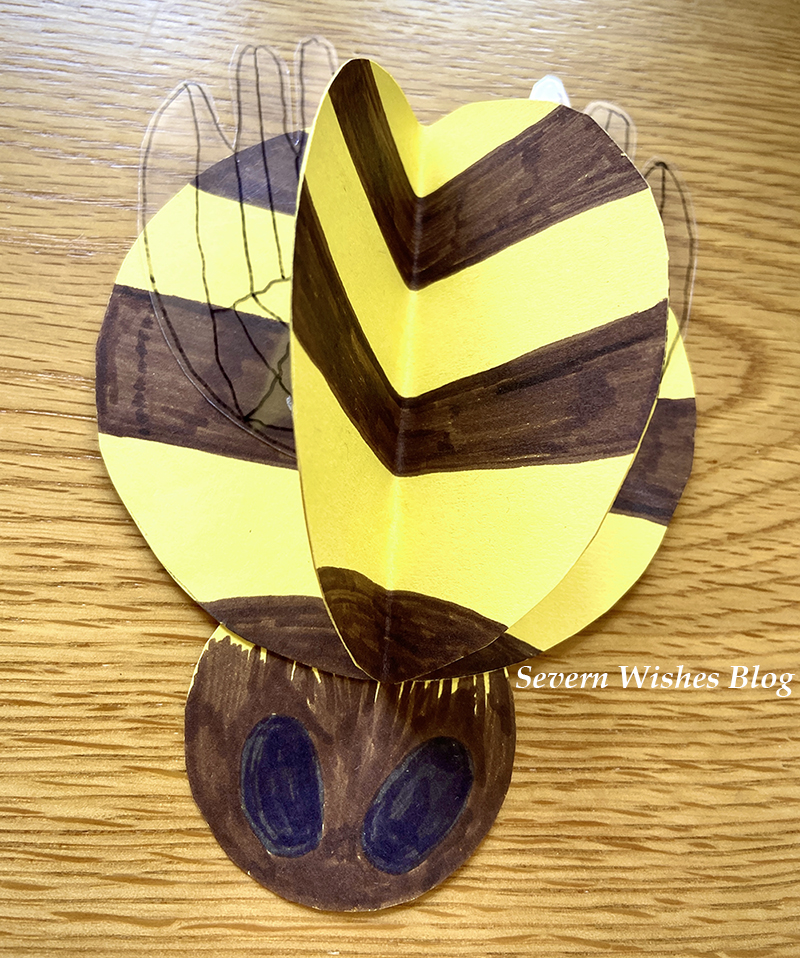
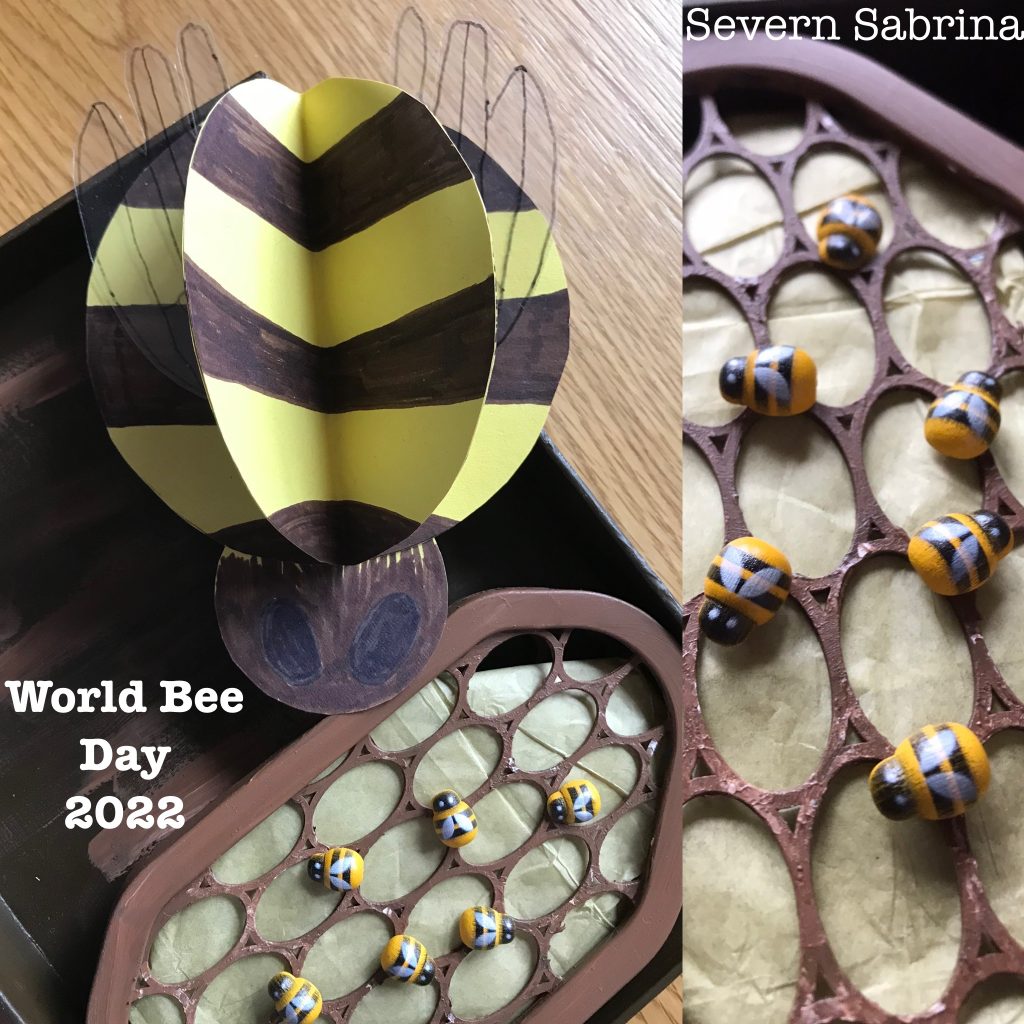
Step 13. Tidy up any lines on the Bee and trim any edges with scissors that aren’t in line to neaten her up. Then you have your Queen Bee! You could hang her up somewhere or make her a little hive…
HAPPY WORLD BEE DAY! You now have a friendly Bee to live in your home and remind you of their importance, coolness and cuteness.
WHAT CAN YOU DO TO HELP THE BEES?
Make a wildflower pot, planter or corner of your garden and attract bees and help them with their pollinating. You can get wild flower seeds free with some things such as “30 Days Wild) and Brands often give them away with food products too.
Don’t pull out all of your weeds, leave a few because bees need them especially because weeds are usually the first flowers of the new season.
If a Bee comes into your house leave it alone, open some windows and let it find its way out, do not attack it or attempt to catch it because it may sting in fear and then it will sadly die. Most Bee’s will head straight back out a door or window when they smell the fresh air.
Visit a local Apiary and But Local Honey products when possible.
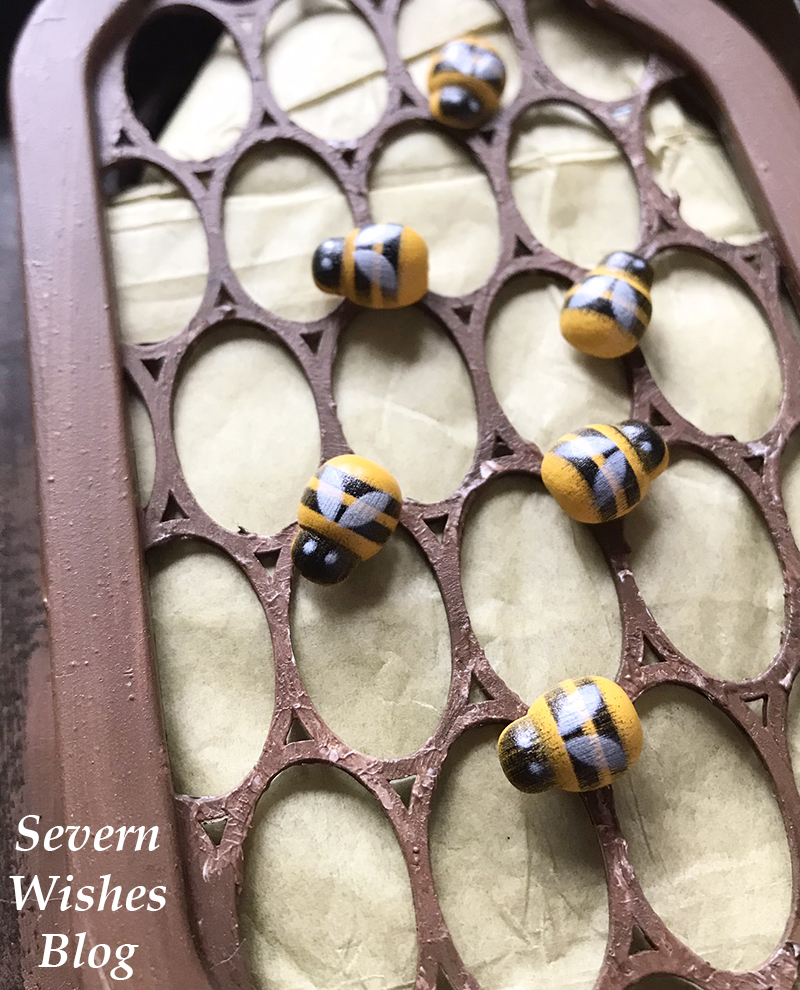
WOULD YOU LIKE TO MAKE A CRAFTY BEE HIVE? What You Will Need
Tiny Craft Wooden Bees (Found in The Works craft shop) A Narrow Sided Box or a Lid from Something (Rectangle is best) Disposable Dehumidifier Pot Lids – doesn’t matter what colour as you will Paint them Brown Paint and a Paintbrush
Step 1. Paint your box and the humidifier pot lids you have collected, they should be brown or a mixture of brown and black and yellow. Step 2. Leave them to dry somewhere flat overnight at least. Step 3. Place something to resemble honey and nectar between the lids, maybe tissue paper? Step 4. Stick the Two (or more) lids together to form mini hive type structures. Step 5. Stick the lids into the box and stick your Bee’s around. Done!
Thank you for taking the time to read this blog post today, I hope you have enjoyed it. If you make any Bee’s please share your pictures with me on social media, use the hashtag #SevernSabrina and #SabrinasHowToMake or tag me on them using @Severn_Sabrina or @SevernWishes Blog.
Have a wonderful World Bee Day 2022!
✩ Sabrina ✩
By continuing to use the site, you agree to the use of cookies. more information
The cookie settings on this website are set to "allow cookies" to give you the best browsing experience possible. If you continue to use this website without changing your cookie settings or you click "Accept" below then you are consenting to this.