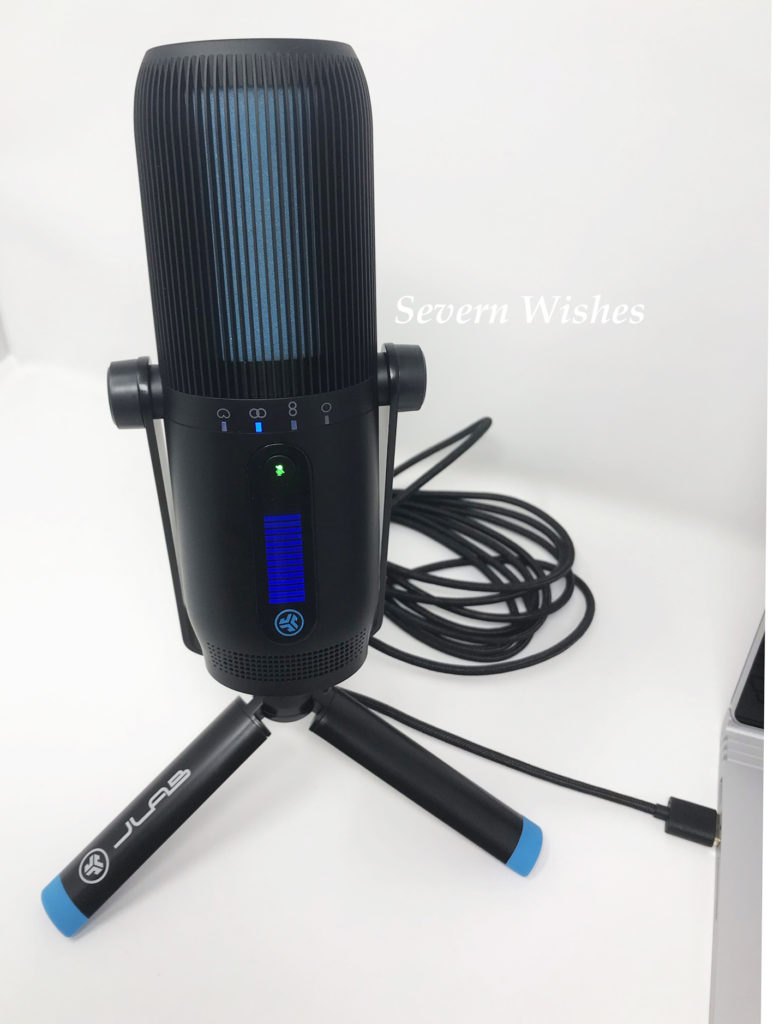
Argos Tester Review of the JLAB Talk Pro USB Microphone and it is an Awesome bit of Tech

I am very fortunate to be an Argos Tester, this means that I often get items sent to me for the purpose of a review. For November I was offered technology related items. I was excited at the prospect of testing something that would be so useful to me with my writing.

#ArgosTester #ArgosTesters #ArgosTestersCommunity

This post has been written by myself about a product that I have been supplied for free, in order to test and then review it. This is my experience with said product and my honest review about the product that is listed below. I have already submitted my product review to the Argos Website when this post has been published.

Argos Tester Review

The Talk Pro is a professional piece of tech that is simple to set up & easy to use. It looks so stylish with the black & blue design & has varying modes for different types of sound streaming & recording. I have used this microphone with a speaking voice, singing voice & a narration type of use. The microphone sound on playback was clear & of excellent quality. Overall I am hugely impressed  by this tech & I will be retiring my four year old current mic in favour of using this one, the quality surpasses anything I already owned.

PRODUCT DETAILS

Product Name: JLab TALK PRO USB Microphone

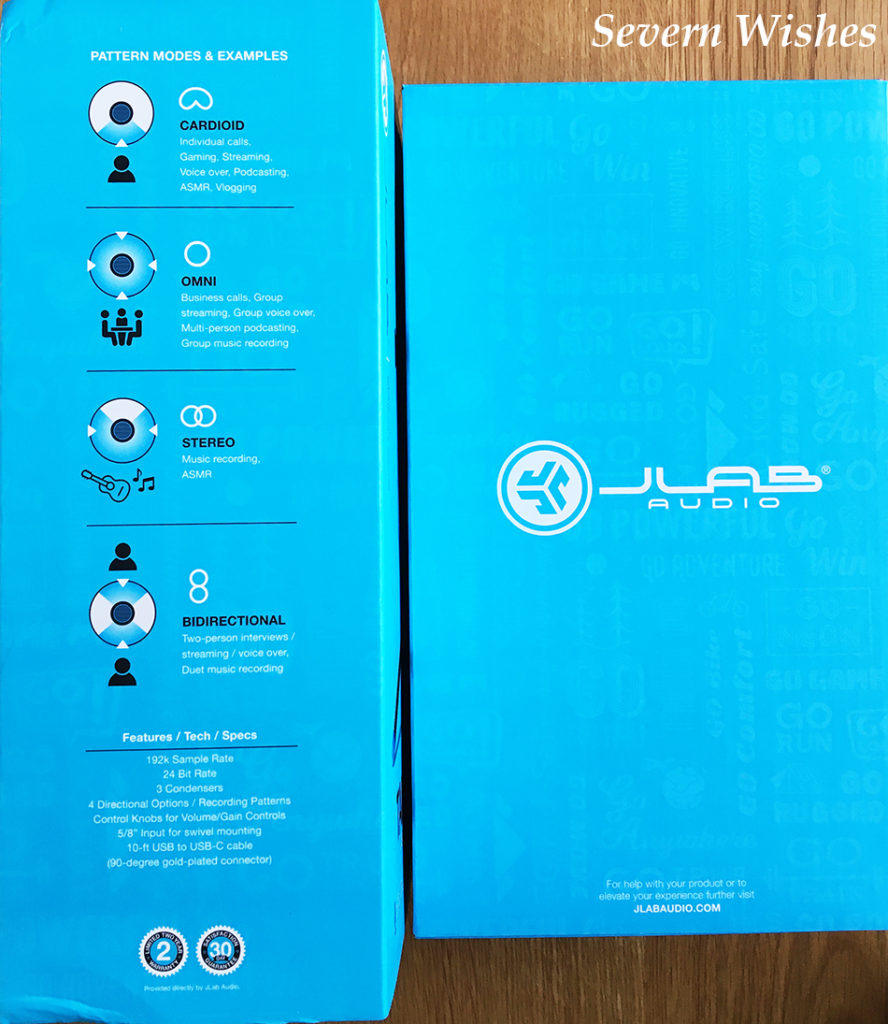
Product Information: The Ultimate Professional Microphone. This piece of tech has 4 Different Pattern Modes and 3 Condensers that suit all types of microphone usage. This is ideal for Streaming, Gaming, Narration, Singing, Meetings, Duets, Dual Voice Synchronisation, Recording Music and / or the Voice. With Volume and Gain controls and easy to use buttons and levels, it is simple to set up and use. With a 3m long cable, and a USB connection this Mic can be set up quickly for a wide range of reasons.

Product Price: £149.99 (RRP)

Product Link to Argos Website: JLab Talk Pto USB Microphone

My Honest Opinion and Thoughts on the Talk Pro

The JLAB Talk Pro Microphone is both professional looking and clear sounding. I have tested this thoroughly with Narration over video, simple voice recording, singing into the microphone and more. As a blogger and gamer a piece of equipment like this is essential for good video editing. I’m very lucky to have gotten the opportunity to have this particular product.

What I really like about the Talk Pro is how sturdy it is. Inside the box you receive a base for the microphone, this is not only strong but easy to attach and assemble to the microphone itself. You gently pull the legs of the base away from one another until you can stand it up on a flat surface. It looks very professional once it’s all set up.

I like that the colour scheme of Black and Blue compliments the design of the microphone, such as the Blue lights indicating volume and which mode you are using, in correlation to the Blue accents on the physical piece of equipment, such as the base tripod. An aesthetically pleasing piece of tech.

The sound quality during both streaming and recording whilst using this device is hugely impressive. I have a four year old mic from another brand which has served me well for my blogging years so far with creating video narration and things. I have now discovered however, after rigorous testing on my part, that the quality of sound from the Talk Pro is on a totally other level. Not only is there clarity but it picks up everything in a quality that, even when being recorded, is maintained throughout the piece, be it speaking or singing.

Overall this piece of technology is simple to start using for anyone who needs a clear way of getting their voice heard and recorded. Great for multiple uses such as work as well as hobbies. I am very satisfied with the product and highly recommend it for anyone who relies on a good microphone quality on a regular basis.
Thank you for reading this review, I hope you have enjoyed it. You can purchase this product or read more about it by looking online from Argos, I have left the link in the product description above. If you have any questions about it please leave me a comment below and I will do my best to answer them.

✩ Sabrina ✩

Sabrina’s How To Make Your Own Unique Gift Tags This Festive Season

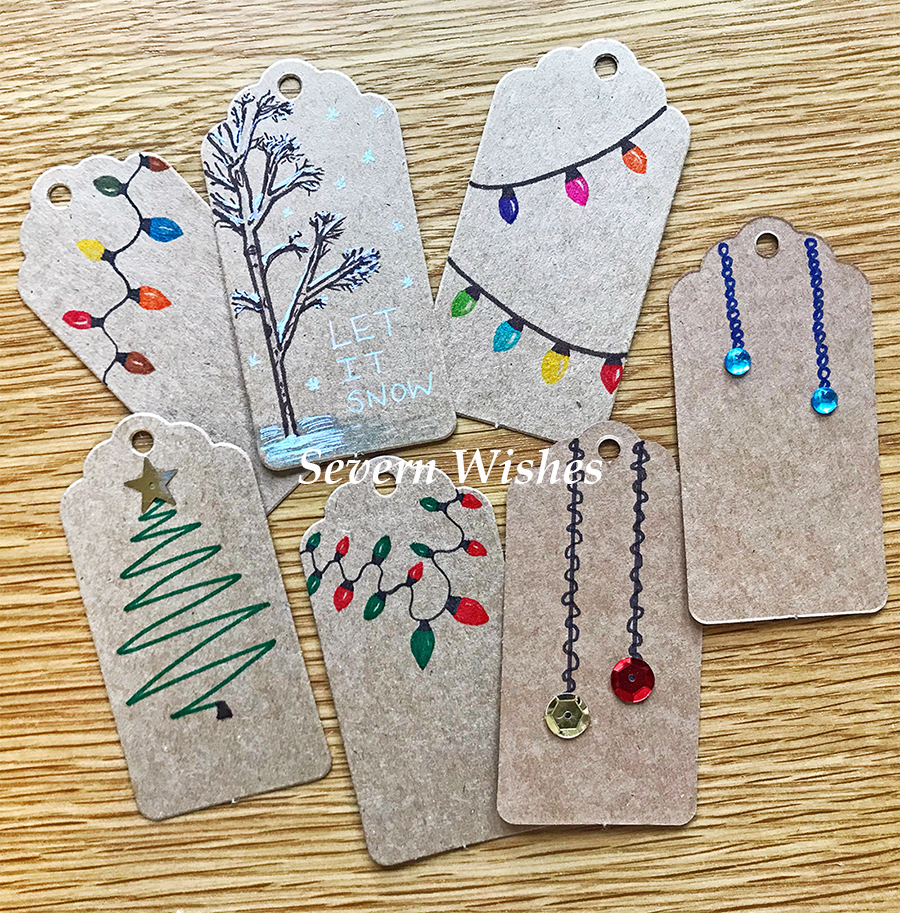
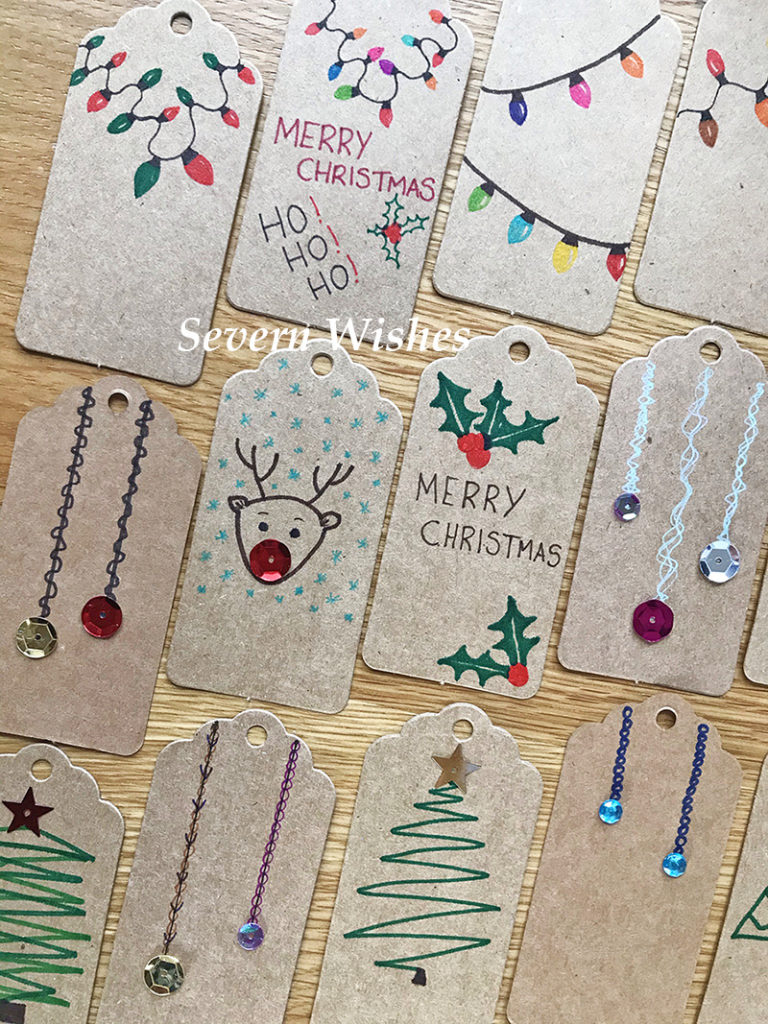
I have always had some creative flare, but one thing I had never done before was to make my own Christmas Present Tags! I came up with lots of ideas while spending time at home.

I took the plunge this November and ordered the things I would need to design them. I already had two awesome sets of Staedtler Pens in both fine line and bold. I also had various sequins. But I needed the tags and the string. I tried my best to use natural string and cardboard that was made from recycled materials.

What you could do if you can’t get any of these brown tags, is to cut up some old Christmas Cards and make them into similar shapes like these, add things like sequins in order to sparkle them up.

String Christmas Lights

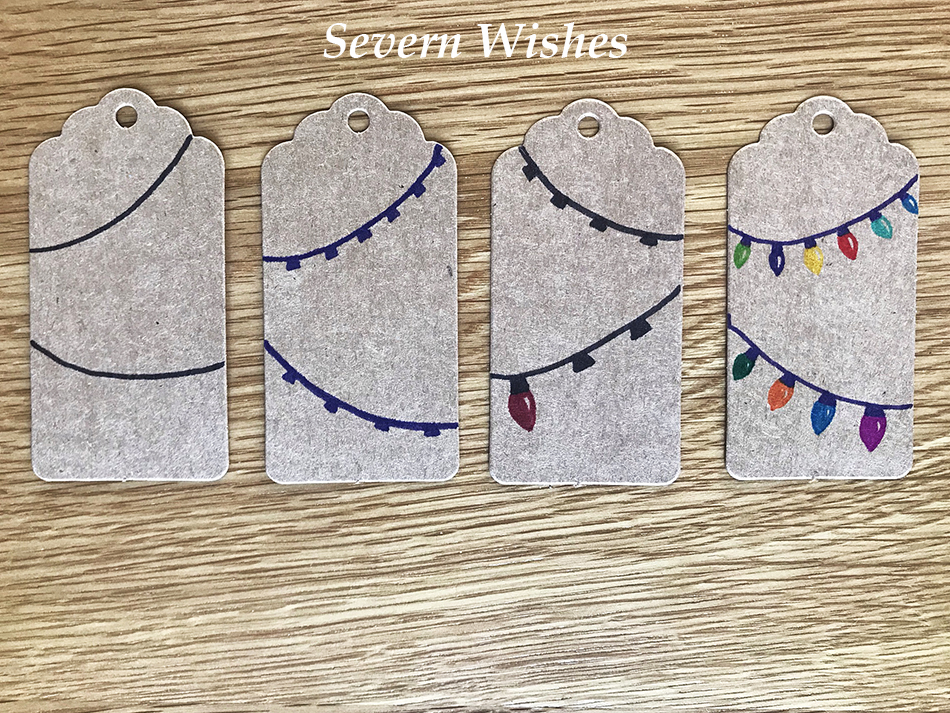
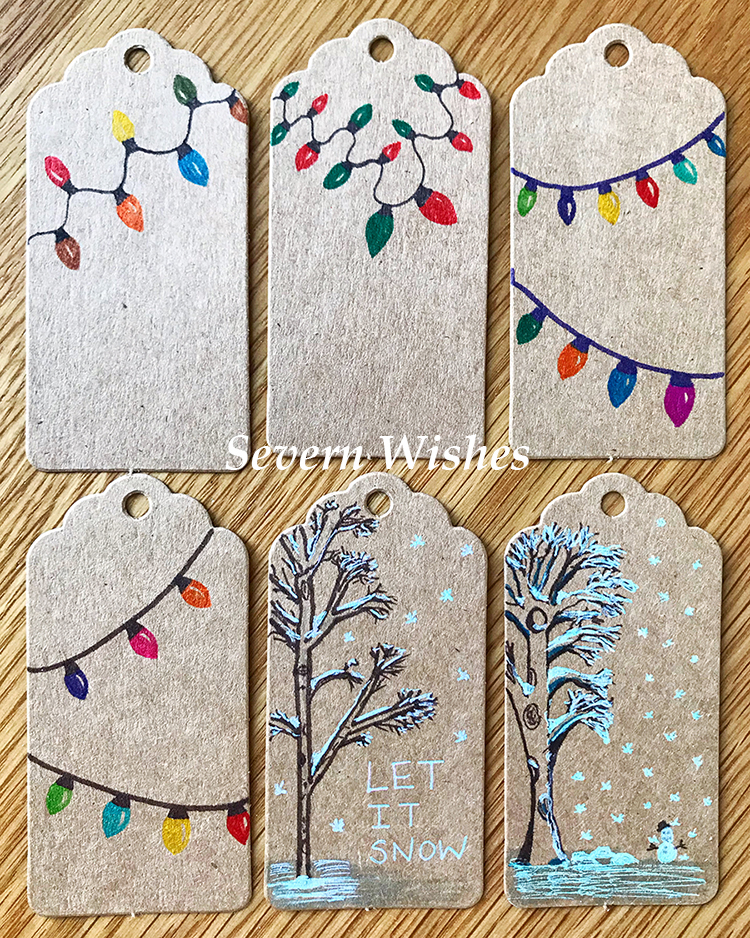
The easiest of all my tag designs to make, you will need both thicker pens and fine pens of the same colour. The trick is to create the light shape with the finer pen and then colour it in with the same thicker style pen after. Make sure you leave the small crescent shape on one side of each light bulb so it looks three dimensional.

Begin by drawing the lines and bulb attachments with one pen, dark colours work best for this part. Then choose the pen colours you want for your bulbs. Ensure you don’t put the same shades next to one another and alternate colours like Red and Green for a Christmas look.

The size of your bulbs will depend on how many you want to do across your tag. If it’s just lights and no writing then you can fill up the space. If you plan to write “Merry Christmas” for example then perhaps do the lights top and bottom of the tag and leave the middle area blank.

Check out my images for some inspiration. Give it a go on a piece of plain paper and decide which way to do your bulbs, before doing them on to a tag.

Snow Scene with Tree

If you aren’t very good at drawing then you can still achieve something like this tag, just take your time and follow my instructions.
Check out my videos on my Facebook Page too!

You need a brown pen, the finer the tip the better, and you want to start by drawing the outline of your tree. Fill in the branches afterwards, getting smaller to the ends. Next to add a 3D aspect to your tree draw circles for holes and darken undersides of larger branches and the trunk to add shadows. Use a silver, white or light blue mixture of pens now to create the snow. You could do a snow scene or just do the tree. Be creative and have fun! Look at mine below for some inspiration.

The Christmas Tree

I quite like the abstract or deconstructed Christmas Tree type of tags. Mainly because when I try to draw symmetrical and lifelike trees they never look quite right. If you’re good at drawing trees however, then putting one in the centre of a tag would look really great!


Use a nice dark green pen for your tree. Add either stick on crafty bits and pieces or draw on some festive decorations, or do a bit of both! PVA glue is best because it will dry clear! If you want to do a more 3D tag then glue dots or adhesive squares also work well too.

Me on the other hand, I prefer to do the continuous line and have a sequin star on the top, kind of a tree!

Christmas Sparkle

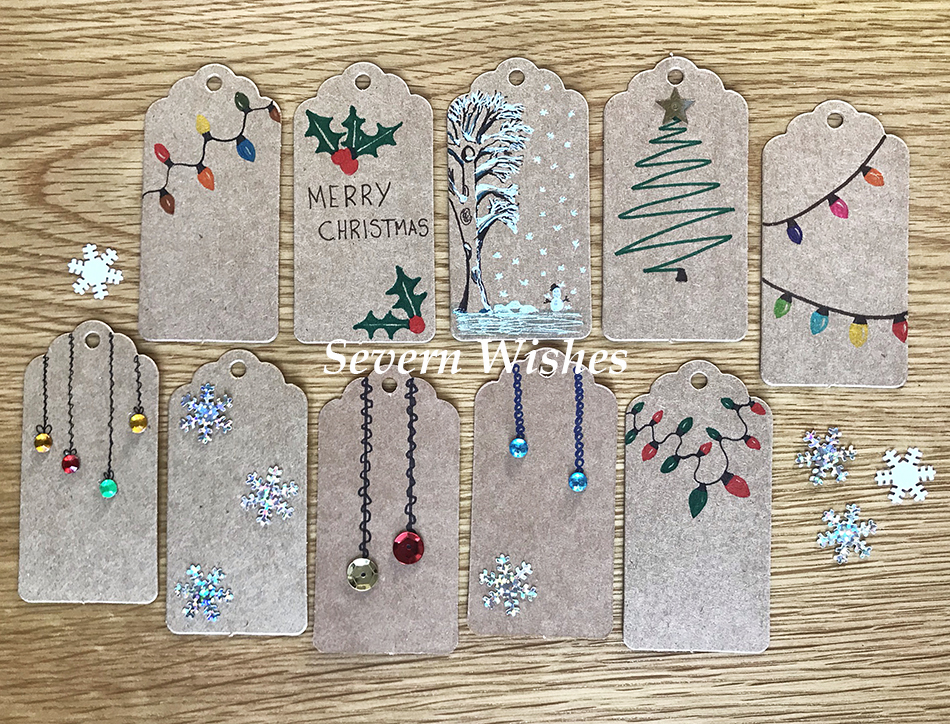
If you have various diamanté, sequins or sparkles you want to use on your tags then you need to come up with designs that suit them. Check out my tags below for some ideas. Hanging decorations or bauble type designs work best for rounded craft items.
Think about when items hang on a tree, what they look like. Window decorations like a line of hanging stars or snowflakes are also very nice.

Sequins can be used on their own or accompanying pen lines.
Use your imagination and design your thoughts on a piece of plain paper first using a pencil, once happy with it, you can then transfer the ideas to a tag.

You can purchase the brown tags in most craft shops, online at places like The Works, Hobbycraft and Amazon. Try and pick ones that are already made from recyclable material.

I had previously bought my pens online from Amazon, Sequins from The Works and my Glue is also from The Works too. Other crafty items have been purchased by me over the years from various shops and also Tesco superamrket, they had a nice range of sequins this year too.

Other fun tags include, “Merry Christmas”, Holly, Baubles, Rudolph, Robin, Christmas Trees, Christmas Lights, Snowflakes, Snowmen, Santa Claus, Snowy Scenes, Penguins, Stars and things such as “Ho! Ho! Ho!” and “Let It Snow”.

Thank you for reading this post today, if you do give making Christmas tags a go then I would love to see them! Tag me on social media using the hashtag #SabrinasChristmasCrafts

Have a great Christmas!

✩ Sabrina ✩

You can see my tutorial videos on my Facebook page here…

Sabrina’s Dairy Free No Bake Cheesecake Recipe

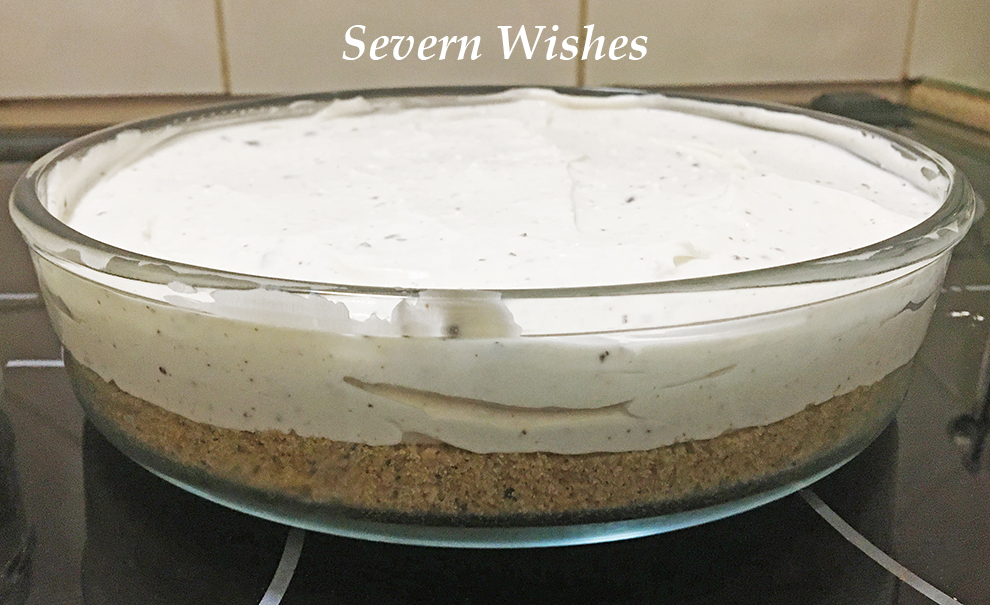
Dairy Free Coconut and Vanilla Cheesecake with Dark Chocolate Shavings
Method Step No.4

Sabrina’s Dairy Free Cheesecake Recipe

Ingredients


120g of Dairy Free Spread
250g of Biscuits (I use Plain Digestives and Oreos)
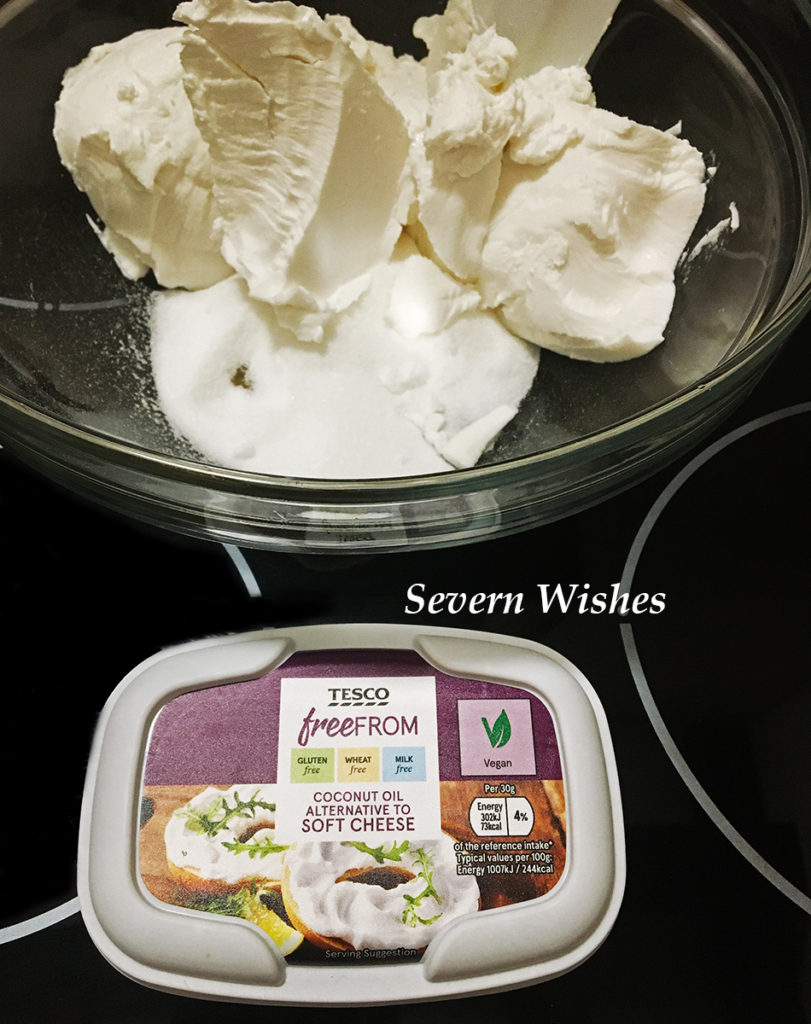
240g Free From Tesco Soft Cheese (2 tubs at 170g each)
100g Caster Sugar
1 Teaspoon of Vanilla
100ml of Double Vegan Cream

Method

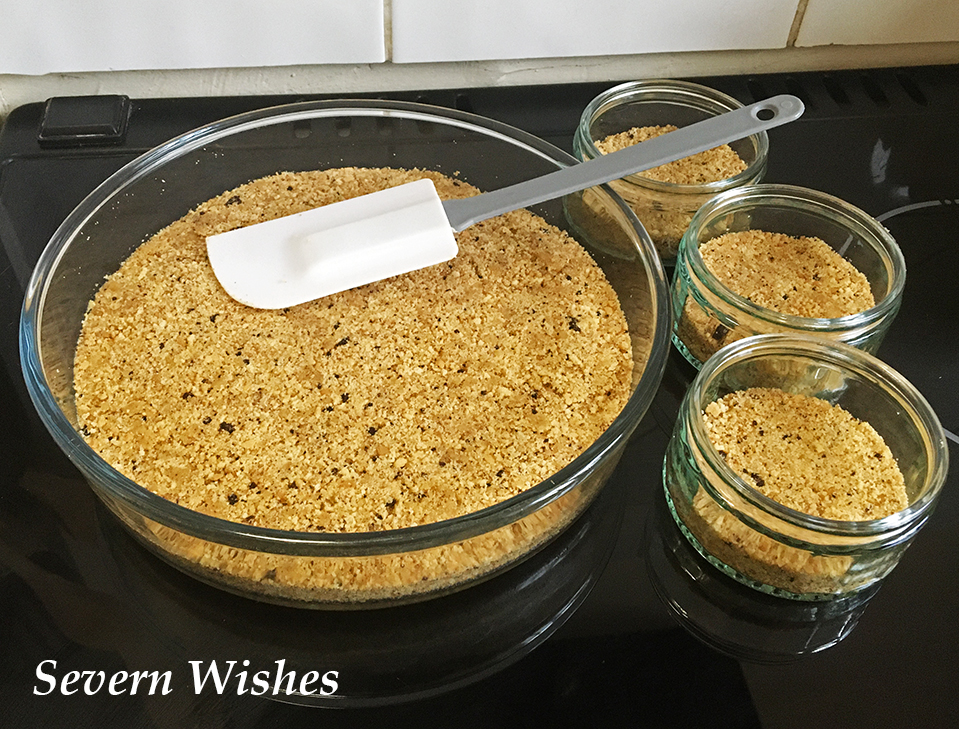
1. Crush your biscuits, whatever way you like! Food Bag and a Rolling Pin! Food Processor, you want them fine with not many chunks.

2. Melt your dairy free spread in a saucepan on a low heat, once liquid pour in your biscuits just a quarter at a time, keep stirring with a wooden spoon until all the melted spread and biscuit crumbs are combined.

3. Pour this into a cake tin or glass dish, round is best, and press down firmly. You want to refrigerate this base for at least four hours before adding the topping.

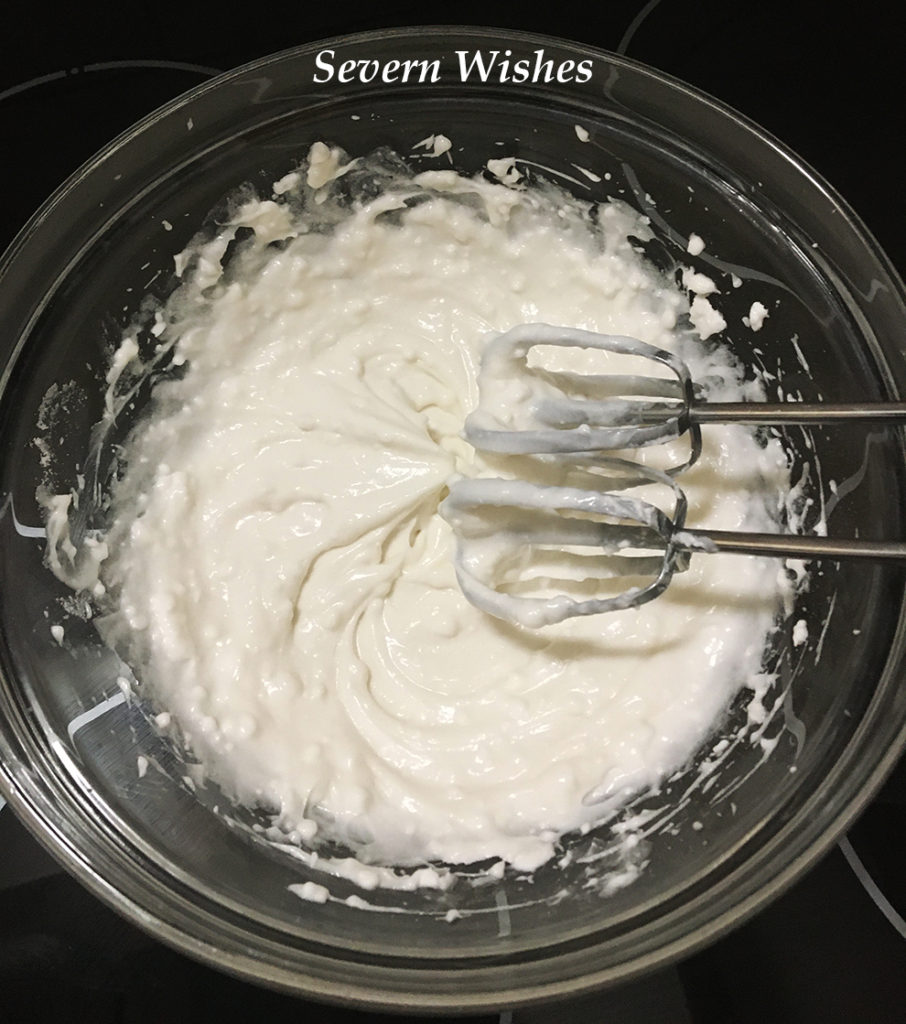
4. For the cheesecake topping you need to take a large bowl and using a wooden spoon, you beat the soft cheese and the sugar together. Mix until smooth, add the vanilla or any other flavouring you would like at this point. You may want to use a food mixer or hand mixer for the next part to make it easier.

5. Whip up the double vegan cream until it forms peaks, it should be smooth, then using the wooden spoon gently combine it with the cheesecake topping in the large bowl. The mixture should be folded together and stirred gently. Try not to over whip the mixture.

6. Once the base is chilled you can spoon this cheesecake on top, use a spatula to level it out. If you want to add anything like fruit or chocolate, you are better leaving that until serving or at least the next day so that the cheesecake is totally set.

7. Remove from the fridge about twenty minutes before serving. This cheesecake will last up to 5 days in a fridge. Make sure that you cover it fully before leaving it in the fridge when it’s finished.

Method Step No.3
Method Step No.5
Method Step No.6

If you need any help with this recipe then feel free to leave me a comment and ask me anything. If you make a cheesecake you can tag me on my social media and let me know how it turned out! I would love to see your creations! Because the cheese alternative is coconut based, you should try and pair your flavourings with the coconut for a tasty combination.

I did Vanilla and Dark Chocolate shavings in mine. I would be tempted to do either Lemon or Mango.

✩ Sabrina ✩

December 2020 Treatbox Reveal and Review

It’s that time again, but not just time to Reveal a Treatbox, oh no, but also time to Reveal the Christmas month Treatbox! Exciting stuff right? It’s usually one of my most anticipated boxes of the whole year.

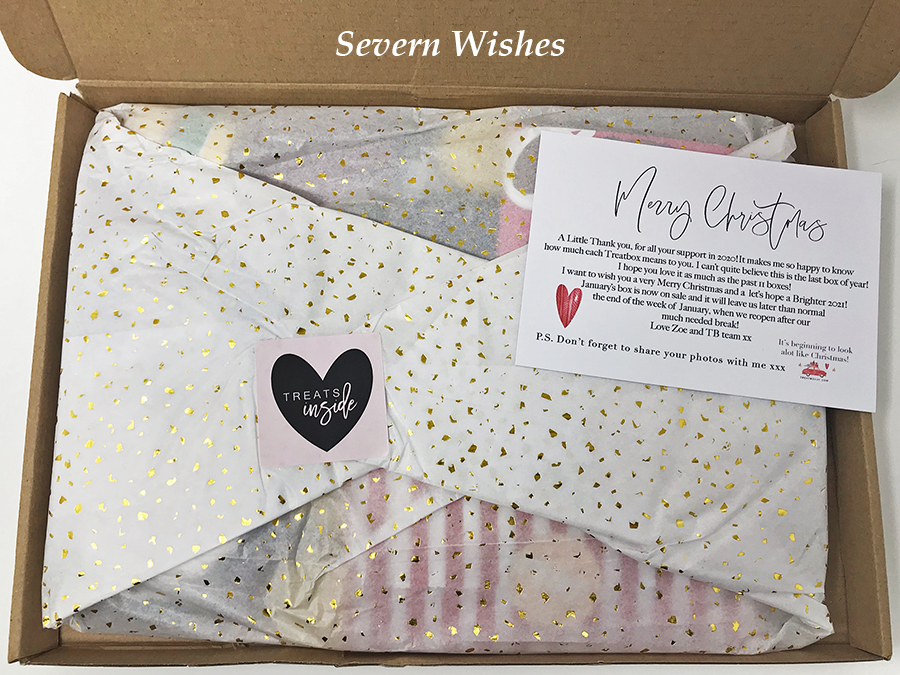
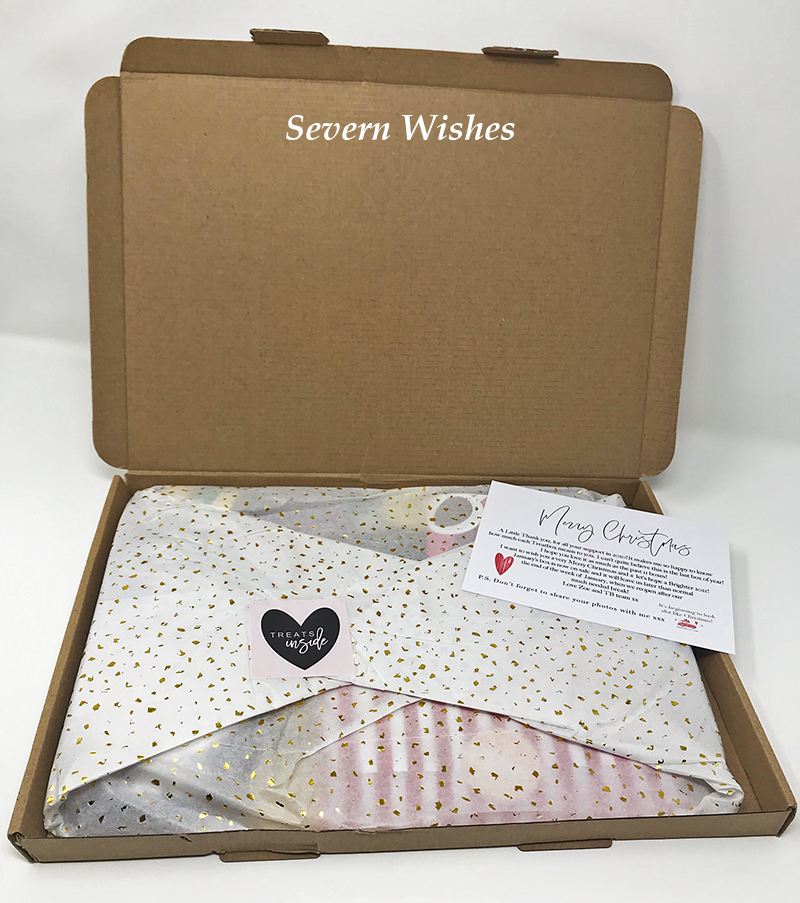
This festive season the Treatbox gives us another set of treats and edible delights to enjoy. I was expecting the chocolates because I saw Zoe put something up on Instagram about tossing coins into each of the boxes before sealing them up.

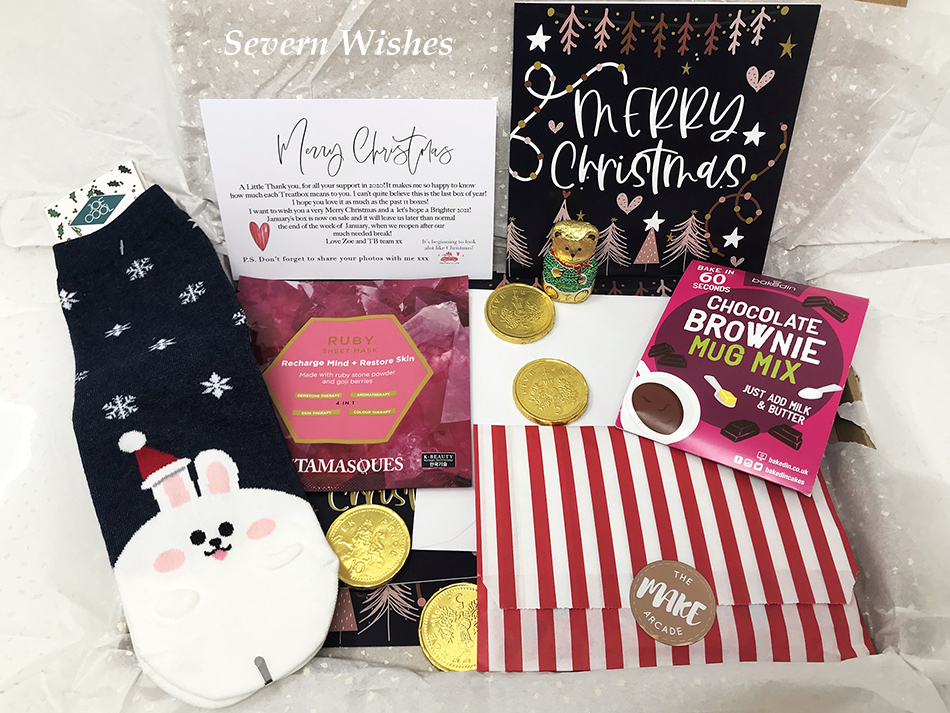
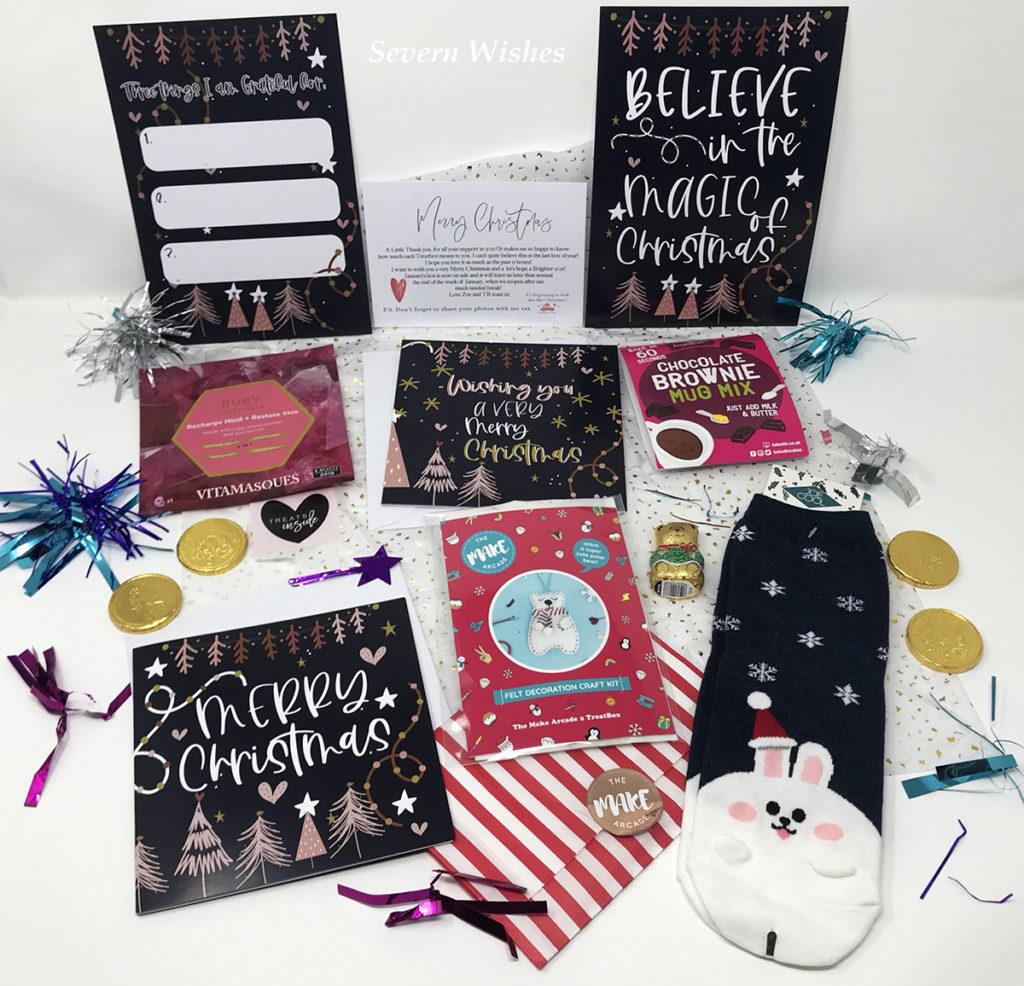
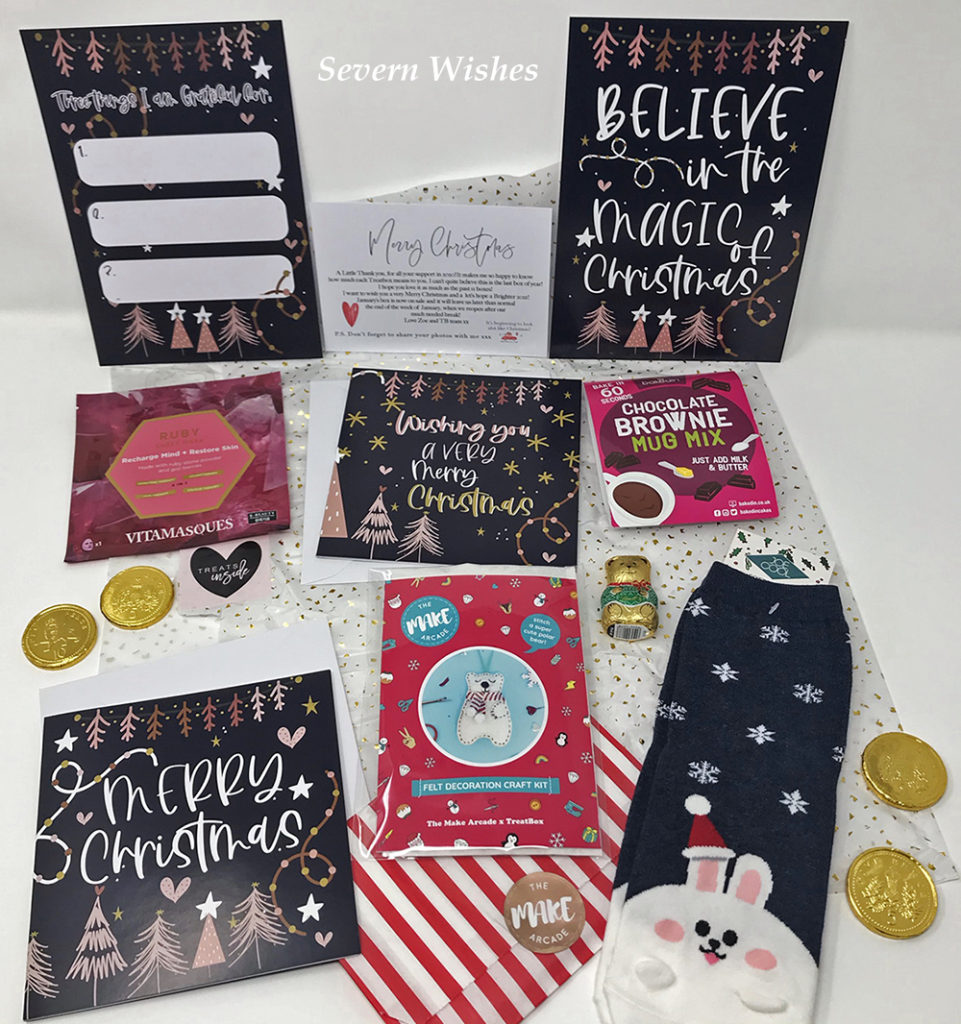
The Items I Found Inside My Box For December Were…

A Lindt Chocolate Teddy
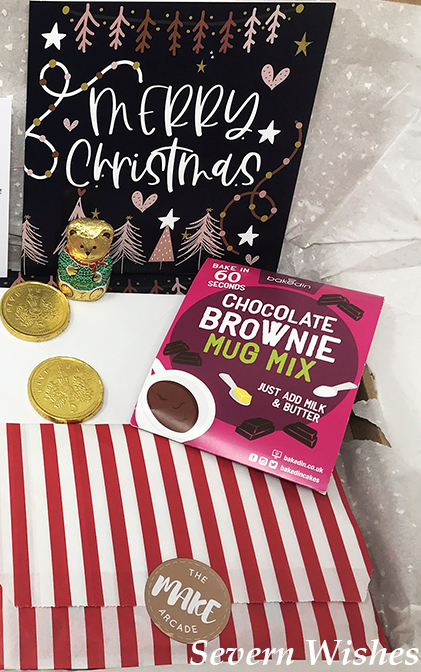
4 Chocolate Coins
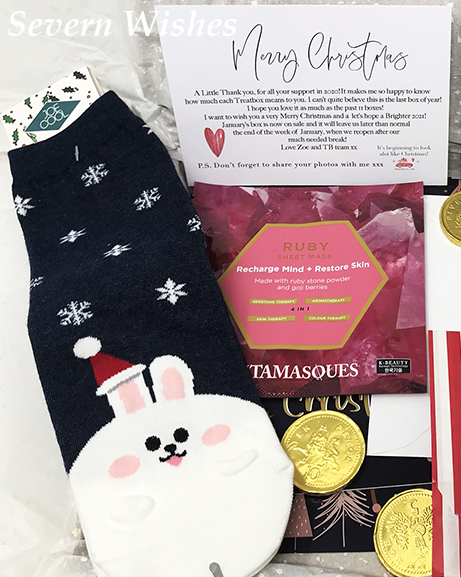
Ruby Sheet Mask 4 in 1 Vitamasques
Bakedin Chocolate Brownie Mug Mix
Two Treatbox Original Christmas Cards with Envelopes
A Pair of Joe Cool Christmas Socks – Christmas Bunny
Two A5 print cards that read “three things I’m grateful for” and “Believe in the Magic of Christmas”
“Make the Arcade” Felt Decoration Craft Kit Polar Bear

The socks are adorable! I will always be happy to receive more Joe Cool socks, I have loved every pair I’ve gotten in a Treatbox and they are such good quality. I have a little Christmas Rabbit with a hat on one ear, queue the “Aww!”.

I think the make your own Polar Bear is a particularly sweet idea and really nice to make one cold afternoon in December for you to put on to your Christmas Tree!

There are two Treatbox original Christmas Cards and two A5 Prints. I really like all of these, they are good quality and are nice enough to even frame and stick up around your home this Christmas.

We also have a Brownie in a Mug mix, Ooo! Yum! And a cute little Lindt Chocolate Bear!

And finally we have another face mask this month. I would have preferred no mask this month and seen another Christmassy related item or a Wintery item but never mind! I guess some people manage to do masks every week, I know I just don’t find the time as a single mother, ha! ha!

All in all it’s a good box of treats this month and I’m happy with it. I think if there had been a set of battery powered fairy lights included instead of the face mask, then it would’ve been up there with one of the best Christmas boxes! C’est la Vie!

Merry Christmas to Zoe and her Treatbox UK Team! Thanks for another year of boxes! I’ve been doing this for rather a Looooooooong time now! Years in fact!

Did you know you can view my previous Treatbox unboxing posts in this unique category of mine called ‘Treatbox’ it is specifically for these box reviews and reveals – Severn Wishes Treatbox.

Thank you for visiting Severn Wishes today, I hope you have enjoyed this Review of the December box! Wishing you and yours a very Merry Christmas!

✩ Sabrina ✩