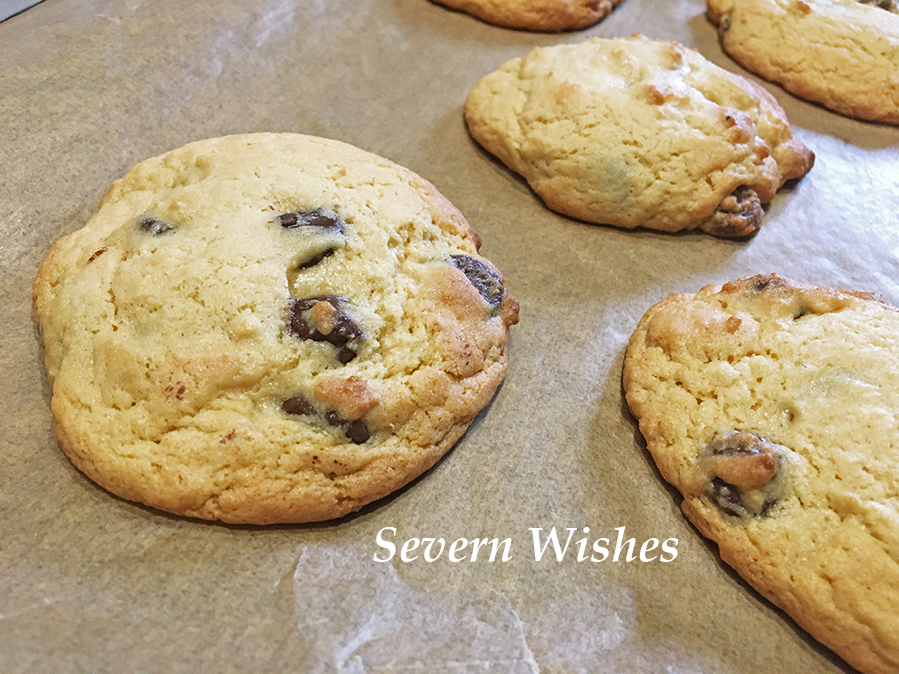
Sabrina’s Dark Chocolate Chip Cookies
These cookies of mine are not only delicious, but dairy free and made with dark chocolate chips which add a real depth of flavour too! I haven’t baked anything else since I perfected this recipe! I can guarantee you’ll love them too! I have been trying and testing my cookie bakes for years and I have finally found a bake that I am totally happy with, I was so happy with the recent batches of cookies that I just had to share them with you. Did you see my images and videos all over my social media?
Trust me when I say you’ll love these cookies, I don’t even contemplate buying cookies anymore because these are just as good, in fact they taste even better in my honest opinion! So why don’t you give them a go and see what you reckon? If you need them to be GF then change the Flour, if you don’t need them to be DF then alter the spread to regular butter. Just make sure you follow my other ingredient amounts and the method exactly!
The trick with these cookies is to refrigerate the dough for a minimum of 20 hours, and then you must bake all the cookie dough batches within 3 days of making the dough. It will keep for a couple of days in the fridge if it’s well wrapped and air tight. This time around I baked one batch of cookies at 20 hours and the next batch the morning after around 36 hours after I first mixed my dough. The second batch tasted the best!
The longer you refrigerate the dough for the chewier the cookies will be. You could freeze some dough if you weren’t going to use it all in the time frame, but make sure you use it within a month if you do that. You will also need to add extra minutes to the cook time if you’re baking the dough from frozen too.
Because this is one of my quicker prep time recipes I used an average sized Mug as a measurement for the ingredients instead of scales and grams. Sometimes I don’t get a lot of time to bake with my toddler in tow! So if you want a recipe that is fast to prepare in an evening, ready to bake the following afternoon, then this is the one for you! This amount of ingredients made approximately 14 Cookies. If you make my cookies please share and tag me on social media.
Author: Severn Sabrina
Prep Time: 15 Minutes
Refrigerate Time: 20 to 40 Hours
Cook Time: 8 to 10 Minutes
Serves: 14 Cookies
Allergens: Contains Egg, Gluten, Soya Lecithin.
Ingredients
½ a Cup of Dairy Free Spread (softened in the microwave in a small bowl)
1/3 a cup of Caster Sugar
2/3 a cup of Soft Brown Sugar
1 Egg
1 Teaspoon of Vanilla Essence
1 Teaspoon of Baking Powder
½ Teaspoon of Salt
1 and ½ Cups of Plain Flour
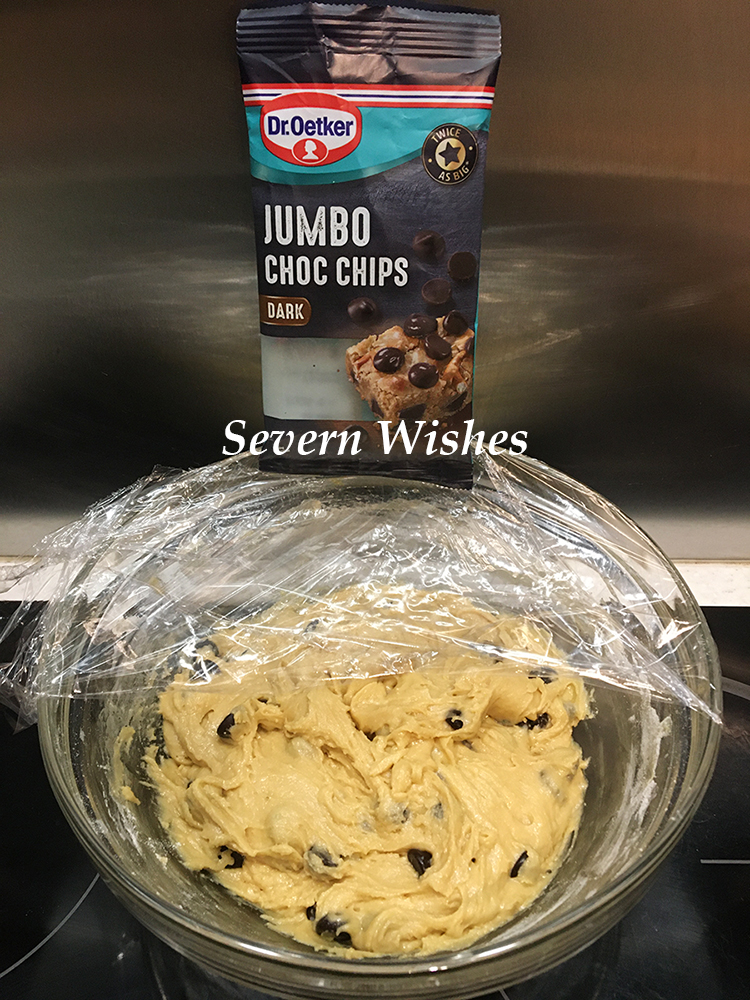
A Bag of Dark Chocolate Chips (100g ish)
You Will Need
Two Bowls – 1 Large and 1 Medium
A Sieve
A Tablespoon and A Teaspoon
A Wooden Spoon
A Flat Oven Tray
Baking Parchment
A Microwave and a Small Microwavable Bowl
SABRINA’S TOP TIPS! Don’t over microwave the spread, just twenty seconds should be enough and then stir it gently until it melts and is smooth and pourable. You can use the same piece of baking parchment if you’re baking two lots of cookies, just place the next set of cookie dough mounds in the gaps that weren’t touched on the paper on the previous bake!
Method
1. In a large bowl you need to mix up the two sugars with the softened spread. Mix with a spoon until it is all smooth.
2. Next you add the egg and vanilla and once mix until it’s smooth and combined. I always do it by hand because this is a quick recipe, just put some effort into the hand mixing for a good 60 seconds. It should look smooth and pale.
3. In a separate bowl, sieve the flour to remove any large lumps, and then add the baking powder and the salt. Mix together well.
4. You now want to take your time combining the wet and dry ingredients. So use the sieve once again to sieve the dry ingredients into the wet, do this a quarter at a time, and between each quarter you want to stir the bowl and combine them. Once that quarter is mixed in to the wet ingredients you start with another quarter of dry, and so on. Once you have mixed all the ingredients together you will be left with a smooth and pale dough.
5. Now it’s time to add the dark chocolate chips or chunks, I prefer chunks because they stay a little more stable in the dough.
6. Refrigerate the dough overnight at least, and when it comes to baking you can do as little or as much as you’d like. It’s best to test a couple of cookies on your oven for a time frame before doing a full batch. Everyone has a different oven.
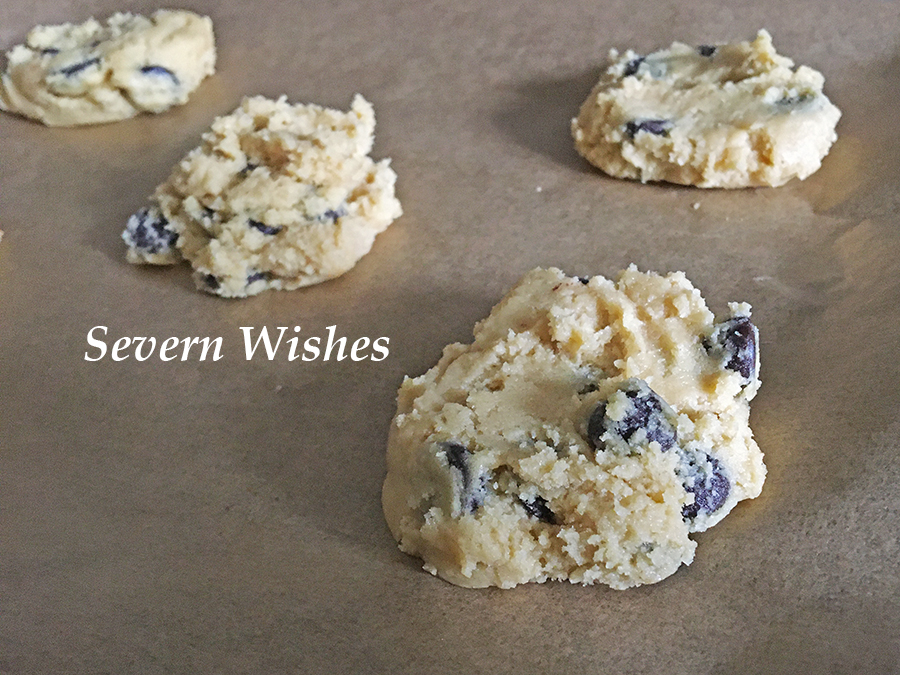
7. When you get to the baking stage I always recommend you take a Tablespoon size of cookie dough, using two spoons to press the dough together, and then gently make a little round mound of it as your cookie size. I use baking parchment over a flat oven tray so as to stop the cookies from sticking. Leave a space of approximately 6cm between each mound so they have space to spread out.
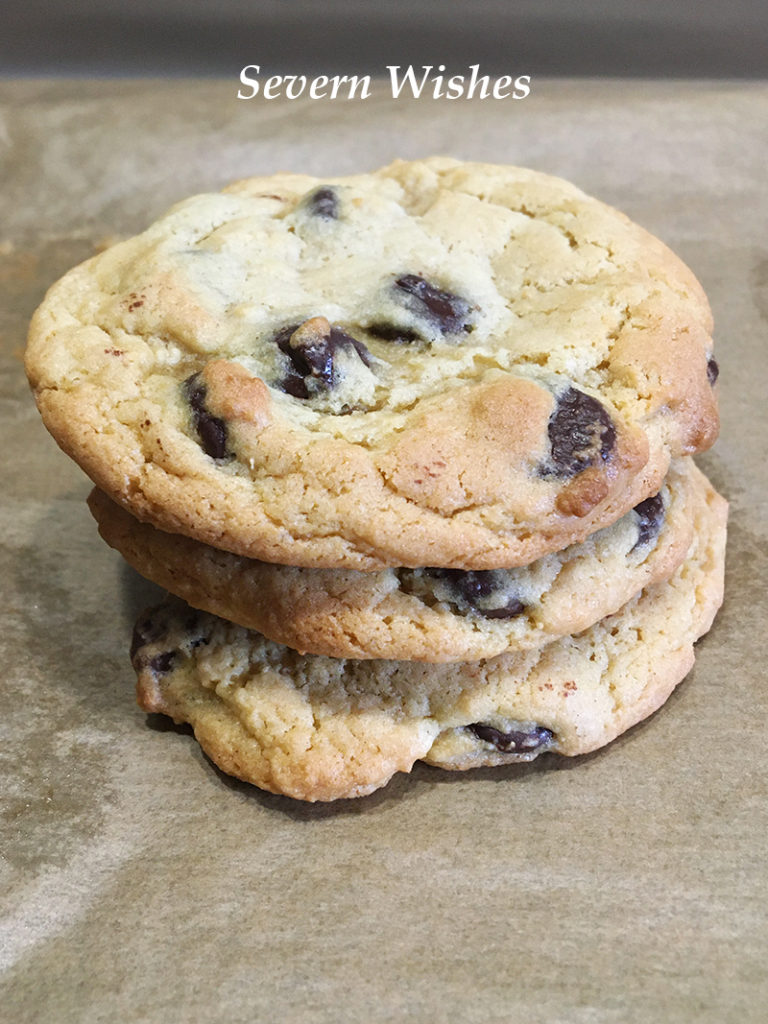
8. Bake for around 8 minutes, the best way to tell if they are done is that the colour changes around the edges of the cookie. You don’t want them to go too browned otherwise they will be overdone and more crunchy than chewy. I do mine at 180’c fan assisted oven for around 8 minutes. Set for 6-8 and then check them, some cookies could take up to 10 minutes.
9. Once they’ve begun to change colour on the edges remove them from the oven and leave them to sit for five minutes. Then you can gently pull them off and let them cool completely before eating them or storing them in an airtight container. They will last for 3 days if you make them air tight about an hour after baking.
You Can Make This Recipe Gluten Free by Using Gluten Free Flour!
Thank you very much for reading this post today, if you do try my recipe please let me know how you got on. If you have any questions about my bakes then feel free to leave a comment, I’m more than happy to answer them and give you more tips.
You can keep up with all my cooking and baking by following me on my various social media pages.
Have a lovely weekend!
✩ Sabrina ✩
Thanks for visiting Severn Wishes blog! See you soon!