Sweet Treats Week – Day 2 – Sabrina’s Warm and Gooey Cookie Dough

Welcome to Sweet Treats Week on Severn Wishes. This half term I wanted to share my top 5 baking treats with you all, hopefully you’ve got some time this week to make them with me! Check out my Instagram for more food pictures and recipe ideas too!

Finished Cookie Dough, Yummy!

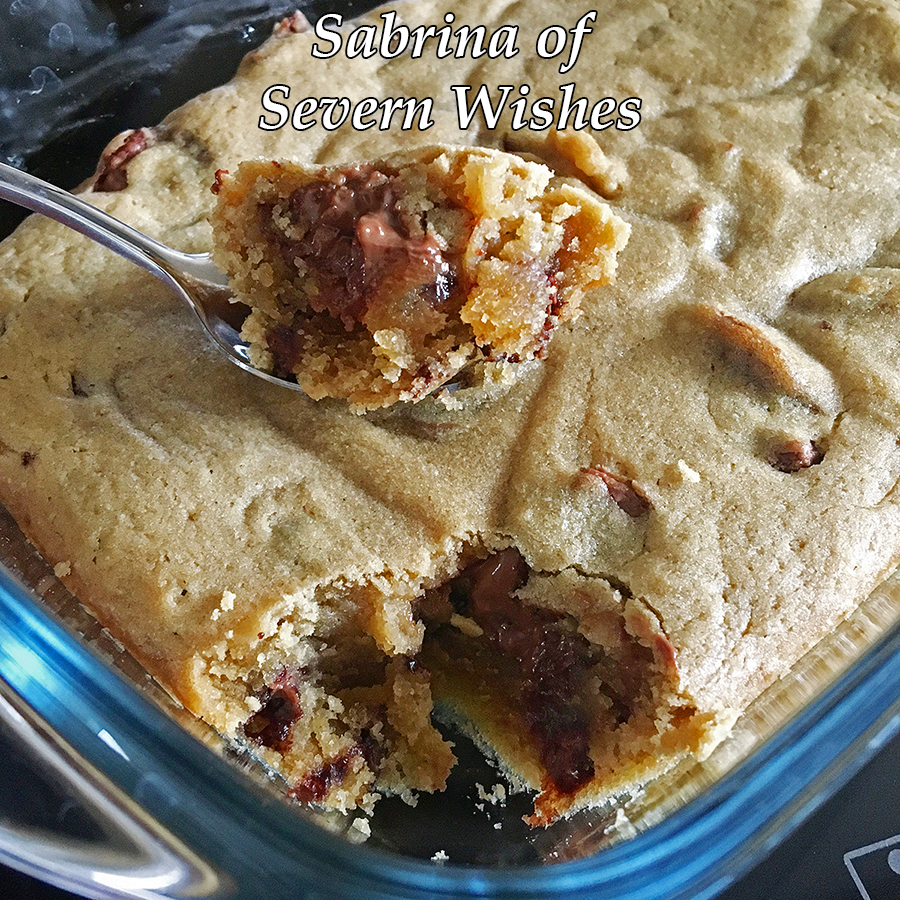
Day 2 is Sabrina’s Warm and Gooey Cookie Dough Recipe.

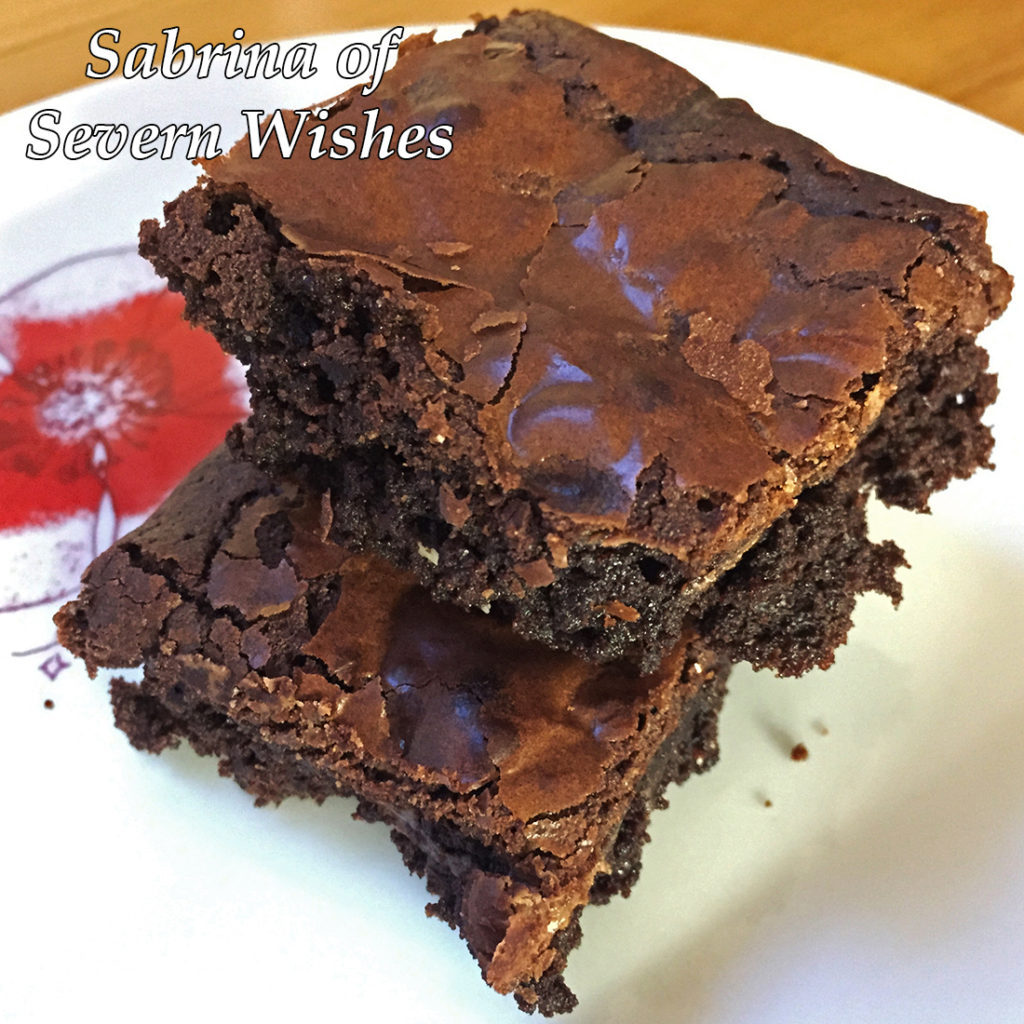
This fantastically easy recipe is great if you want a hot desert ready in under an hour. It’s egg free too! I make mine with a dairy free butter and use dairy free chocolates. But you don’t have to if you prefer the real thing. This warm desert is best served about thirty minutes after it’s finished baking, cooled off a little bit but while it’s still warm and gooey. Great on its own or you can pair it with a nice vanilla or coconut ice cream for example.

What You Will Need

A Glass Dish measuring approximately 12cm x 17cm / 5″ x 7″ and preferably with a lid for easy storage after its cooled down!
A Large Mixing Bowl
A Wooden Spoon
A Sieve

Ingredients

150g Plain Flour
115g Butter (Dairy Free Spread)
110g Light Brown Sugar
Water (Per Tablespoon – See Method)
1 Tablespoon of Vanilla
Chocolate Chips or Chunks (As many as you like but a nice ratio between dough and chocolate) I used around 60g of dairy free chocolate chips.

Additional Information: This sized portion will make 4 portions when transferred into pudding bowls. This is a rich desert and you can divide it up into 8 portions if you want to have it accompanied with something else such as ice cream. Keep any leftovers inside the glass dish with the lid on at room temperature, eat it within 48 hours. If you want it warm and extra gooey then microwave a portion for 20 seconds in the microwave.

Dairy Free Cookie Dough with Various Dairy Free Chocolates

Cookie Dough Variations

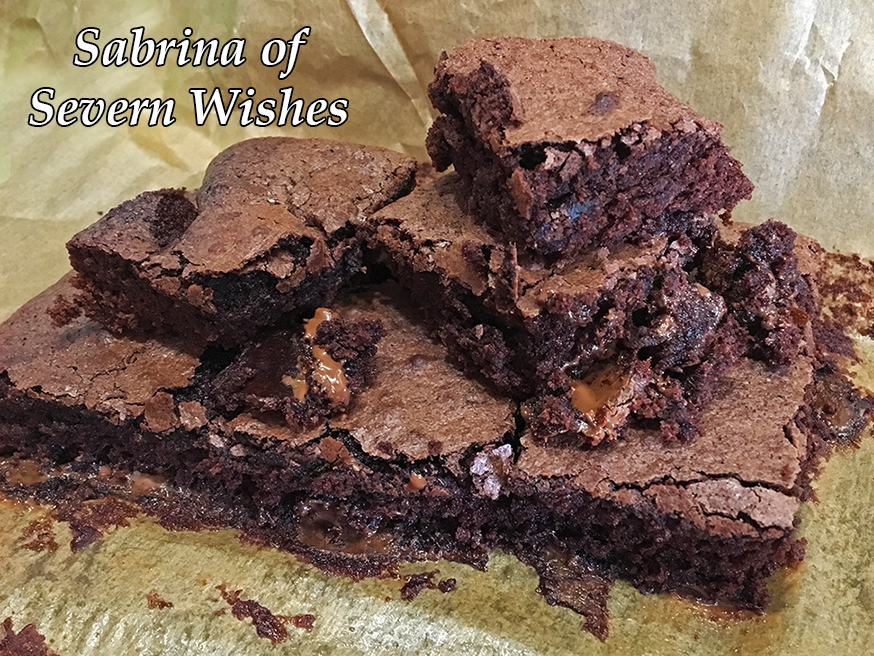
Add Chunks of Chocolate Brownies. If you have already made brownie earlier in the week you could put small lumps of your softest brownie into the cookie dough along with some chocolate chips. Just ensure they are submerged in the dough so as not to overcook near the top!

Method Steps

1. First you will need to soften the butter a little, add the measured out spread into the large mixing bowl, melt it at 10 second intervals in the microwave and stir after each one. Once softened you add your measured out sugar. Mix until smooth and combined.

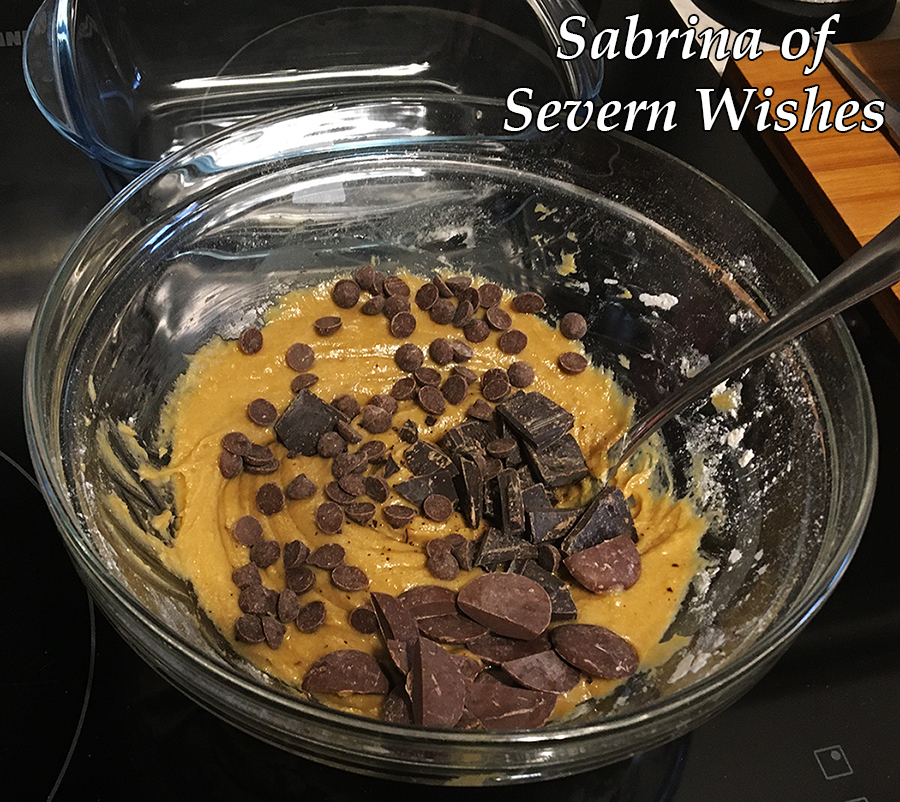
2. Sieve your measured flour into the bowl now, make sure once it’s all in you carefully mix it. Then when smooth you add your Vanilla and Chocolate Chips.

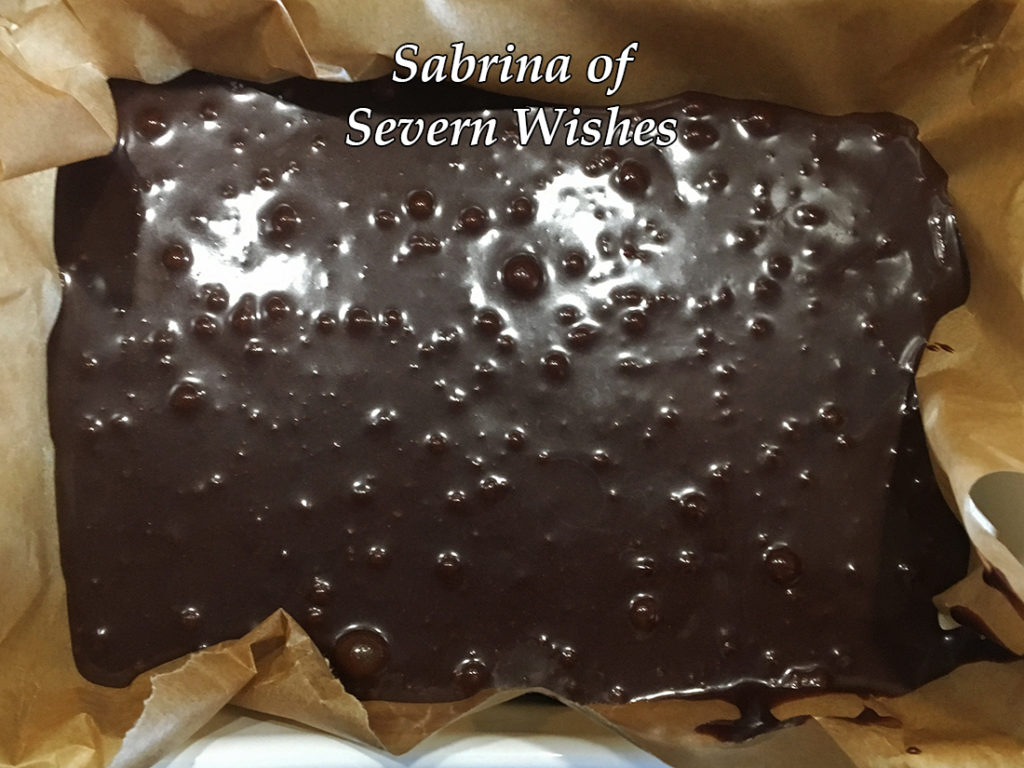
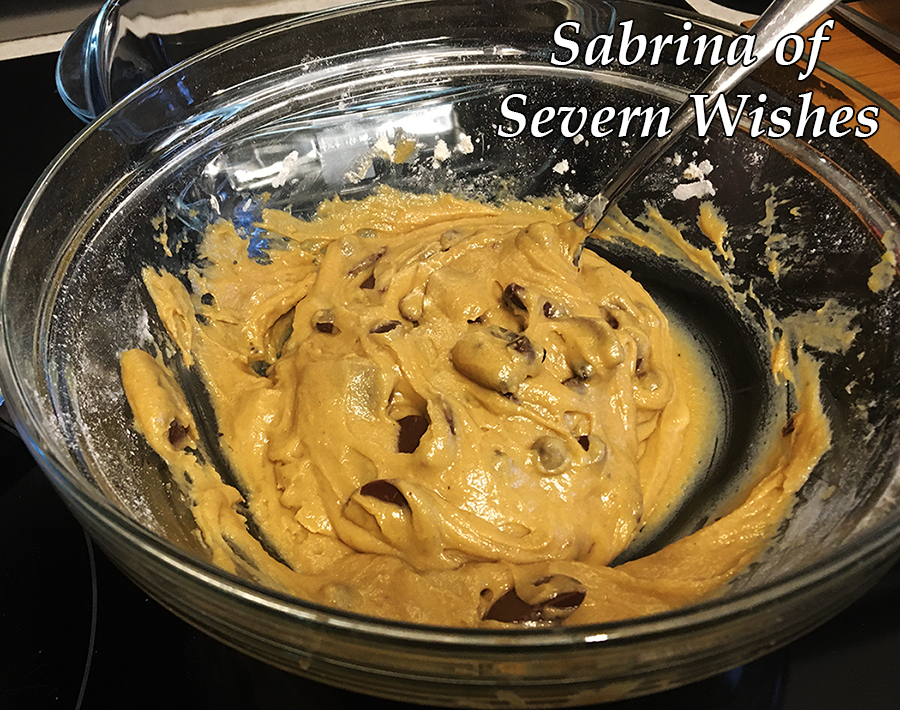
3. You now need to add some water to the mixture, add it a tablespoon at a time until you achieve a Cookie Dough consistency. It usually takes between 4 and 8 tablespoons to achieve the dough like substance. Once you’re happy transfer it to your preferred baking dish.

Step 3. Ready to Bake!

4. Now it’s time to bake! Preheat your oven to 180’c and cook in the centre of your oven until the cookie dough top goes golden and slightly brown. The best way to test the dough is right for you is to carefully touch the top, beware it will be hot, so leave it a minute outside of the oven and push down on the top. I like mine to be like a Cookie on the top, and then soft and gooey underneath! Mine took around 24 minutes!

5. As I described above, leave the glass dish out of the oven for around 30 minutes after the bake is complete. Serve the dough after this, it won’t be too hot that way, it should just be warm and gooey!

Thanks very much for joining me on my blog for this recipe! Thank you very much for joining me for Sweet Treats Week! I do hope to see you here again tomorrow!

If you make any of my recipes be sure to tag me on social media, leave me a comment here on my blog. Any questions about a recipe please don’t hesitate to ask them! If you recreate this recipe somewhere else please credit me for it and name me and my blog, or even better link back to this original post too! Thanks everyone!

 Sabrina 

Sweet Treats Week – Day 1 – Sabrina’s Extra Special Chocolate Brownies

Welcome to Sweet Treats Week on Severn Wishes. This half term I wanted to share my top 5 baking treats with you all, hopefully you’ve got some time this week to make them with me! Check out my Instagram for more food pictures and recipe ideas too!

Sabrina’s Chocolate Brownies

Day 1 is Sabrina’s Extra Special Chocolate Brownies

Brownies can be tricky, but if you follow my recipe one step at a time you should be able to recreate my incredible triple chocolate brownies! Since needing to go dairy free I’ve even made these brownies free from dairy by substituting the butter for a dairy free spread and then I swapped the triple chocolate chips for only dairy free chocolates, and they still taste incredible! So do whichever version you would prefer, the difference in butter doesn’t change the end result.

My recipe will make around 20 brownies once you cut them after they have cooled. They are quite rich which is nice because they will last longer! They will last around 3 days in a sealed container, the best way to keep them is to store them at room temperature. TOP TIP Reheat a square or two for between 10 and 20 seconds in the microwave and serve them with ice cream! Yum!

Sabrina’s Triple Chocolate Style Brownies (A.)

What You Will Need

A Glass Dish or Baking Tray measuring approx 26cm x 20cm (8 x 10″)
Baking Paper or Parchment
A Saucepan
A Large Mixing Bowl
A Wooden Spoon
A Metal Spoon
A Whisk – Manual or Mechanical
A Sieve
A Knife
A Cooling Rack
Something To Store Them Inside After They Are Cooled

Step 5. Once Smooth Add Your Chocolates To The Mix!

Ingredients

3 Free Range Eggs (Fresh is best for baking)
175g Plain Chocolate (for melting) (You can use dairy free chocolate too)
175g Butter (or Dairy Free Spread)
200g Caster Sugar
75g Plain Flour
50g Cocoa Powder

Additional Flavours or Additional Chocolates… There Are Endless Possibilities! What Would You Do? Here are my favourites…

Brownie Variations

A. Triple Chocolate Brownies require 75g of White Chocolate Chips and 75g of Milk Chocolate Chips (or use different varieties of dairy free chocolates). Add these at Step 5.
B. Chocolate Orange Brownies require 100g of Chocolate that is Orange Flavoured, dairy free choc orange bars from Asda are fab or a few broken segments of a Terry’s Chocolate Orange are best! Put these pieces in the mixture at Step 5 instead of chocolate chips.
C. Mint Chocolate Brownies require 75g of Chocolate that is Mint flavoured, with such a strong flavour of chocolate it can be used as part of the melted part at the start of the bake. For a more Minty flavour later on you could add some Aero Mint Chocolate Balls when the brownie is almost cooked! Push them into the top of the brownie before the top is solid leaving just a little sticking out so they don’t melt and or burn!

Sabrina’s Chocolate Orange Brownies (B.)

Method Steps

1. First you need to place your butter and plain chocolate into a saucepan. Break the chocolate into small bits so it melts faster. Only melt on a low heat slowly. Keep stirring the melting mixture frequently until it is smooth with no lumps left. TOP TIP I only have my hob one setting 1 or 2 for melting, you don’t want to burn the mixture! I don’t like melting chocolate in a microwave, it’s too easily burnt!

2. Set the melted chocolate mixture to one side and allow it to cool. You can now preheat your oven to 180’c, 160’c for a Fan Assisted or 350F or Gas Mark 4. Cut a piece of baking parchment for your tray and push it inside.

3. In a large bowl break the 3 Eggs, make sure no shell falls in. Using a wooden spoon mix them up, add the Caster Sugar gradually while stirring. You then need to Whisk them both up together until they are combined and smooth with a light and creamy colour.

4. Using a Large Metal Spoon, you now fold in the cooled melted chocolate and butter mixture, one spoonful at a time. Keep stirring it through the creamy mixture, keep going one spoon at a time until all of the smooth thick liquids are combined into one large one. It should be a lot and not lumpy. TOP TIP If the chocolate mixture is still hot it instantly cooks the eggs and you end up with a curdled concoction! Make sure its cool, lukewarm is best, and stick to my one spoon at a time method!

5. Finally you need to Sieve the Cocoa Powder and the Plain Flour into your liquid, again you do this gradually, shaking a little into the bowl and mixing it through until it disappears. Repeat until all the dry ingredients are in the bowl and the mixture should now be a thick pour-able liquid. Add your chocolate chips or buttons or other bits now! Mix them in thoroughly.

6. Pour the mixture entirely into your tray with the parchment inside it. The mixture should sit just over half way inside giving it a little room to rise up slightly. Add any toppings like chocolate chips now, or part way through if they are not bake stable. Shake the tray from side to side before pushing it into the oven, so the bake is level.

7. Bake it with the correct setting for your oven, you’re looking for an even bake with the slightly crisp topping, it should change colour, it should be soft but cooked in the centre. On average this bake takes between 20 and 30 minutes, depending upon tray used and oven type. Just keep an eye on it, take it out and stick a knife into it. When the knife comes out almost clean, pull the tray out. Leave it on top of your oven for ten minutes, try the knife again. Remember if you hit a melted chocolate chip you may think it’s not cooked when it is! For this reason don’t be tempted to over cook it! They should be soft with the additional chocolates melted inside when you cut it!

Remember to wobble the tray so the mixture goes flat!

Thank you very much for joining me for Sweet Treats Week! I hope to see you again tomorrow!

If you make any of my recipes be sure to tag me on social media, leave me a comment here on my blog. Any questions don’t hesitate to ask them! If you recreate this recipe somewhere else please credit me for it and name me and my blog or even better link back to this original post! Thanks everyone!

Sabrina

Sabrina’s Chocolate Orange Brownies (B.)

Fun Crafts With Children This Christmas

Hello everyone, today I’ve gone all arts and crafts on you! Most children break up from school today and I’m sure a lot of you are trying to come up with ways you can entertain everyone without it being Christmas movie after Christmas movie. Hands up if I’m right!

So what about some crafting! You can choose whichever one of these that you already have the necessary items for!
Pick one or do them all over the festive season! They make great tree decorations or cards, and perfect gifts for family members too!

Top Tip: Pop your little ones name and the year in the corner of the decoration if you’re keeping it, make one every year and compare the sizes!

It’s amazing what you can make out of a few bits of card, a pack of mixed pens and some washable paints! Why not give one of these awesome craft ideas a go with your little ones this Festive Season!

I always love the idea of doing cards! You can combine any of the below ideas and then simply cut out your finished design and stick it on to a piece of card.

Reindeer Foot Print
Penguin Foot Print
Snowman Foot Print
Christmas Tree Foot Print


Reindeer Hand Print
Robin Hand Print

What Will You Need:

A Sensible but Fun Adult 😉 with Baby Wipes at the ready!
Coloured Paper and Card
Pack of Mixed Coloured Pens, Glitter Pens are also cool too
Double Sided Tape or Pritt Stick or Glue

Washable Paints in mixed colours – I like the Crayola ones
A few different sized paint brushes or a sponge for skin application.

Scissors (one reason you need an adult)
Stickers if you want to add those or some googly eyes for your print animals

You may need a ruler, a hole punch and string or ribbon if you plan on making anything into a hanging decoration.

Use Washable Paints and some Card to make your very own Tree Decorations or Christmas Cards. It’s easy to do Hand Print Robins, Wreath or Reindeer! Or Footprint Trees, Snowmen, or Penguins!

How To Make It…

Paint your child’s Hand or Foot and carefully press it down on to your chosen card or paper.
Let it dry overnight somewhere warm.
Flatten the design for the next few hours once it’s dry.

Next you need to decide which Christmas theme to go for!
Paint, Draw or Stick on your favourite bits to make your design real!
Get an adult to do any cutting parts that are needed to make it into a decoration or card.

Toilet Roll Snowflakes are great to do too!
You need two toilet rolls per snowflake, glue, scissors, paint and glitter!
Tip One: Paint the Toilet Roll and Glitter it up first and then let it dry before cutting, at least overnight!
Tip Two: Cut all the pieces the same width and arrange it before gluing!
Tip Three: Tie some Ribbon or String to the top and hang in your home!

Thank you for visiting Severn Wishes today, I hope you enjoyed this Arts and Crafts post. Hopefully I will to see you here again soon. Have a great Festive Season!

✩ Sabrina ✩

Reindeer Child Foot Print