Welcome to Sweet Treats Week on Severn Wishes. This half term I wanted to share my top 5 baking treats with you all, hopefully you’ve got some time this week to make them with me! Check out my Instagram for more food pictures and recipe ideas too!
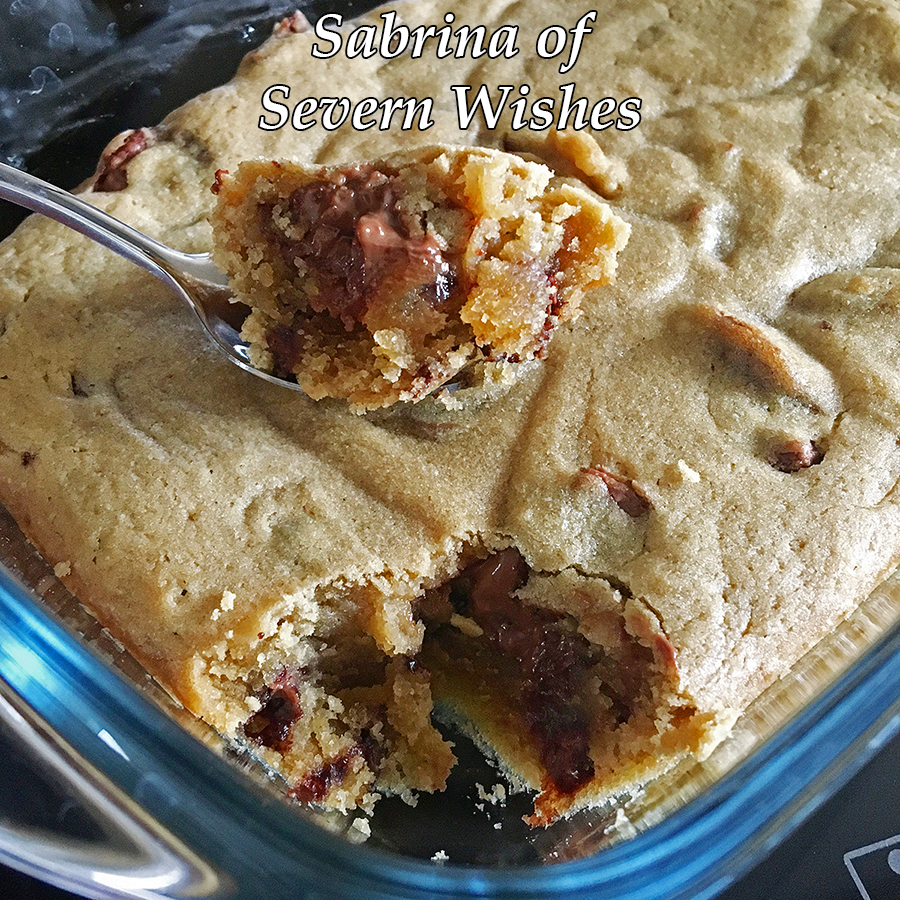
Day 3 is Sabrina’s No Bake Needed Rocky Road
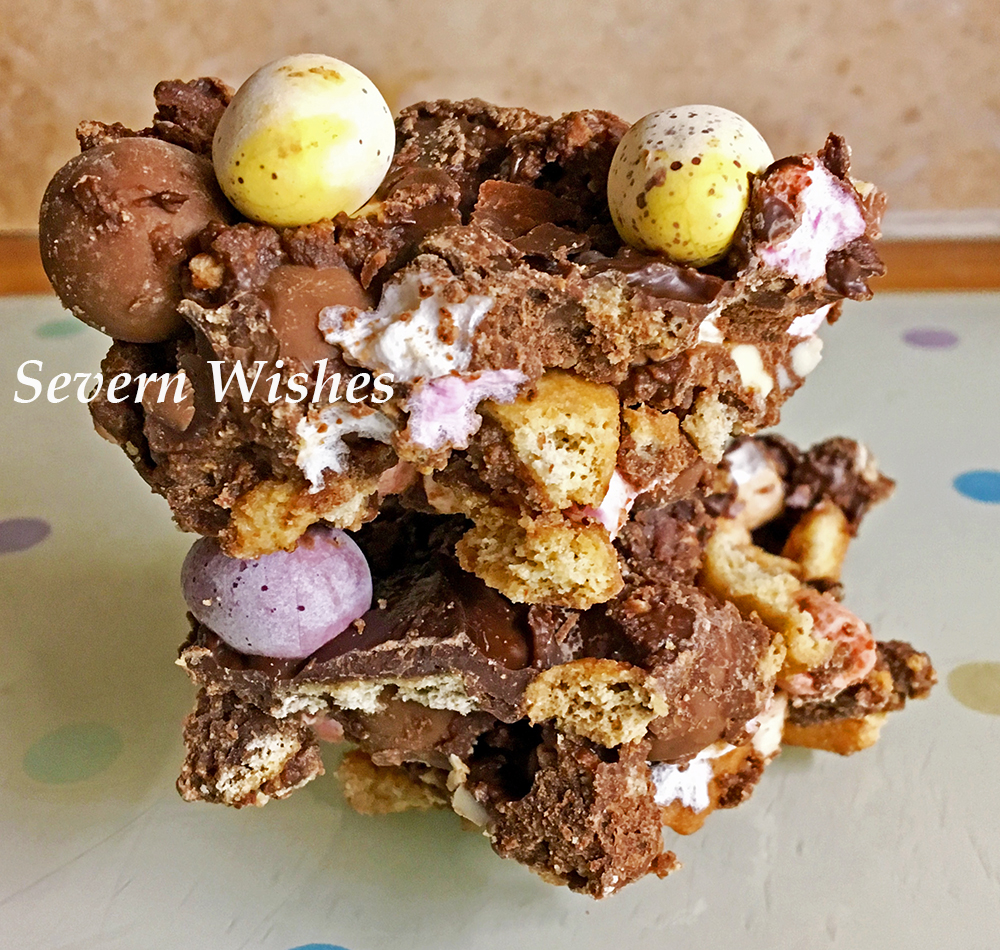
Definitely one that the kids can get involved in, and this tray bake requires zero baking! You just need an adult to do some melting and chopping! This recipe will make 24 delicious squares of Rocky Road and you can do a custom set of ingredients to suit your family too!
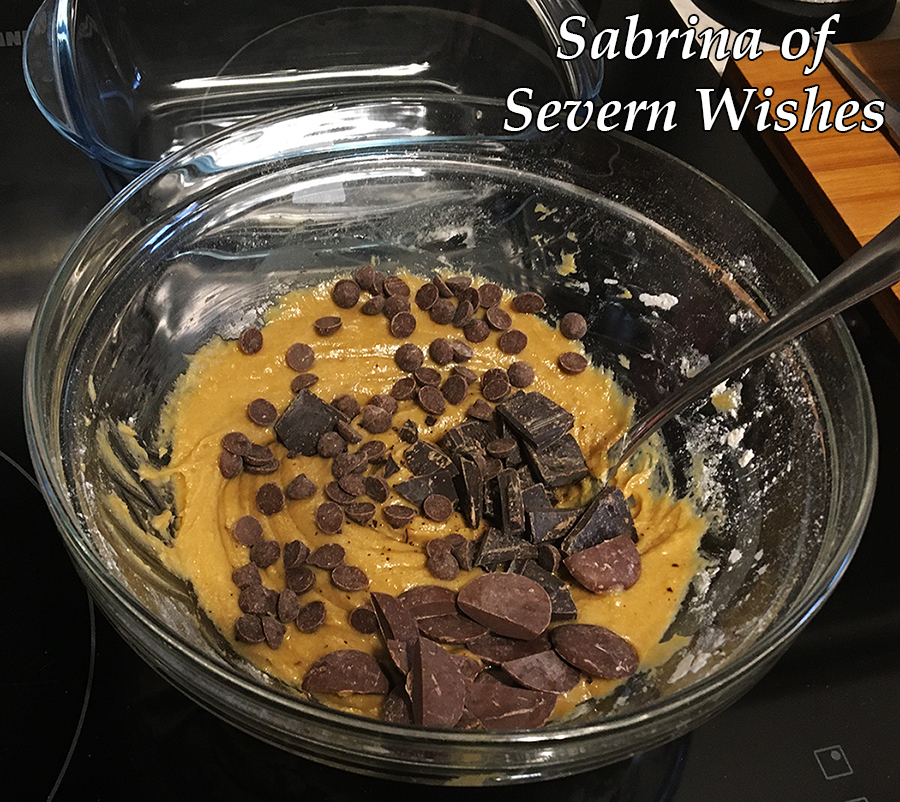
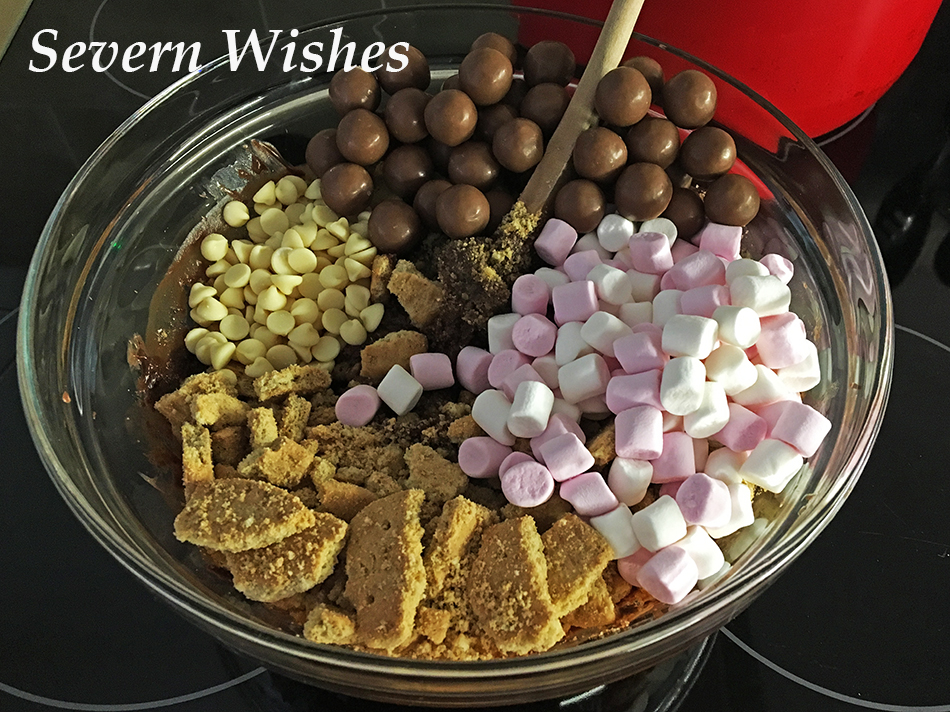
Start by gathering all of your favourite things and a giant bowl to mix them! You’ll need chocolate for melting which will be the glue to hold all of the other ingredients together! You also need a deep tray to squash it all down into before you refrigerate it too!
The best thing about Rocky Road is that it’s totally customisable to your family and you can’t really get it wrong! Plus it’s fun for everyone! There’s only one danger with Rocky Road! Just don’t go eating all the singular ingredients while you’re making it!
I love to put things in mine you don’t usually find in a supermarket style tray bake, sometimes you find Nuts and I don’t put any of those in, some also contain fruit, which is a personal preference to whether or not you add this in. I will outline all the measurements below, and you can make your selection of your favourites.
What You Will Need
A Large Mixing Bowl – the bigger the better!
A Wooden Spoon or Two
A Saucepan (to do the melting part)
A Spatula
A Sharp Knife
Tea Towel and Rolling Pin (Or something to smash the biscuits with)
Baking Parchment to line your tray
A Large Tray that will still fit in your Fridge minimum of 1.5 inches deep
Ingredients
Mini Marshmallows 50g to 60g
Maltesers or Honeycomb Shards 50g to 60g
White Chocolate Chips 30g to 40g
Biscuits 150-200 grams (You can use a mixture of biscuits like I do, Digestive, Shortbread and Ginger are my faves, Ginger give a nice taste!)
☆
Milk Chocolate (for the melting) 250 grams
Dark Chocolate (for the melting) 120 grams
Butter (for the melting) 140 grams
Golden Syrup (for the melting) 4 tablespoons
Additional Ingredients to Personalise your version of Rocky Road
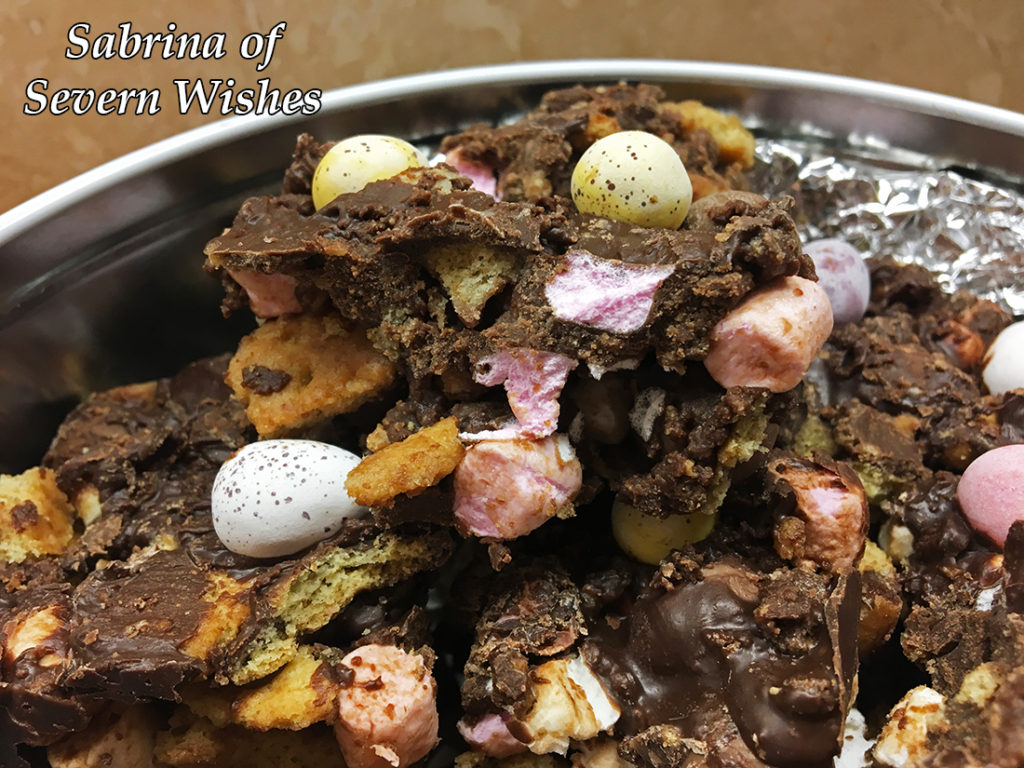
Your “Special Ingredient” can be anything, between January and April I tend to use Mini Eggs or other Easter related Mini Chocolate Eggs etc. I just cut some of them up for going inside the bake. Other things that go well and add colour are Smarties, Aero Bubbles anything that sort of size etc.
Use around 70g to 100g of your chosen ingredient and remember to save around 30g of it for the topping!
You can also add any of the following things that all go brilliantly with this type of non-bake recipe – Cherries / Cranberries / Nuts / Raisins etc…
You will need 50 grams of your chosen one/s and make sure you then increase the depth of your tray by half an inch / 2 cm if you decide to include more than one of these ingredients. You could also choose to remove say, the white chocolate from my main list, and add in Raisins instead, just keep the ratio the same…
The customization is all down to you and your family! Go crazy! Have fun!
Method
1. Measure out and then Crush the Biscuits into mixed bite size pieces and add them to a large bowl.
2. Next, gather all your additional ingredients as outlined above, measured correctly and add these to your large bowl. The aim is to then mix all these dry ingredients together so they are evenly distributed.
3. Melt the Milk and Dark Choc with the Syrup and Butter until Smooth. Set 150ml of this melted chocolate mixture to one side in a jug to cool a little (you need this for the top of the mixture).
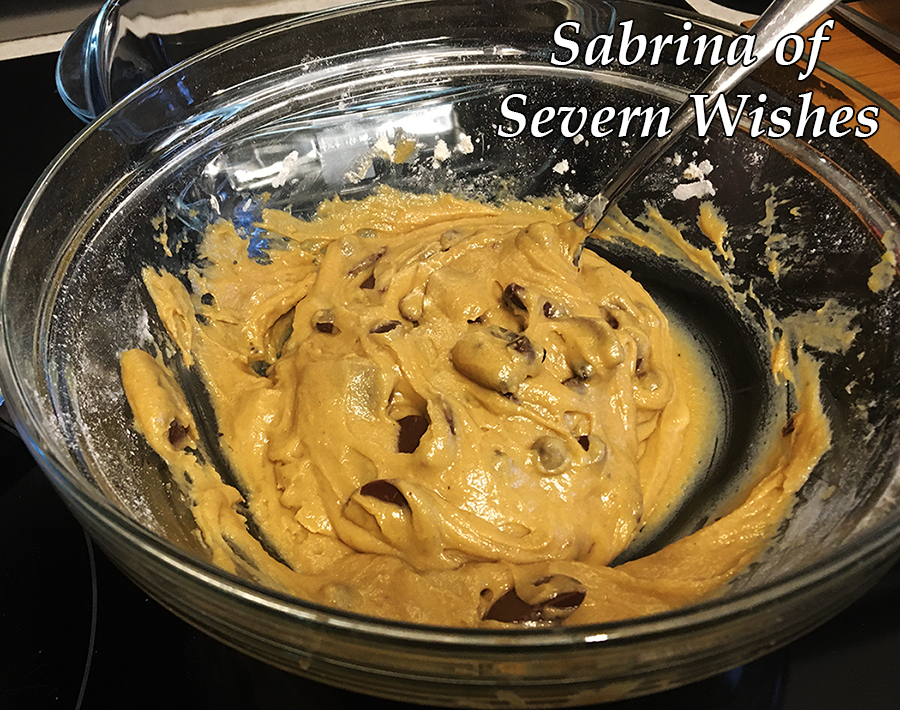
4. Add your melted mixture from the saucepan to your large bowl, coating all of the dry ingredients, keep mixing it quickly but carefully. You need to cover all of them in a light chocolate covering before it cools down too much.
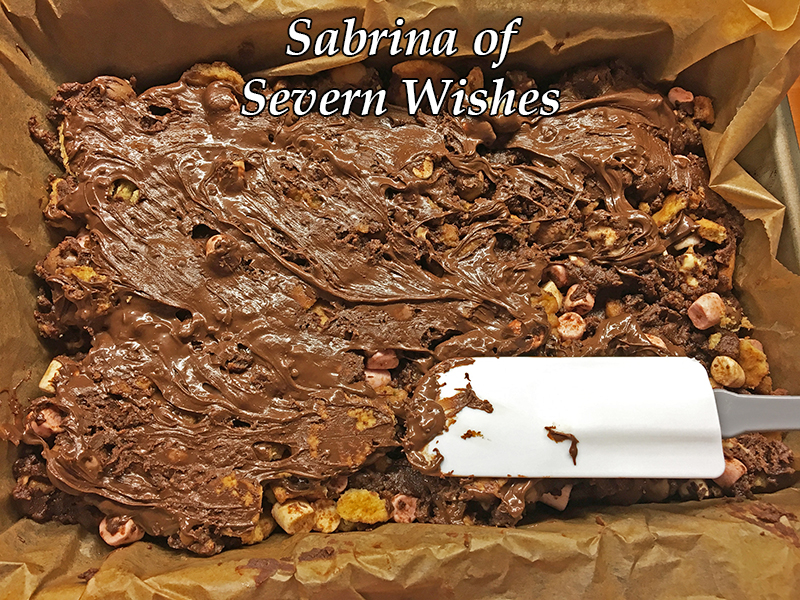
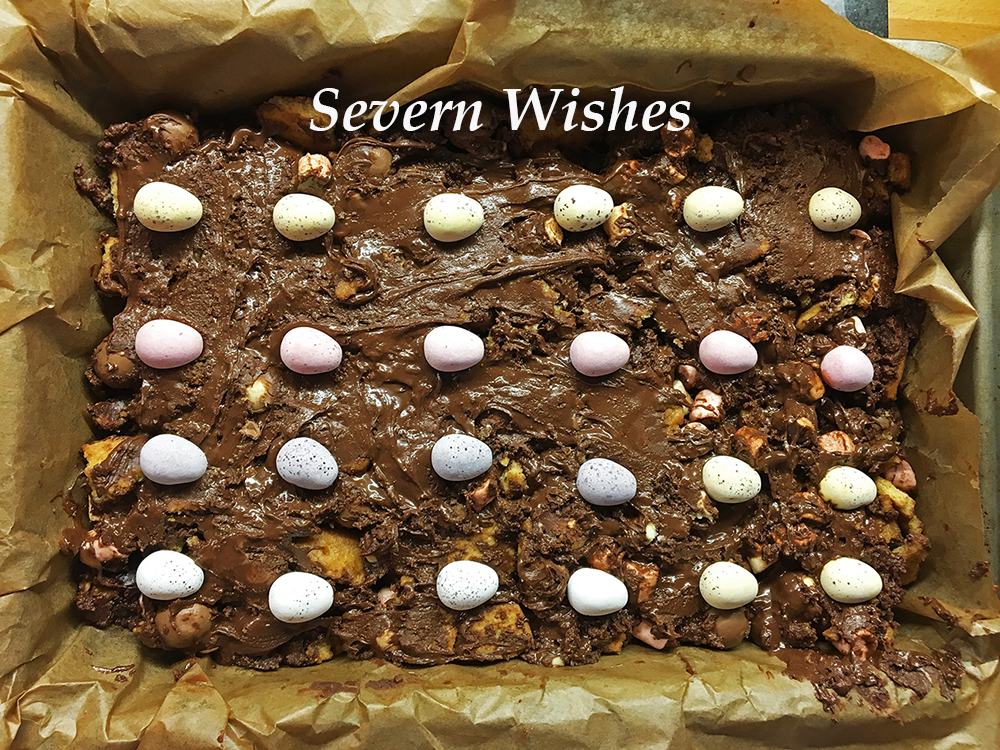
5. Transfer from the bowl to the tray making sure the parchment is already lined inside it and smooth the rocky road out as flat as possible, push it down gently using a wooden spoon. Then pour the remaining melted chocolate (from the jug) over the mixture and smooth that all over the top with a spoon or a spatula, you need to try and coat most of the mix if not all of it, TOP TIP don’t forget to coat up to the corners!
6. Finally add your chosen Chocolate Decorations like Mini Eggs. Push them down a little so that they stick to the melted chocolate. Score the pieces of size you want to cut once it’s solid, using a knife (adult part only). Then put the whole tray in the fridge to set for a couple of hours.
7. To serve it, gently remove the paper from the baking tray, lay flat and cut the Rocky Road where you scored into it earlier, do this using a knife that has been run under hot water (another adult only part). Remember to put the pieces into a seal-able tin or tub afterwards to make sure it stays fresh. Once set and cut you just store it at room temperature, for the best results eat it within 3 days.
Thanks very much for joining me for this recipe on Sweet Treats Week!
I do hope to see you here again tomorrow! See my social media for some videos while I am baking these as well! Including versions and what I use to make my bakes dairy free too!
If you make any of my recipes be sure to tag me on social media, leave me a comment here on my blog. Any questions about a recipe please don’t hesitate to ask them! If you recreate this recipe somewhere else please credit me for it and name me and my blog, or even better link back to this original post too! Thanks everyone!
✩ Sabrina ✩