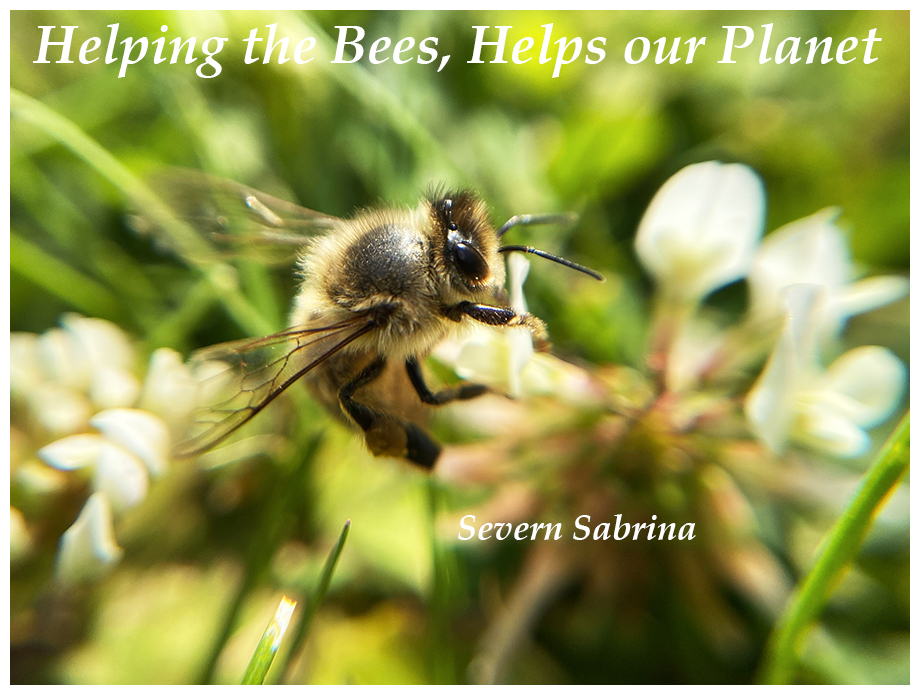
Happy World Bee Day!
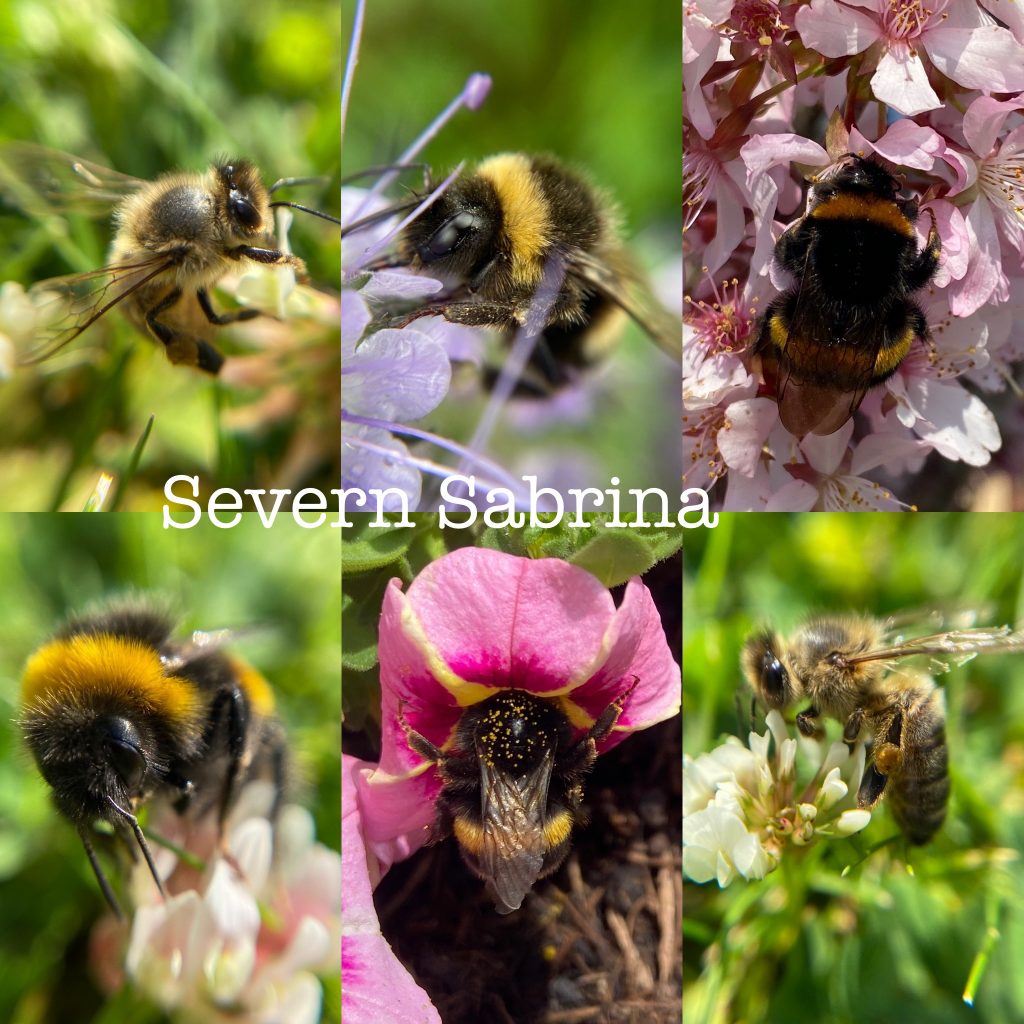
Here is a Photo montage of Bee’s that I have taken this past year…
as a Nature Photographer I am constantly making images.
AWESOME FACTS ABOUT BEES
Bees are insects that have 6 legs and 5 eyes.
Bees have been around for approximately 30 million years.
Here in the United Kingdom we house around 270 species of Bees.
Worldwide there are more than 20,000 species of Bees.
Honey made from Bees was found inside the tombs of Egyptian Pharaoh’s and it would still be edible today.
Honey Bees communicate with one another through dancing moves!
Bees can fly up to 20 MPH!
Male Bees are called Drones.
Female Bees are called Worker Bees.
The Queen Bee can lay up to 2000 eggs a day and a hive will only have one Queen.
A Honey Bee will only make 1 Tablespoon of honey in their lifetime.
Some species of Bee are solitary and live alone except for reproduction moments, these often live underground too!
On average a Bee will fly 32,000 miles in their lifetime and visit more than 1 million flowers!
Honey Bees live in Bee Hives where they work together to make Honey.
If a Bee loses its stinger it will die – so make sure not to hit them and let them just fly around you and fly off again – once they realise you’re not a flower you won’t interest them anyway!
SABRINA’S HOW TO MAKE A 3D BEE!
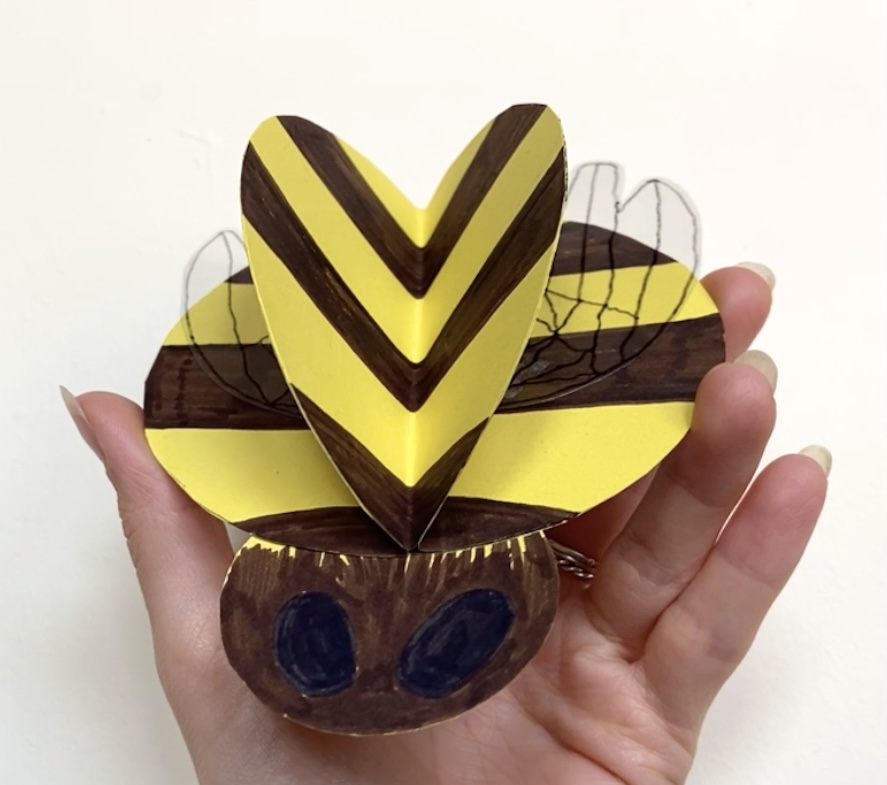
I thought what better way to immortalise the Bee than to make your very own 3D craft version of one! I came up with this last year but sadly I missed the deadline for World Bee Day 2021, so I have saved it all for today! World Bee Day 2022! They are fairly easy to make and I will now tell you exactly what you need before we begin the how to method!
One Sheet of A4 Thin Yellow Card or Thick Paper
One Scissors
One Piece of Cereal Box Card
Pens – black and brown
A Permanent Pen – Black with a Fine End (for the Wings)
Double Sided Sticky Tape
A Piece of Thin Plastic (mine was off some toy packaging) (for the Wings)
Two Circular Objects to Draw Around – 1 for the Small Bee Head and 1 for the Body Circles
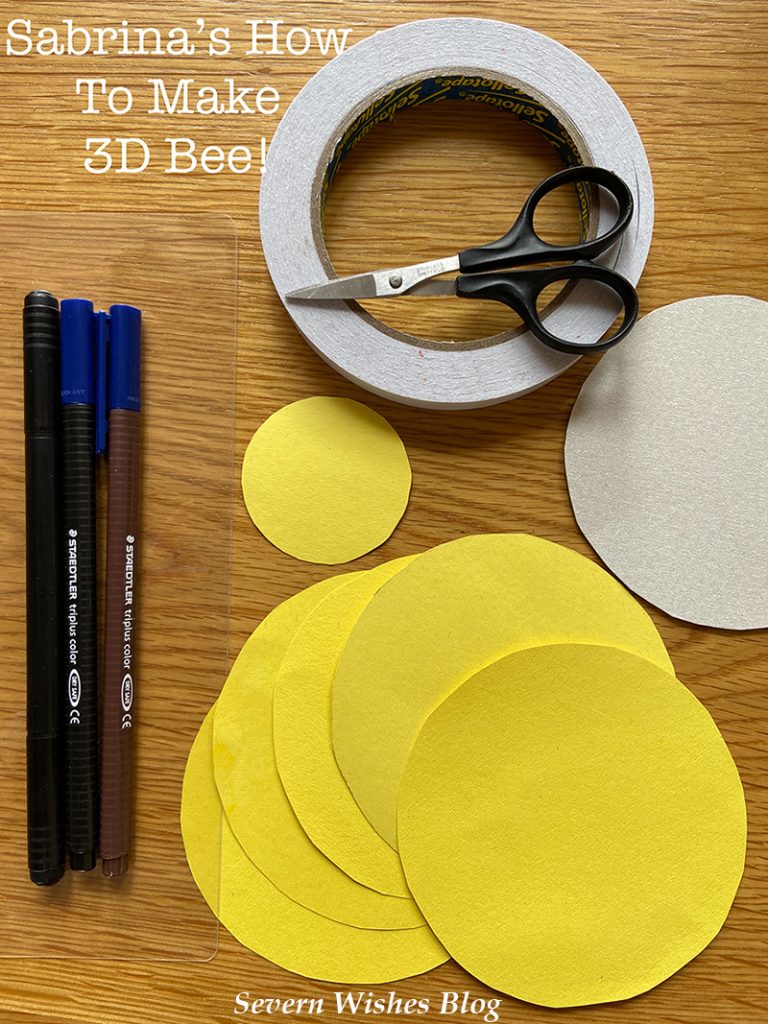
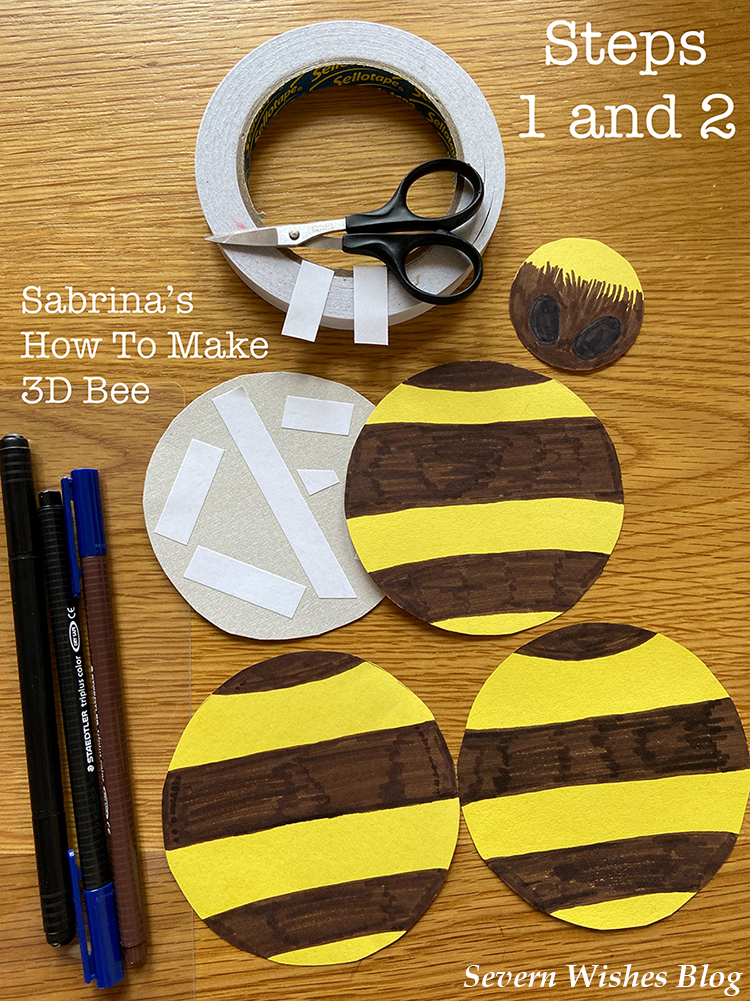
Step 1. Cut All of Your Circles Out – You need 1 head, 1 main body out of box card and four out of the yellow card. The yellow and the body have to be the same size, but the head needs to be 1/4 of the size. Put some double sided sticky tape on the cereal box card circle because this will be your base to work the rest up on. Put the other yellow circles down on a flat surface ready for their details.
Step 2. Draw some sections on the 4 yellow circles that will become the Bee body, you will need to have 3 sections that are lined horizontally and similar in size to each of the other matching circles (See image below). Colour these in Brown. The best thing to do is to have them on top of one another, mark the section the same and attempt to line them up with the opposite side. With the small Circle that is yellow (the Bee head), you need to draw two large Oval Eyes in Black, and then do some vertical lined streaks in brown so it looks like fur. Leave the top section of it Yellow, we will be sticking it to the body shortly.
Step 3. Stick the Head to the Body using double sided tape with only 1/4 of it attached to the Card and the rest sticking out. Now place the Bee in front of you, with the head facing you (facing South). You want to now take one of the striped yellow body sections, choose the one that is least lined up. Put some double sided tape on the back of it and stick it down on to the main card body, covering the edge of the head, with the stripes going horizontally across the Bee body. Place this beneath something heavy for a few minutes so as to stick it all into place while we do steps 4 and 5.
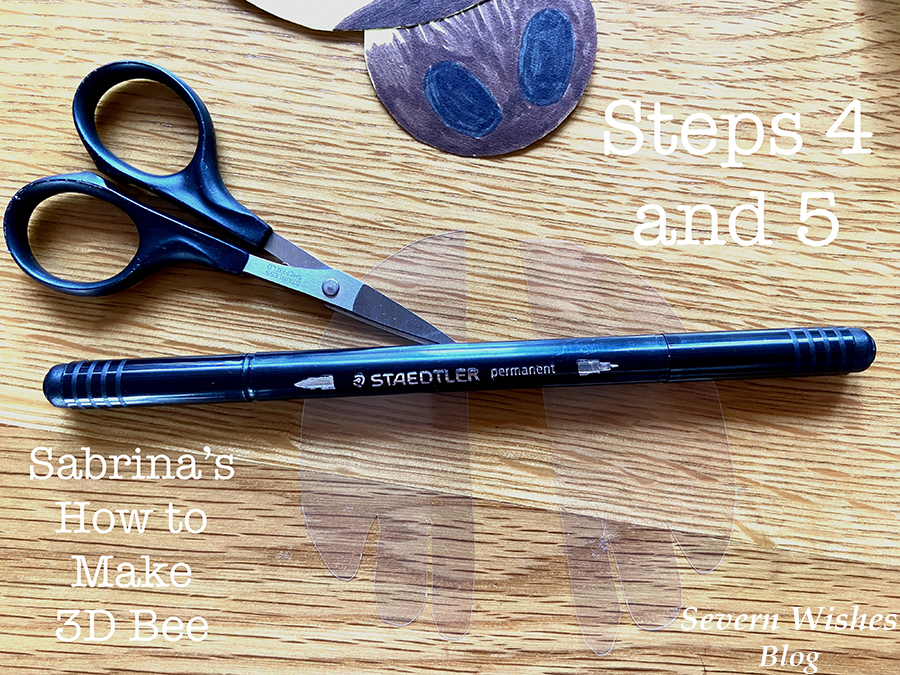
Step 4. Take your Plastic now and Scissors and permanent pen. You want to draw out two identical wings, Bee wings tend to have some ridged ends but you can just do ovals with a pointed end if you’re not confident (See Images below). Look at my Bee montage at the start of this blog post for wing inspiration! Once you are happy with the drawing cut them out, and make sure they’re the same size by overlapping them and trimming any overhanging edges.
Step 5. Draw some lines down the wings with the permanent thin pen, try to match the Bee wings (again take inspiration from my pictures at the start but be creative too this is your own Bee!) and match each other, make the same marks on both wings by having them side by side as you create the lines. Place them off to one side to fully dry. (If you use normal pen on plastic it will likely rub off).
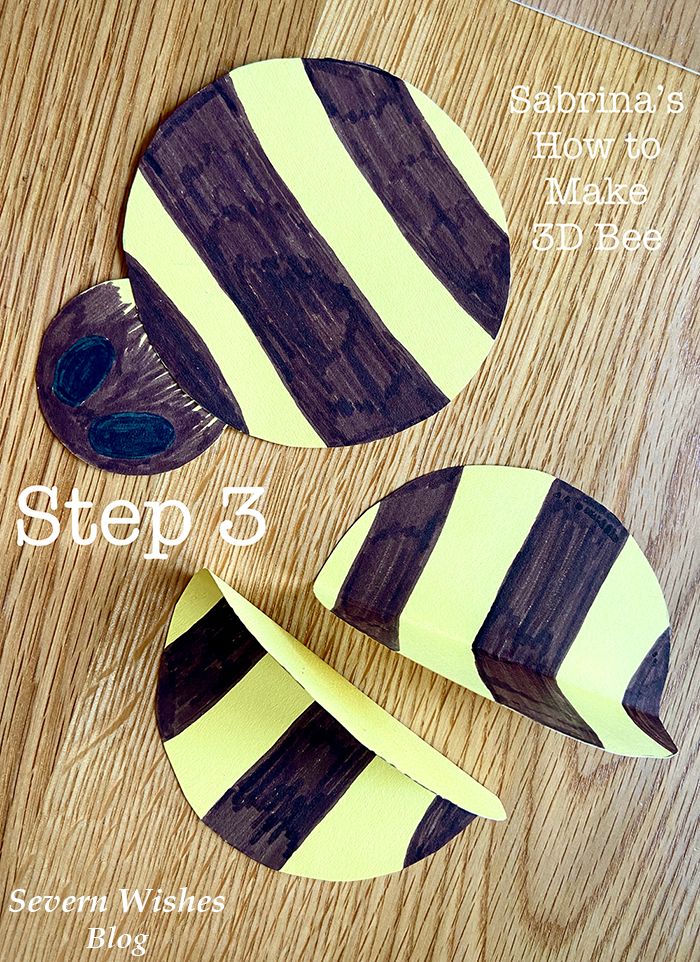
Step 6. Now it comes to the tricky part, you need to take your Bee body parts and fold them in half, all three of them with the coloured lines on the inside of the half fold. Make sure that the centre is through the middle of the horizontal lined sections. Do this for all three and also make sure they are folded the same across the sections so when stacked together they are the same (or close as you can).
Step 7. Once you have folded them and they do match best they can, you need to take two of them to start with, and place some double sided tape strips on the one side of each one, so that is one taped only the left underside and one taped only on the right on the yellow underside of each of them. Take a look at my photograph below for clarification on the folds and the tape.
Step 8. Take your folded Bee body circles and place one on either side of the main Bee body with the head. Line them up with the circle that is already on it, the one you put the tape on the left underside goes on the left, and the right taped side on the right. When you push the body middles together they should be flush and straight in the centre and aligned with the head. Make sure the stripes line up and are horizontal to the head that is facing south, and the crease line for your folds should be straight up from that facing north. If this is accurate you can now remove the double sided tape, stick one side down at a time, to the main body. Then do the opposite side (see Step 7 and 8 images) and this leaves you with the other half of each circle standing up on end. The final circle you still have will go in between them causing the body parts to stand up 3D.

Step 9. Attaching the final circle on to the body is just about lining it up. First you need to put some double sided tape on to the pieces that are already attached to the Bee body that you stuck down in Step 8. (See image Steps 9 and 10 to clarify this next step). With the double sided tape now in place but not removed the tabs yet, you first line up the circles, look at it and think do the edges match and is it horizontal across the body? If the answer is yes then remove the tape tabs and stick that final circle on to the top of the Bee in between the other pieces.
Step 10. Press and hold the Bee body firmly now, gently run your fingers down each of the sides to press the circles fully together and ensuring the tape grips flush. Once they look like they are fully stuck with no gaps anywhere you can now make sure your wings are dry from earlier.

Step 11. Take your plastic wings from before, line them up with where you want them to go on the Bee body (they are usually attached to the middle section of a bee’s body). Then take two thin strips of double sided tape and match those up on either side, stick down the tape. (See Step 10 and 12 image for wing tape placement).
Step 12. Attach the wings now and make sure you press them down on to the tape for at least a minute to ensure the plastic gets a really good grip. Hold the Bee upside down and make sure they don’t come loose, if they do then press again.
Step 13. Tidy up any lines on the Bee and trim any edges with scissors that aren’t in line to neaten her up. Then you have your Queen Bee! You could hang her up somewhere or make her a little hive…
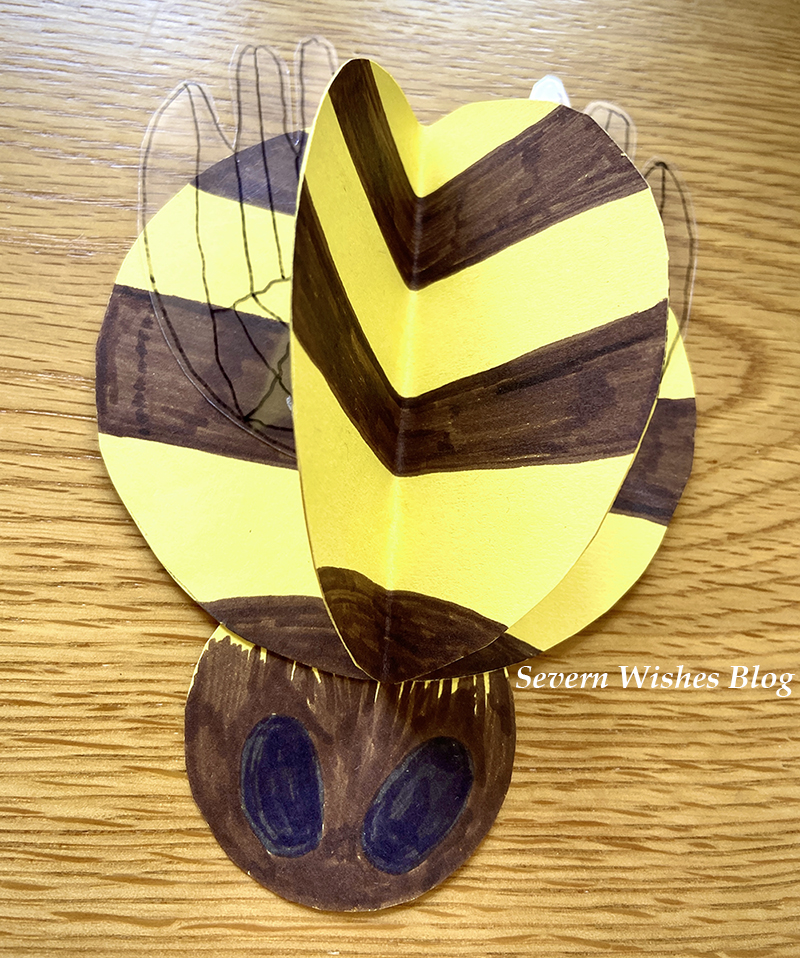
HAPPY WORLD BEE DAY!
You now have a friendly Bee to live in your home and remind you of their importance, coolness and cuteness.
WHAT CAN YOU DO TO HELP THE BEES?
Make a wildflower pot, planter or corner of your garden and attract bees and help them with their pollinating. You can get wild flower seeds free with some things such as “30 Days Wild) and Brands often give them away with food products too.
Don’t pull out all of your weeds, leave a few because bees need them especially because weeds are usually the first flowers of the new season.
If a Bee comes into your house leave it alone, open some windows and let it find its way out, do not attack it or attempt to catch it because it may sting in fear and then it will sadly die. Most Bee’s will head straight back out a door or window when they smell the fresh air.
Visit a local Apiary and But Local Honey products when possible.
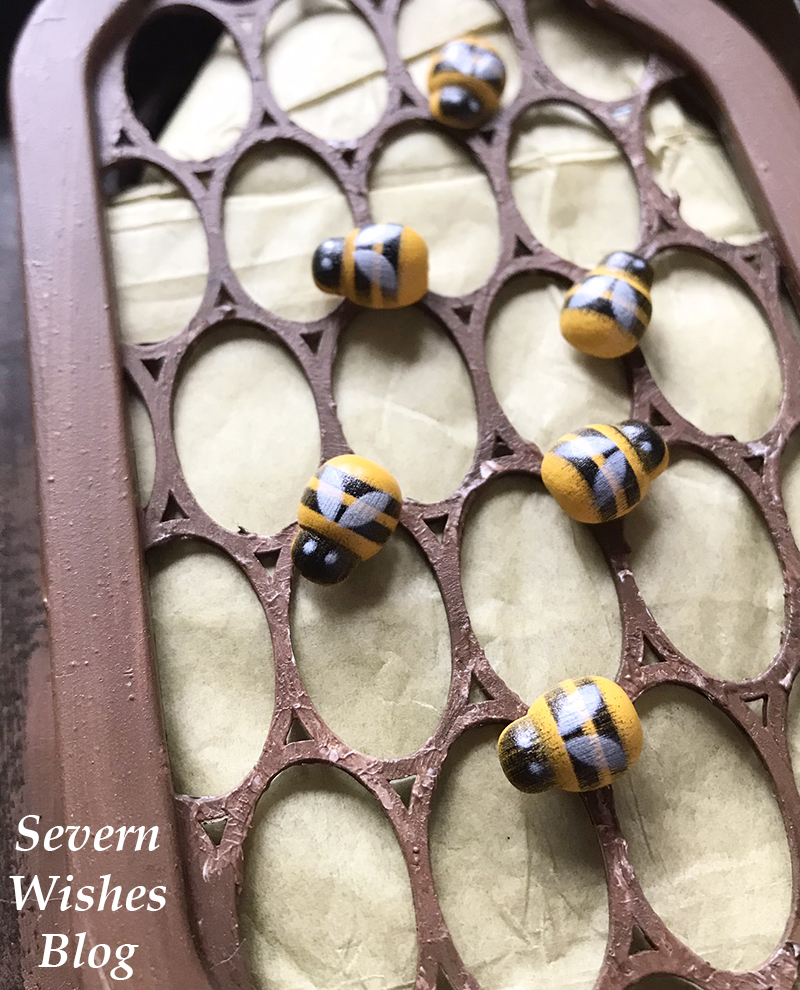
WOULD YOU LIKE TO MAKE A CRAFTY BEE HIVE?
What You Will Need
Tiny Craft Wooden Bees (Found in The Works craft shop)
A Narrow Sided Box or a Lid from Something (Rectangle is best)
Disposable Dehumidifier Pot Lids – doesn’t matter what colour as you will Paint them
Brown Paint and a Paintbrush
Step 1. Paint your box and the humidifier pot lids you have collected, they should be brown or a mixture of brown and black and yellow.
Step 2. Leave them to dry somewhere flat overnight at least.
Step 3. Place something to resemble honey and nectar between the lids, maybe tissue paper?
Step 4. Stick the Two (or more) lids together to form mini hive type structures.
Step 5. Stick the lids into the box and stick your Bee’s around. Done!
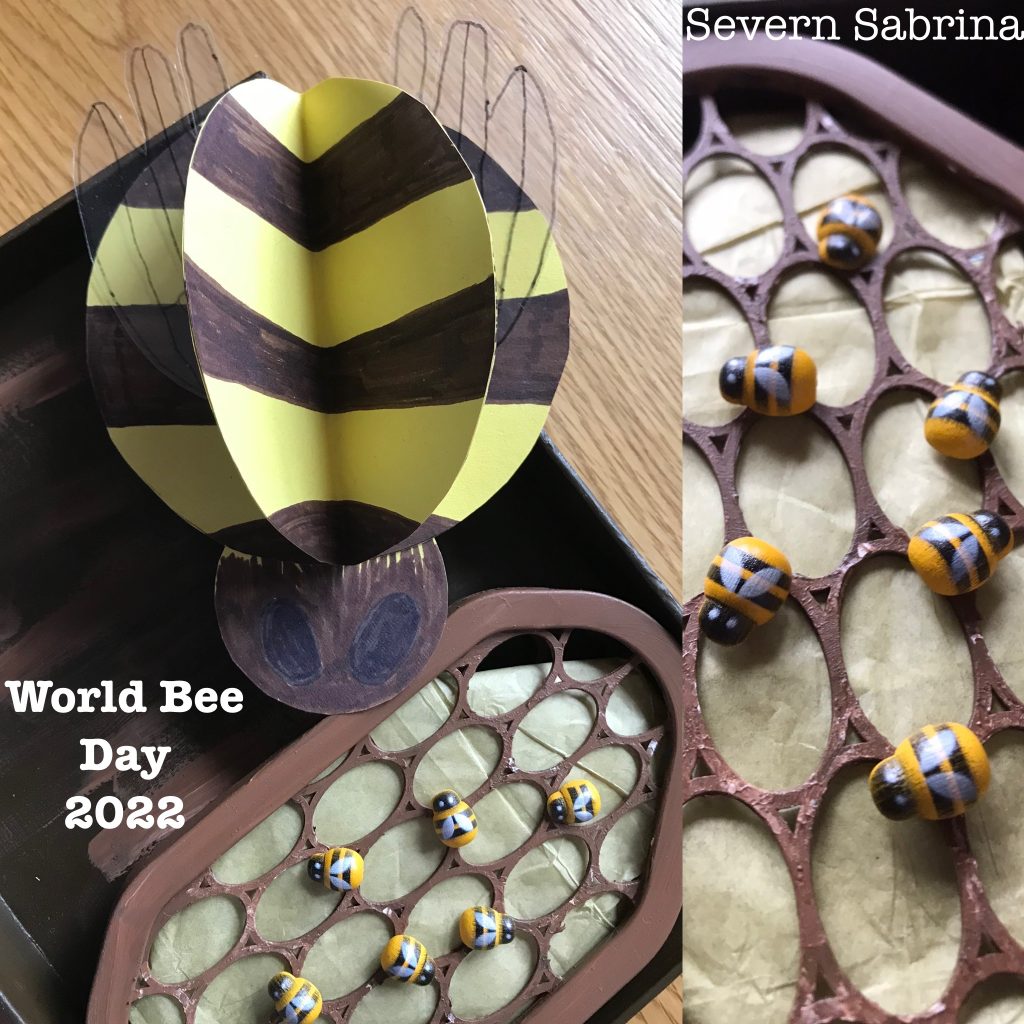
Thank you for taking the time to read this blog post today, I hope you have enjoyed it. If you make any Bee’s please share your pictures with me on social media, use the hashtag #SevernSabrina and #SabrinasHowToMake or tag me on them using @Severn_Sabrina or @SevernWishes Blog.
Have a wonderful World Bee Day 2022!
✩ Sabrina ✩

