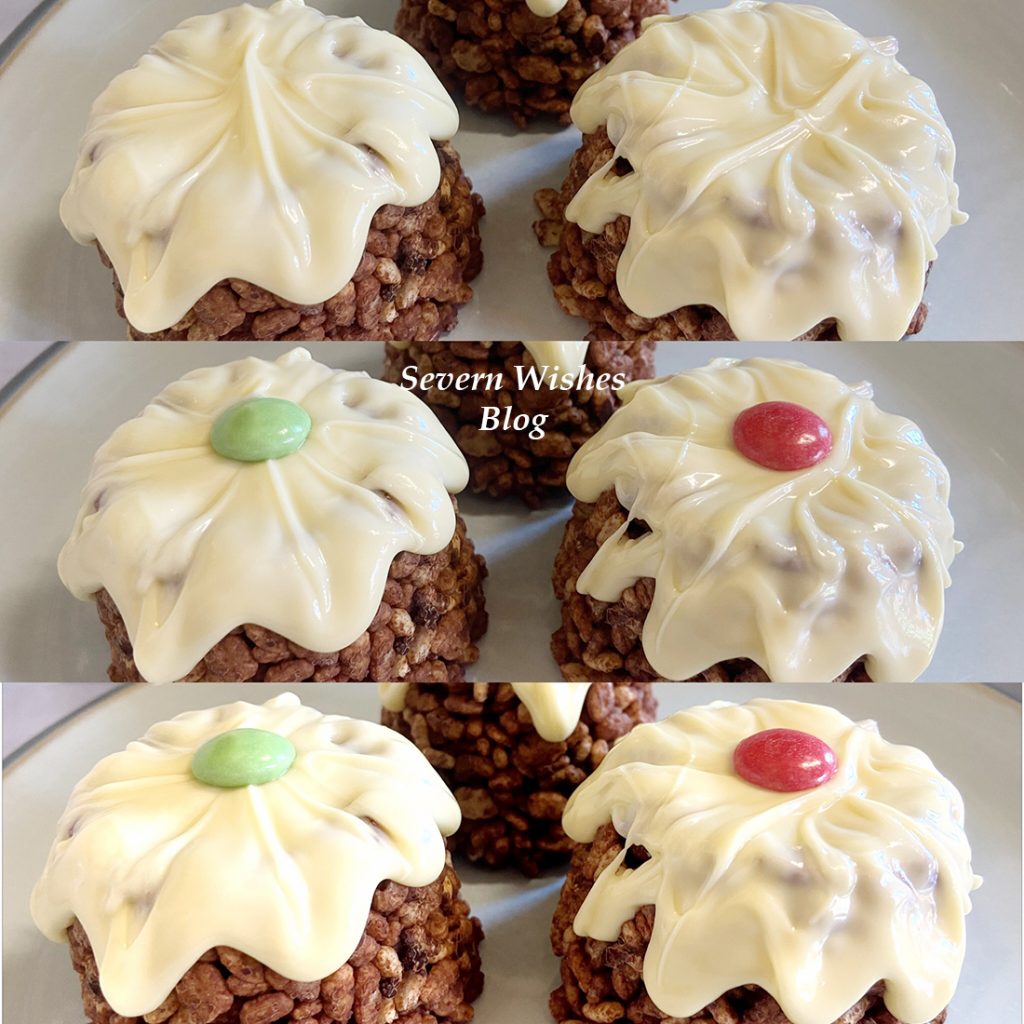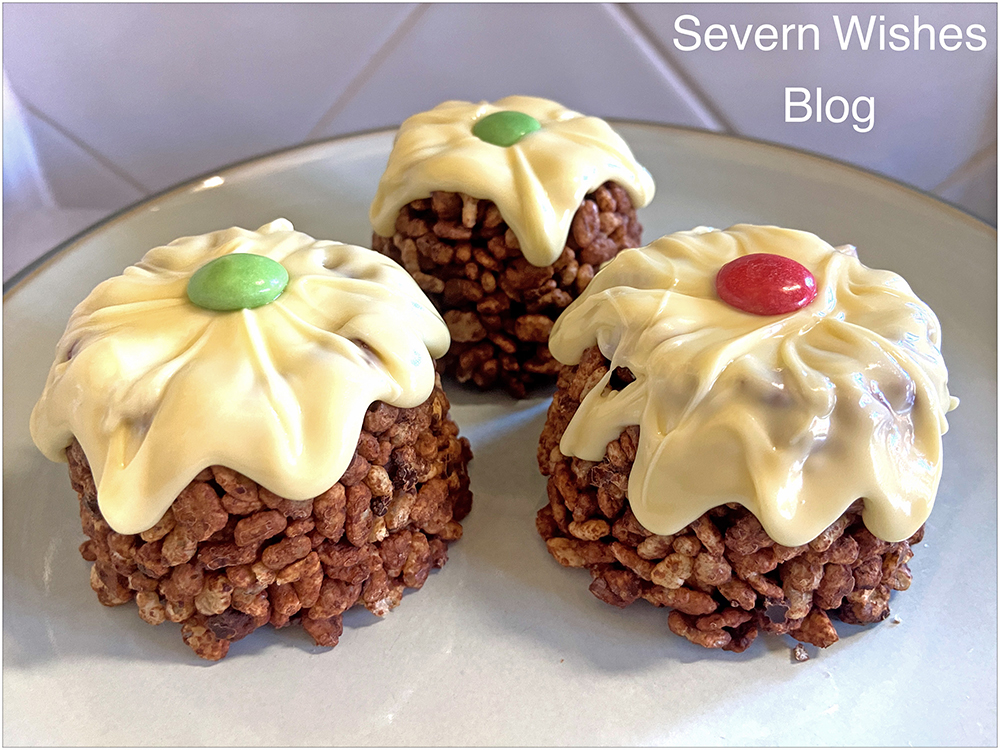
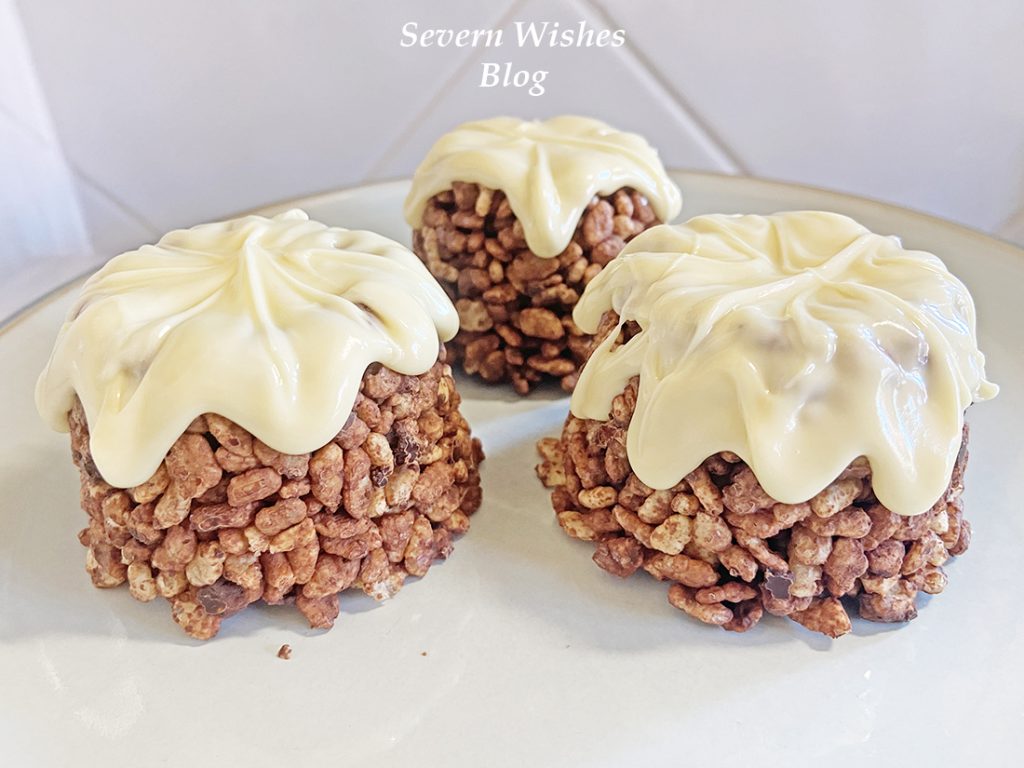
Children’s Chocolate Crispy Christmas Puddings

If you’re looking for a fun dessert for a Christmas Party that lots of children are attending then this might be the one for you! Look no further than these Christmas Puds! You can make them the day before and leave them to set overnight in a fridge. It will take just half an hour to make up to six Crispy Puds!

What You Will Need

Saucepan
Wooden Spoon
Rounded Moulds – I use an empty fruit pot that is from Tesco! They are the perfect size!
Teaspoon

Crispy Cereal 300g-400g (depends on how coated in chocolate you want them to be)
Milk or Plain or Free From Milk Chocolate 200g
White or Free From White Chocolate (for the topping) 60-100g
Decorative Item such as a Sweet or Smartie

How To Make

1. Melt the Chocolate on a low heat.
2. Once Smooth take off the heat and Stir in Crispy Cereal.
3. Push into Moulds of your Choice Firmly.
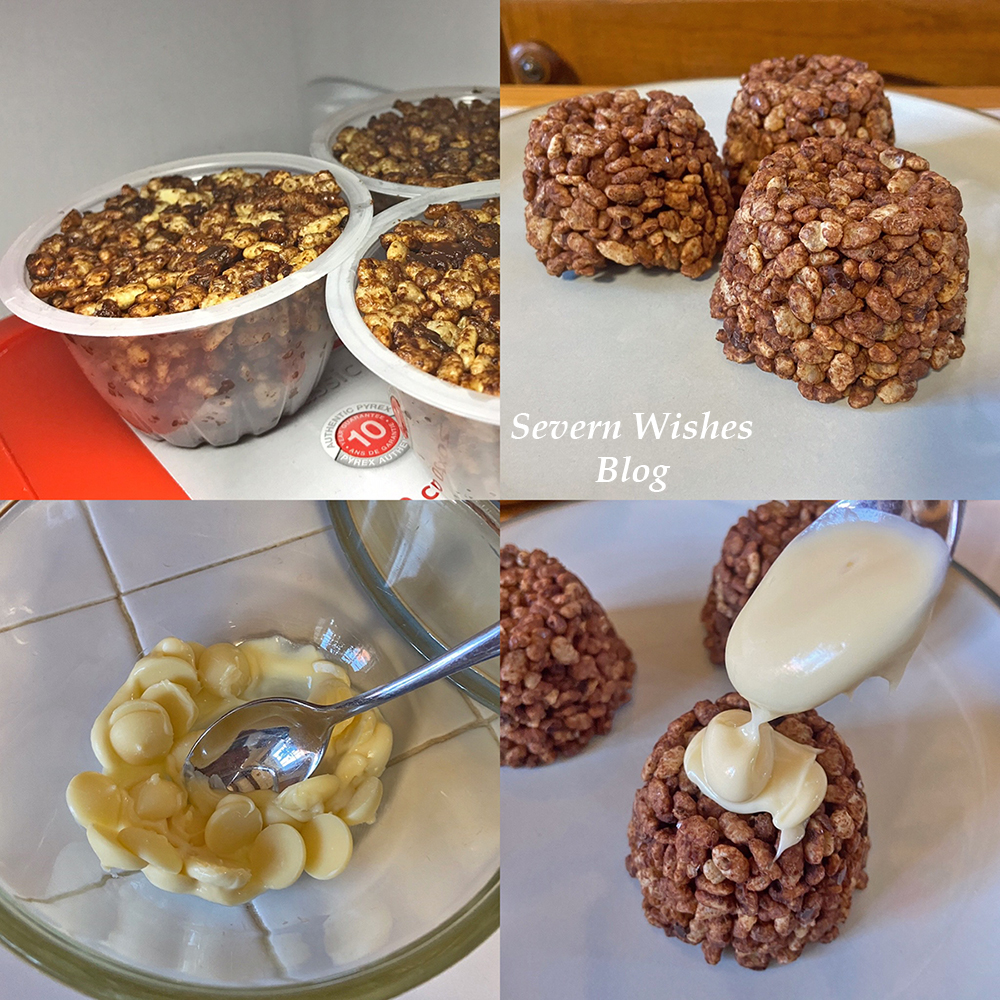
4. Refrigerate for a minimum of 4 Hours or Overnight.
5. Remove from Fridge, Turn Upside Down and Squeeze Gently to Remove from Moulds.
6. Melt the White Chocolate, Pour Over Each Pudding and Let it Drip down the Sides.
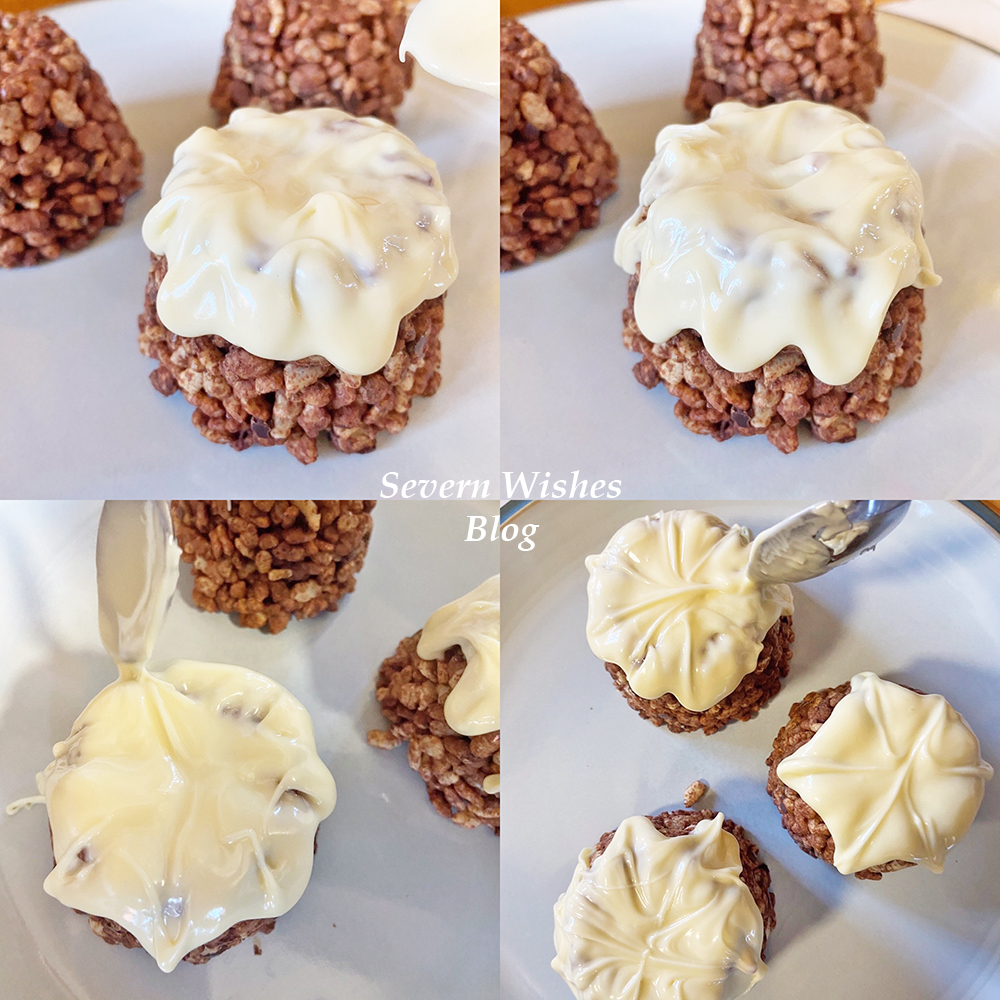
7. Using the End of a Tea Spoon Drag the White Chocolate to Form a Star Shape on Top of the Pudding .
8. Add a Sweetie or a Smartie on the Top to Decorate.
9. Pop Back in the Fridge until the Hour of Serving.
10. Keep in an Airtight Container for up to 3 days.

EASY PEASY!
Thank you for reading this blog post today, I hope that you like my recipe.
If you make any of these yourself I would love to see a photo of how they turn out!
Please tag me on Social Media! #SabrinasRecipes #SabrinasHowToMake

✩ Sabrina ✩

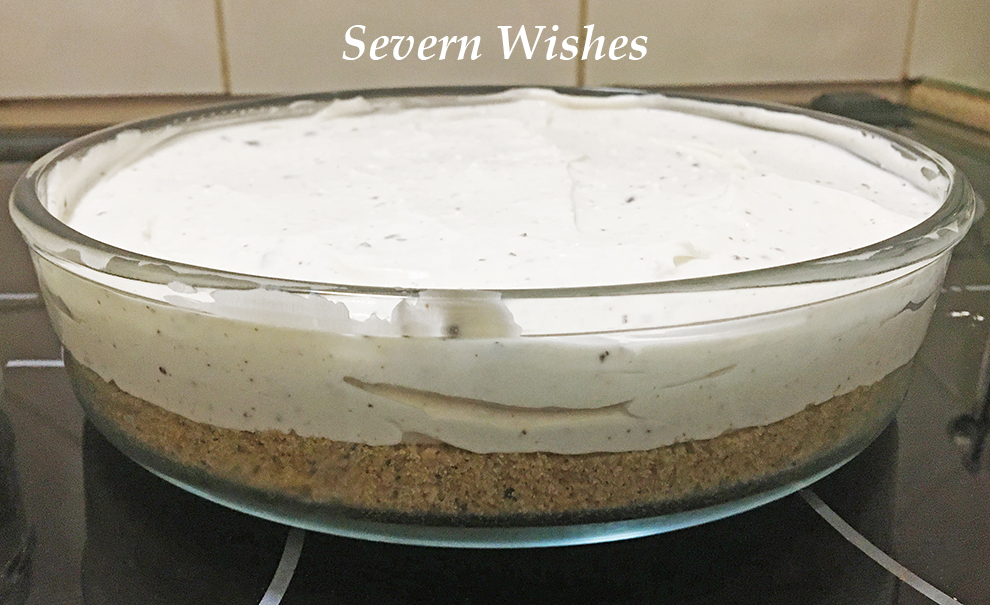
Sabrina’s Dairy Free No Bake Cheesecake Recipe

Dairy Free Coconut and Vanilla Cheesecake with Dark Chocolate Shavings
Method Step No.4

Sabrina’s Dairy Free Cheesecake Recipe

Ingredients


120g of Dairy Free Spread
250g of Biscuits (I use Plain Digestives and Oreos)
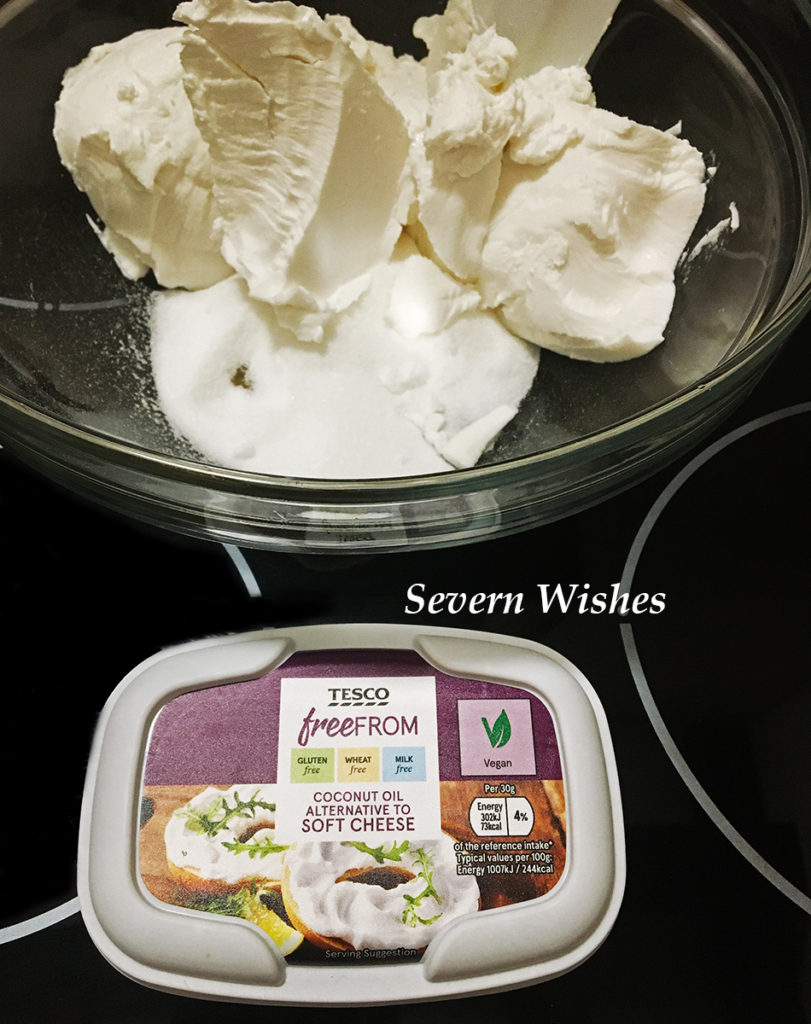
240g Free From Tesco Soft Cheese (2 tubs at 170g each)
100g Caster Sugar
1 Teaspoon of Vanilla
100ml of Double Vegan Cream

Method

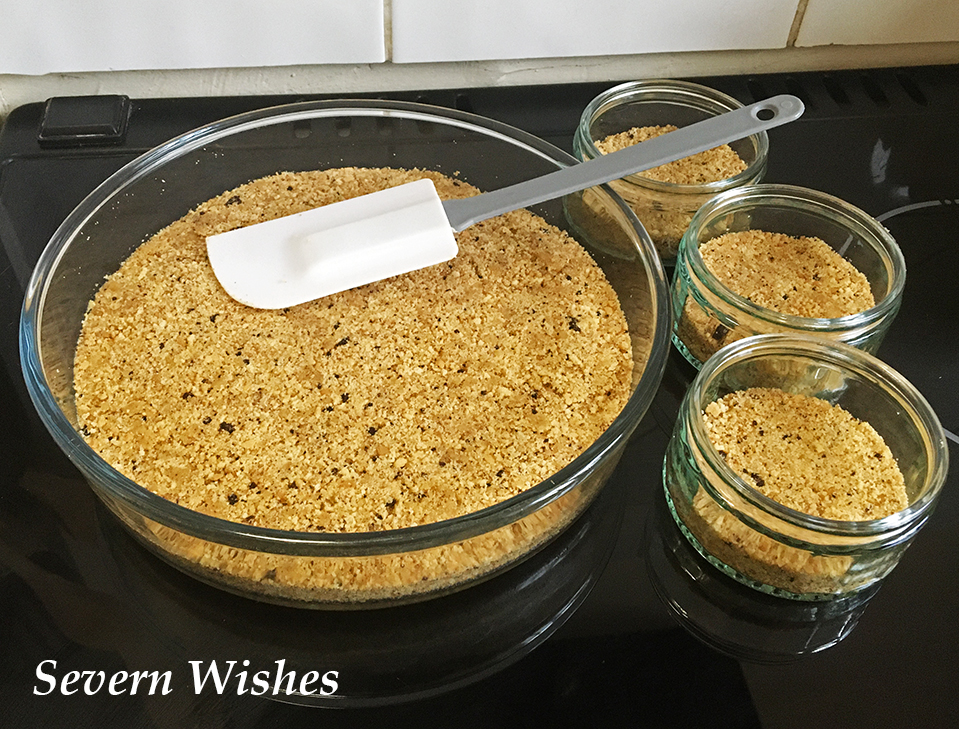
1. Crush your biscuits, whatever way you like! Food Bag and a Rolling Pin! Food Processor, you want them fine with not many chunks.

2. Melt your dairy free spread in a saucepan on a low heat, once liquid pour in your biscuits just a quarter at a time, keep stirring with a wooden spoon until all the melted spread and biscuit crumbs are combined.

3. Pour this into a cake tin or glass dish, round is best, and press down firmly. You want to refrigerate this base for at least four hours before adding the topping.

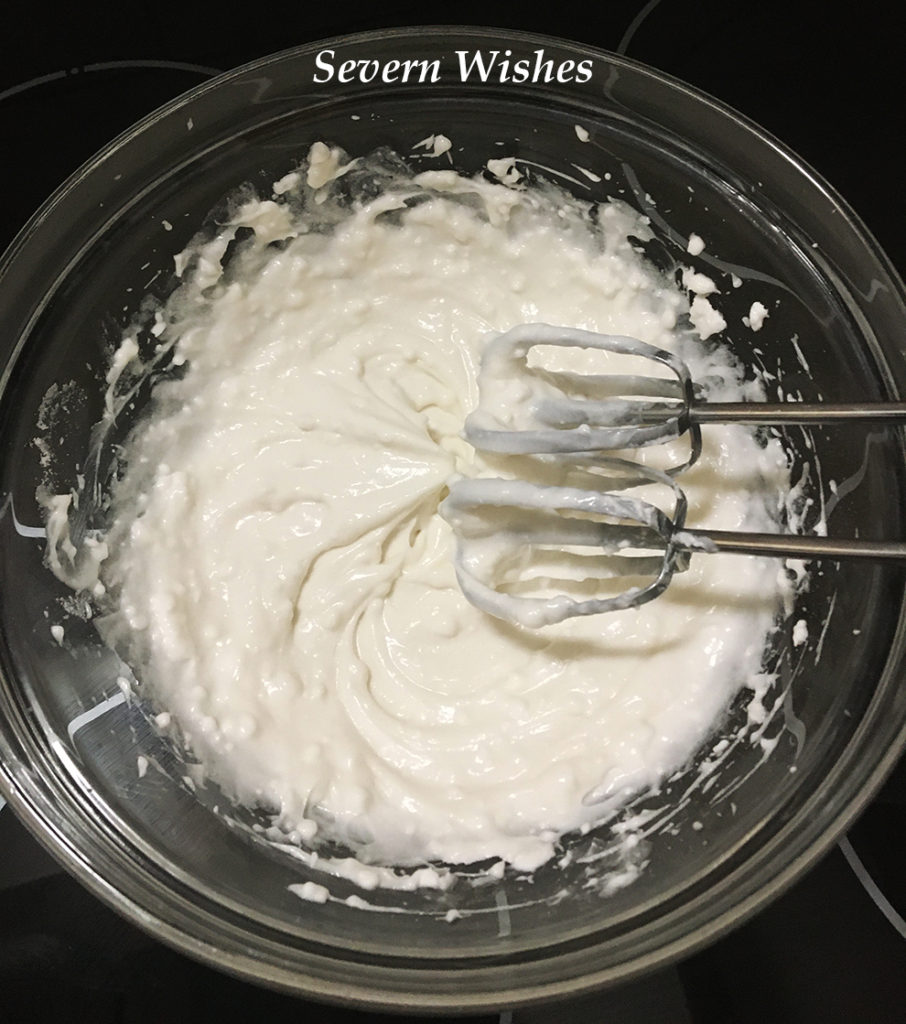
4. For the cheesecake topping you need to take a large bowl and using a wooden spoon, you beat the soft cheese and the sugar together. Mix until smooth, add the vanilla or any other flavouring you would like at this point. You may want to use a food mixer or hand mixer for the next part to make it easier.

5. Whip up the double vegan cream until it forms peaks, it should be smooth, then using the wooden spoon gently combine it with the cheesecake topping in the large bowl. The mixture should be folded together and stirred gently. Try not to over whip the mixture.

6. Once the base is chilled you can spoon this cheesecake on top, use a spatula to level it out. If you want to add anything like fruit or chocolate, you are better leaving that until serving or at least the next day so that the cheesecake is totally set.

7. Remove from the fridge about twenty minutes before serving. This cheesecake will last up to 5 days in a fridge. Make sure that you cover it fully before leaving it in the fridge when it’s finished.

Method Step No.3
Method Step No.5
Method Step No.6

If you need any help with this recipe then feel free to leave me a comment and ask me anything. If you make a cheesecake you can tag me on my social media and let me know how it turned out! I would love to see your creations! Because the cheese alternative is coconut based, you should try and pair your flavourings with the coconut for a tasty combination.

I did Vanilla and Dark Chocolate shavings in mine. I would be tempted to do either Lemon or Mango.

✩ Sabrina ✩