How to Dress your Home for a Beautiful yet simple Autumnal look with Décor on a Budget


I love everything about a crisp Autumn day, the colours of nature in the trees, the warm sunshine and the cooler air. Wrapping up in warm clothing and taking a walk in the countryside cannot be beaten at this time of year. But how can you bring that beauty of Autumn into your home in simple yet beautiful ways and on a strict budget! Well here is how I do it!
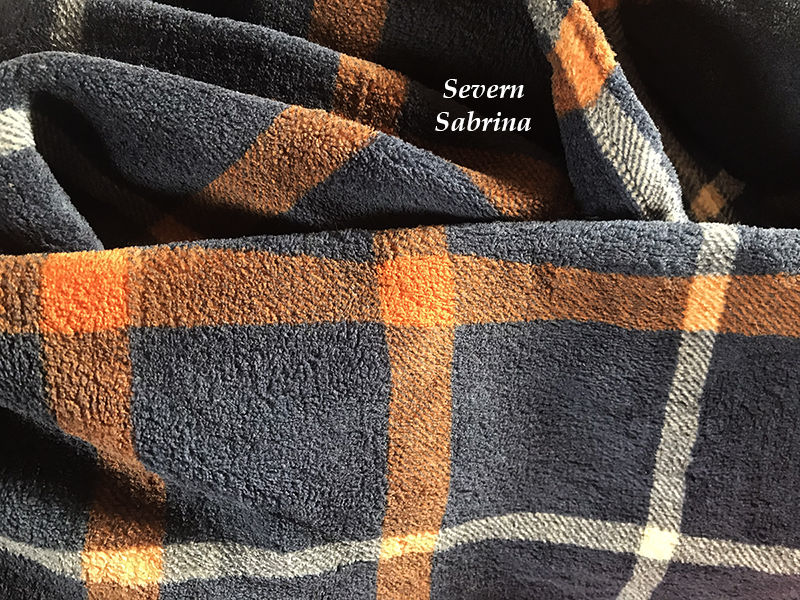
Throw – Dunelm

My Items I bought on a Budget for Autumn Décor over the last few years

Glitter Pumpkins – Poundstretcher – £1
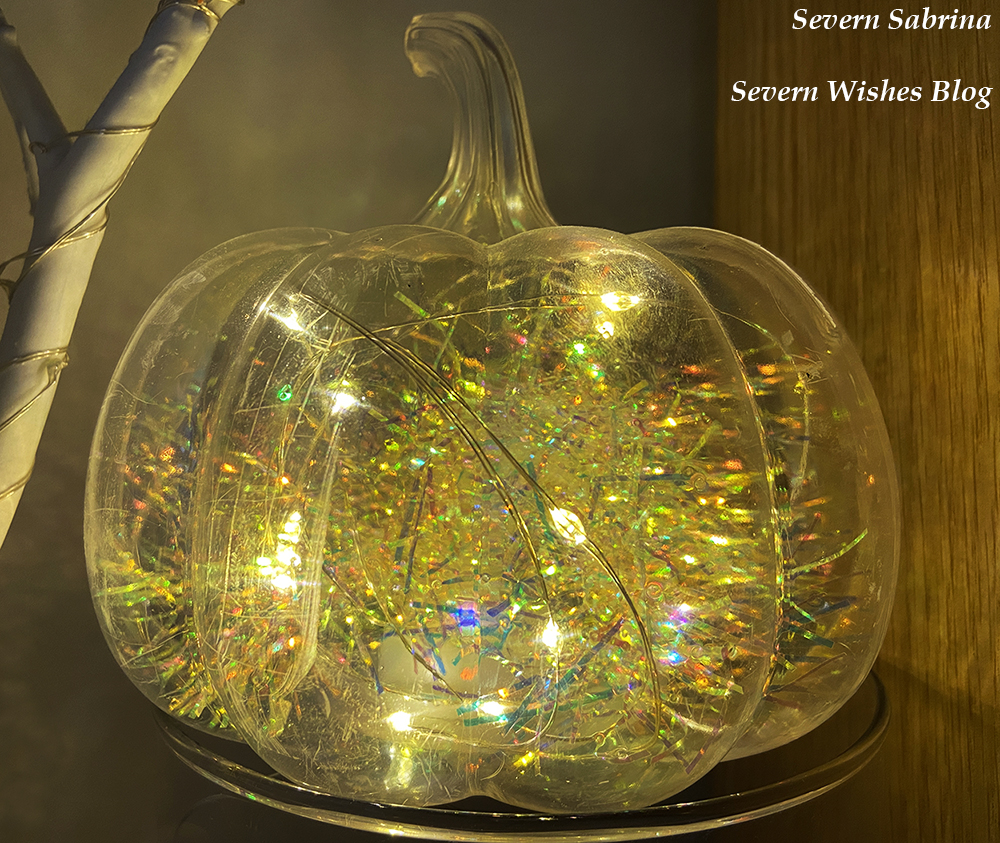
Plastic Light Up Pumpkin – B&M – £4
Artificial Autumn Leaves – The Works – £1 a bag (50 leaves per bag)
Wreaths, Craft Items and Wooden Pieces – The Works / eBay – 50p – £5
Autumn Fleece Throws – Asda £6 / Tesco £6 / Dunelm £7+
Artificial Pumpkins / Pine Cones / Acorns – eBay – £4-£12 depending upon how many pieces you want and which country you decide to order them from (China prices are cheaper but you’ll wait around 3 weeks for the delivery).
Autumn Cushions – Autumn Designed Cushions or Cushion Covers – Amazon / eBay / Dunelm £3 – £9

(Some of the items in my pictures I have purchased from years 2020, 2021 and 2022 and only similar items may now be available from their respective sellers).
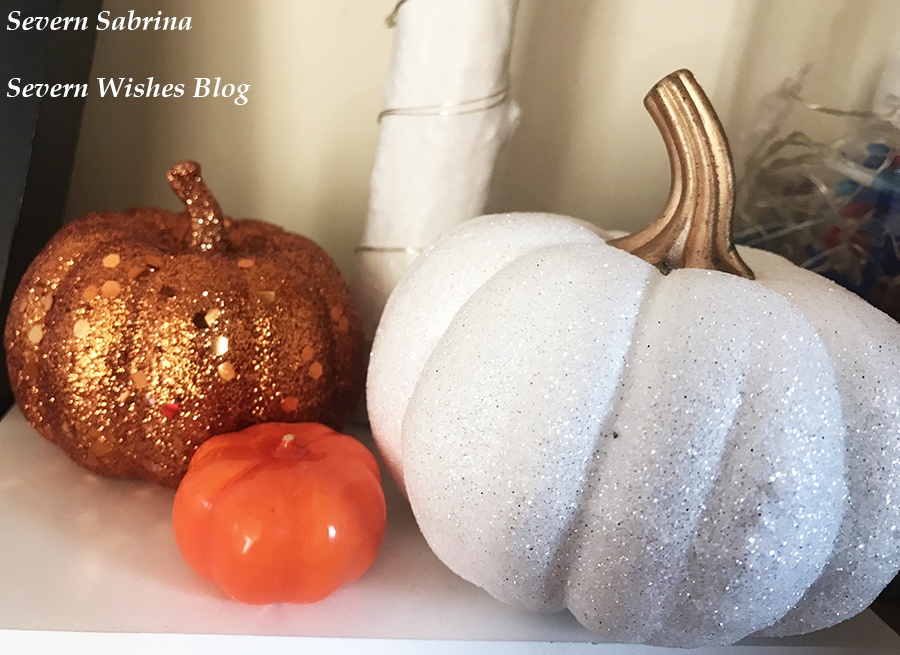
Glitter Pumpkins – Poundstretcher
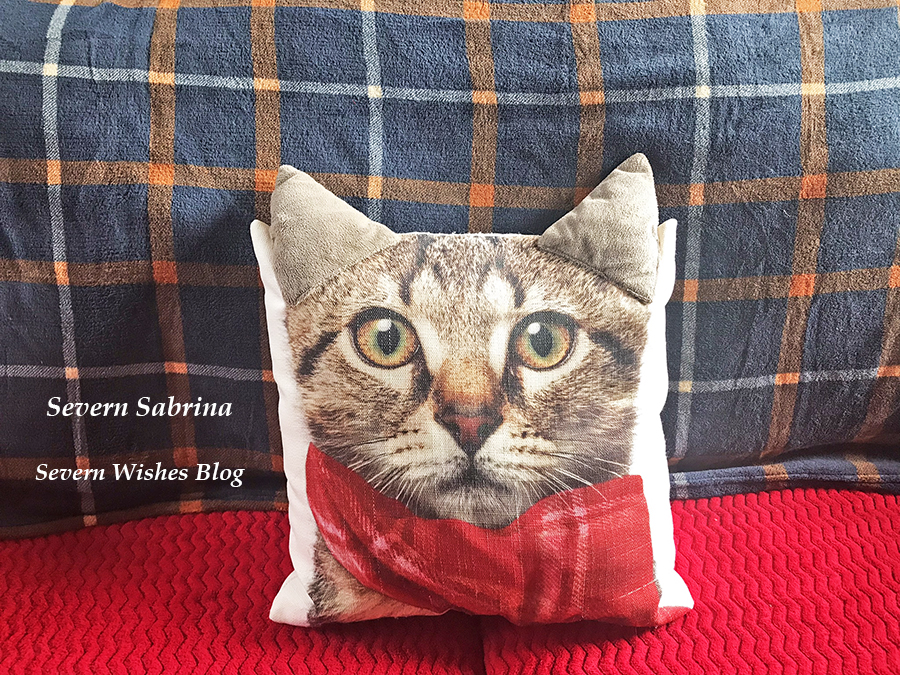
My delightful Cat in a Scarf Cushion from Next from 6 years ago.

I love nothing more than to cuddle up on my sofa with my cushions and fleece throws, getting cosy as the cold nights draw in. I have a whole box filled with throws, I have some for every season. It’s the turn of my Autumn throws like the one above, it’s navy and orange design emanating the colours of autumn.
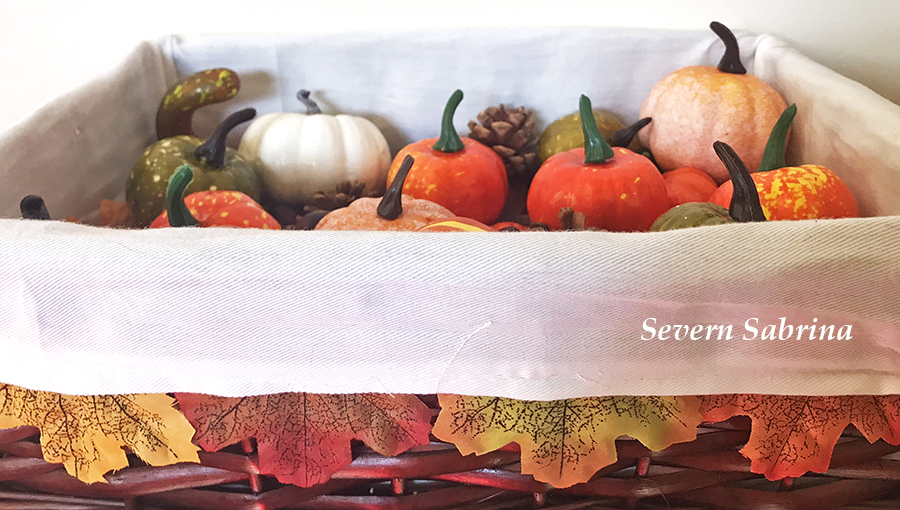
Autumn Basket

I used an old wicker basket that I had laying around to create an Autumnal display. Inside I placed artificial leaves, pumpkins and acorns, with some pine cones. Take some leaves and gently slot them in around the outside, so that no matter what angle you look across at it you will see an autumnal theme.
You can use any spare Basket or even a Box you have laying around, paint it if you wanted to! And any size works too, the smaller your item the less things you’ll need to fill it up.
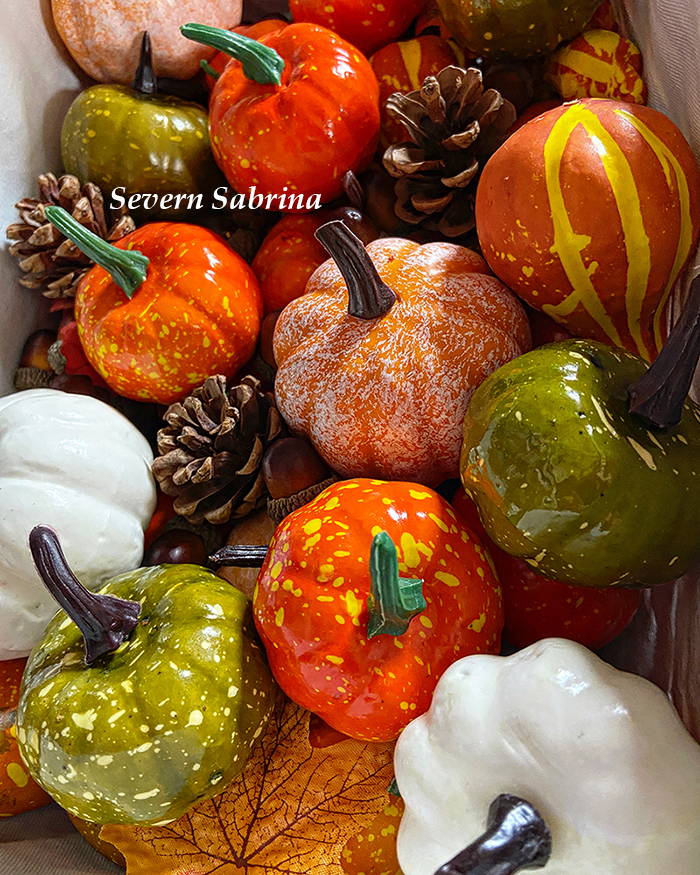
Autumn Basket from above
Light-Up Battery Pumpkin Clear – B&M (2021)

Autumn Wreath

An autumn wreath is simple to make from some of the items you’ve already bought for decorations like the pine cones and artificial leaves. You can also go on a nature walk, gather items off the floor (do not remove them from hedges or trees) and dry them out on a towel over the course of the next week. My wreaths are from The Works and eBay. You can buy them as Metal, Rattan or Wicker, but I try to buy plant based ones where they are sustainably grown and made when possible.
To make a wreath take your circle base and then using a glue gun attach a selection of artificial leaves as a base layer for your other items like pine cones and artificial pumpkins. Leave it to dry for at least a day before hanging it up, or lay it flat as a centre piece of a table for example. You could stand a vase in the centre of it to continue the theme.
I used some Wooden items as decorations for my indoor only wreath as well, which I picked up from The Works over the past two years. The Owls are a particular favourite of mine.
I am proud with how both of my wreaths have turned out. See my images below.
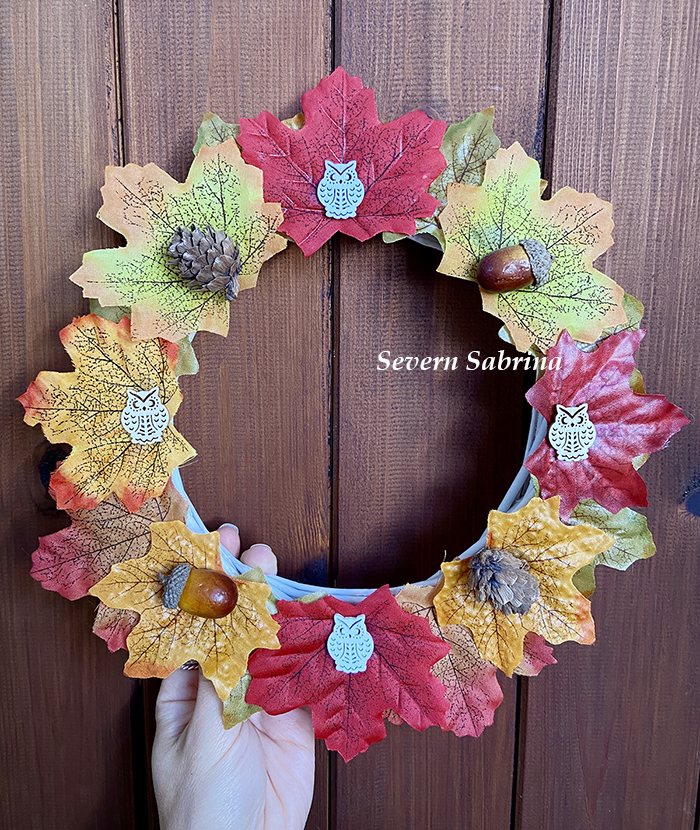
Homemade Wreath I made 2021

My outdoor wreath is a metal ring that I have glued a selection of items including the artificial leaves and pumpkins, small pine cones and artificial acorns.

Homemade Wreath I made 2022

Thank you for reading this Lifestyle blog post today, I hope you have enjoyed looking at my Autumn décor and I do hope I have inspired you to decorate your own home – even if it is on a strict budget like mine has been over the last few years!

Your children may also enjoy making some Autumn Craft pictures with dried autumn leaves that can be painted and printed, or simply glue a nature picture together in autumn glory and all the colours you can find. It’s so easy to do a nice printed picture using dried shapes from nature and you can even display it in your home after as part of the seasons décor.


✩ Sabrina ✩

Autumn Craft Printing for Children

Talking About All the Different Ways that We Use a Tuff Tray at Home

Hello Severn Wishes Blog Fans! Today I am bringing you a Lifestyle / Parenting / Hacks / Product Review article I have written all about something I have now owned for well over a year!
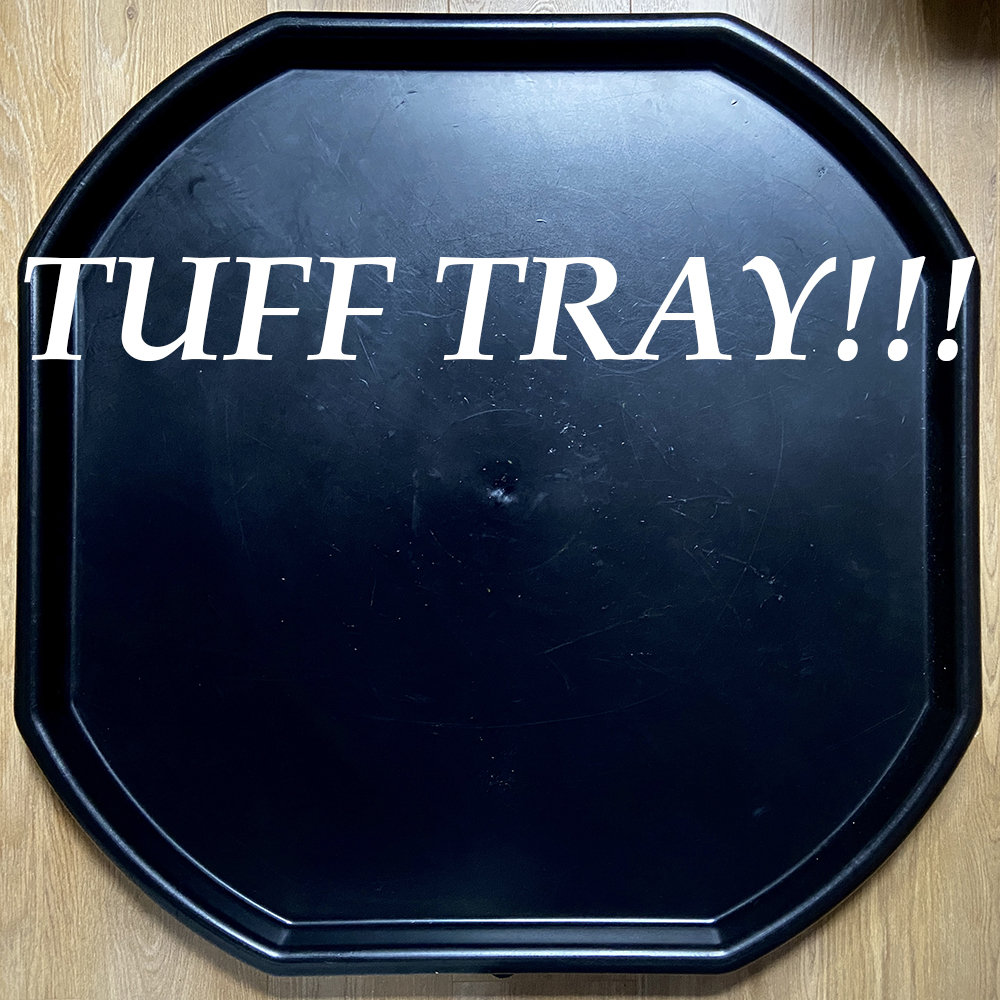
And that item is… The TUFF TRAY!

These fantastic trays are usually found in a school setting, especially with younger children like those in a preschool or nursery setting, but due to their versatility they have been becoming more and more popular with mums who are able to do a lot with their children at home.

As soon as I heard about them I knew it would be a great investment for the future. I ordered mine in black but they do come in a variety of colours. I preferred the black due to it not getting stained or if we made any scuff marks with toys they wouldn’t be showing up as easily. Overall I’m really happy with the quality of the tray for what I paid for it. So far it has withstood a toddler doing all sorts on it and in it!
I chose to purchase without the stand so it was then just suitable for laying down on the floor.

Be it Sensory, Messy Play or just toys on a flat surface, the Tuff Tray is ideal for lots of reasons when you have little ones growing up. Here are just some of the many ways that we have used our tray this past year or so! Both in visual form and I made a little list too!

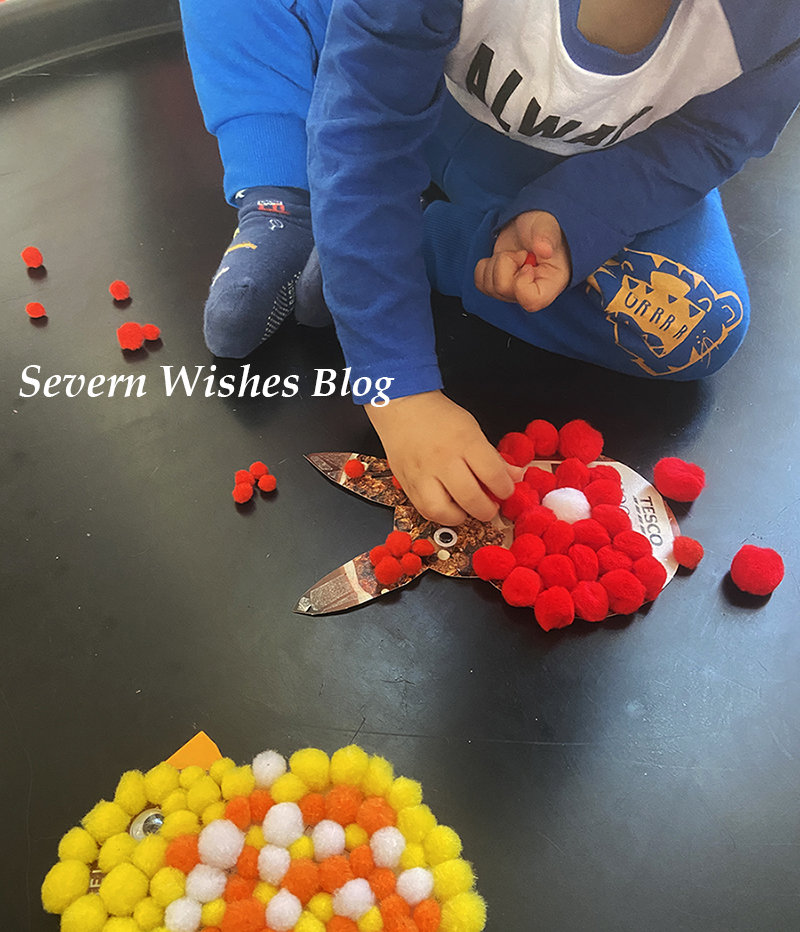
  • 1. Ideal for Craft to keep the craft pieces and mess contained in the tray borders.
  • 2. Great for when you want to do some Messy Play and use paint so it doesn’t get on the floor.
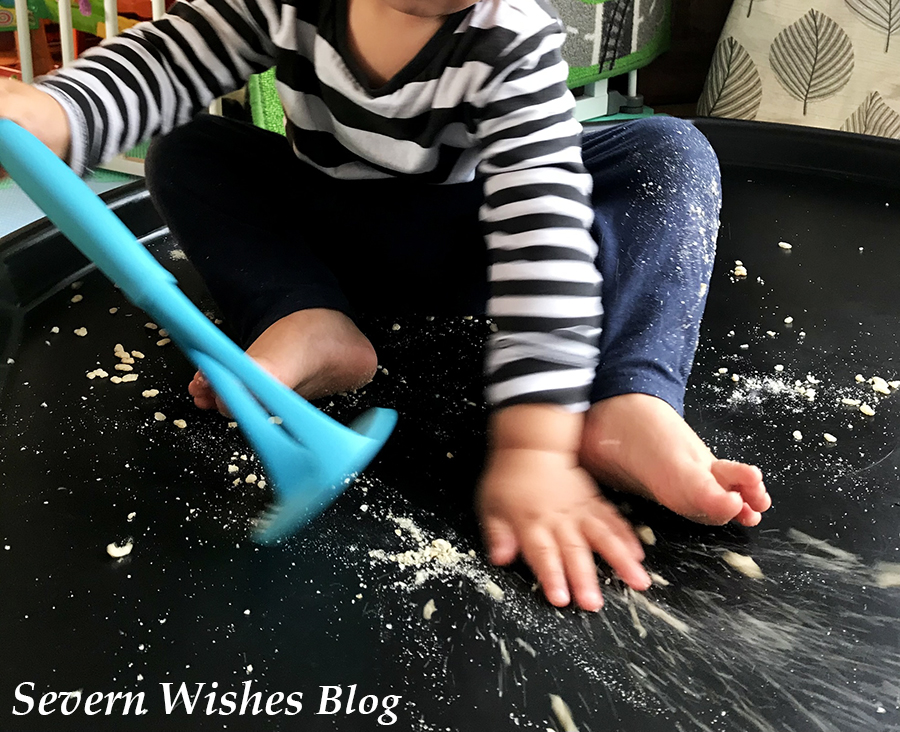
  • 3. Doing some experimenting with foods in toddlerhood? Keep those rice crispies, rice grains and other food stuffs within easy clean up-able reach. You can wipe clean anything off it.
  • 4. Using Glitter today? This tray is ideal to wipe clean after your picture making as the bits will all be contained within the tray walls. Sit your children outside of it and let the mess be inside (mostly).
  • 5. Potty Training? Stick the Potty in the centre of the tray on the floor, and it will be easy to clean spillages off the plastic rather than off your floor!
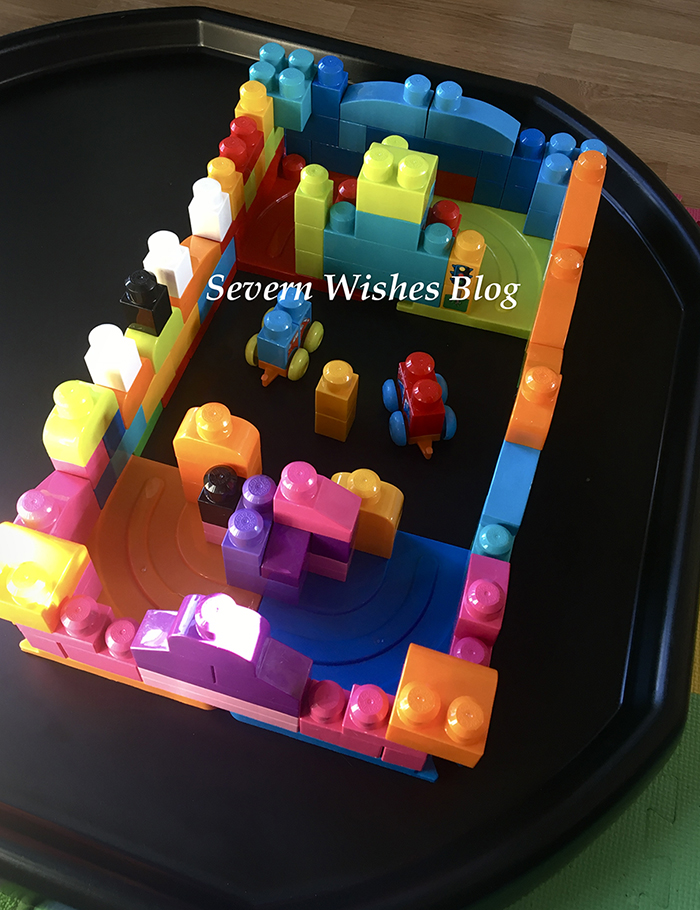
  • 6. Building Lego or Duplo or Blocks? It can be annoying for little ones if pieces are rolling away or falling over all the while! But on the tuff tray they won’t get far at all! It also means it is a flat surface for the building to become easier on little hands.
  • 7. Doing a Jigsaw? Be it an adult one or a children’s one? Do it on your Tuff Tray and you’ll be able to move it at a moments notice off the floor and then continue it later.
  • 8. Want to do some baking with the kids but you want to do it at their level? It is much safer to do it on the floor where nobody is balancing and this tray doubles as a big flat surface, just clean it with sterilising spray and let it air dry before you start any food preparation.
  • 9. Sensory Play can involve all sorts of things like craft or food stuffs, having it all contained within the Tuff Tray makes life easier for you and if you planned to do it for a few sessions over a week you could even leave it on the tray and just move the whole tray instead of packing everything up.
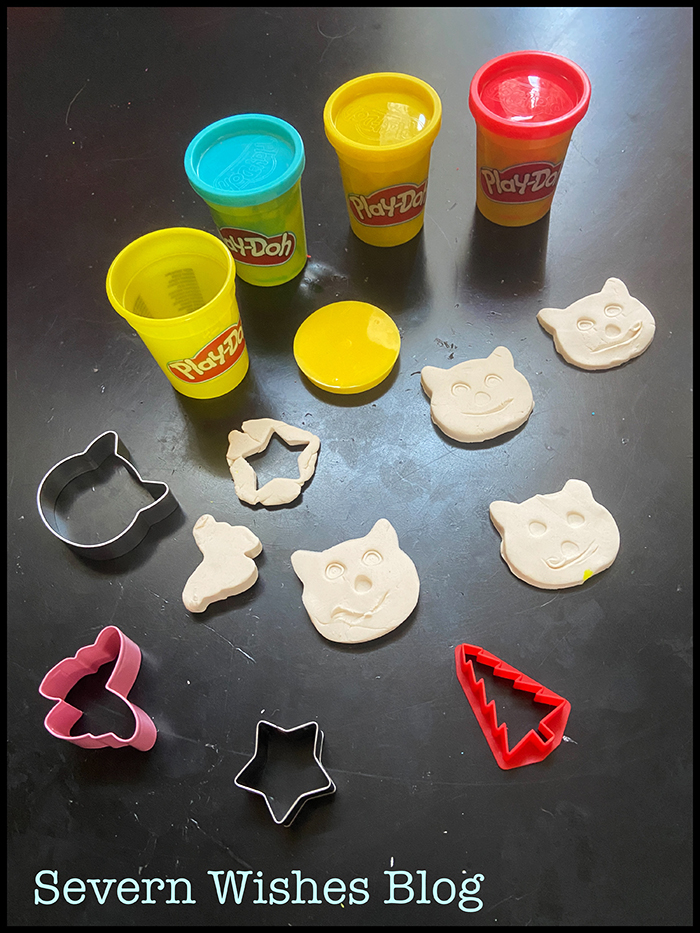
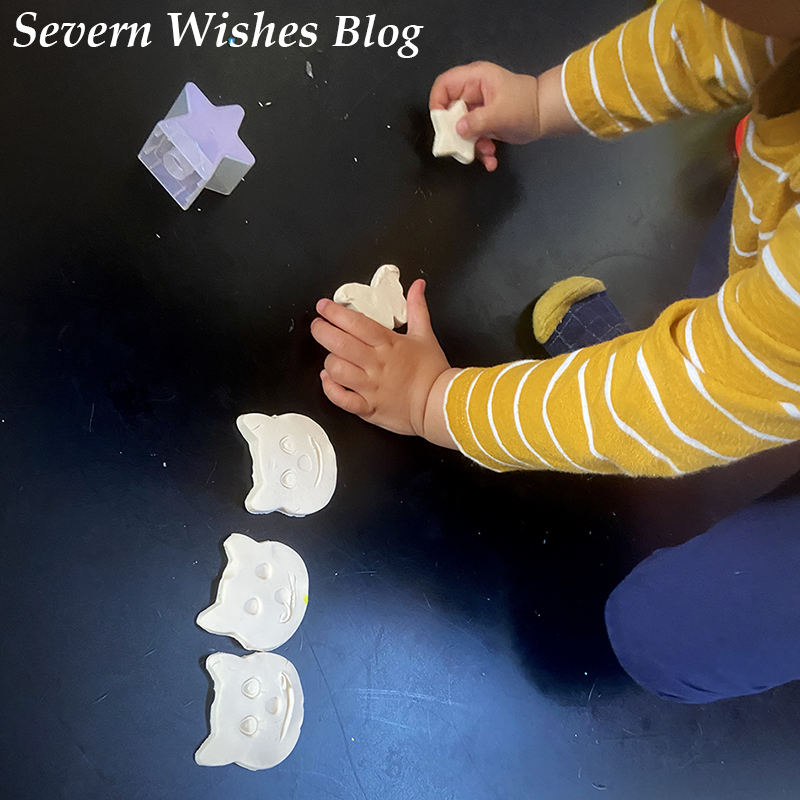
  • 10. Play-Doh can get messy and easily sticks to hard surfaces like tables or floors, but by using a Tuff Tray base for all of the items they are contained within its sides. If you choose to get a stand with your tray you can even have the tray at a suitable height for your little ones. Or you can do what I do and maintain it on a flat floor, whichever is easier for you.
  • 11. A Tuff Tray can be used outside for a water table or a sand table due to its sides being all the way around with no holes within its surface.
  • 12. Design a World – Use your Tuff Tray and things like chalks or washable paint to create a world, a map or a world for your children to put their toys in to and play. I have drawn a road on mine for my sons toy cars before now and also used elements like sand made of ground cereal to make a beach.


So overall the Tuff Tray doubles up as another useful hard surface within your home and is ideal for playing, learning and food preparing. Young children can safely sit within its boundary or outside of it leaning in in order to play. There are no sharp edges on the Tray and the hard plastic is coated so its easy to wipe clean after every use.
I purchased the standard (medium) size but it is also available in small or extra large depending on the supplier you’re purchasing it from. They are also available in many colours.
Prices range from £11 to £70 and all Tray prices do depend upon the colour, and the size and whether you wish to buy a stand with your Tuff Tray purchase.
They can be used inside or outside but I would recommend you keep them out of direct sunlight and harsh weather conditions and keep them inside a garage or shed when not in use in order to maintain the sturdiness of the plastic.

What do we use our Tuff Tray for the most?

Craft and Messy Play and Sensory Play mainly.

Thank you for reading this blog post today, I hope I have inspired you and if I have then I would love to hear what you and your family use your Tuff Tray for!

Enjoy the rest of your February!

✩ Sabrina ✩