Sabrina is a Lifestyle, Parenting and Product Review Blogger. A Writer, Photographer, Reviewer, Home Cook, Crafter & Nature Enthusiast. You will find a bit of all those categories here on Severn Wishes Blog, Welcome to Sabrina's Lifestyle Blogging & Honest Reviews.
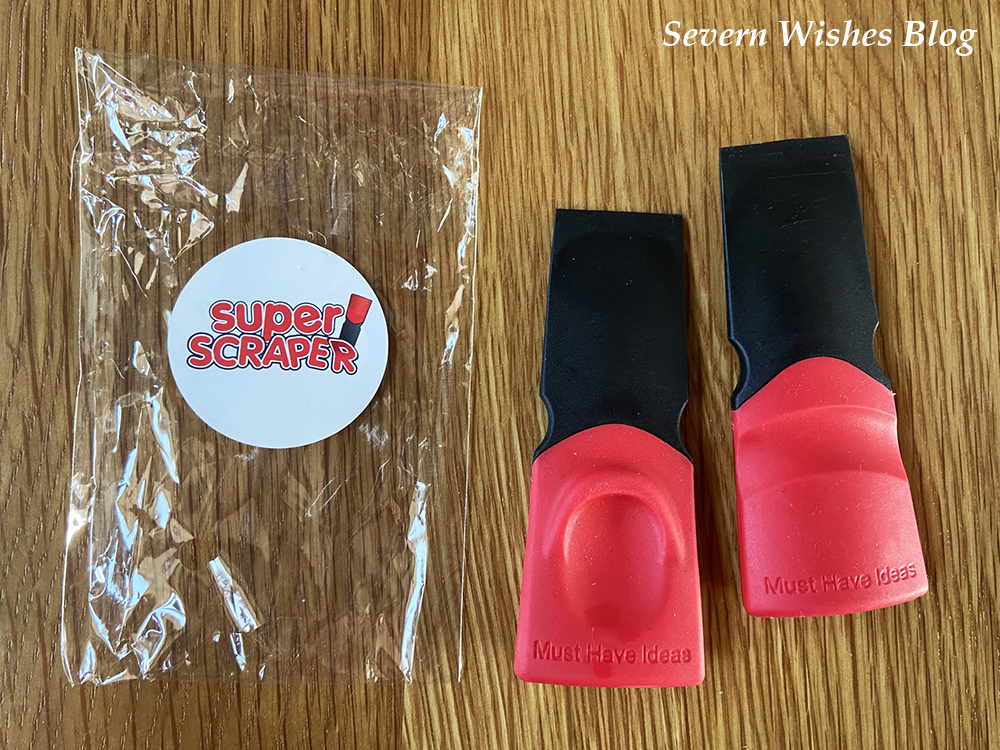
When you have tough cleaning jobs to do you often want something that can give you a helping hand. Look no further than the Must Have Ideas SUPER SCRAPER.
This fantastic tool comes with a thumb space for easy grip and is ergonomically designed to aid you in a variety of “around the home” scenarios. It’s made of tough Nylon and won’t scratch the surfaces you are using it on, plus it’s so handy you’ll wonder how you ever managed to do these things without one! They are currently available for £9.99 as a buy one scraper get one free. (Price correct as of 19th March 2022 and does not include Postage). These Super Scrapers are so durable that Must Have Ideas state they should last a lifetime.
Let me go into my very own list now, of the 19 ways that I have personally used my Super Scraper around my home. – so far! Here is my “How To Use the Super Scraper” in your life!
Aiding in the Removal of Batteries in kids toys
Scraping off burnt on food off oven trays without removing the metallic surface beneath
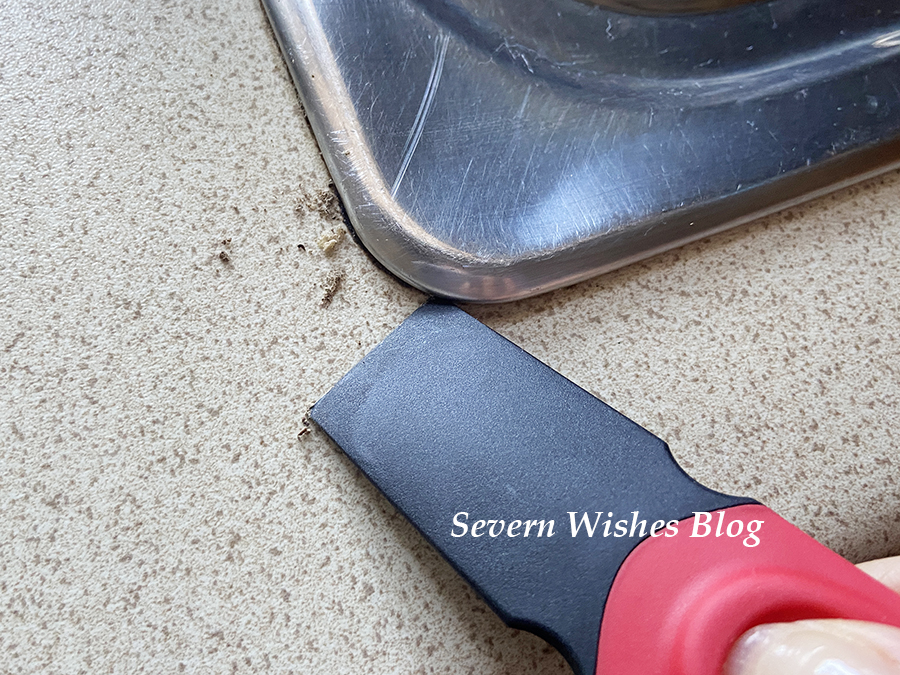
Removing dried limescale from around the kitchen sink area
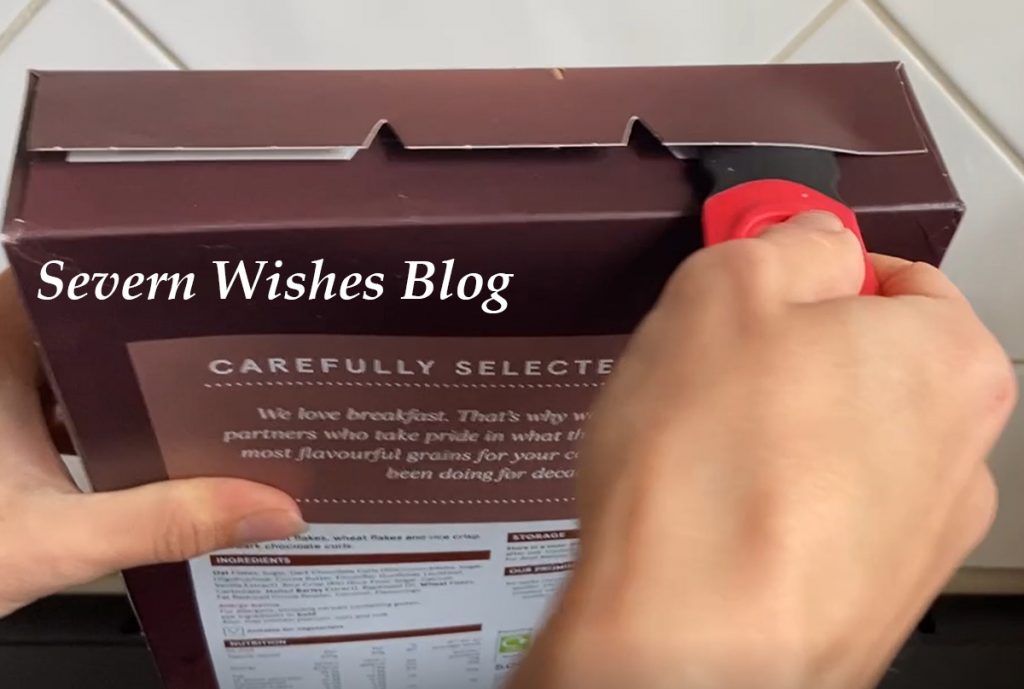
Opening Packaging, Letters and Sealed Boxes
Removing Mud from Shoe Grooves
Removing Small Stones from inside Wellie Boot grooves
Getting burnt off food and stains off of Hob Ring Surfaces
Aiding in Lifting and Scraping Dried on Food off plates
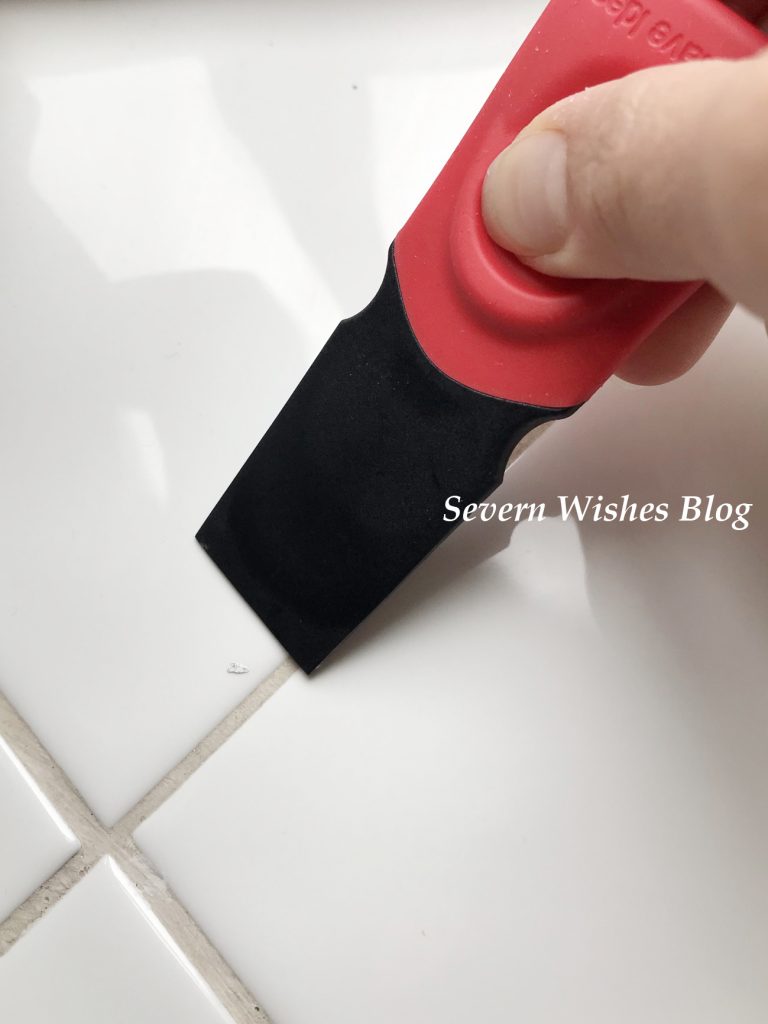
Removing Dried on Paint off Kitchen or Bathroom Tilesor a Ceramic Bath
Removing Stickers that children have used and are stuck on flat surfaces
Removing dried stray Silicone Filler lumps from off Bathroom tiles
Remove Dirt from down the sides and edges of built in kitchen Appliances
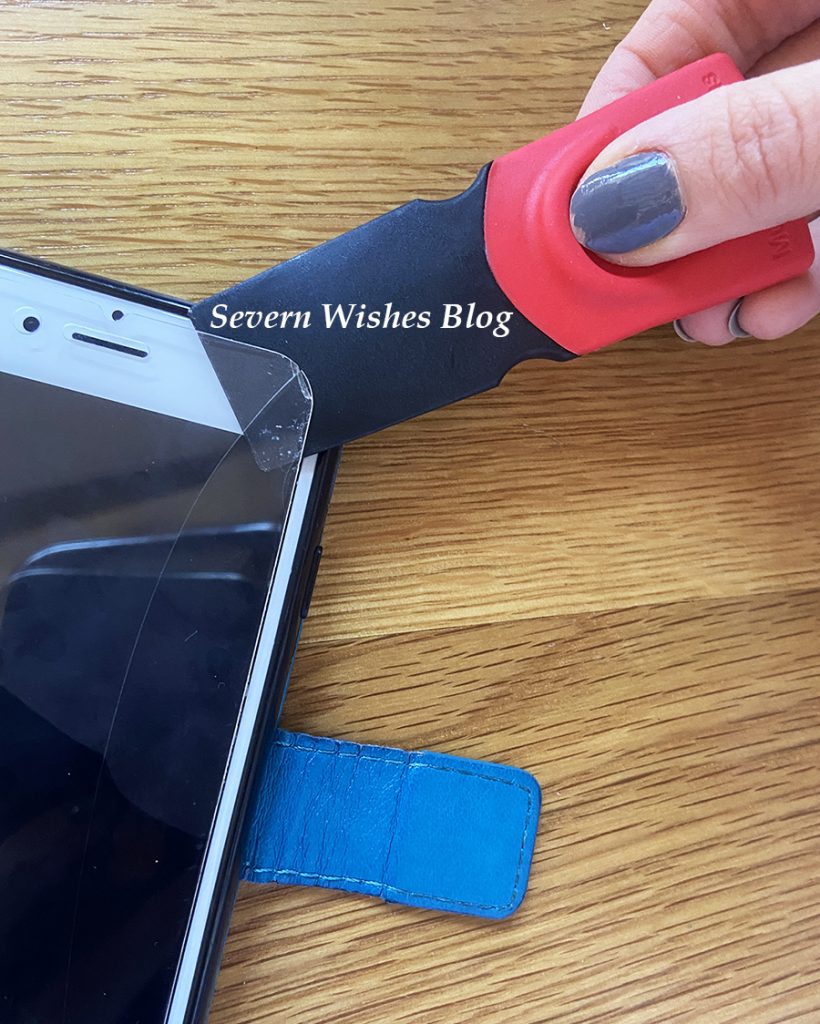
Aiding the smooth Removal of a Cracked Screen Protector on a Mobile Phone
Aiding in the removal of dirt around the edges of seals inside my Car
Removing trapped dust and dirt from along a window ledge
16. Helping to Remove Sticky Tack or Chewing Gum from Shoes 17. Easily Open Tins or Cans with Ring-Pulls by using the Super Scraper to Life the Pull Up for you 18. Gently Scratch off Gambling Ticket foils with ease 19. Price Labels can be really tricky to ease off surfaces but the Super Scraper makes it a breeze
My Thoughts on the Product
I never imagined coming up with so many ways in order to use one simple little product! But this tool is something else! And every time I have a situation where I’m not sure of how to get past it, I now turn to the Super Scraper to help me. Overall I am so pleased to have had the chance to review this product for Must Have Ideas and it has been an excellent and useful tool in my life for the last few months. I think every home should have one, it saves you time and effort and sometimes even the hassle of removing or cleaning or dislodging items that would otherwise have eaten up more of your precious time resolving the issue in question.
If my review has not yet convinced you that you need one of these, then why not head over to the Must Have Ideas Instagram page where they often share videos of bloggers and testers like myself, using their products so that customers can see them in use.
About the Super Scraper
Made from toughened Nylon Ergonomic Design for Ease of Use It Won’t Scratch Surfaces You Clean Able to get to Hard to Reach Areas due to Long Thin Design Sharpened Corners allow you to open packaging or slide along corners to remove dirt
Small but Mighty Super Scraper!
Thank you for reading this blog post today, I hope you have enjoyed it. If you want to know more about the awesome products available from Must Have Ideas please click the link at the bottom of my post and visit their website. They have many wonderful and innovative products for your home and garden to help make life a little easier.
If you have any questions relating to this product please leave me a comment either here or on social media and I will be happy to answer it to the best of my knowledge.
Enjoy the rest of your weekend and thank you for visiting Severn Wishes Blog!
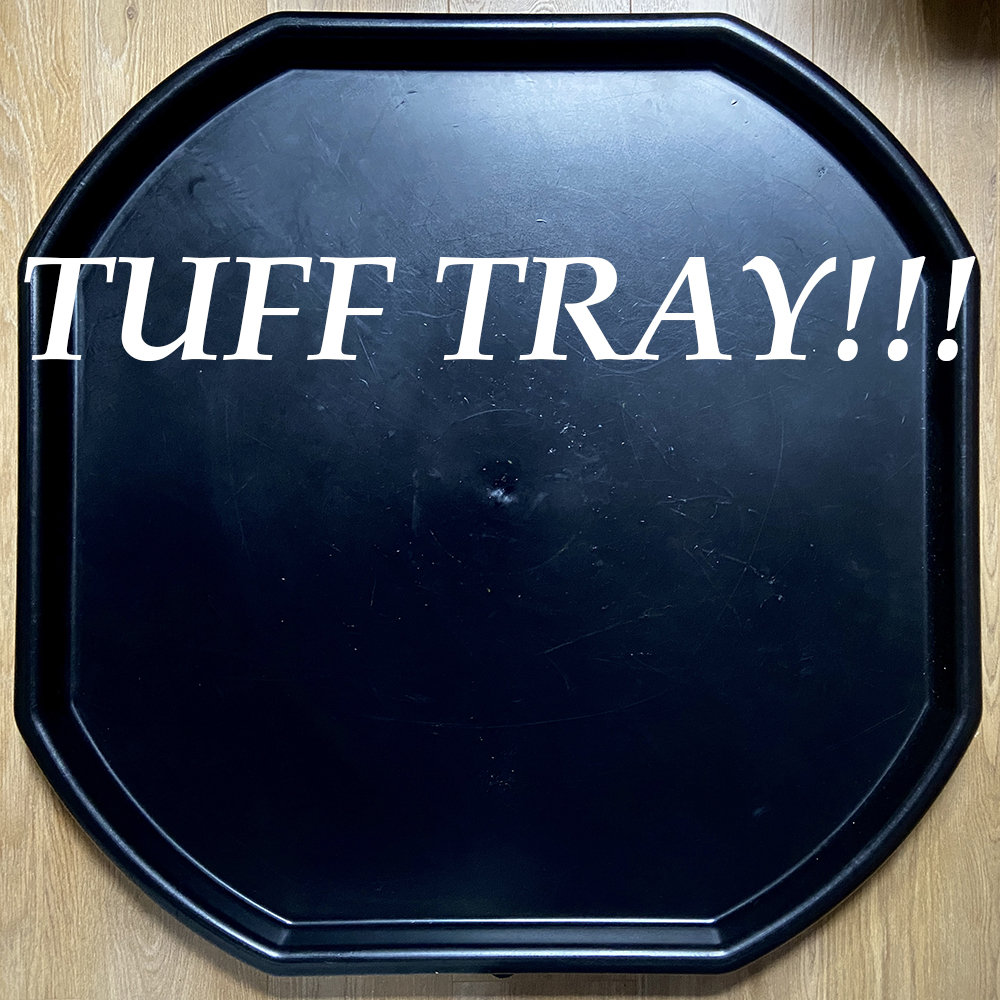
Hello Severn Wishes Blog Fans! Today I am bringing you a Lifestyle / Parenting / Hacks / Product Review article I have written all about something I have now owned for well over a year! And that item is… The TUFF TRAY!
These fantastic trays are usually found in a school setting, especially with younger children like those in a preschool or nursery setting, but due to their versatility they have been becoming more and more popular with mums who are able to do a lot with their children at home.
As soon as I heard about them I knew it would be a great investment for the future. I ordered mine in black but they do come in a variety of colours. I preferred the black due to it not getting stained or if we made any scuff marks with toys they wouldn’t be showing up as easily. Overall I’m really happy with the quality of the tray for what I paid for it. So far it has withstood a toddler doing all sorts on it and in it! I chose to purchase without the stand so it was then just suitable for laying down on the floor.
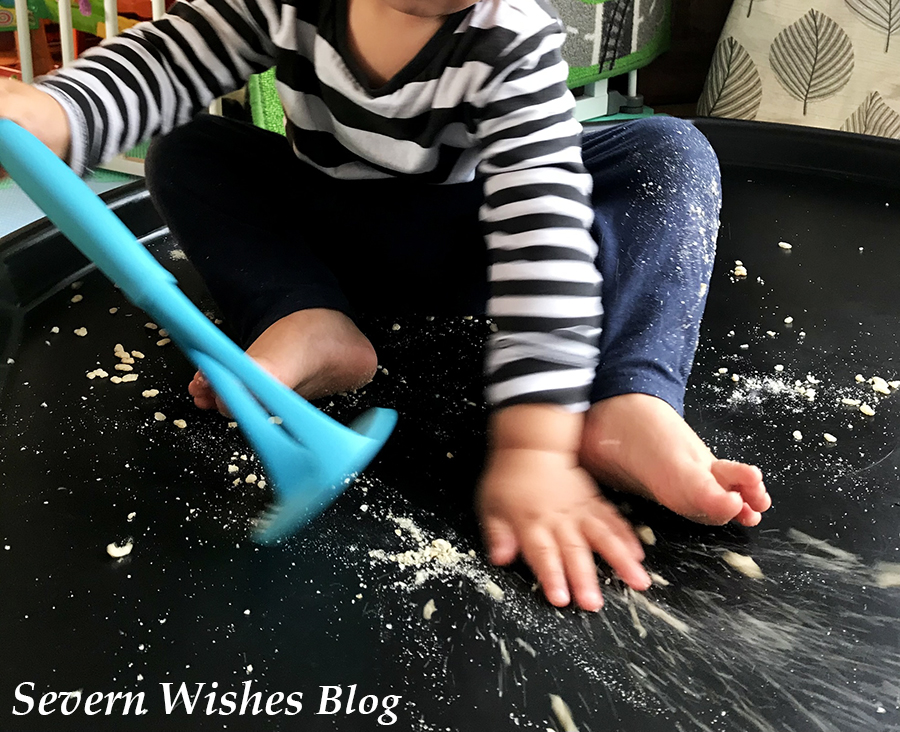
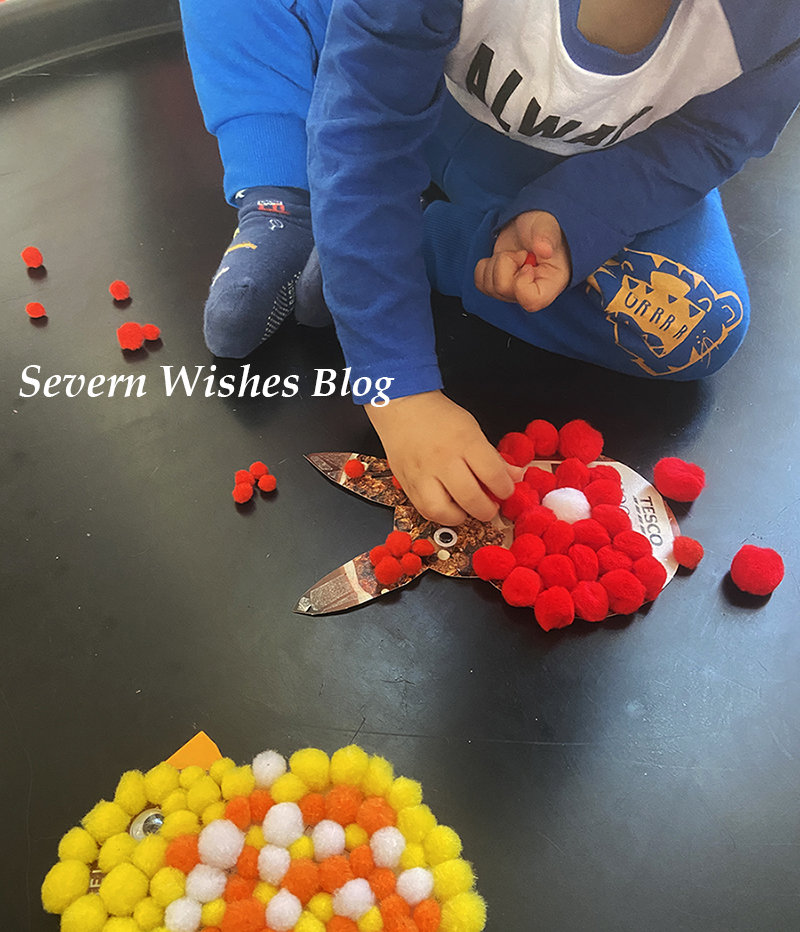
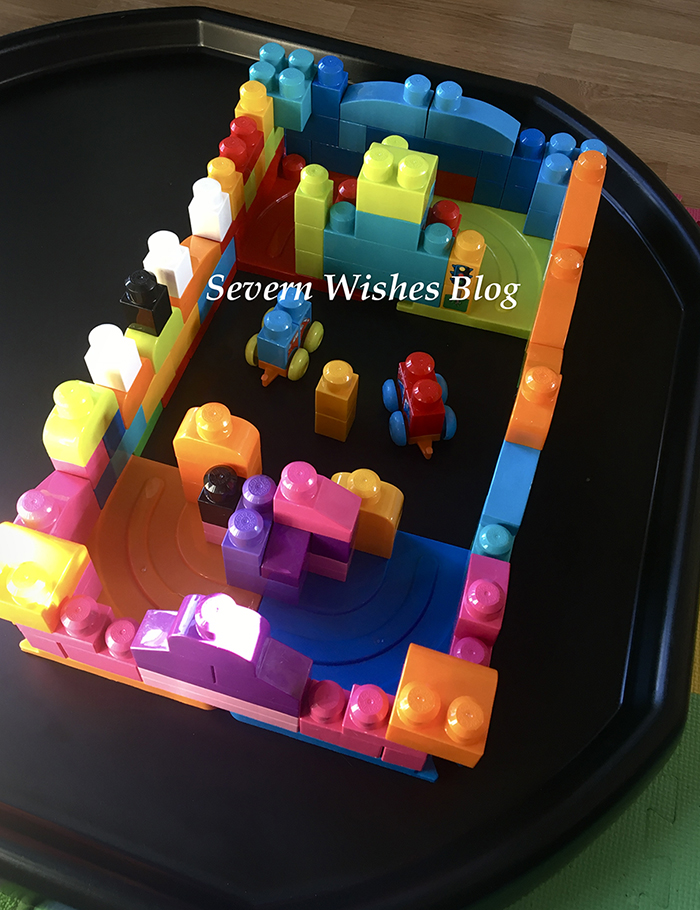
Be it Sensory, Messy Play or just toys on a flat surface, the Tuff Tray is ideal for lots of reasons when you have little ones growing up. Here are just some of the many ways that we have used our tray this past year or so! Both in visual form and I made a little list too!
1. Ideal for Craft to keep the craft pieces and mess contained in the tray borders.
2. Great for when you want to do some Messy Play and use paint so it doesn’t get on the floor.
3. Doing some experimenting with foods in toddlerhood? Keep those rice crispies, rice grains and other food stuffs within easy clean up-able reach. You can wipe clean anything off it.
4. Using Glitter today? This tray is ideal to wipe clean after your picture making as the bits will all be contained within the tray walls. Sit your children outside of it and let the mess be inside (mostly).
5. Potty Training? Stick the Potty in the centre of the tray on the floor, and it will be easy to clean spillages off the plastic rather than off your floor!
6. Building Lego or Duplo or Blocks? It can be annoying for little ones if pieces are rolling away or falling over all the while! But on the tuff tray they won’t get far at all! It also means it is a flat surface for the building to become easier on little hands.
7. Doing a Jigsaw? Be it an adult one or a children’s one? Do it on your Tuff Tray and you’ll be able to move it at a moments notice off the floor and then continue it later.
8. Want to do some baking with the kids but you want to do it at their level? It is much safer to do it on the floor where nobody is balancing and this tray doubles as a big flat surface, just clean it with sterilising spray and let it air dry before you start any food preparation.
9. Sensory Play can involve all sorts of things like craft or food stuffs, having it all contained within the Tuff Tray makes life easier for you and if you planned to do it for a few sessions over a week you could even leave it on the tray and just move the whole tray instead of packing everything up.
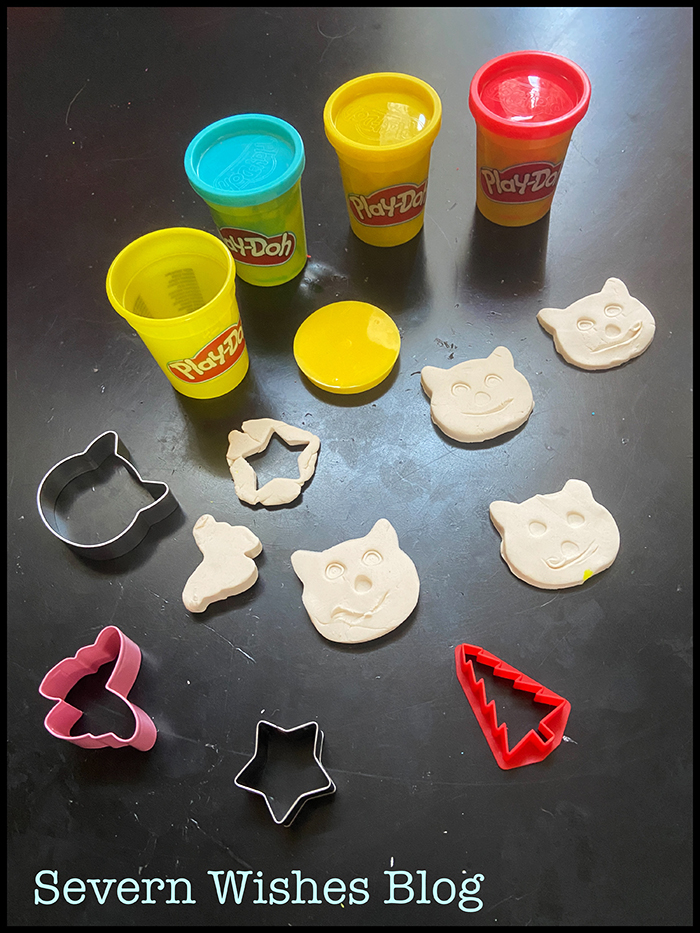
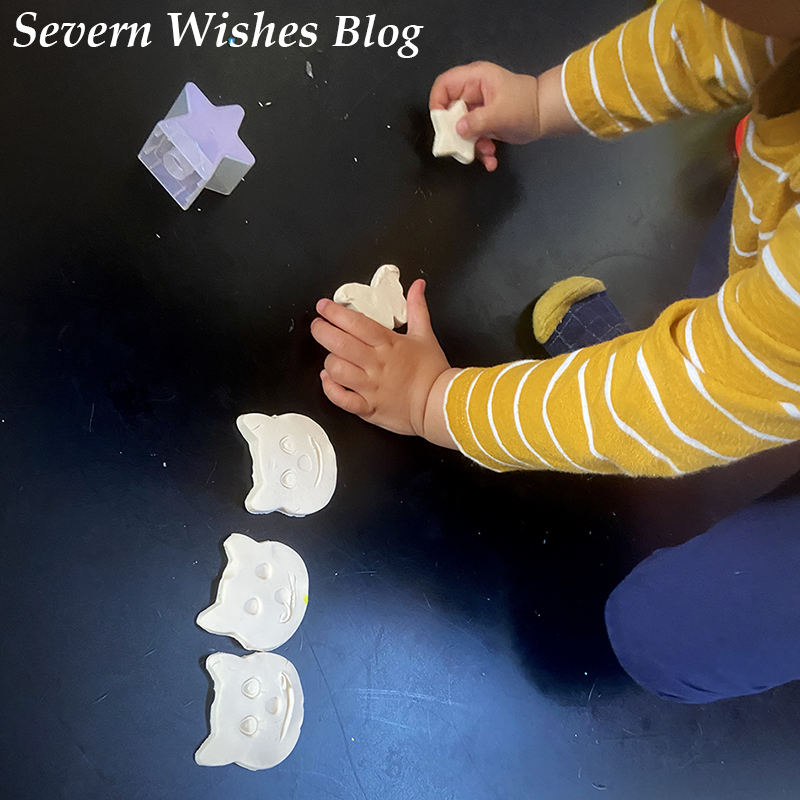
10. Play-Doh can get messy and easily sticks to hard surfaces like tables or floors, but by using a Tuff Tray base for all of the items they are contained within its sides. If you choose to get a stand with your tray you can even have the tray at a suitable height for your little ones. Or you can do what I do and maintain it on a flat floor, whichever is easier for you.
11. A Tuff Tray can be used outside for a water table or a sand table due to its sides being all the way around with no holes within its surface.
12. Design a World – Use your Tuff Tray and things like chalks or washable paint to create a world, a map or a world for your children to put their toys in to and play. I have drawn a road on mine for my sons toy cars before now and also used elements like sand made of ground cereal to make a beach.
So overall the Tuff Tray doubles up as another useful hard surface within your home and is ideal for playing, learning and food preparing. Young children can safely sit within its boundary or outside of it leaning in in order to play. There are no sharp edges on the Tray and the hard plastic is coated so its easy to wipe clean after every use. I purchased the standard (medium) size but it is also available in small or extra large depending on the supplier you’re purchasing it from. They are also available in many colours. Prices range from £11 to £70 and all Tray prices do depend upon the colour, and the size and whether you wish to buy a stand with your Tuff Tray purchase. They can be used inside or outside but I would recommend you keep them out of direct sunlight and harsh weather conditions and keep them inside a garage or shed when not in use in order to maintain the sturdiness of the plastic.
What do we use our Tuff Tray for the most?
Craft and Messy Play and Sensory Play mainly.
Thank you for reading this blog post today, I hope I have inspired you and if I have then I would love to hear what you and your family use your Tuff Tray for!
If you’re reading my blog today you might be in the same boat that I was last summer, which is wondering if it were time to make the move for your little one. The transition to a toddler bed is not one to be taken lightly, it is a huge step for our little person, and they deserve lots of time, patience and assistance from us (as their parent/s) to help them feel safe and secure in their new upgraded space.
Hopefully this article that I have combined with my review of the toddler bed that I bought, can help you to make informed decisions on what is best for you and your child/ren. Is it time? Only you will know by the actions and dependence your child currently has.
When my son turned two I wanted him to start using a toddler bed and there were several reasons why I thought this needed to happen now. The first reason was that it was difficult to lower him inside his cot when he had fallen asleep in my arms, and he was now tall enough to consider trying to climb over. I didn’t want that to happen, so I purchased his first toddler bed after measuring up the space that I had in his bedroom.
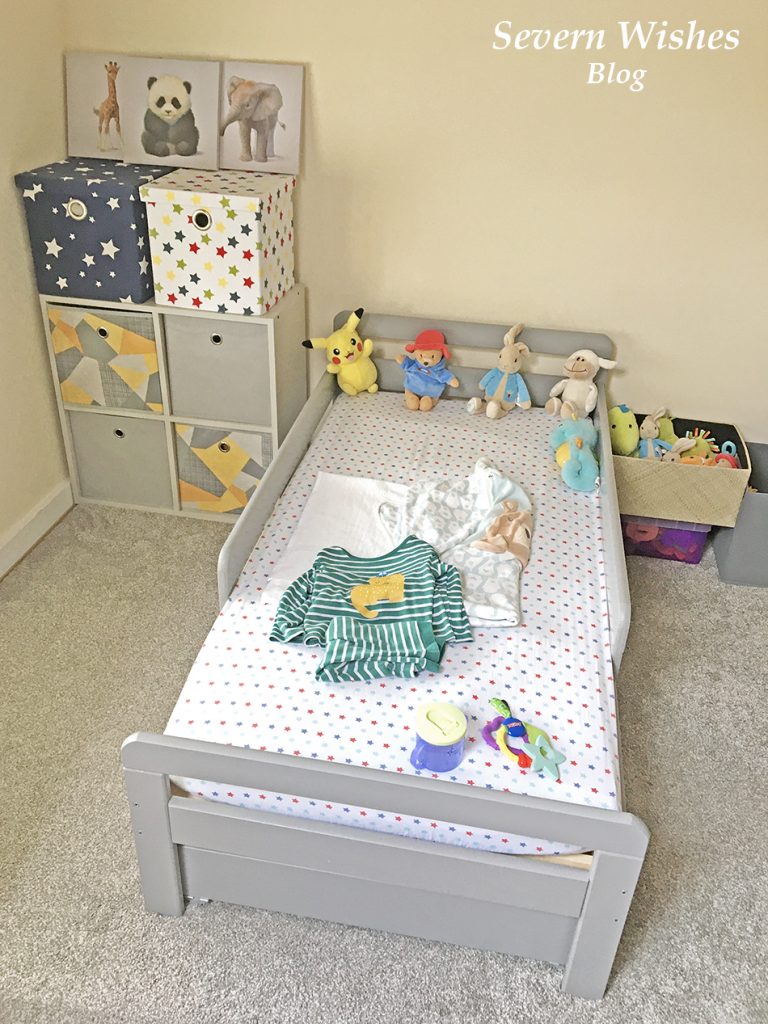
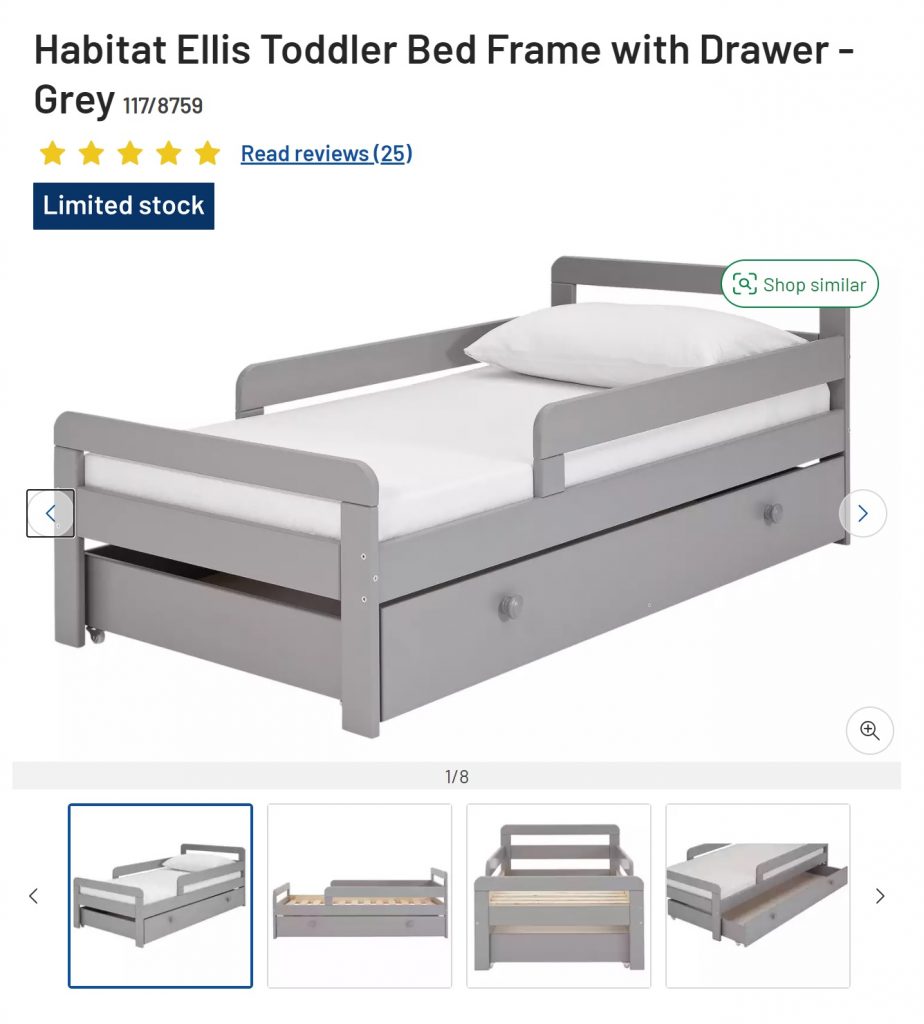
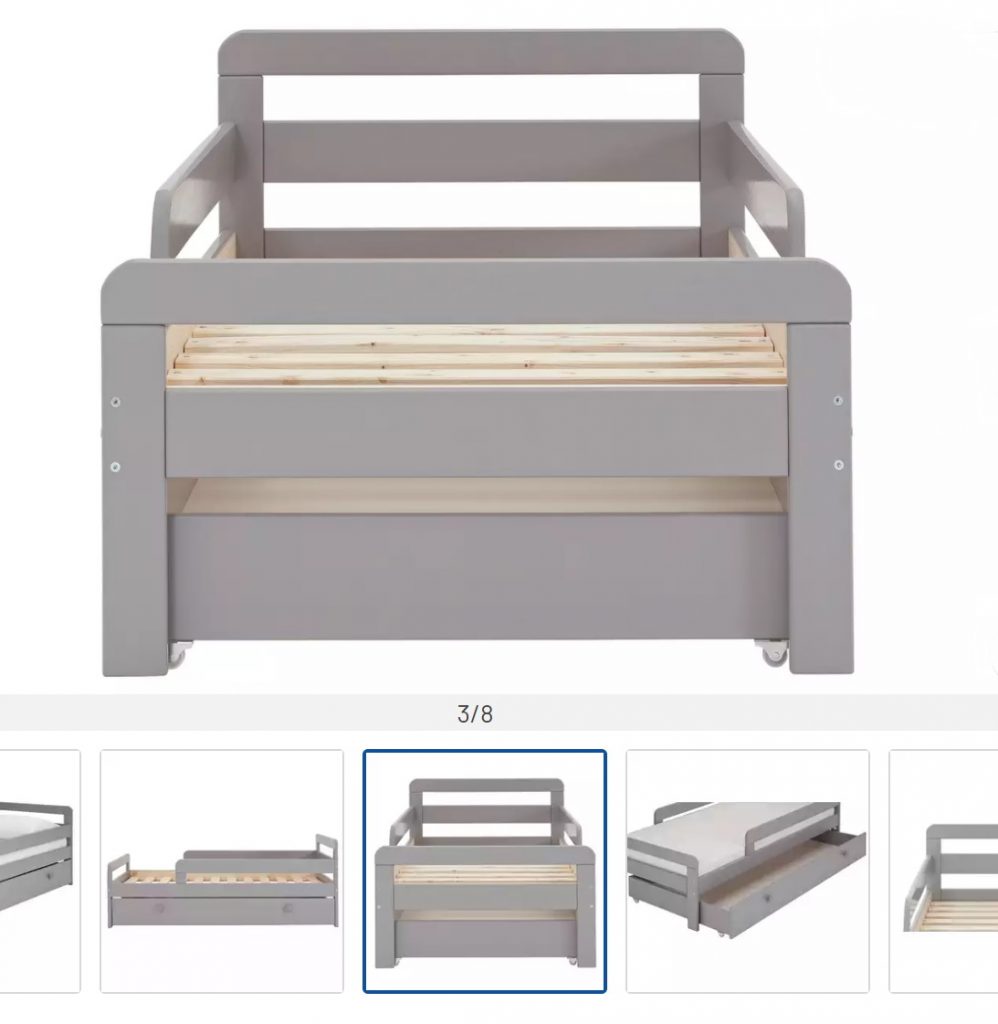
I bought the Argos “Ellis Toddler Bed” in Grey, to match my sons furniture, and then bought a mattress online. I had chosen this bed for three reasons, the first being its height from the floor, the second was that it came with a drawer for under bed storage, and the final reason was because of the three quarter sides.
My son moves frequently in his sleep and I knew that it would be quite a while before he could sleep safely without any sides to his bed. This bed was a great size for the price and I would hope it to last him two years at least due to the length. The handy draw keeps tidy all of the towels and bedding I use for my sons room and it is easy enough to slide in and out on its rolling caster wheels.
Bed Frame size L144, W75, H57cm. Required Mattress size L140, W70cm. Clearance between floor and underside of bed 19.5cm. Drawer size H18.5, W139, D73.5cm.
There are now limited stock on this bed but it does also come in different colours. Here is what I would give it on my review scores having used it now for a whole year.
Quality of Paintwork 4✩ Quality of Manufacturing 4✩ Quality of Finished Product 5✩ Correct Specifications 5✩ Product Design 5✩
Overall this product is excellent quality and although it was difficult to put together, overall we have been very happy with it. A fantastic size for toddlers and small children and my son hasn’t fallen out of it due to the great design with those side bars. Although he is average height for his age (at 3) he still has plenty of room left to grow into this bed.
The Transition from a Cot to a Bed – My Tips and Tricks
The biggest thing about change for toddlers is that it can be unnerving to them. They get anxious and have to get used to something over time, so don’t worry if this alteration in routine and sleeping area takes a few weeks for them to get used to. The best thing that you can do for the first few nights is to keep the routine the same, but just place them in the new bed. If you have a routine that ends with them being placed into bed keep doing that. Then on the second week add one new thing now that the child is older such as, can they now get into bed themselves because they are old enough to do so? It will make them feel bigger if they do it themselves and gives them confidence, but only when they are willing to get into bed on their own. Don’t forget to use positive reinforcement when they are on the bed or in the bed so that the praise gives them positive ideals of being in the furniture. Saying things as “What a lovely new bed you have!” and “Now that you are two/three you can sleep in this special big kids bed” and remember to let them know that this is a good thing, a positive step and not one away from you. Definitely praise little one when they get into bed without you having to prompt them too!
Getting the child to stay in bed is another matter though. Don’t worry if they frequently get out of bed or even tumble out of bed half asleep for the first few weeks, wondering where you are (especially if you have had them sleeping in your room up until this point). And the beauty of the toddler bed is its distance to the floor. They usually are only between 15 and 20cm from the floor. Make sure to implement rules in their new bedroom, such as no toys after bed time. The child is not too young at this age to be putting their own toys back into a box or tub or basket, so why not start them off if you haven’t already done so (good practice for preschool). I have found that it’s also a good idea to introduce a clock or show the time to a child at this age, and tell them that at “7 o’clock” (or whatever your bedtime is) their toys are put away and your bedtime routine begins. Personally we are in the room for 7.30pm but it can take up to an hour to settle my three year old, some nights a story or two is enough and other nights I’m still reading at the hour mark. But it’s just imperative that you keep the routine the same, even if the time differs slightly, it’s still the act of doing things in the order that they are used to, and the act of then getting them into their own bed.
Talk About Their Safe Space
I tell my son every single night that he is “safe in his bed” and he is “safe at home with mummy” and this has reinforced him to stay in his bed. For the first few weeks if he woke in the night he would come and find me because he wasn’t sure on things. Now he’s more than happy to climb into his bed and choose the stories he wants at bedtime. He knows that I’m never far away now, but his bedroom is a safe place for him to be. He doesn’t always come and find me now that he is older either. He often wakes (and I hear him) but he presses his singing toy and lays back down or he will have a sip of water from his bottle and then turn over and go back to sleep. Again positive reinforcement is key when organising their safe space. When little one wakes up they want to recognise where they are and that it is home or safe, favourite toys or items around the room will help.
If you find your little one is struggling initially with the bed transition then you could choose to sleep on the floor in their room for a few nights. Whenever they wake up in the night make sure they know that you aren’t far away and they are safe. It is totally normal for most children to find their new surroundings daunting, but remember to just keep praising and comforting, they will soon get there. All children are different and it could take a few weeks of patience to achieve the end goal, but everyone should sleep better once that is over with.
Ensure Comfort
Make sure that they are comfortable on a firm but soft mattress and that the room is an optimum temperature. I still use our Gro-Egg from when he was a baby to tell me the room temp! My son had sleeping bags until he was two and a half, he was happy to sleep in them until he got older then he kept trying to take them off. I gave him his own thin pillow at three years of age, and I now put him in Pyjamas and a blanket over him. I have bought a toddler duvet this summer ready for the colder winter months, now that he is old enough to be able to push it away from his own face.
Keep Stories Gentle at Bedtime
I have found that stories that talk about bedtime or going to sleep are best at bedtime, other books can just excite little ones too much. My son has an absolute favourite book about a bear and a baby bear and he’s on his way to going to sleep, and we read it every night. I can now recite it from memory while he falls asleep in my arms (that is how many hundreds of times I have read it). But it’s such a lovely and gentle book that talks about how much mummy bear loves little bear and she is never far away no matter what he is getting up to. Consider what you are doing during your bedtime routine and make sure that there is nothing that is causing your little one to become more awake as opposed to be falling asleep. The best books we have found come from The Works.
Thank you so much for reading this blog post that I have written today, I do hope that you have found it informative and if my lifestyle experience with my son can help you in some way then I am more than happy to share it.
✩ Sabrina ✩
By continuing to use the site, you agree to the use of cookies. more information
The cookie settings on this website are set to "allow cookies" to give you the best browsing experience possible. If you continue to use this website without changing your cookie settings or you click "Accept" below then you are consenting to this.