Jewellery Box UK – My October Purchases

I love to buy jewellery for friends and family as gifts, there is something about finding the exact thing that you know they would like. When you order it and it arrives all boxed up and beautiful… This blog post is about an order for myself, but I am not ruling out a Christmas Gifts based order before the year is out. Jewellery Box UK have an excellent range and their website is easy to navigate and search.
 Upon previous orders from this company I have been impressed with the quality and the choice. So when I wanted some new “every day” earrings (as I like to call them) I knew which website to search.
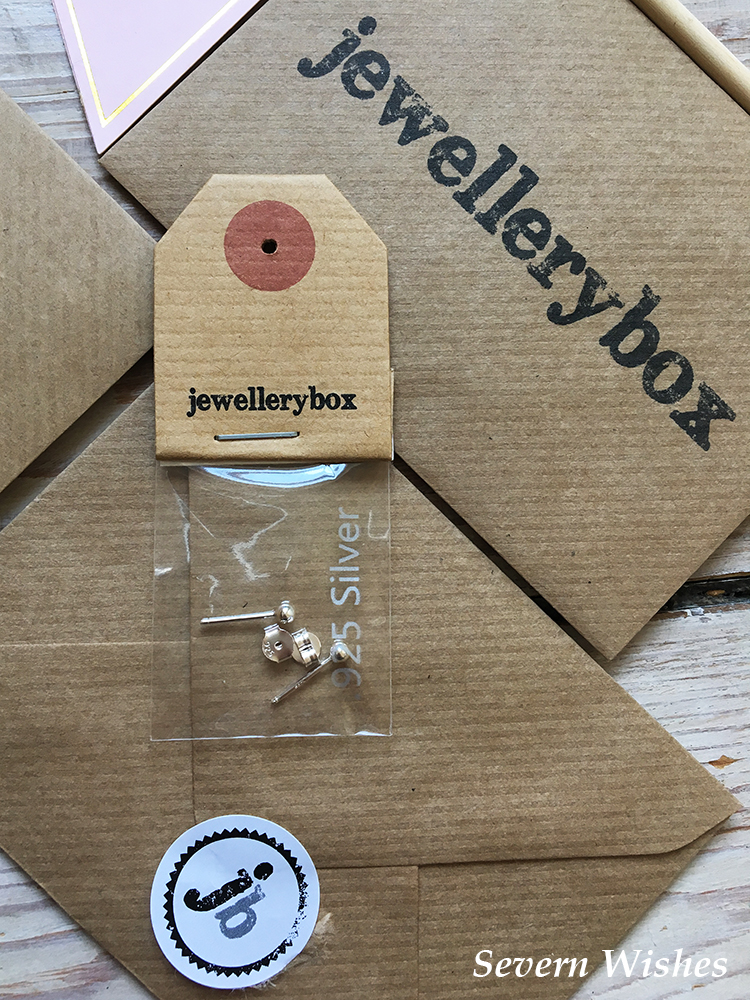
This time my order arrived inside the Jewellery Box UK personalised envelopes. A professional way to keep the stock separate in transit and you know that all the products are brand new and sealed within their plastic.
Another feature that wasn’t apparent last time I ordered was the addition of the Jewellery Box packaging, bits of cardboard attached to the items.
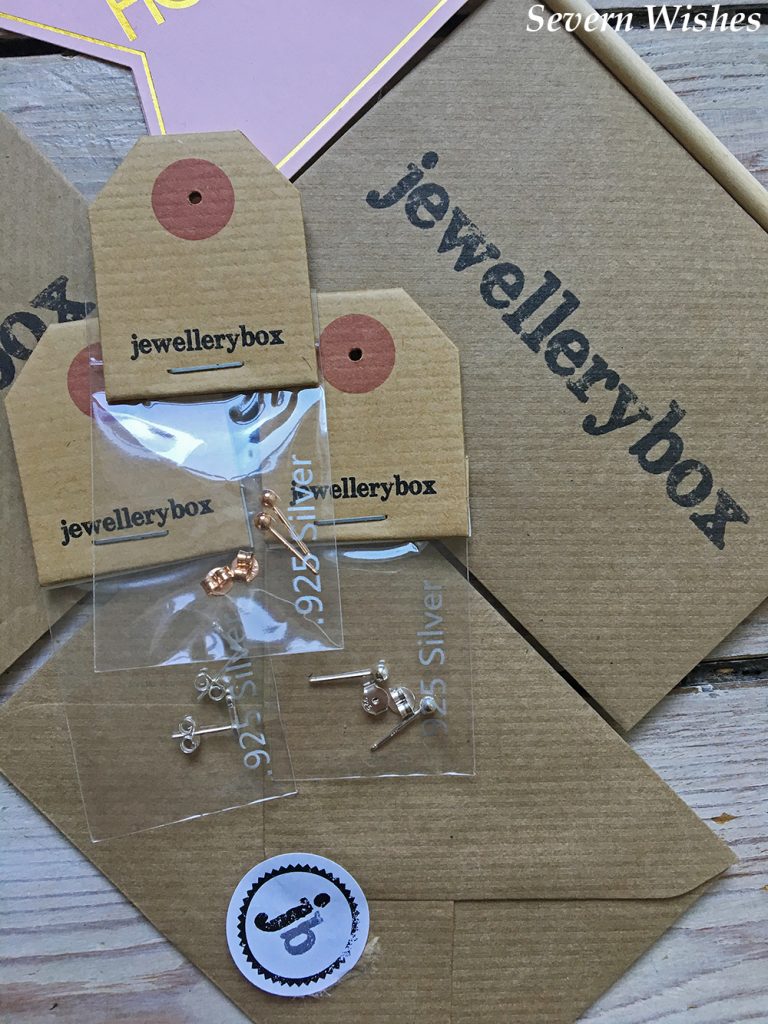
Having graduated lobe piercings on both of my ears I often purchase earrings that go together, in order for them to look symmetrical. I particularly like sterling silver jewellery and usually choose this metal for my sensitive skin too.
Upon browsing for my usual 2mm, 3mm and 4mm silver ball studs though, I noticed they were now selling a sterling silver and rose gold plated ball stud at a 3mm size. Intrigued, and because I had a discount code, I added them to my basket.
 And as you will notice on the image above there is one other earring set, I chose some very tiny arrow earrings. For a very personal reason to me, mainly to cut a long story short, the arrow represents moving forward, and I am currently going through a difficult time in my life, one that requires courage and by wearing my earrings they remind me of how strong I can be if I only believe in myself.
Final Review of Each Item and Links
I only have one small criticism about the order. I don’t like to keep my earrings, after use but between wears inside any plastic, once worn they need to breathe. There wasn’t an option to perhaps purchase a small earrings box to place them in, or add one for free to an order over a certain amount. The order does come in those amazing envelopes and that’s wonderful to send out and also to gift to people, but when it comes to storage, I am now running low on things to put my many earring styles in to. You wouldn’t want to bend any of them.
Also, an option to purchase a small silver cleaning cloth with a large order, for a small discount might be a good idea too? I like to clean my silver jewellery every couple of months with a professional silver cleaning cloth, it helps to maintain them and also keeps them looking shiny. Just a few thoughts for you Jewellery Box, I hope you don’t mind my honesty. The products you sell are amazing quality and I love the amount of choice, but the products need caring for once you’re home using them…
I will now outline each item, the price advertised on the website (correct on the date I published this post) and also give a link to that specific item. As well as my final review scores I will be writing out some relevant information about each item that I know some of you would be wondering about.
Sterling Silver Ball Stud Earrings Set – 2mm, 3mm and 4mm.
Appearance 5/5 (Shiny and Look Great Set Together)
Quality 5/5 (925 Stamps Ensures Metal Quality)
Pin Length 10mm
Backs – Butterfly
Weights 0.42 Gram (2mm) 0.46 Gram (3mm) 0.56 Gram (4mm)
Price £5.95
NB. You can also purchase these sizes individually and in varying metals.
Link
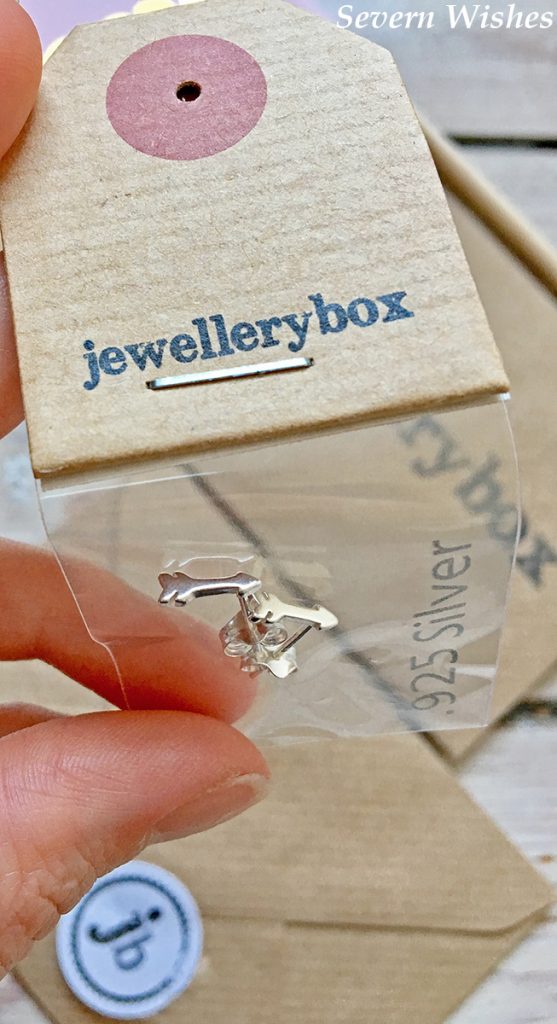
Small Sterling Silver Arrow Stud Earrings
 Appearance 5/5 (Beautifully detailed for such small earrings).
Quality 5/5 (Straight and Well Made, Proportional and Straight with 925 stamp).
Shape – Arrow – 9mm by 3mm by 2mm
Length 11mm (Front to Back)
Backs – Butterfly
Weight 0.6 Gram
Price £3.55
NB. The earring pin attaches at the arrow point end of the earring.
Link
Rose Gold Plated Sterling Silver 3mm Ball Stud Earrings
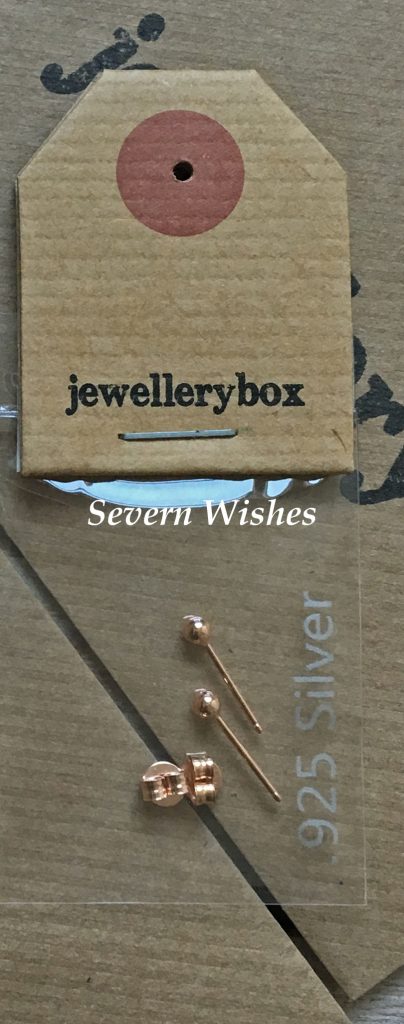 Appearance 5/5 (Shiny and A Good Size for most lobe piercings)
Quality 5/5 (Straight and Well Presented with the 925 Stamp Clearly Visible)
Length 14mm (Front to Back)
Backs – Butterfly
Weight 0.5 Gram
Price £3.95
Link
Thank you very much for reading this review post today. If you enjoyed this then please leave me a comment letting me know, I would really appreciate the feedback. Jewellery Box UK is an excellent online shop to find gifts, they also do regular discounts and a 10% off your first order when you sign up to their newsletter.
I hope you will find something nice for you or a loved one if you take a look. Remember this is not my first review from this great company, click Jewellery Box on my main page categories to see more.
✩ Sabrina ✩


 ✩ Time Frame ✩
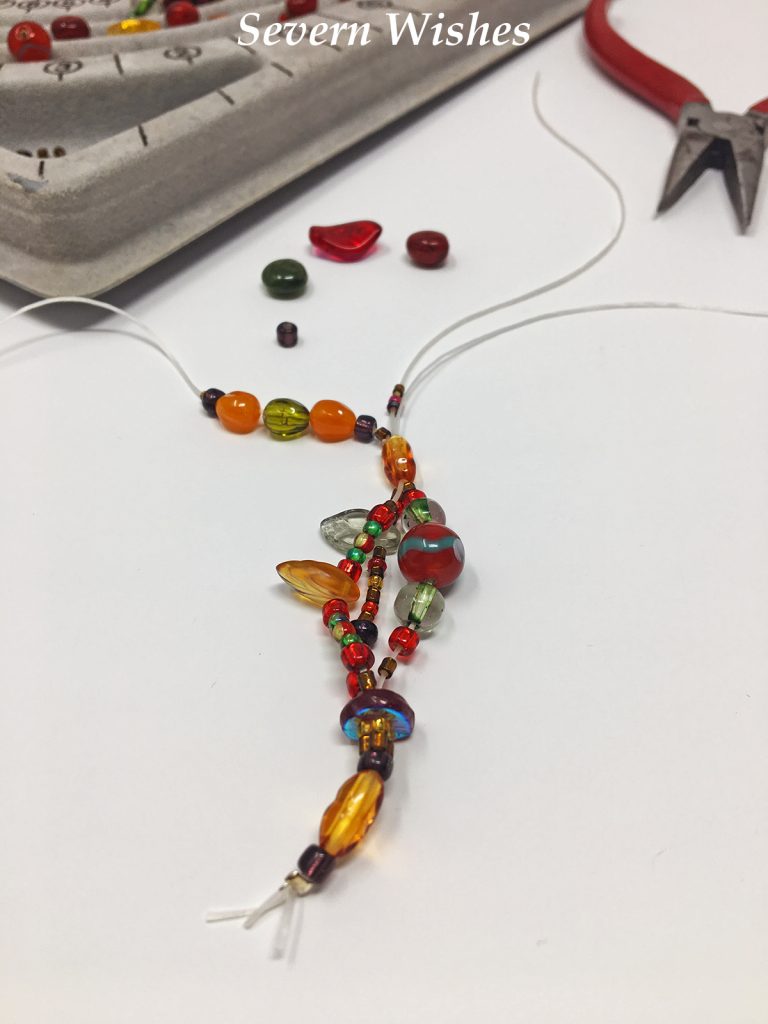 How To Make Your Own Triple Thread Autumnal Bracelet
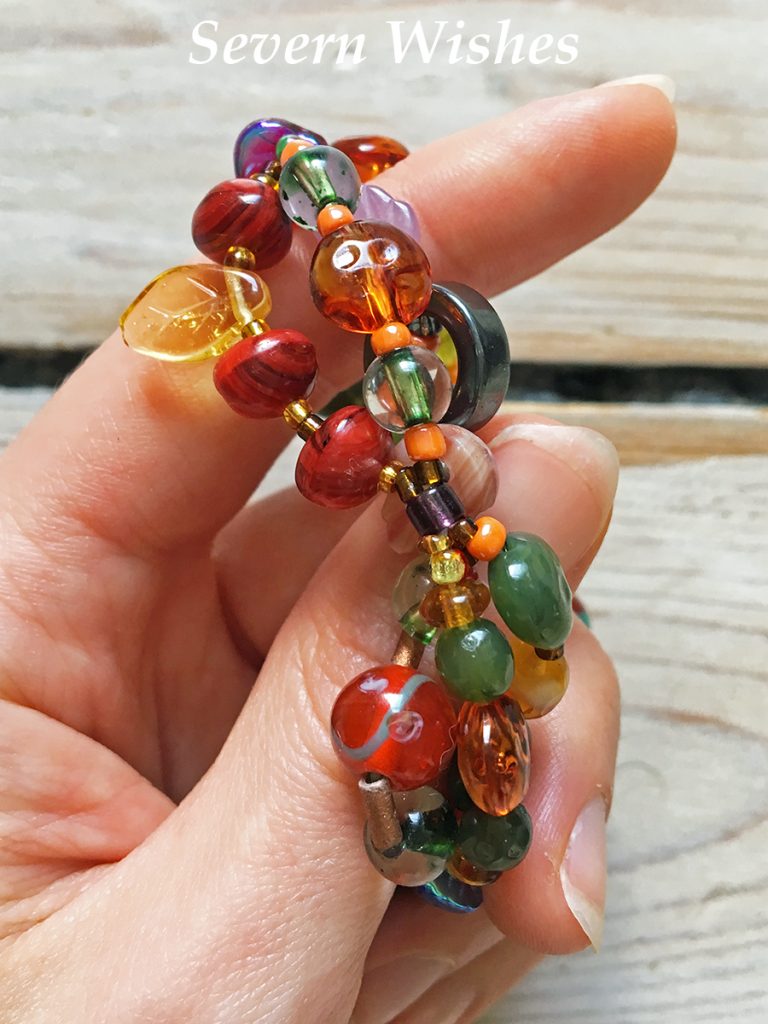 ✩ Step 2. ✩
 ✩ Step 3. ✩
 ✩ Step 4. ✩
 ✩ Step 5. ✩
 ✩ If you don’t know much about beads…
 ✩ Other Cool Beads To Look Out For ✩
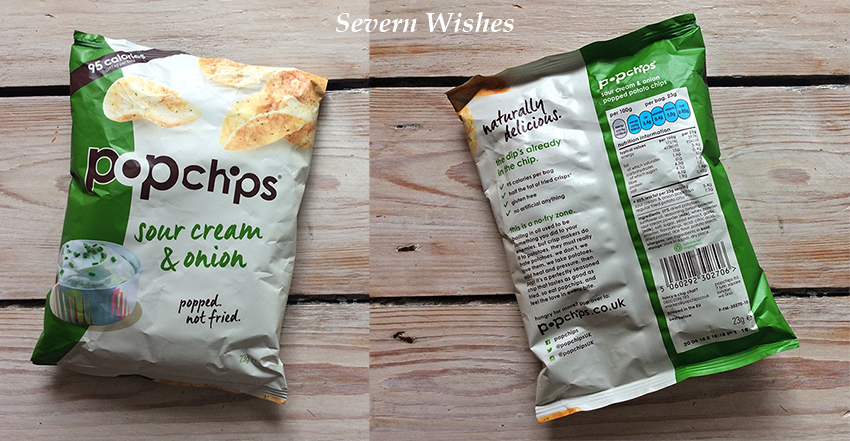
 I prefer the chocolate one out of them all, but really enjoy the strawberry too. I tend to mix the two pots together and then throw some sliced banana on top or some raspberries. Both work extremely well with both flavours.
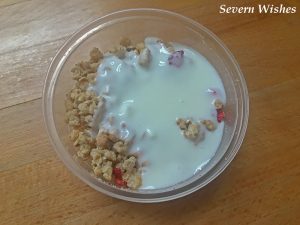


 And that concludes my current snacks!
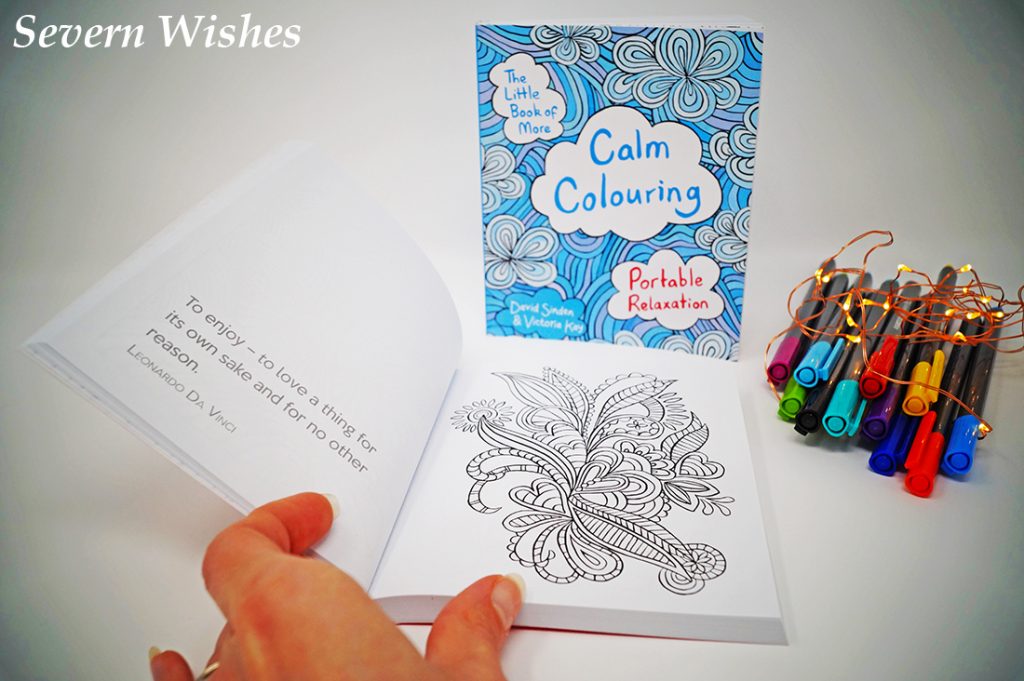
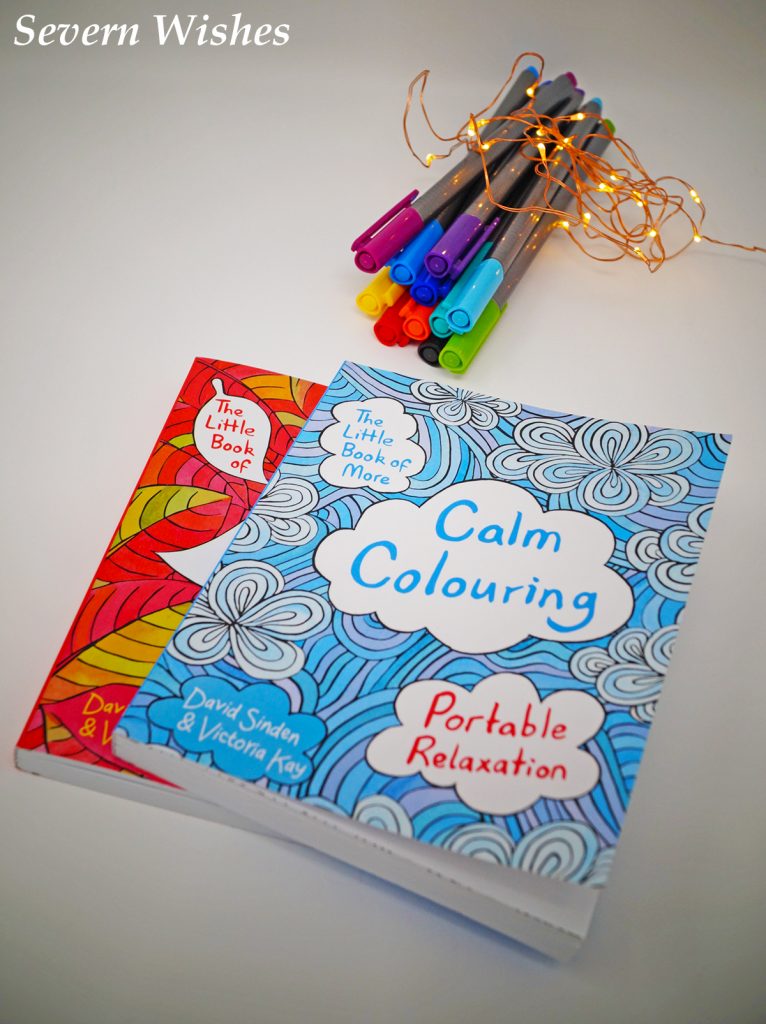 Today I am reviewing the “Calm Colouring” Books series created by David Sinden and Victoria Kay. Calm Colouring is an activity that I partake in regularly, it really helps me to relax. And when the images are as beautiful and as intricate as they are in these books, you’ll see why in a moment.
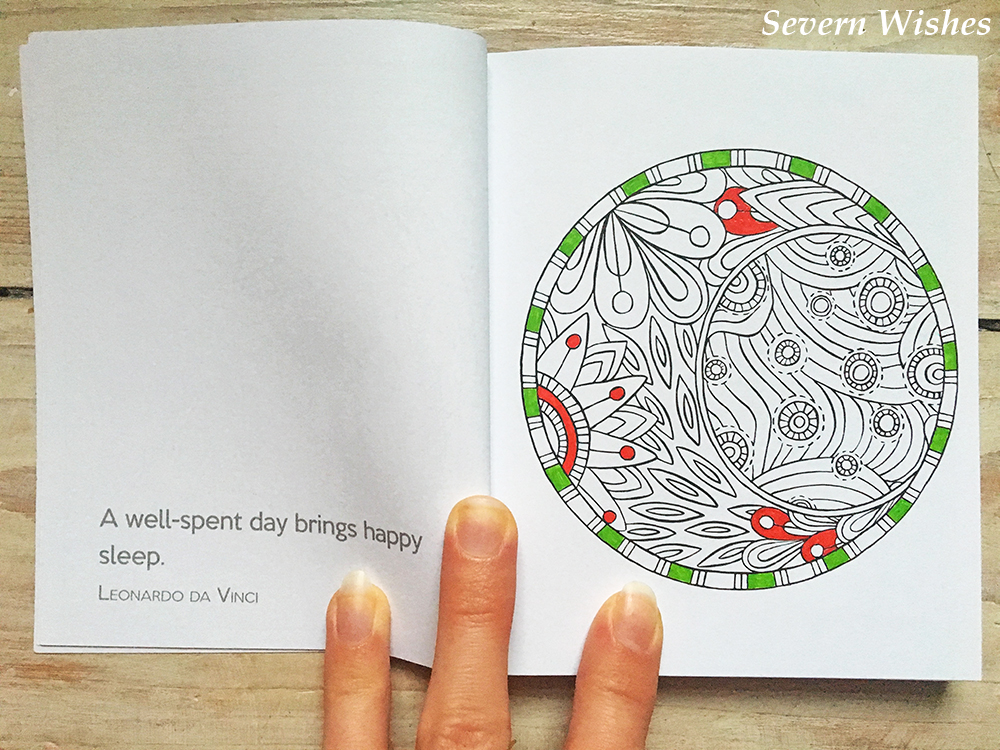


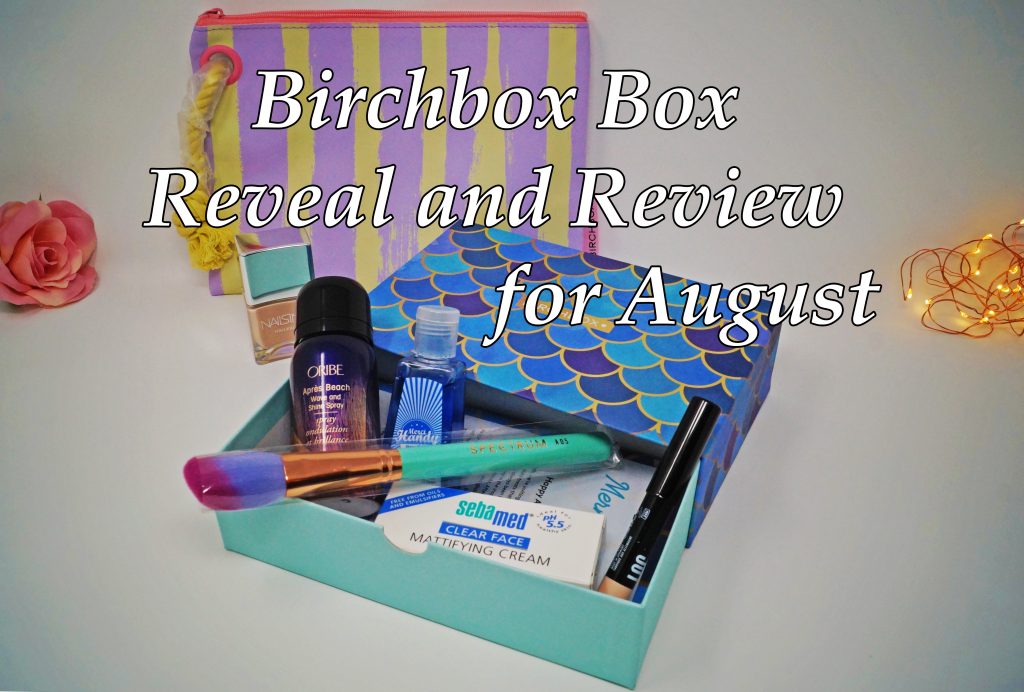

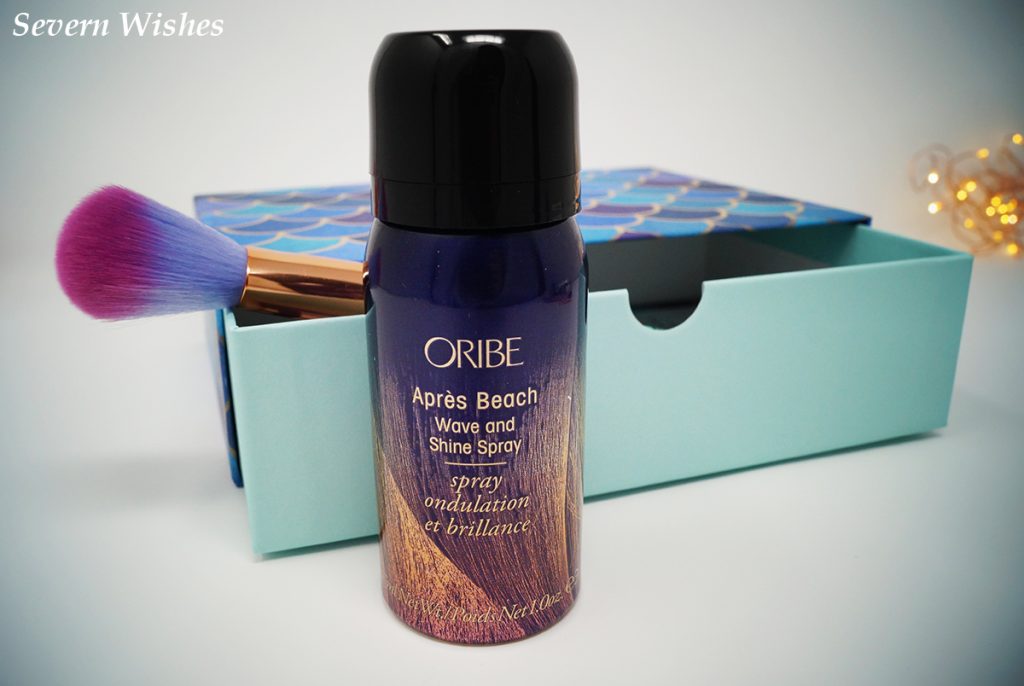
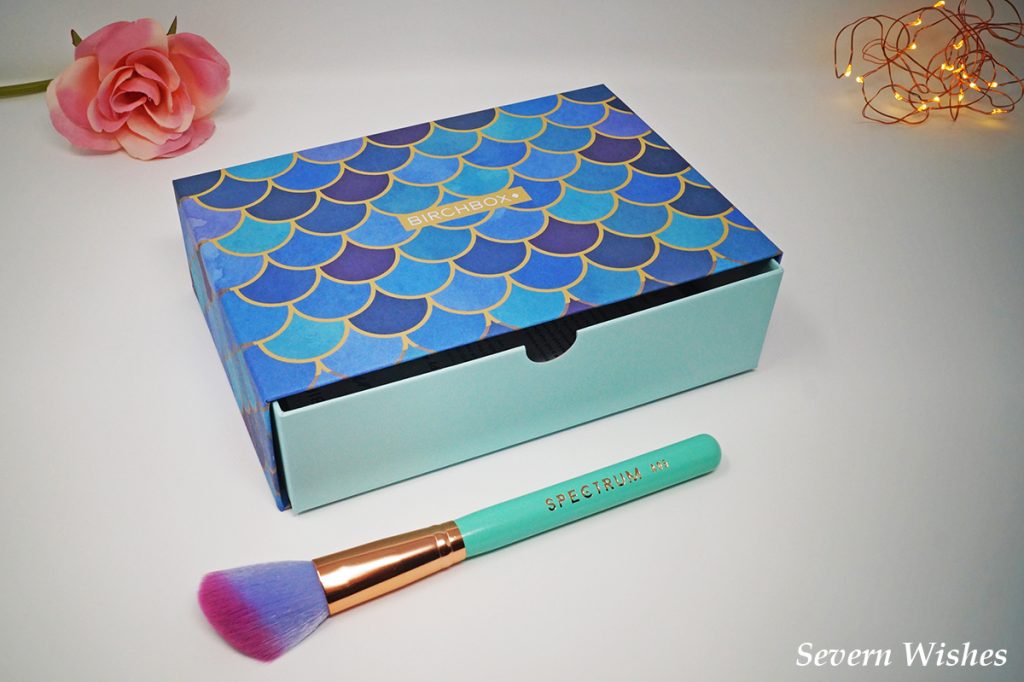 Now it’s time for the Reveal! Let’s open my Mermaid themed box!
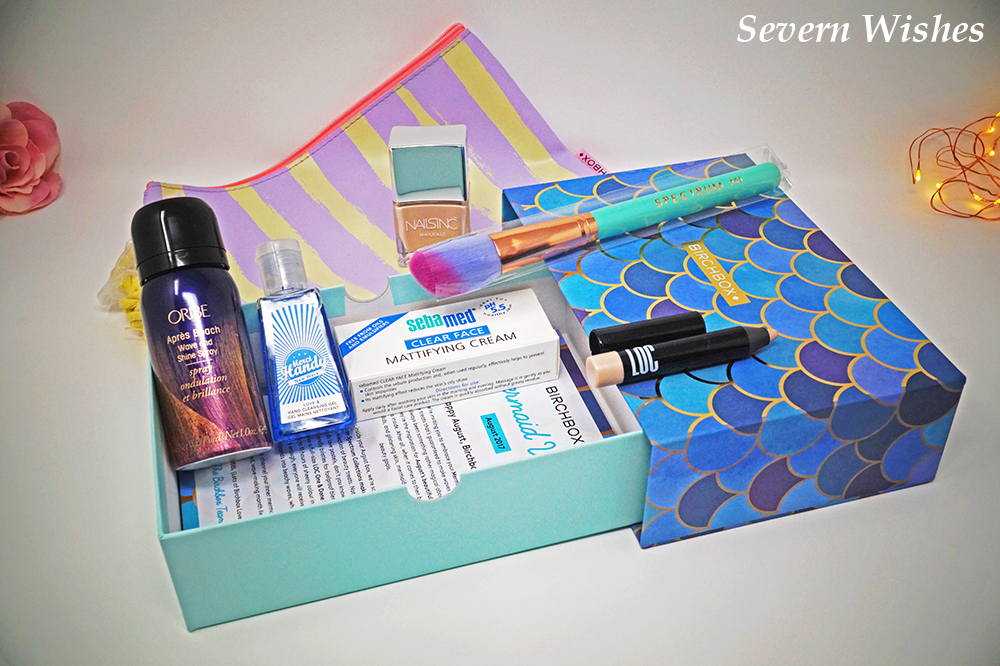
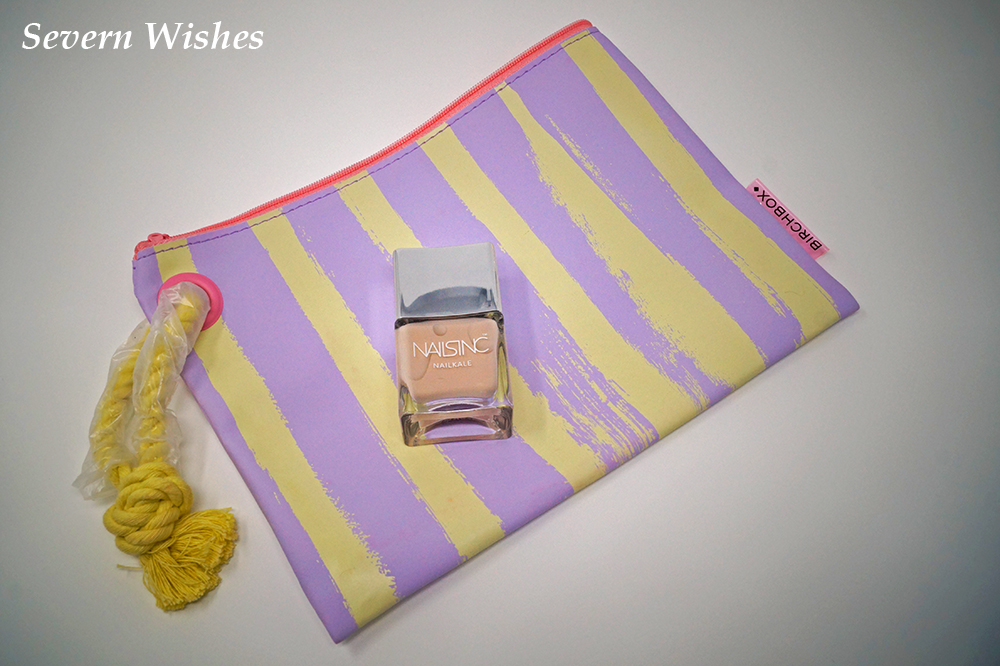 Nails Inc is a good brand that I have tried and tested before. I was happy that I was receiving something that was well known. The makeup bag reminds me of Summer with the shades of its stripes. They are two free gifts that I will certainly enjoy.
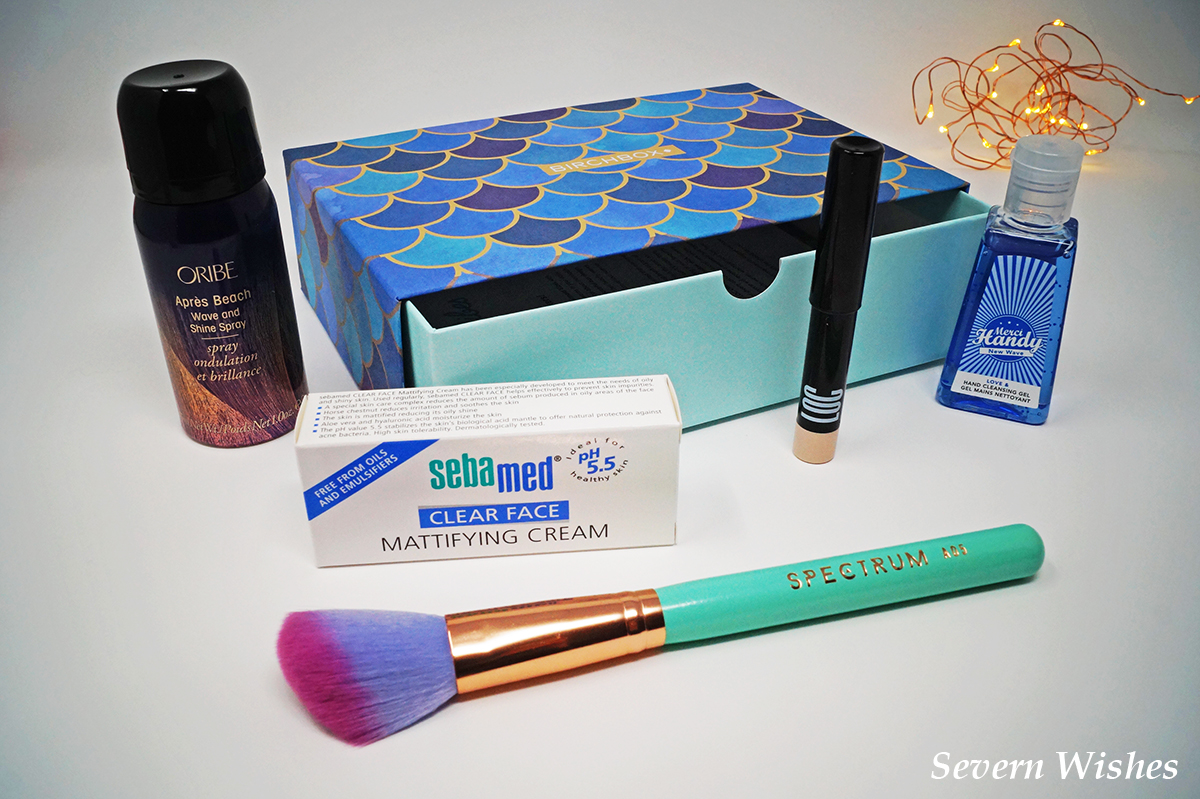
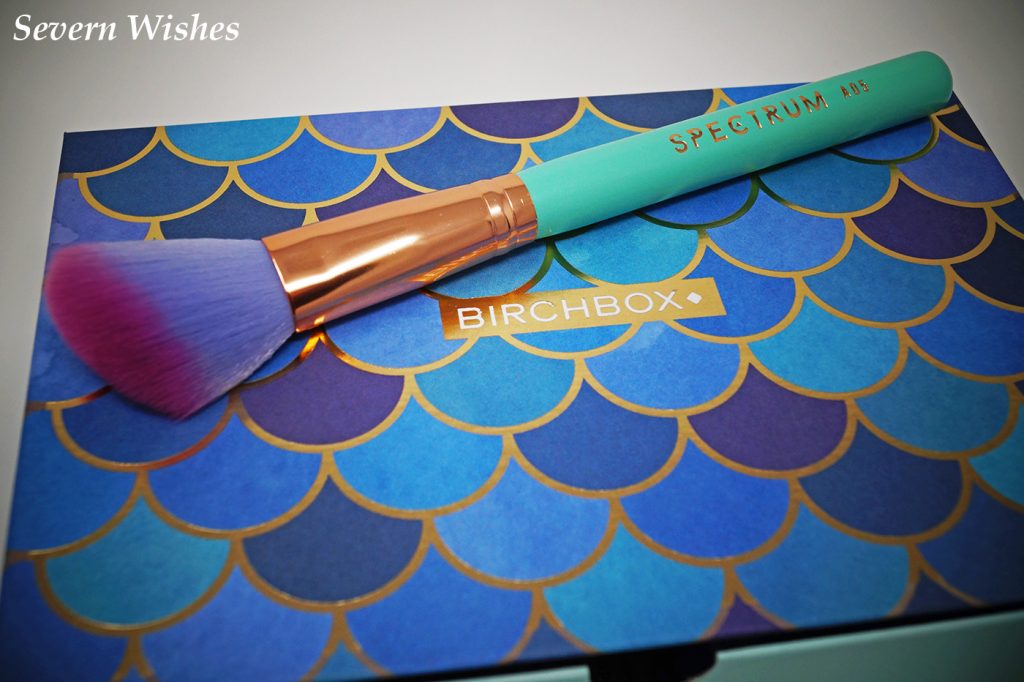
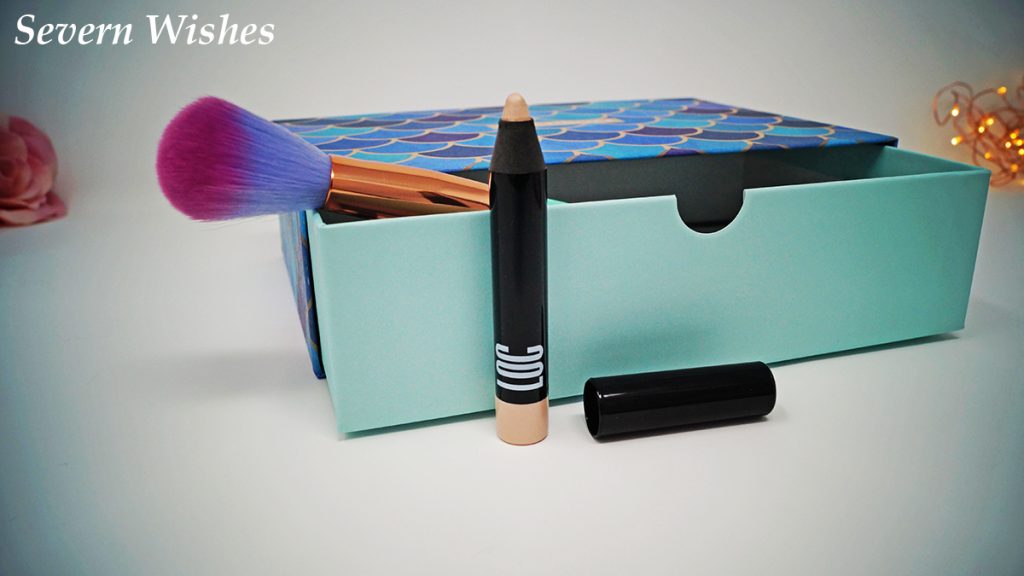

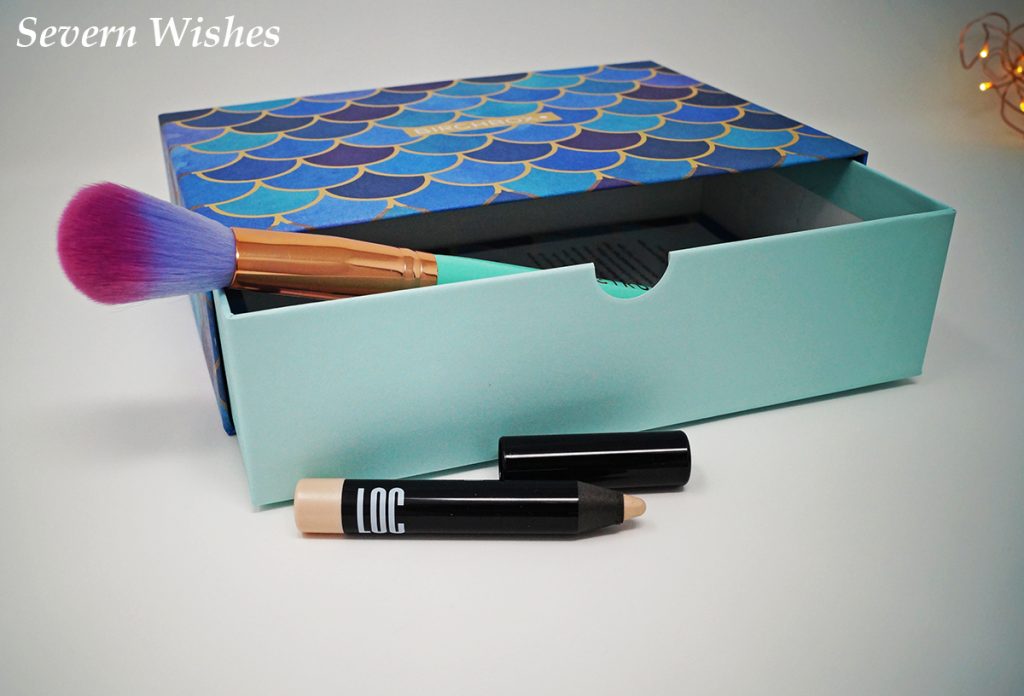
 My favourite items from the box are the LOC Eye Shadow Stick and the Spectrum Collections Glam Clam A05 Brush.
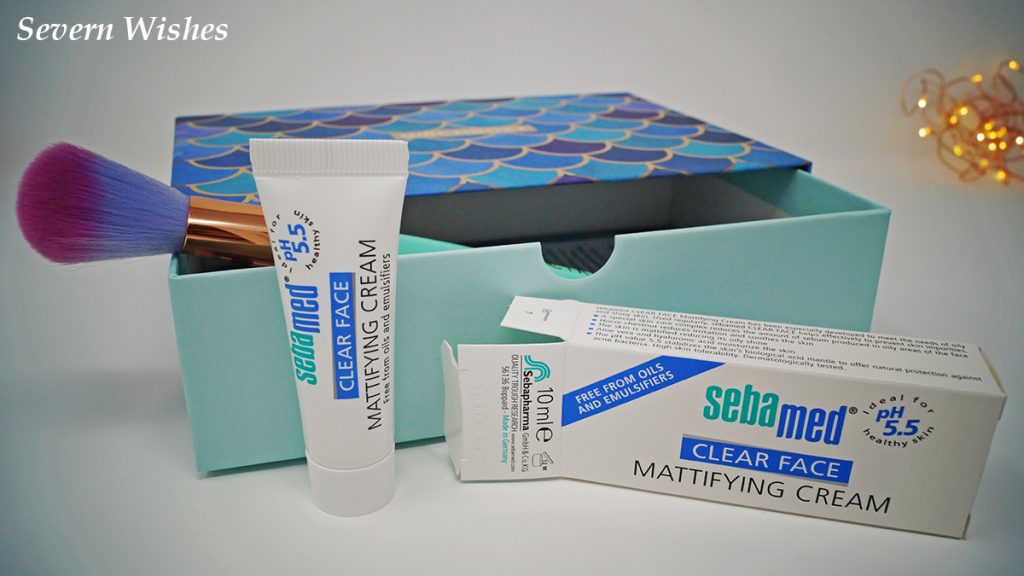
 Here is another image of my items that were inside my August Birchbox.
 A Uniqlo Store T-Shirt Haul – Featuring Designs from the UTGP 2017 in Association with Nintendo.
 My husband bought me this one, he knows I adore Pikachu!
 This tee brought back so much of my childhood, Mario, DK and hours of fun!
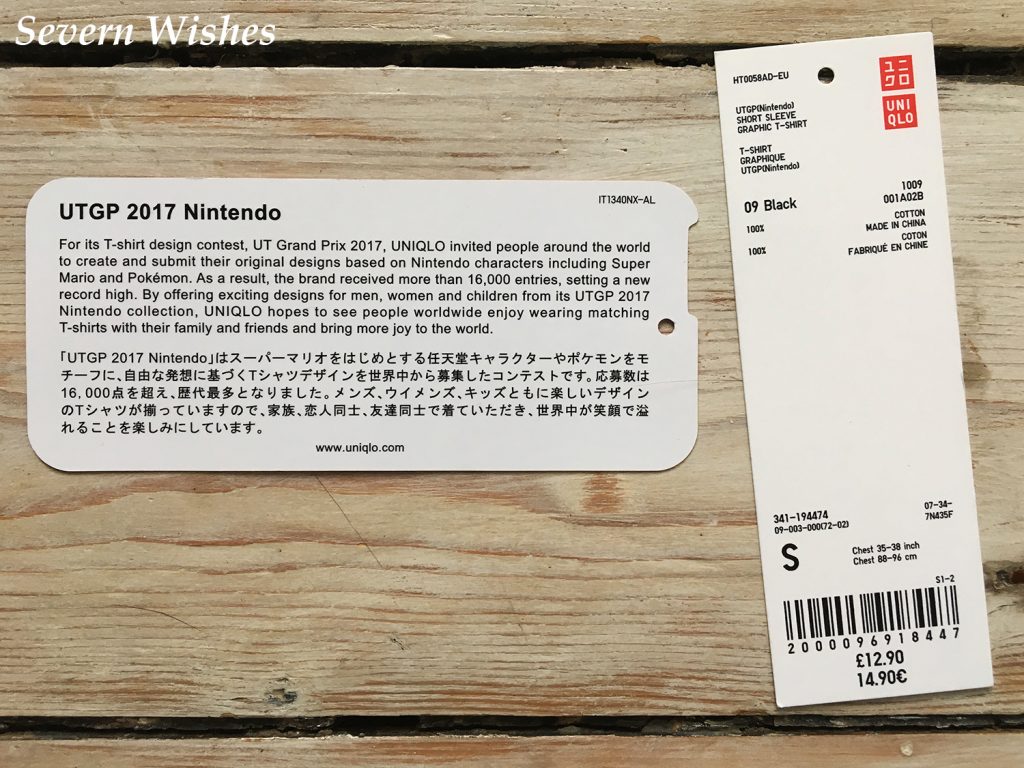 For the UT Grand Prix for 2017 and they received more than 16,000 entries, a new record high for the competition. By offering these unique and exciting designs for both men, women and children from its UTGP 2017 Nintendo collection, UNIQLO hopes to bring more joy to the world by giving people the chance to own these one off designs. With the standard being so high this year I cannot wait to see what people come up with for the next one!

 (The Sunflower, Palm Tree and Eye were already sown on).
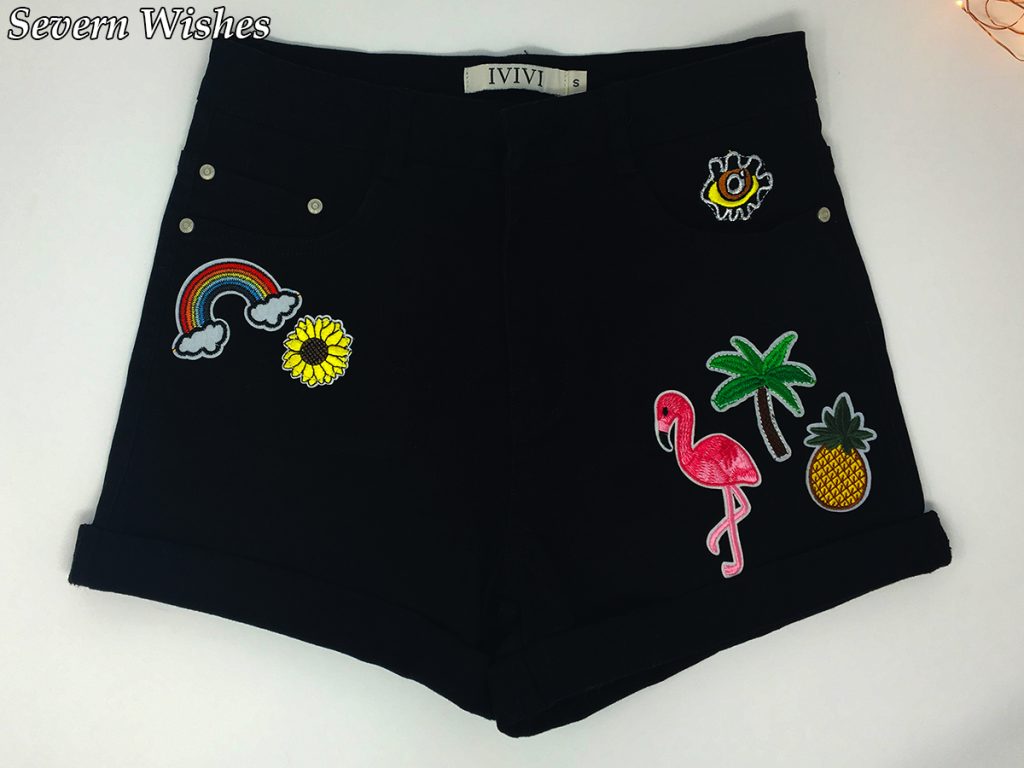 If you ever did this as a child, then you had a great childhood! Picking an iron patch in the local shop, taking it home and choosing an item of your clothing for it to go on to. Usually a denim jacket in the 1990’s with patches covering the back! But I wanted to spruce up these already great shorts! I hope you like what I did!
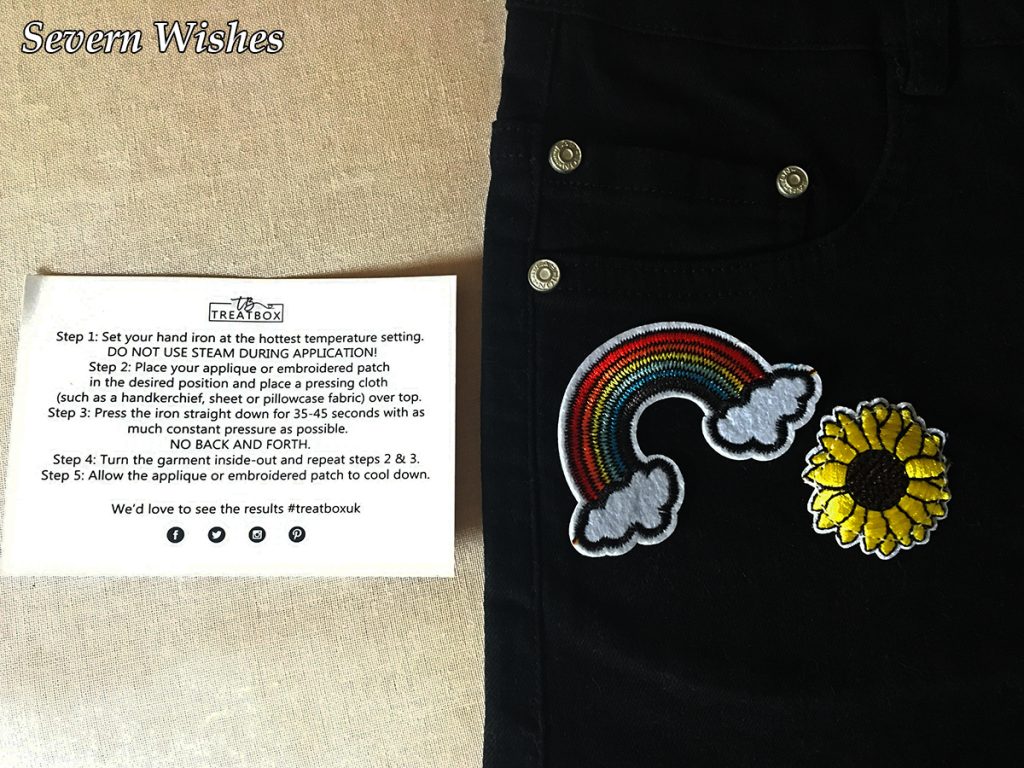 Here are the Treatbox Iron On Instructions and a closer look at the beautiful Rainbow patch that we had last year in our August 2016 box.
 Here is a closer look at the Flamingo and Pineapple which were in the July 2017 box.
 Recommending to use a handkerchief or an old pillow case to place over the patch while you are ironing is not only a tip but a definite necessity.
 Welcome to today’s Blog Post, in this piece I am going to be discussing the main Fashions for this Spring and Summer. How you can wear them this season, and how you can combine new items with your current wardrobe to stay on trend.
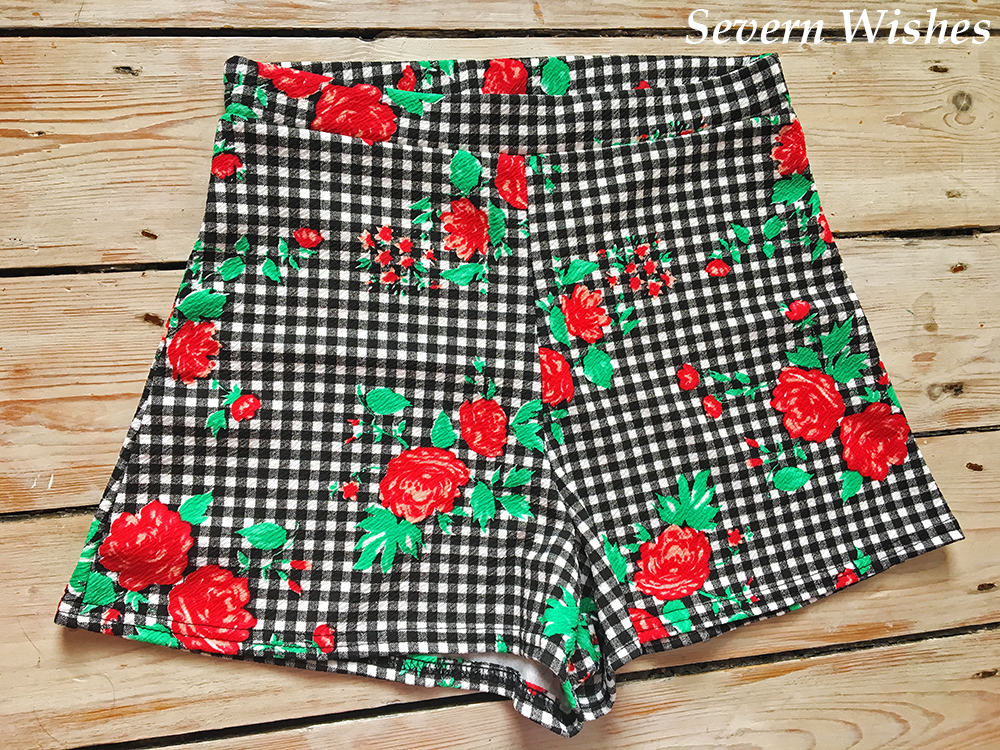
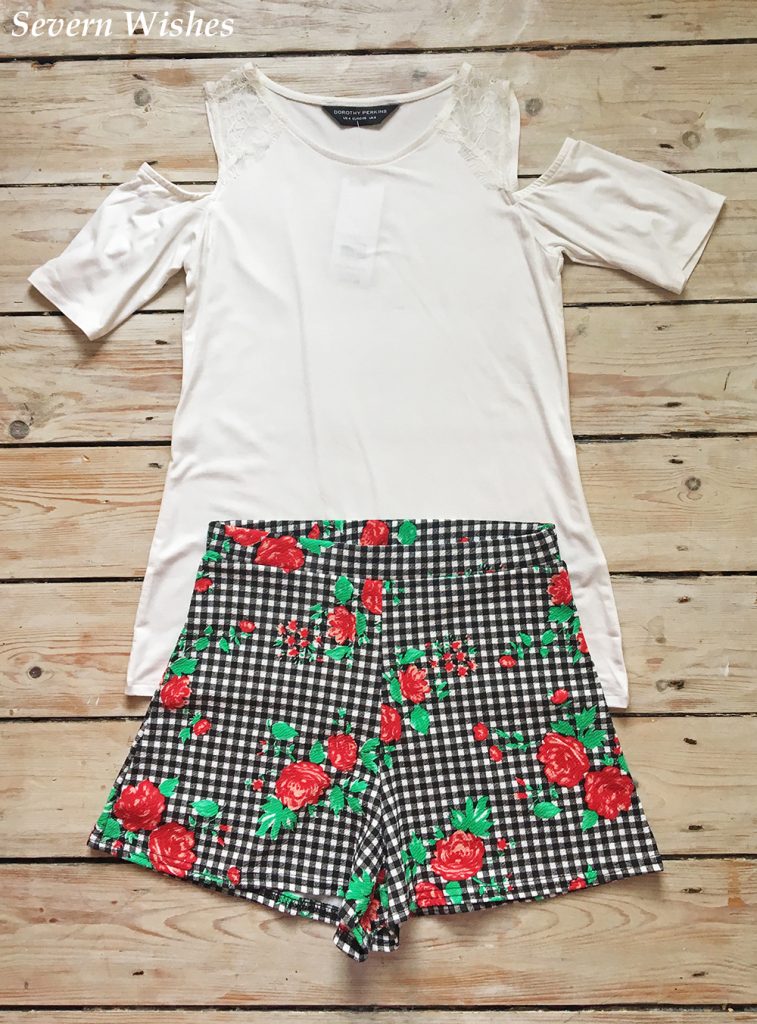
 Here I am in my Gingham and Floral outfit. I love how the flowers really stand out on the pattern.


 (Primark Original)
 (New Look Original)
 You could choose to put patches on any kind of Denim item, I liked how these would brighten up the black, but they work just as well with blue too!
 Here I am in this outfit. I really like combining trends like these to make my own style.
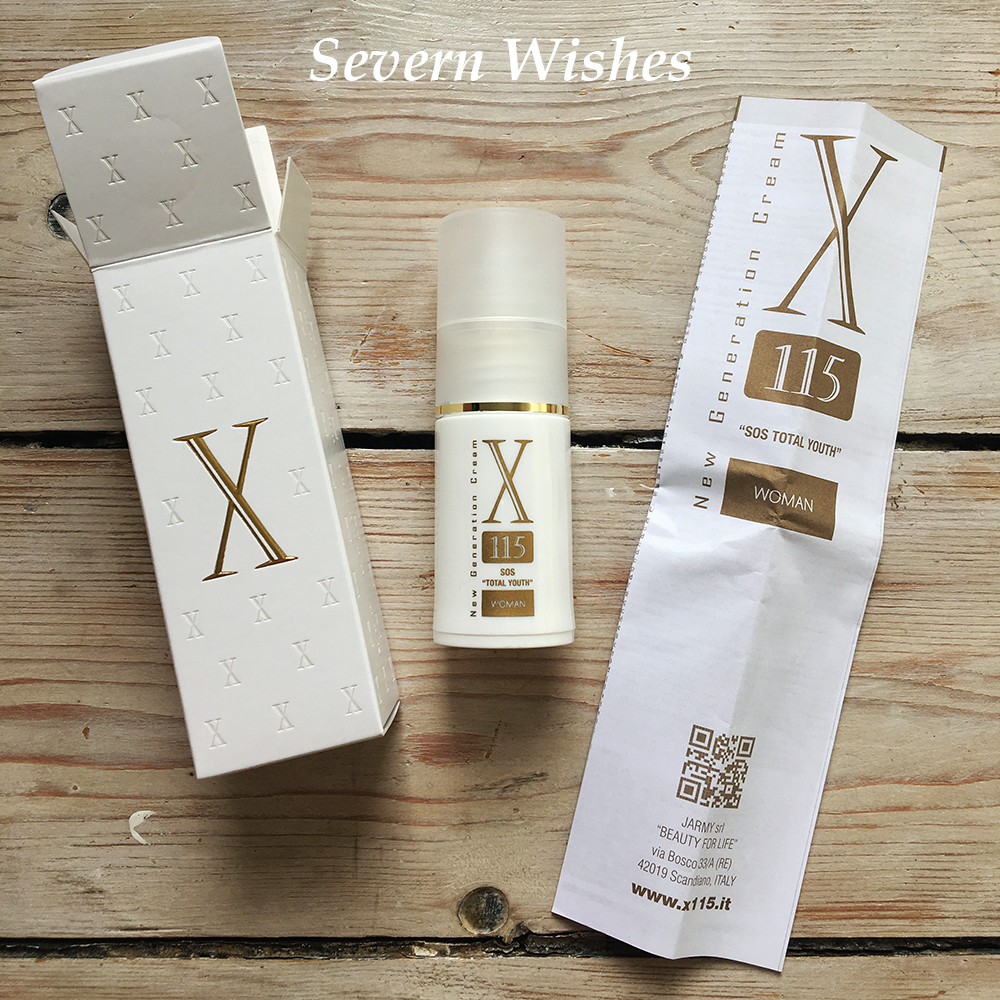 An in depth Review of the X115 New Generation “SOS Total Youth” Cream for Women from Jarmy SRL in Italy.
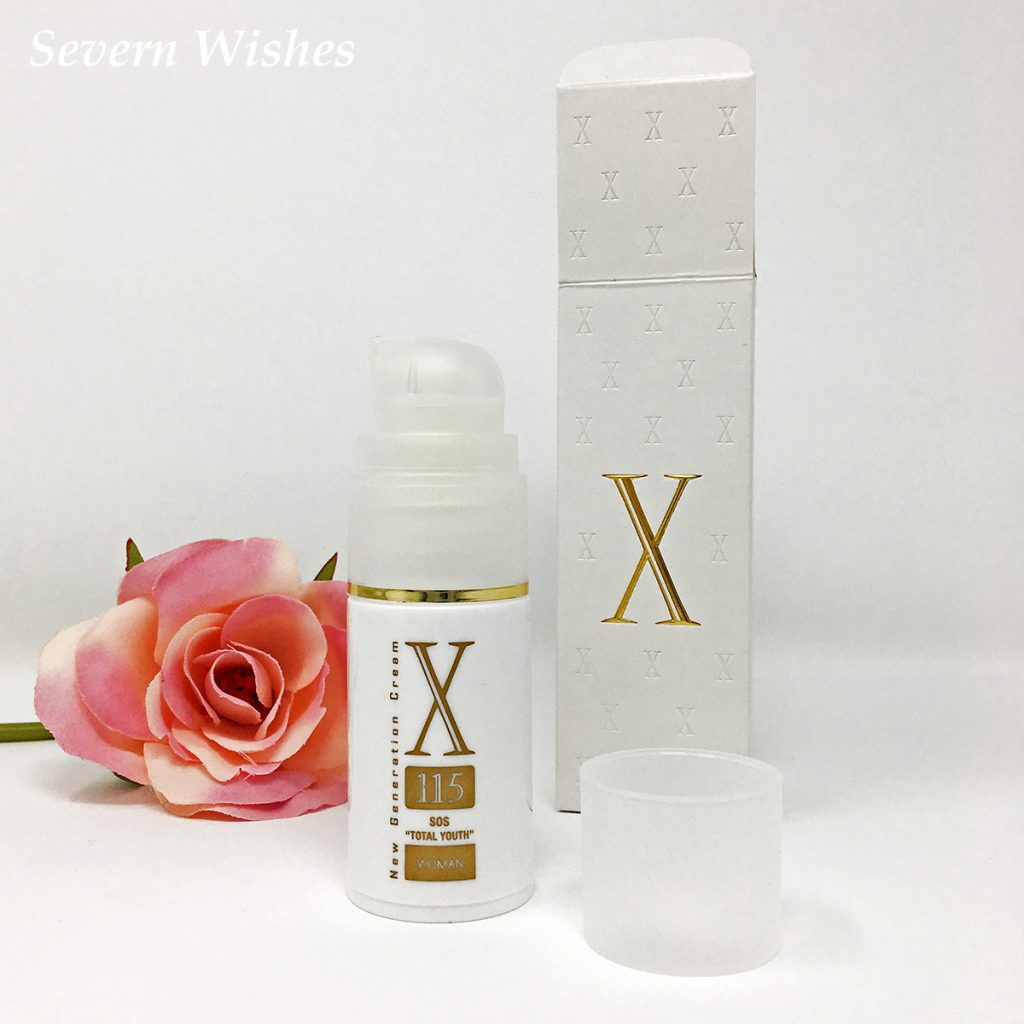 The first thing that I noticed when I began testing this product was that it had no smell, only a light plastic sort of smell and a slight oily scent, I take it that was from being encased in its packaging. However once applied there was no lingering smell. The cream was very light to apply and with a few strokes it soaked into my skin with ease. Even though I have sensitive skin I have had no issues with using this product whatsoever.
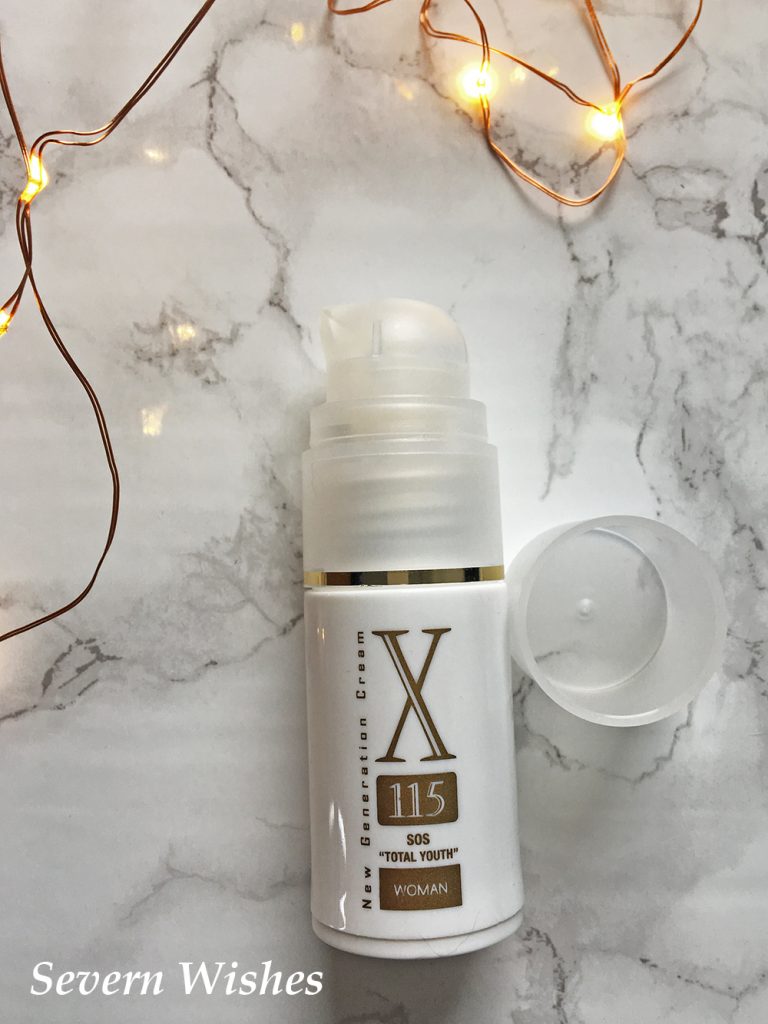 The X115 is designed to be applied at either the morning routine or the evening one, whichever suits the customer better. I have always preferred to do my more complex routine just before going to bed, that is because I usually struggle to remember to apply everything in a morning when I’m still half asleep!
 Over all I have found the cream easy to use, and because the bottle is so small it’s easily portable too. I went away for a weekend and just tossed it in my bag with my makeup. The small bottle went a very long way, with an evening routine I have used it consistently for almost six weeks now, with a very small amount remaining.
 I don’t really believe in a ‘before’ and ‘after’ image, because your skin is made up of so many factors, like diet, exercise and hormones. But I have definitely noticed a difference in my facial areas, so much so that I stopped using two other creams a month ago, just so that I was focusing all my attention on the X115. I wanted to see what it could do and see if it could do, in a shorter time period, what my usual products had been attempting to do for months.
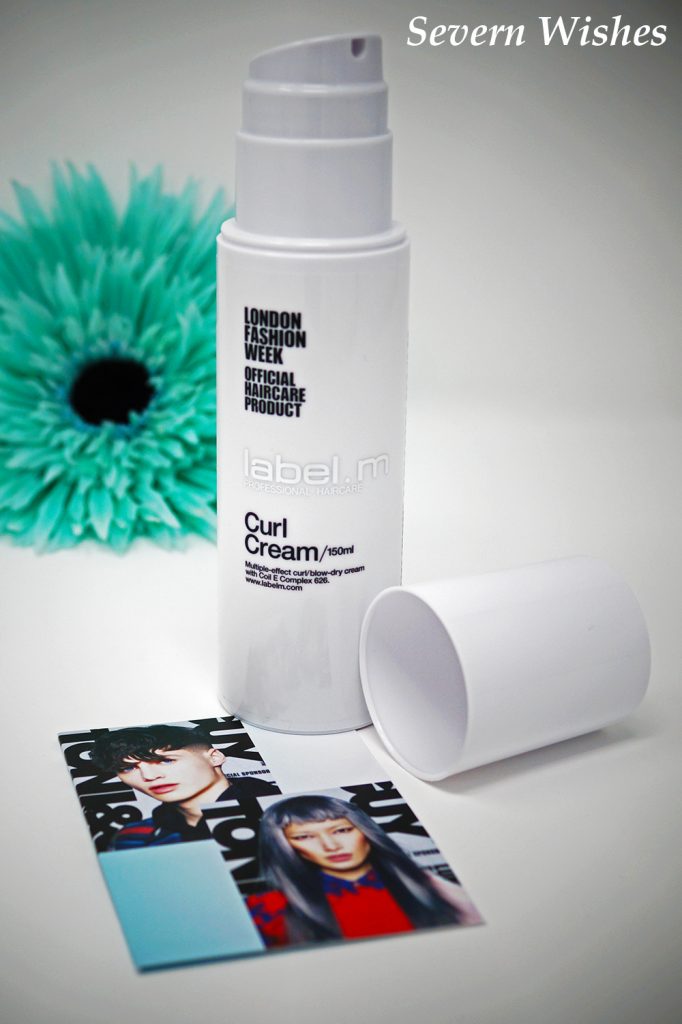 On my most recent visit to my favourite Hair Dressers, Toni and Guy, my stylist used their latest curl cream on my hair after my cut. To style this cream she scrunched it through my wet and freshly cut hair and then placed me under a hooded drier for thirty minutes.
 (Above; My Hair straight after having it cut and styled with the curl cream).
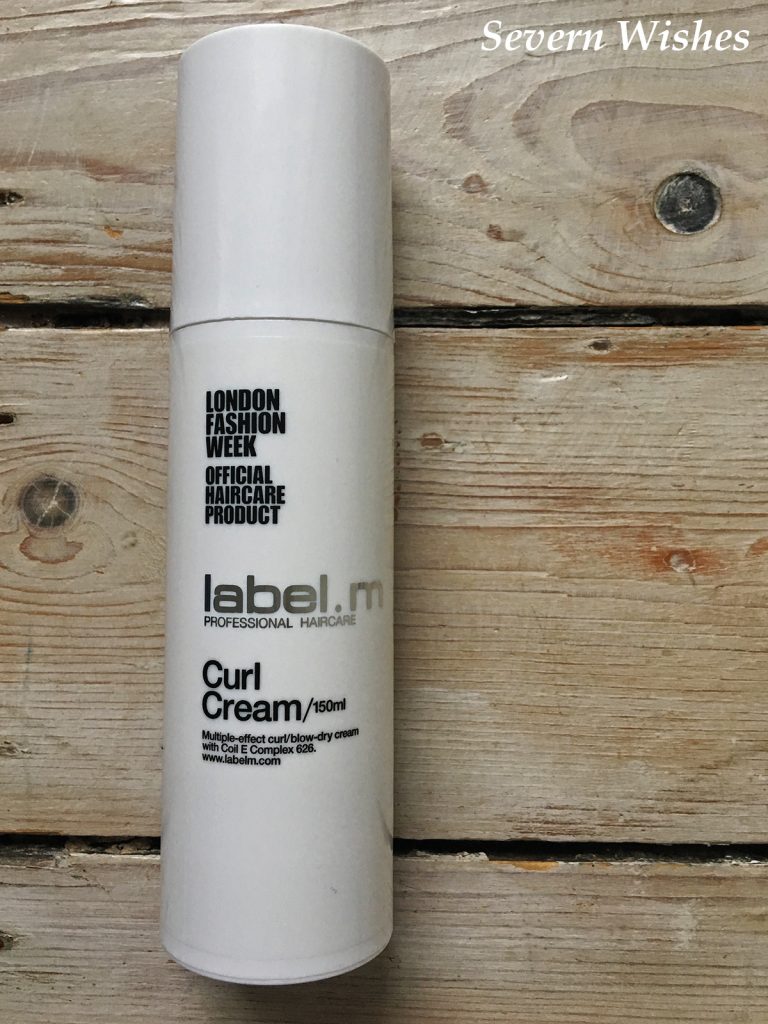

 (Above; My hair after using the product at home).