✩ How To Make Your Own 3D Box Frame ✩
If you have followed me on social media or read my blog for a while now, then you will know that I’m a very creative individual. I wanted to share that creative streak with you on the blog this month by writing this special post, and making a “how to” video too!
What I’m going to be talking about on the blog today will be frames. For those who don’t already know, I’m a photographer, I have been for more than twelve years now. I guess you could say that I have an eye for seeing things in the world around me. Combine that with my creativity and it’s a match for making all sorts of things. Like my very own frames, and that is what I’m going to explain to you all now, so that you can go away and make some too.
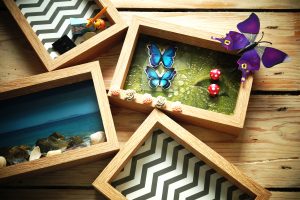 (Here are a few of my examples to get you thinking…)
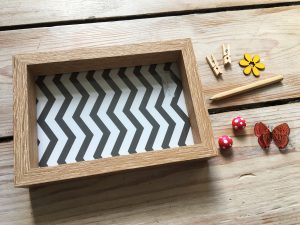
Before we begin we will need to gather a few things. You must buy a box frame (of course) or recycle an old unused and unwanted one in your home. The size can be totally up to you so long as its deep, roughly 1.5cm or more is good. And it can plastic or wooden, but wooden is preferable so that you can stick items to it easier.
Here is the type of frame that I chose to get, I like wooden ones, and believe it or not these were only £1 each in Poundland, a real bargain for the quality I think.
These frames make wonderful gifts for people, and seeing as we are getting closer and closer to the end of the year, you might want to keep some ideas in mind if your frame building goes well.
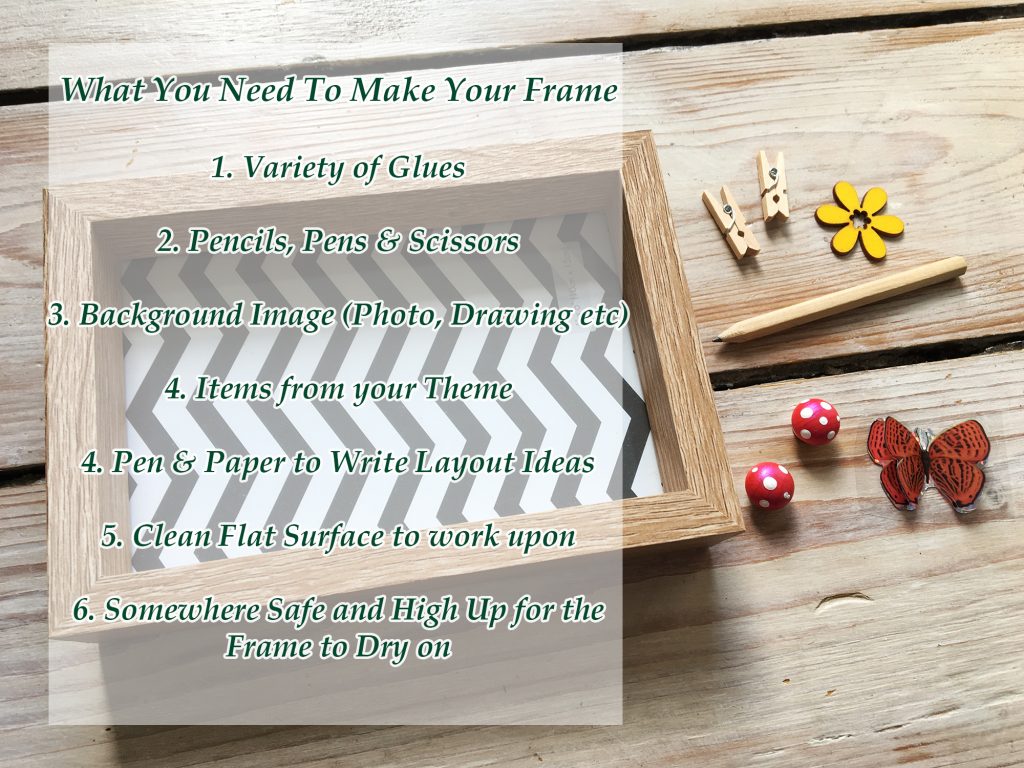
Not only are you going to need some items to put inside your frame, but in order to decorate it, layer it in order to make it 3D, and of course stick the whole ensemble together! So you are going to need to either buy, salvage from loved ones, recycle or make the following items…
So before we start getting creative with it you will need to think of a theme for your frame, and then buy, salvage or make the parts to go with it. I’m going to provide some ideas now, and then take the “How To” part into a Step by Step guide for you to follow.
✩ Theme Ideas ✩
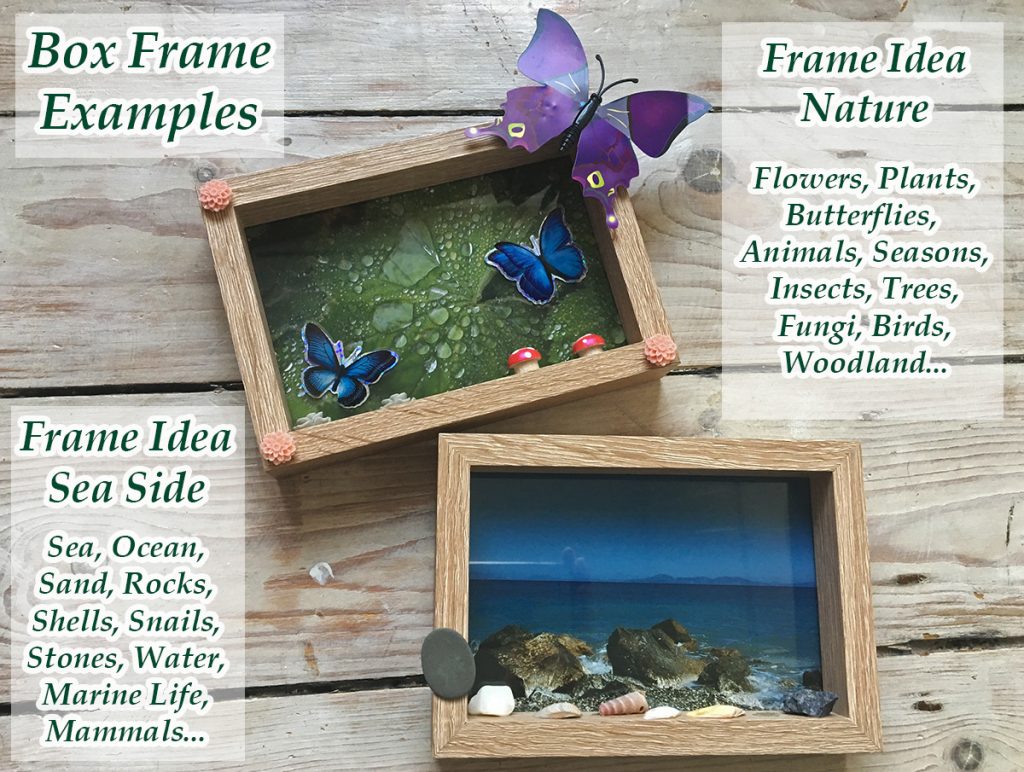
Nature – Woodland / Forest
Nature – Seaside
Nature – Garden
Nature – Animals
Memories – A Day Out
Memories – Loved Ones
Fun – Superheroes
Fun – Toys – Lego
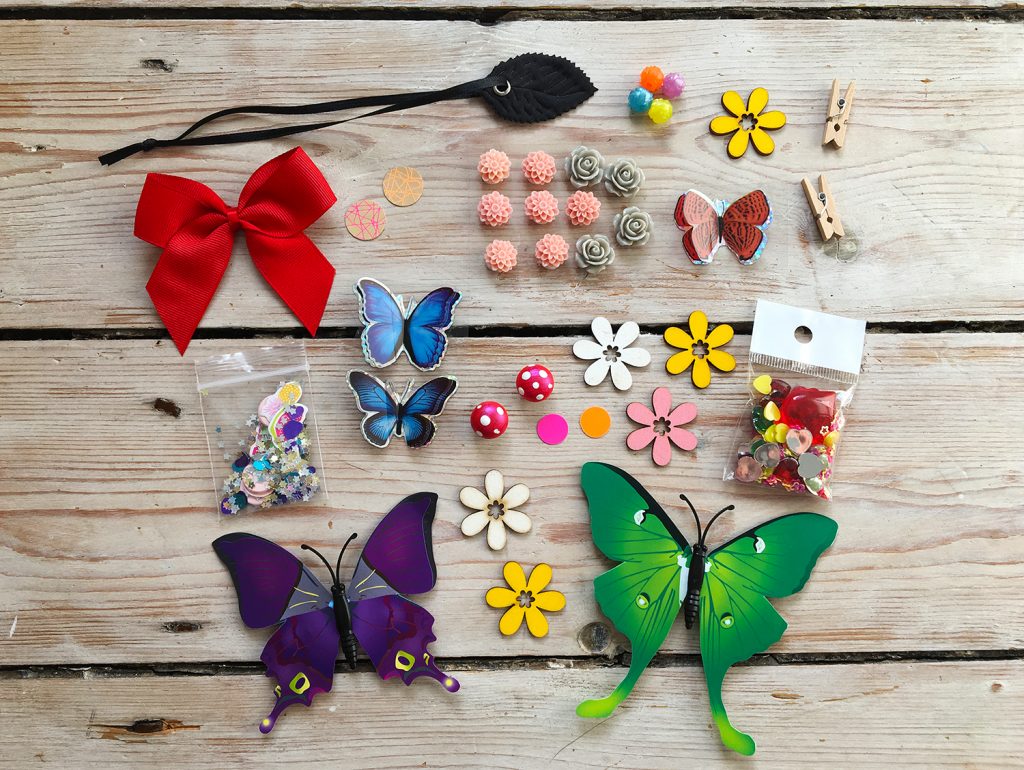
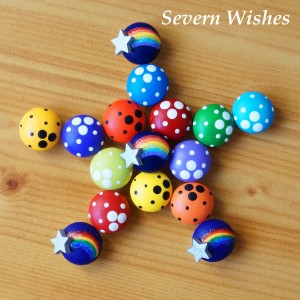
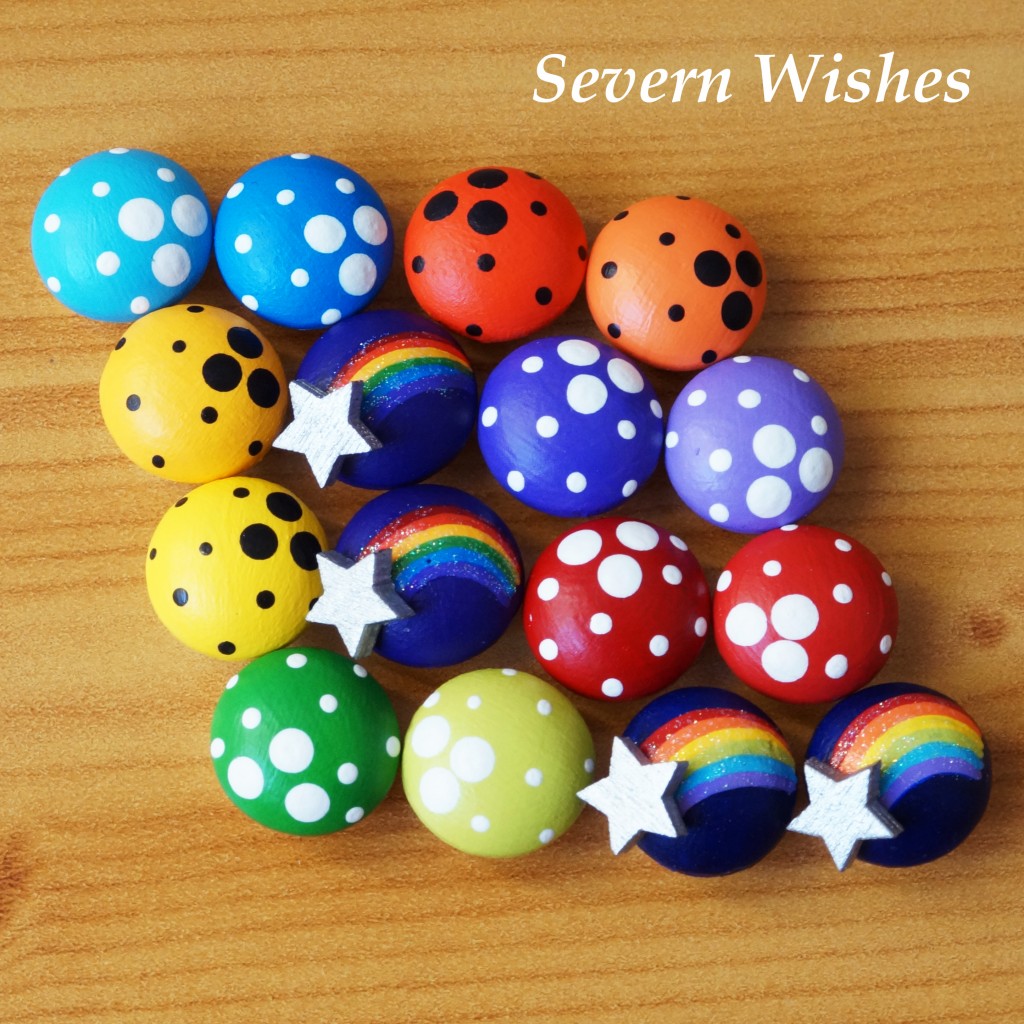
✩ Examples of Some Items I Used and Where You Can Get Them ✩
Stickers – Pound Shops
Wooden Shapes – The Works
3D Butterflies – Inside my Artemis and Xena Subscription Box
Butterfly Stickers – Craft Store
Sequins and Stars – Treatboxes
Wooden Flowers – The Works
Wooden Mini Mushrooms – Etsy
Resin Flowers – Poundland
Mini Wooden Pegs – The Works
Beads and Buttons – Craft Stores
Shells and Stones – From A Beach
Photographs – Owned By Me and Printed By Me
Toy Shops for Small Toy Items
Check Charity Shops – Always Good To Look Around For Items and For Frames
Now on to my Step by Step Guide, you can also watch this on my video, but in case you need a reference to look back on, this is how easy it is to make your frame, once you have accumulated all of the above components.

✩ My Step by Step Guide ✩
Step 1. Make Sure Your Frame Is Clean And Dust Free, Remove Any Price Stickers etc. Decide On Your Theme and If It Will Be Shown In Portrait or Landscape When You’re Finished. This May Take Time To Complete, Do Not Rush, Be Patient…
Step 2. Write Down How You Want It The Frame To Look, Play Around With The Items You Have Assembled, Until You’re Happy With The Way It Looks. Then Write It Down Or Take A Photo Of It.
Step 3. Next, Arrange Your Items Into Order Of What Will Be Stuck Down First Through To Last. Make Sure You Begin By Doing The Background, You Can Keep The Piece Of Glass Inside The Frame, Or Remove It If You Are Layering, But Be Careful The Edges Will Be Sharp. Remove The Back Of The Frame So You Can Work On The Centre (Set It To One Side In A Safe Place).
Step 4. For The Background. You Can Choose To Use The Glass As A Base, The Card Inside, Your Own Photograph Or Your Own Drawing etc. But Make Sure It Is The Correct Size By Measuring It Against The Template Paper Piece Inside The Frame (Or The Glass Piece But Be Careful).
Step 5. Once You Have Completed The Background Start Your First Layer. This Can Be Just An Image To Layer Upon, It Can Be A Photograph, A Collage, A Drawing… Anything! But It Should Stand Out…
Step 6. Once The Background Is Done The First Layer Can Be Glued, Let The Frame Dry For A Few Hours After. You Can Nudge The Items After 3-6 Hours And If There Is No Movement, Then You Can Be Gentle And Avoid Them, And Can Continue Sticking. If You Are Layering Paper Though Allow Time To Dry Between The Layers (Usually 12 hours).
Step 7. When You’re Happy With Your Frame, Continue To Glue Any Items Until The Entire Piece Is Complete And How You Imagined. Remember You Can Always Change Your Mind As You Go. Some Items Might Be Awkward To Stick Down, Take Your Time, And Let It Dry In Between Complex Layers…
Step 8. Once Everything Is Stuck, Let The Frame Dry At Room Temperature (Roughly Overnight for 12 hours but if you glued a lot on then make it 24 hours). Place It Up High And Keep It Away From Any Dirt, Moisture Or Heat.
Step 9. If Everything Has Stayed In Place After This Time Then You Can Fit The Back Of The Frame Back On (Carefully).
Step 10. Let the Frame Sit Now For At Least 24 – 48 hours. If Nothing Falls Off During This Time Then Now You Can Enjoy What You Have Made!
 ✩✩✩
✩✩✩
Check Out My YouTube Video Showcasing My Frames And More Of The “How To” With More Of My Tips Too!
HOW TO MAKE YOUR OWN 3D BOX FRAME

Thank you very much for reading this blog post today. I hope that I have inspired you to try and make a frame yourself! If you do, please leave me a comment to let me know, or you can tag me on social media and show it me instead! I cannot wait to see what you all come up with, and don’t forget to have fun getting creative this summer!
Happy Crafting!
✩ Sabrina ✩