
If there is one thing I love since becoming a blogger, it’s the fact that I can receive samples now and don’t feel guilty about them being free, because I am always reviewing what I am sent and giving my opinions on the brands in return.

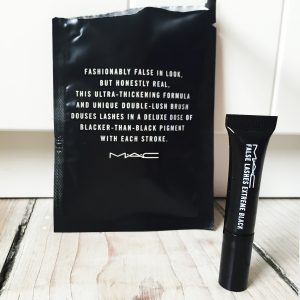
So today’s blog post is all about a sample I had from MAC which was a Mascara boasting a false lash look in extreme black. Of course every woman wants to have great looking eyes without hassle and too much effort. And it literally took me seconds to apply the sample mascara and I was so pleased with the results I took an unflattering selfie straight away to show you.
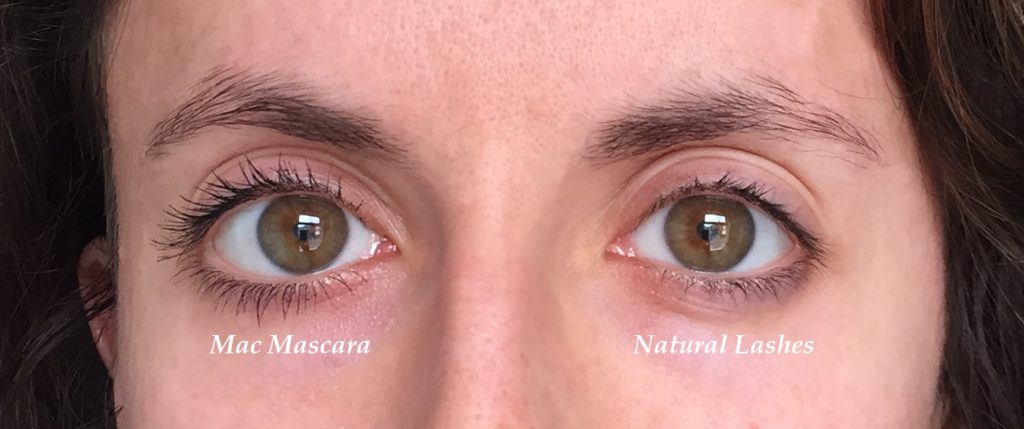
So you should be able to see from this image below the length and darkness of my lashes when the MAC mascara was applied. This is just one thin coating, so once dry you could apply more of it for a bolder look.
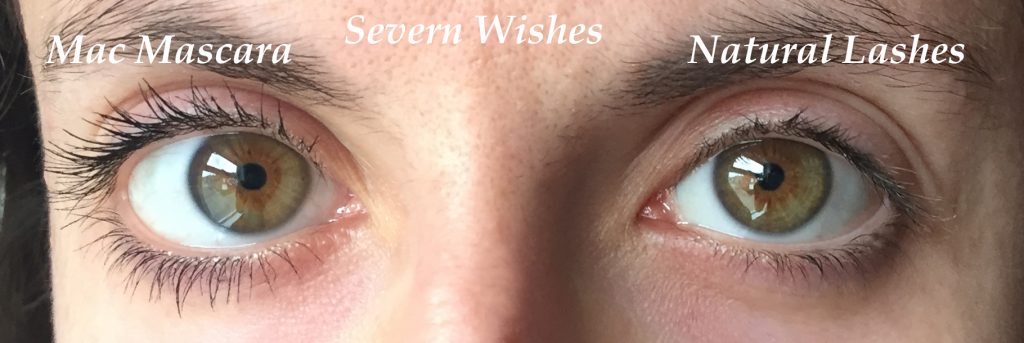
This small sample will go a long way I’m sure, and the mascara itself had barely any clumps when I applied it. The brush was good at coating my lashes but not that good at separating them. I found I was wiggling the brush and trying to separate my lashes with the end of the brush. Once I was satisfied I took this eye selfie to compare between my natural lashes and the ones coated with the MAC false lashes extreme black mascara.
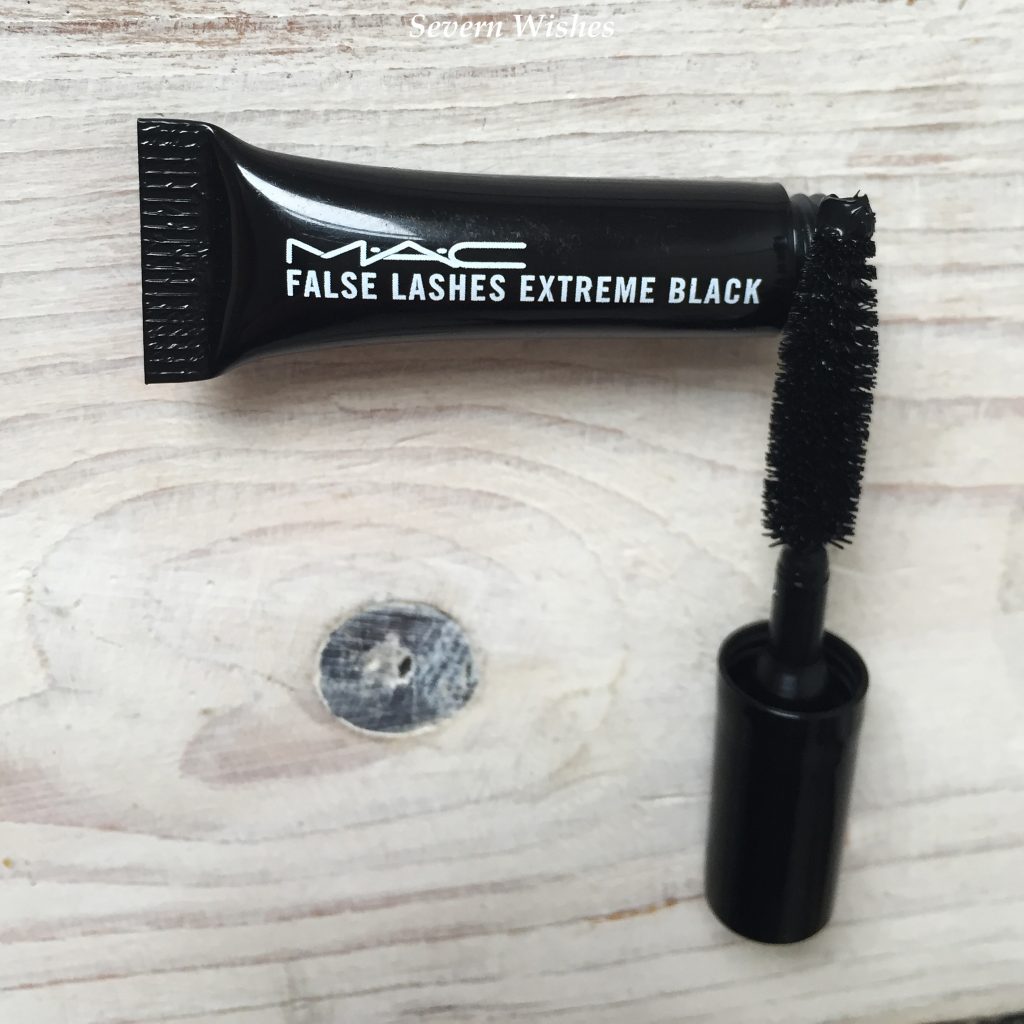
For a small sample the brush was very good, it allowed for an even coverage of the product. I am unsure if this will be the identical brush used in the full sized product because I have not seen one, but it works well for its shape and size. It becomes narrower towards the end which is handy for the inner corners of the eye, and for coating lashes on the lower lash line.
I hope you have enjoyed this review, please keep reading to see my final scores on this sample product and another image comparing the appearance with my natural lashes too.
My final review for MAC false lashes extreme black mascara is;
Quality of Item 4/5
Effectiveness 4/5
Appearance 5/5
Thank you for reading this review, if you liked this beauty post then please consider subscribing so you don’t miss the next one. You can do that on my main page, and click the beauty category for more posts like this one.
Have a lovely day!
✩ Sabrina ✩
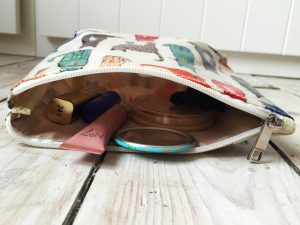
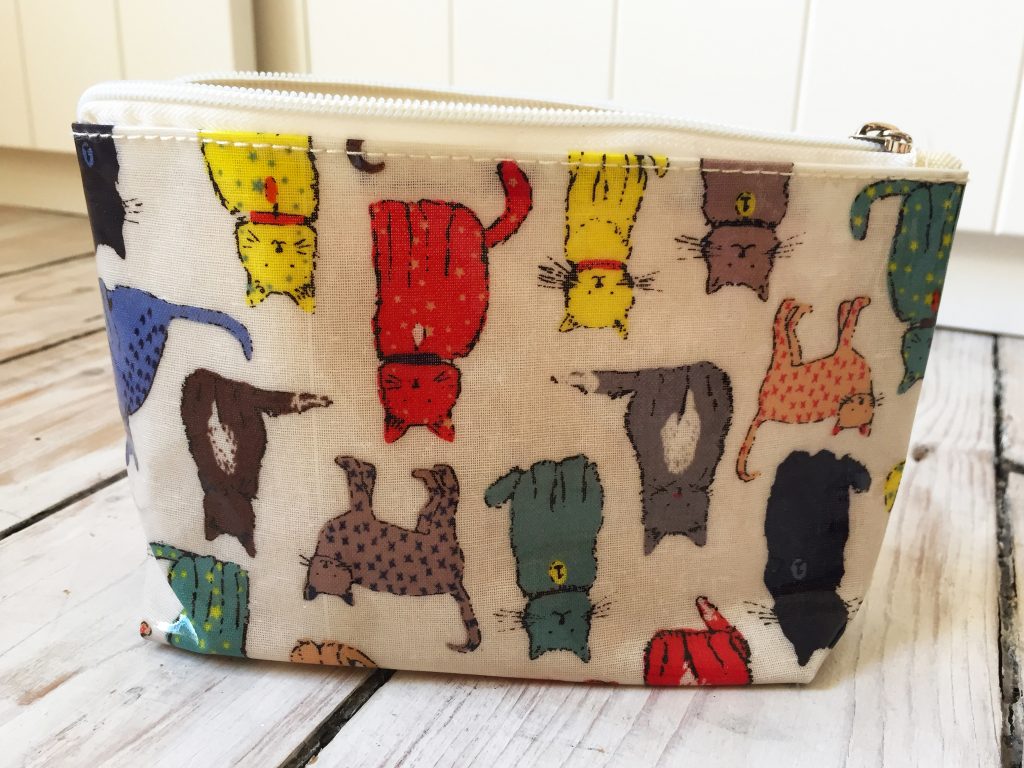 Cats Makeup Pouch
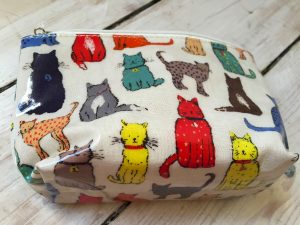
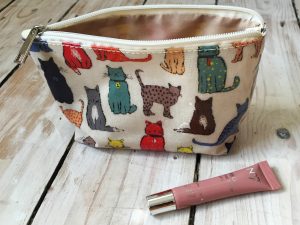

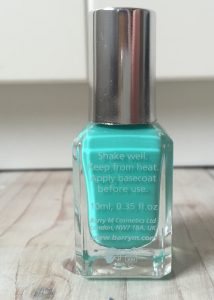
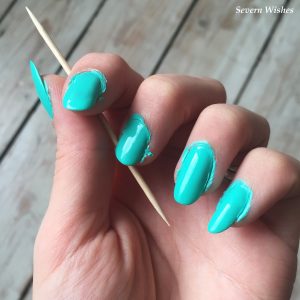
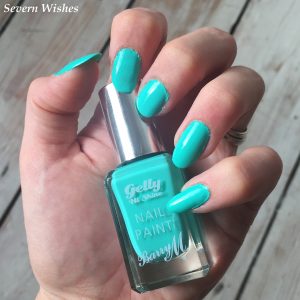
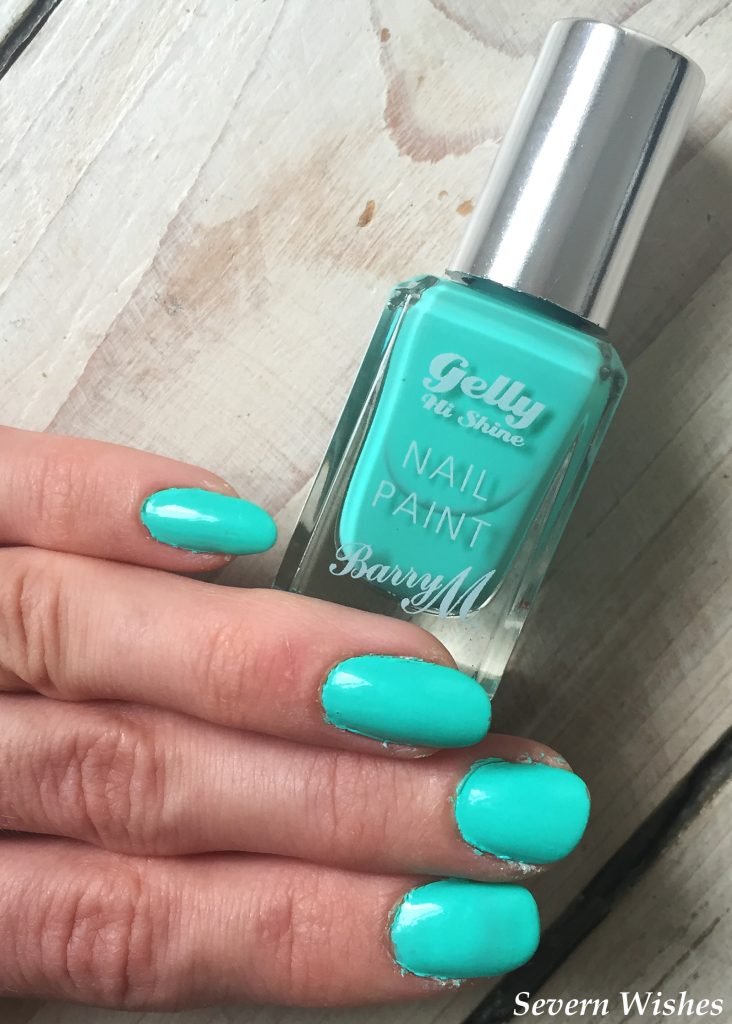
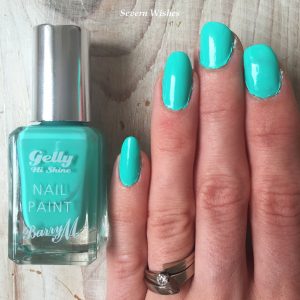
 I recently purchased some BarryM Nail Paint, something I had never used before. If anyone entered my recent giveaway you’ll remember I gave one of them away, a lush pink colour. But another of the shades that I kept for myself was this incredibly bright turquoise colour. Like the shade that the sea is in faraway climates. I adore these sorts of colours; in fact the majority of my nail varnish collection is a mixture of blues, greens and reds.
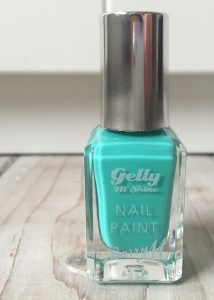
 No7 Mystery Prize Gift Bag
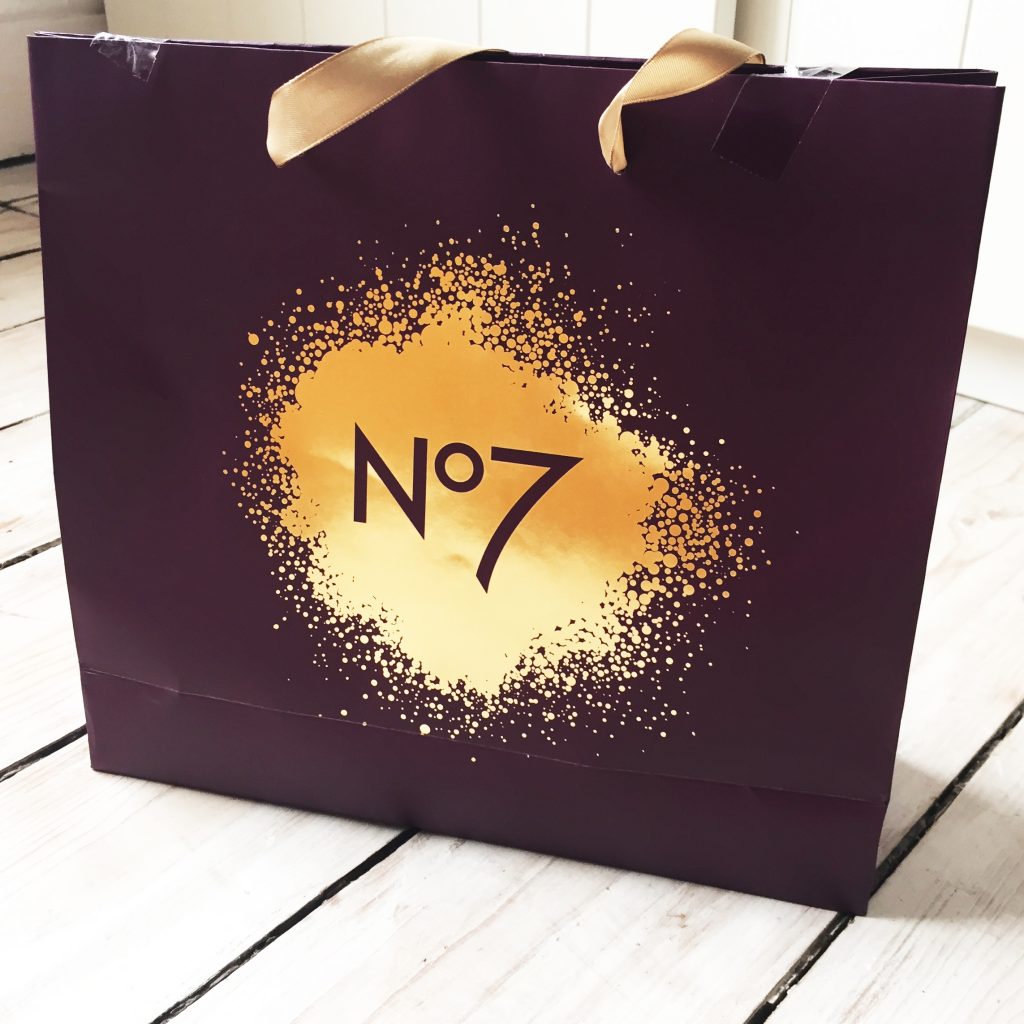
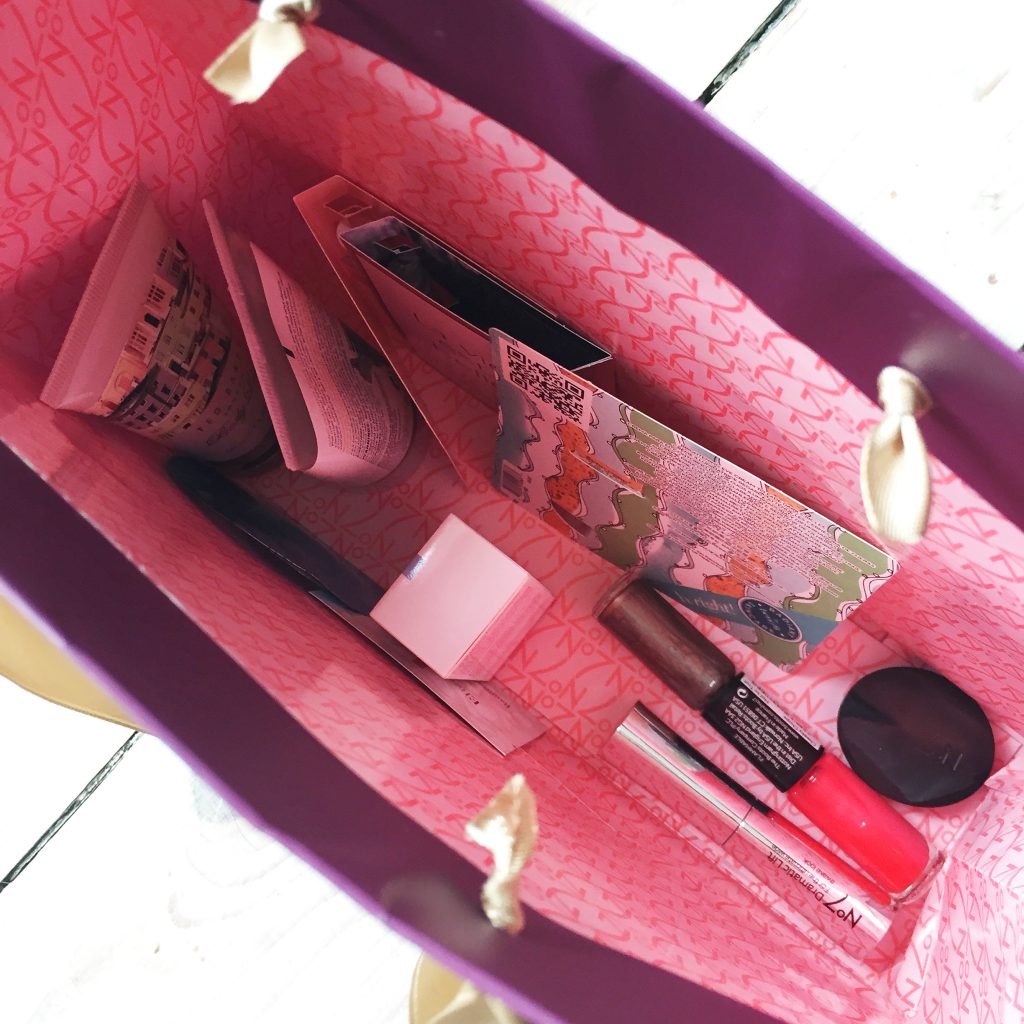 When I opened the tape on the beautiful purple bag and looked inside, I saw a selection of items inside including samples, No7 items and what looked like some full sized products too. I decided to photograph all of the items together before testing or using any of them, so the next image depicts a flat lay of the things inside the prize. This is the reveal of what was contained in this prize.
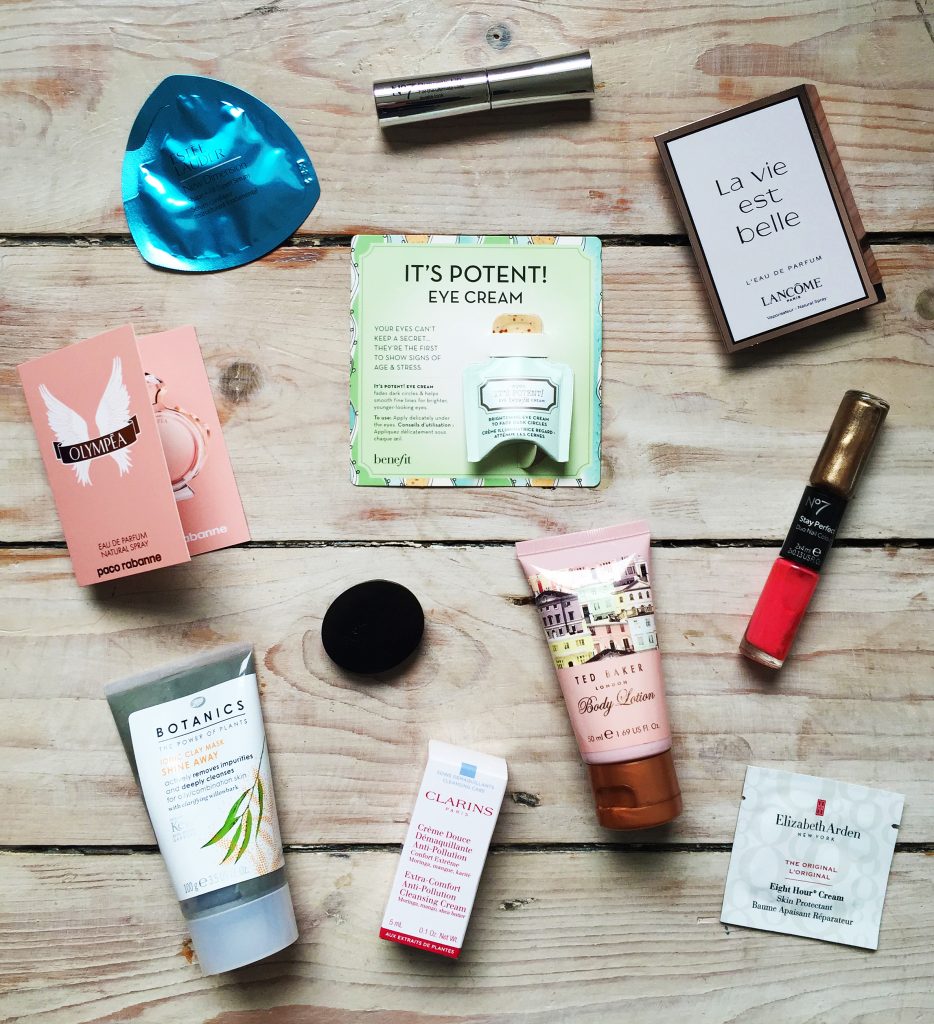 Item 1. Estee Lauder – New Dimension Serum Sample
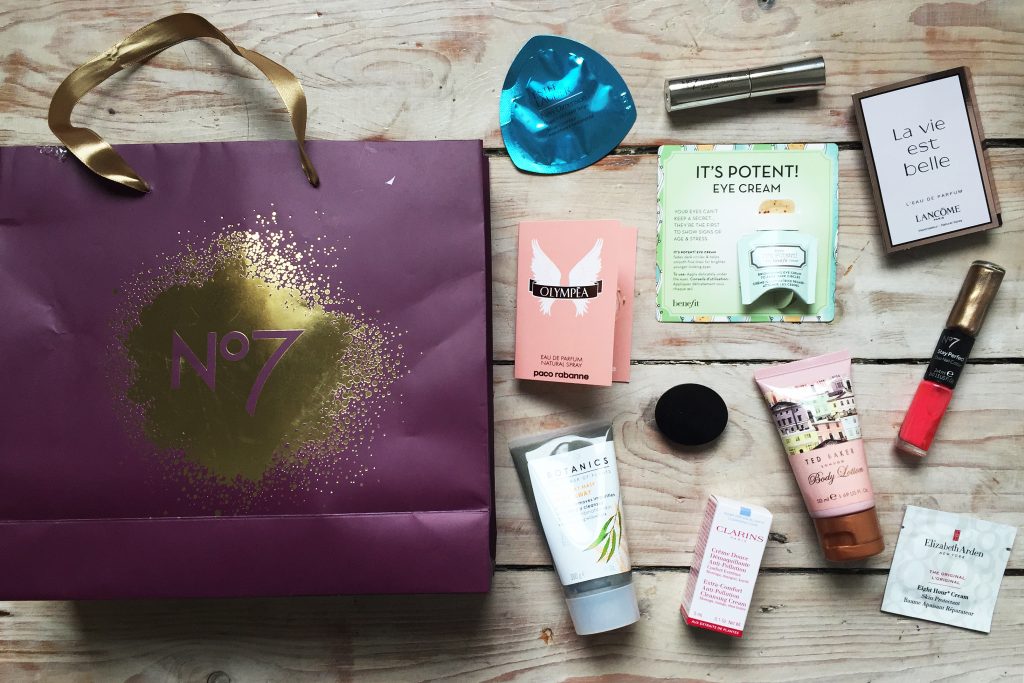 I’m looking forward to trying these products and the samples, if I’m impressed with anything I will probably write a blog post about that specific item. Although most of what was included seem to have one time uses unfortunately.
 Here is an image of me holding my sample that had just arrived in the post. I have no makeup on here, and I wanted to keep that a running theme throughout this trial and review. Any photographs in this blog post with me in them have not been enhanced and I decided I wouldn’t wear any products on my skin to show the full effect of the use of these capsules.
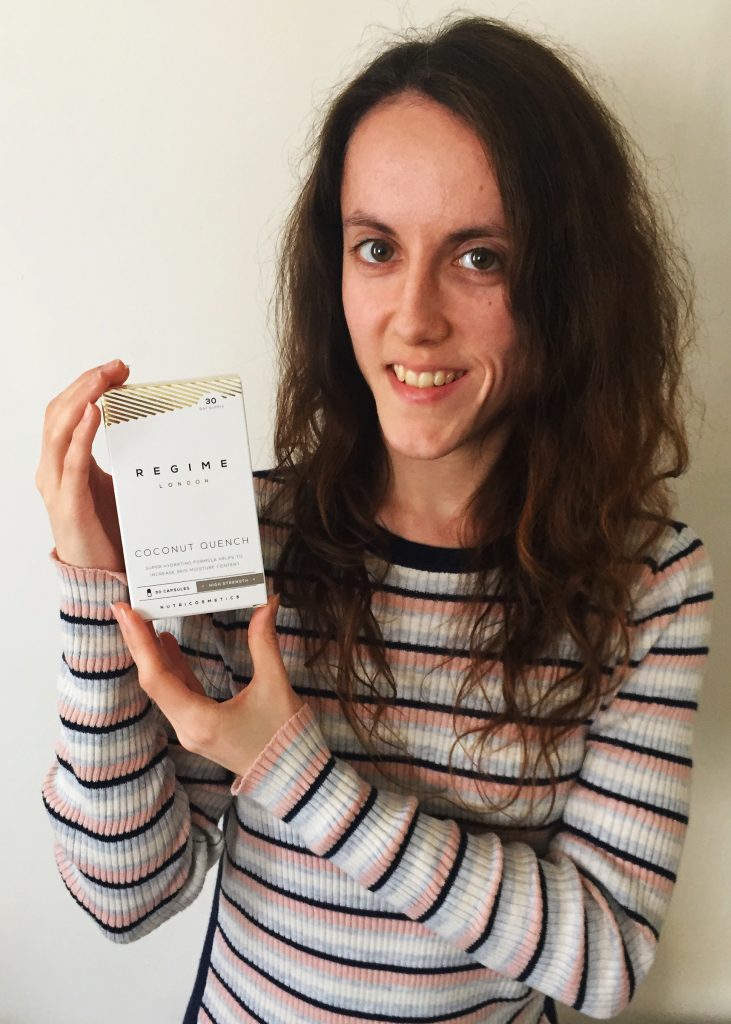 I won’t lie to you the capsules were pretty large to swallow, but then if you realise how much is encased within one they are actually quite small, and I would say they were an average size for a larger capsule. They are a similar length to the vitamins you can get with a great number of nutrients in them. Easy enough to swallow if you’re used to taking any tablets around this size.
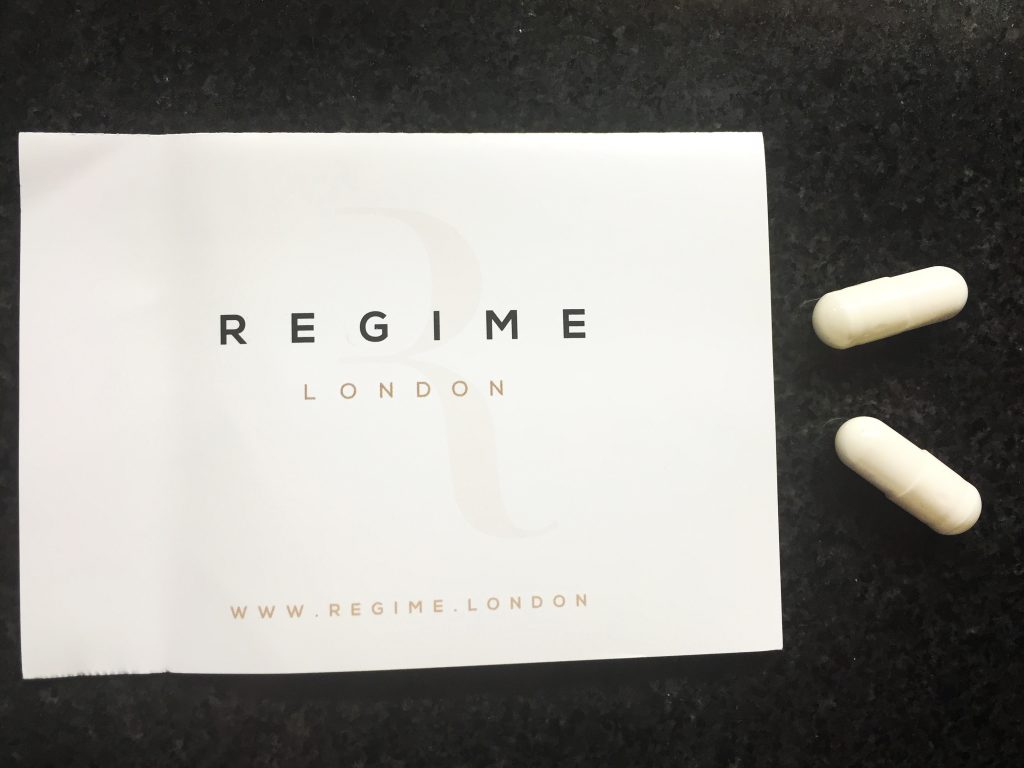 I had no problems or side effects with this product and I had no issues in sticking to the routine of having the capsule every day.
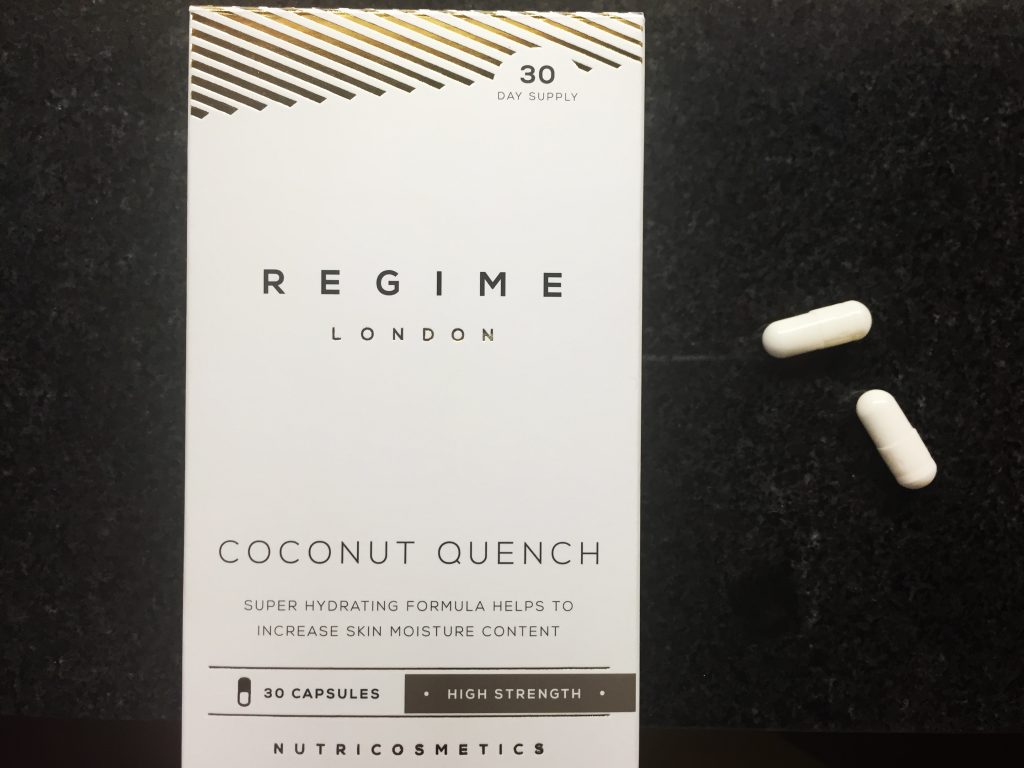 In this image I was down to my final two tablets. I must admit that by the final few days I had begun to notice a slight difference in my skin, it seems a little firmer than it was a month ago. On my face I have seen a reduction in the bags under my eyes. Before anyone asks if that means I have just gotten more sleep then the answer is no. Throughout May I have been working my usual shifts at my day job and I haven’t had any time off this month in order to rest.
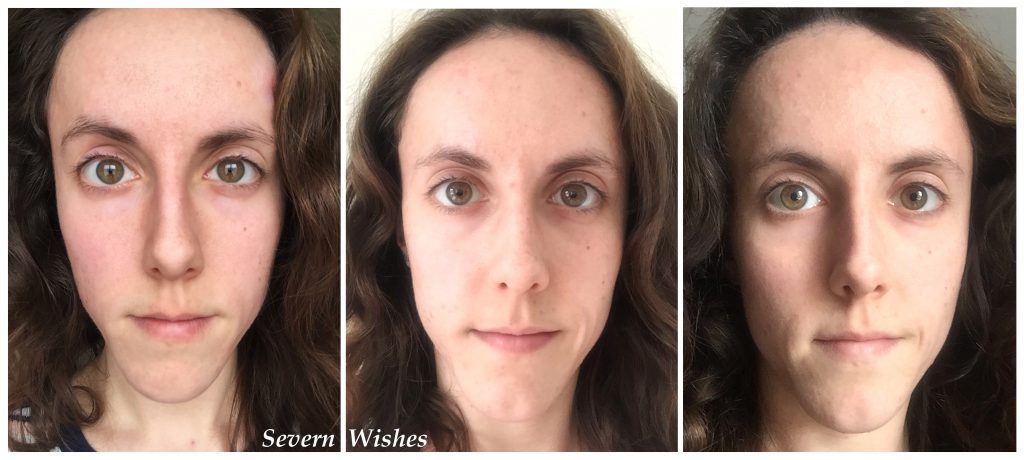 As you can see the dark circle under my eyes are slightly reduced in the final image compared to that on day one. The final image (right) was taken 30 days after taking the first capsule. I have noticed as well that the lines around my eyes such as crows feet (when I smile broadly) are also slightly fainter than they were a month ago.
 I would like to end this post by saying how much I appreciate the opportunity that I have been given in reviewing this product and would like to thank Regime London for choosing me and my blog to write a review.
 For me, I nearly always wear mascara on my eyes and powder on the skin on my face to reduce redness and any uneven skin tone. I felt that I already achieved this look on a regular basis, so I wanted to show how I did this and what products I have used. As you can see in the image above my makeup is subtle, used to mainly hide dark circles and blemishes and to remove any shine from my skin.
 So what products have I used for the makeup half of this look. Well the mascara I used was a gentle application of Rimmel London’s Super Curler 24 hr Mascara (a little goes a long way).
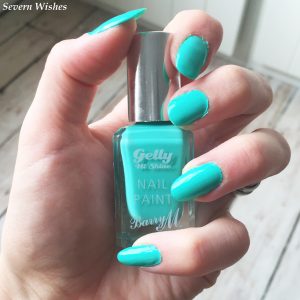
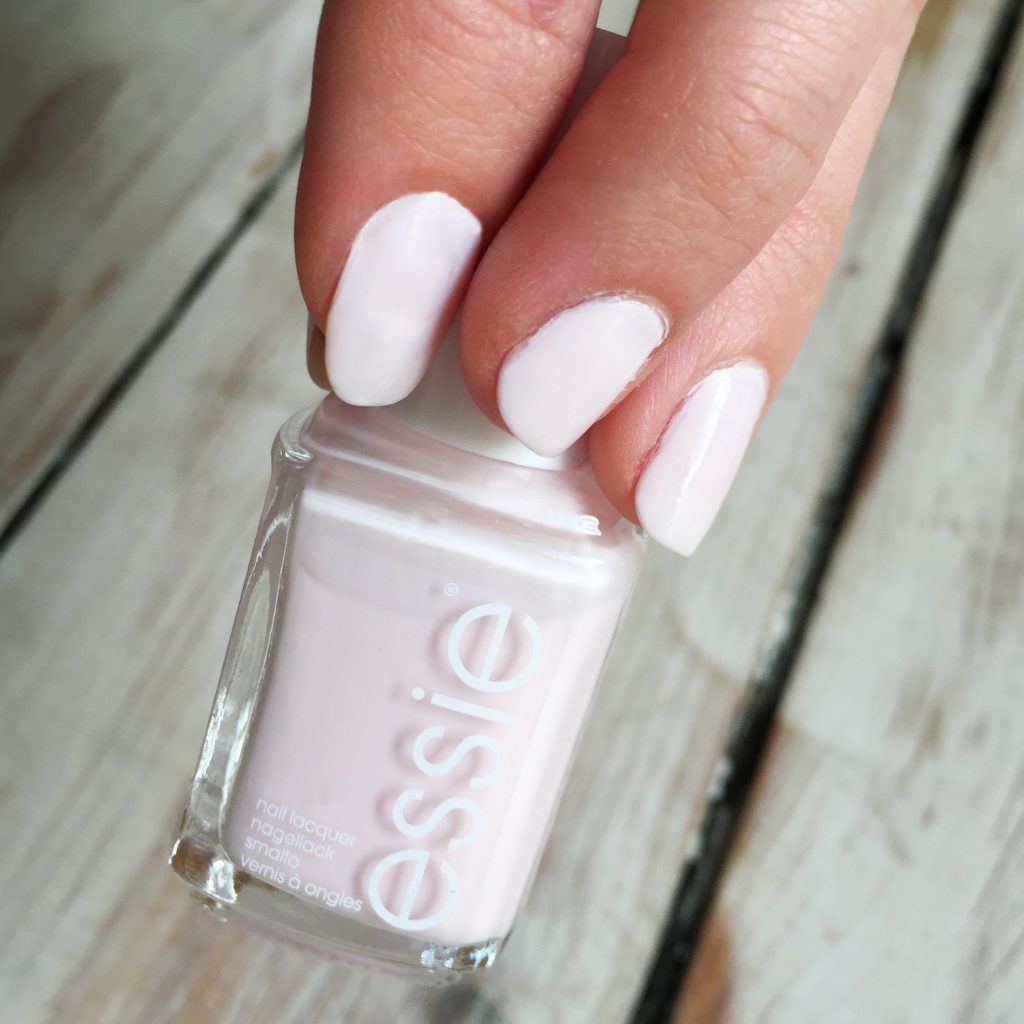 I was pleasantly surprised with the quality, the nail polish applied smoothly and had a lovely shine to it. The colour I chose suited my skin tone and looked very flattering with a range of outfits as I wore it over the weekend.
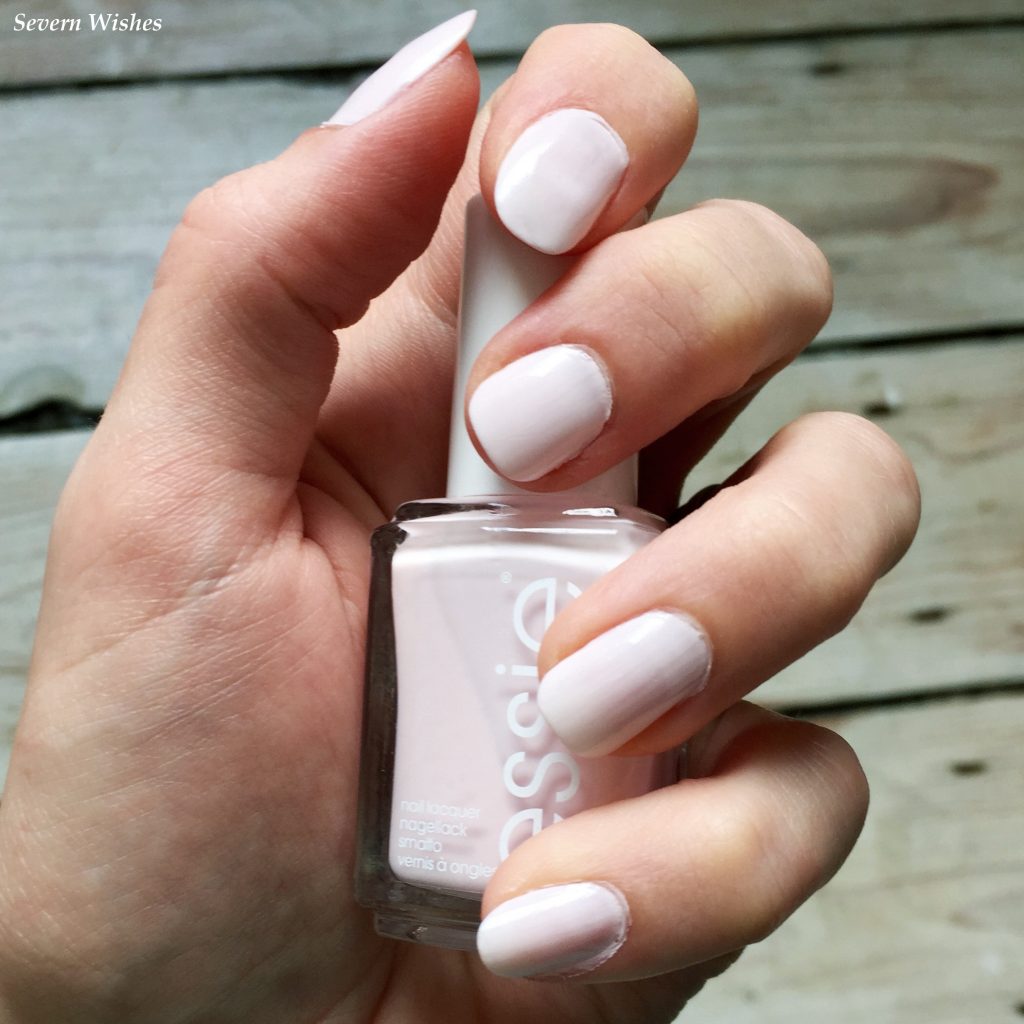 Do you have any essie shades that you’ve purchased this year that you can recommend? I would love to hear other peoples experiences too.
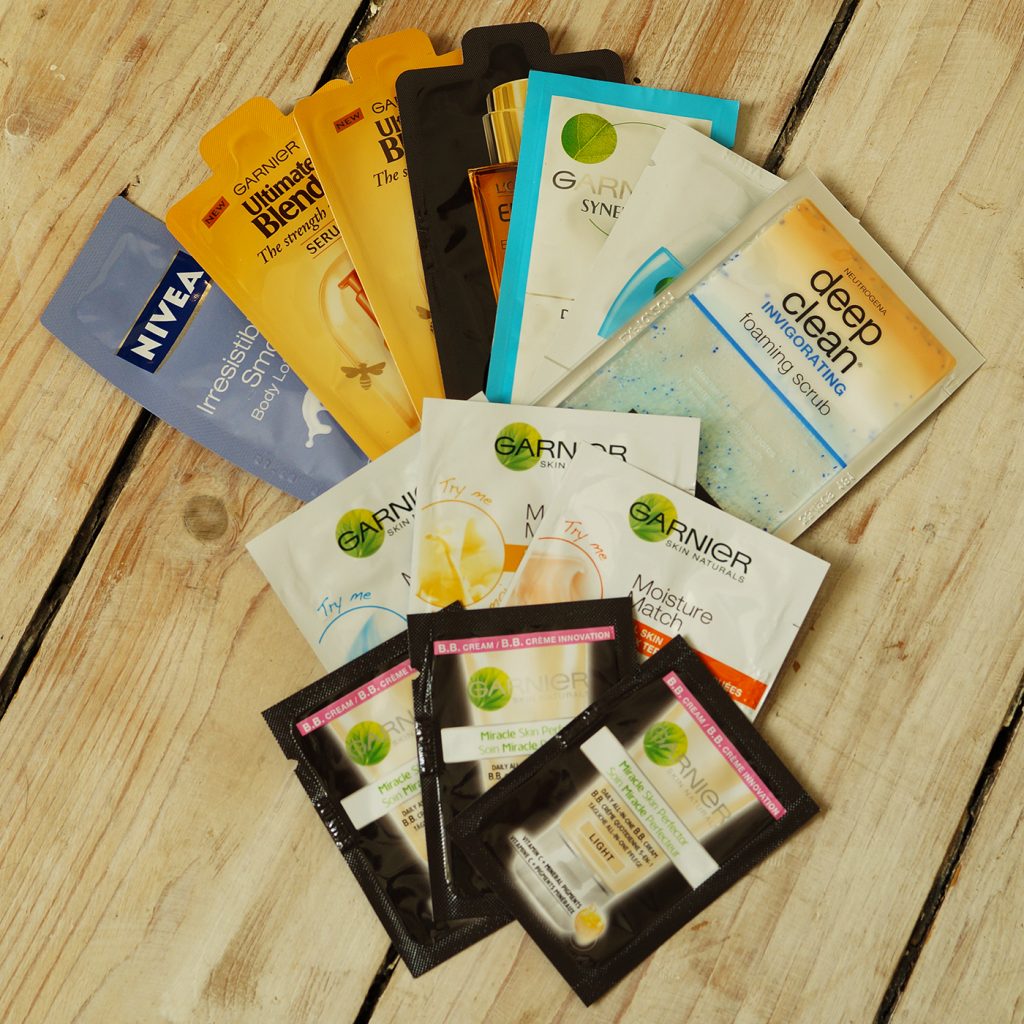 My favourite type of sample to have is a skincare one. I always enjoy trialing out a new product, especially skin creams and foundation. I often sign up with companies when they request for people to be sent out initial samples to try, I am one of those thousand or so people who tried it (sometimes even less people are chosen) and I feel happy that I have contributed to a products review.
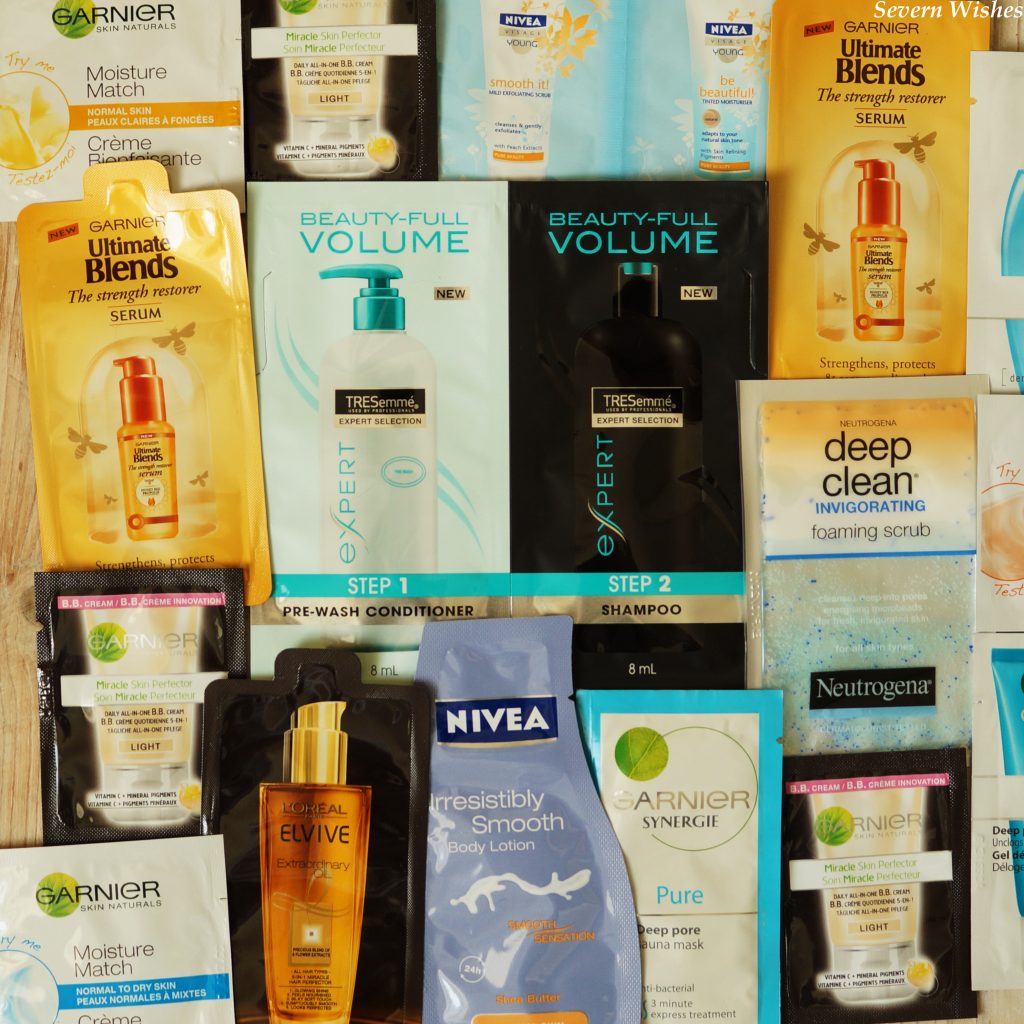 I hope you have liked my opinions on samples, and I will admit, I’m going to take my own advice and use some of my recent freebies too!
 Vita Coco sent me this fabulous box with a sample for me to use. Its description reads, ‘Eat It • Wear It • Swear By It’. Even before it arrived to me I already knew how I first wanted to use the coconut oil.
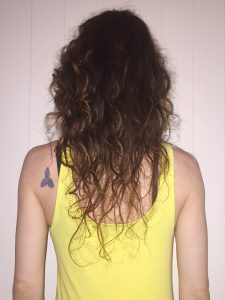
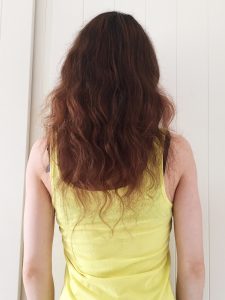
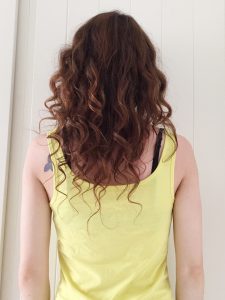
 My hair is naturally curly and can be quite dry. I have read about a number of celebrities who swear by regular coconut oil hair treatments. After doing some reading I decided on the best way to test if the product would work on my hair. I would photograph myself during the initial day of testing to determine visual differences. What I hoped to see was shiny and smoother hair after the first use.
 So what else can you use this coconut oil for? Cooking is one option, and I have a wonderful curry recipe that I plan to use it on. I would normally buy dried coconut but I think that the raw coconut may mix better and be more cost effective, because it’s so versatile in this state.

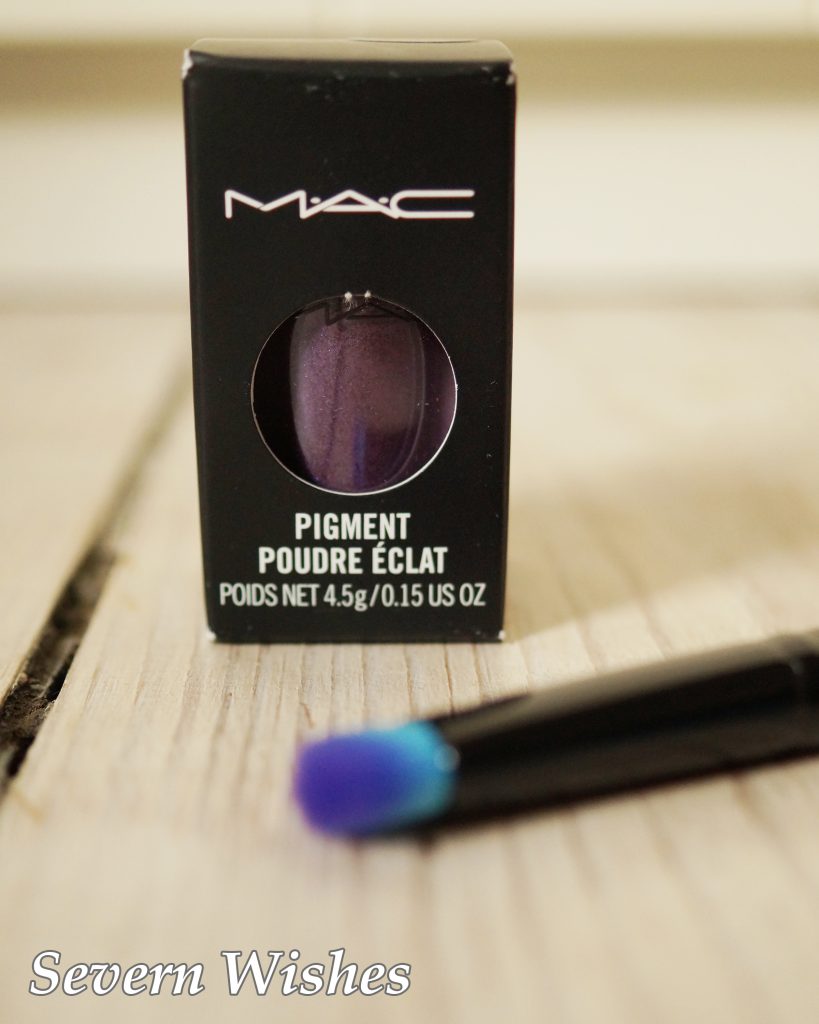
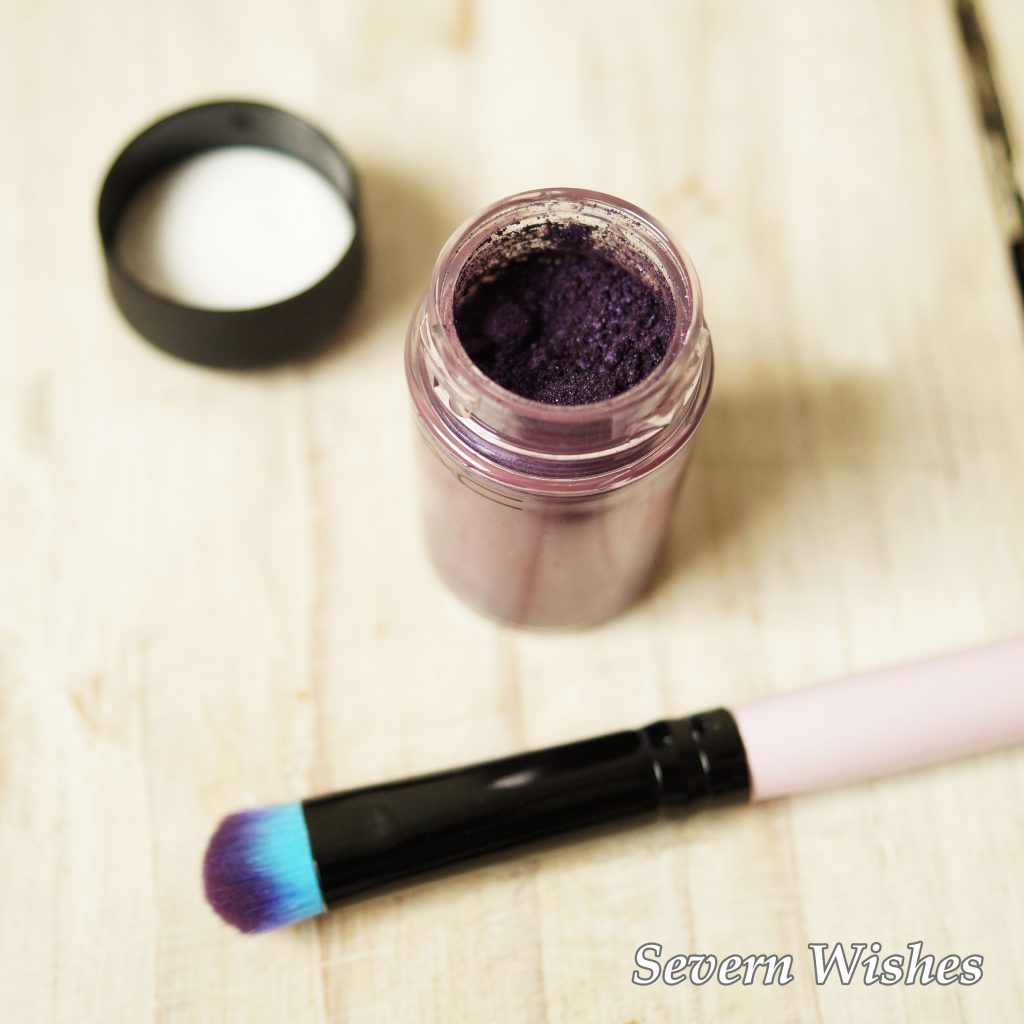
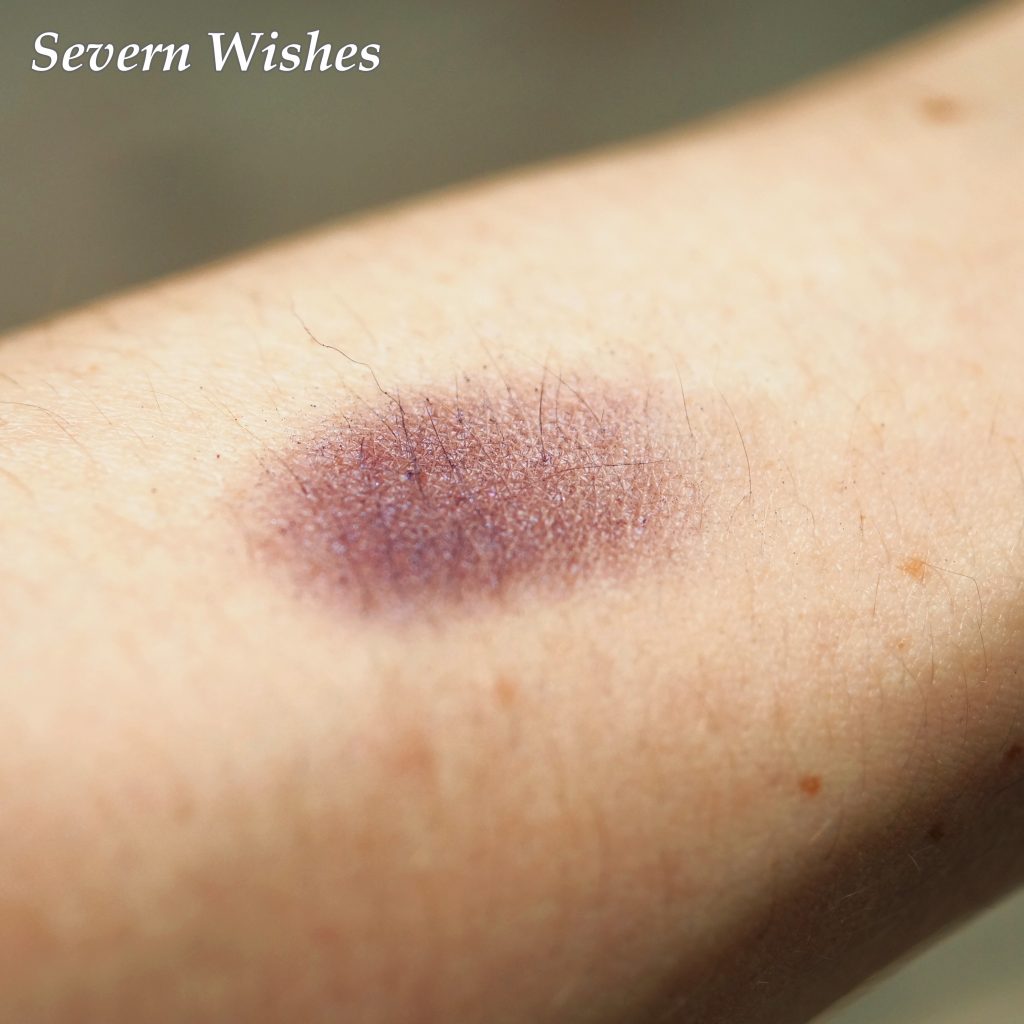
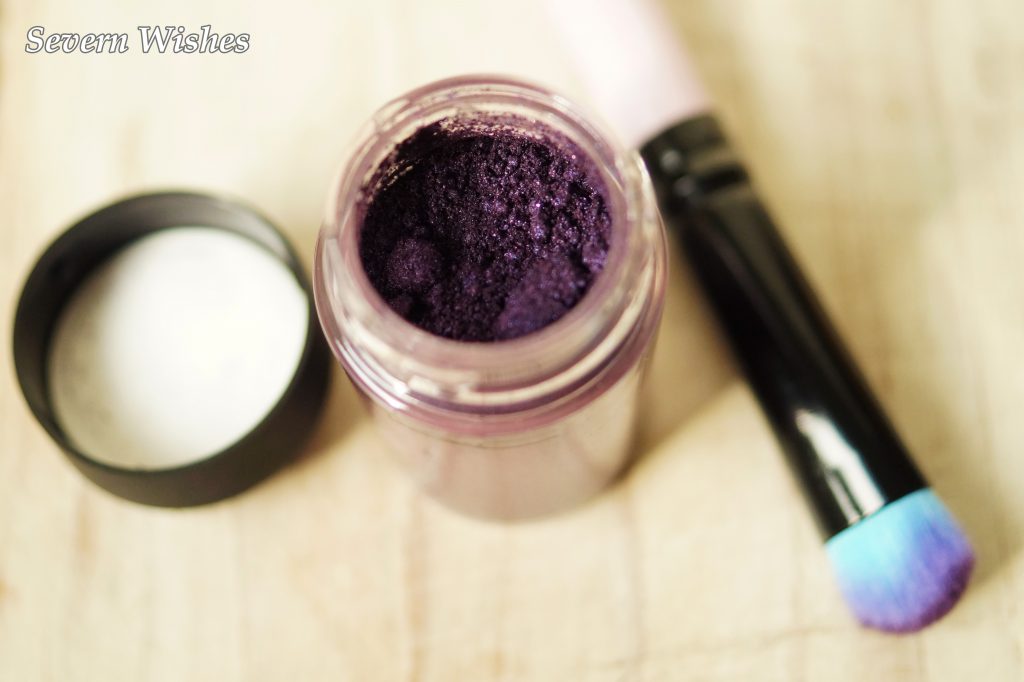 I’m very impressed with the colour because of how bold it is. As you can see on my swatch on my arm it’s a deep shade of purple, not as dark as it appears in bulk in the pot, but still a wonderfully bright shade. Although only a very small pot at 4.5g, I feel as though this makeup will go a long long way. I barely used any of the powder for the swatch and I know that with the correct brushes it can be blended well.
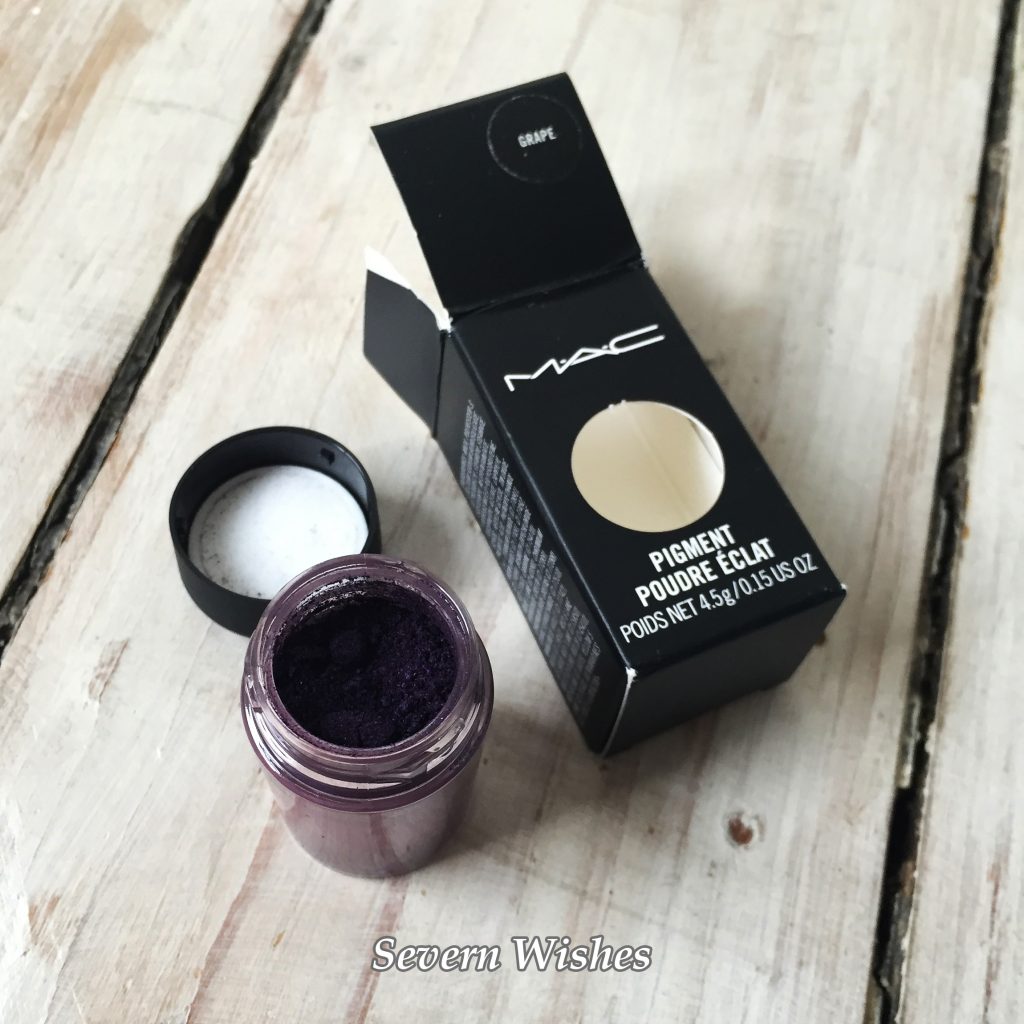 Thank you to VLA Cosmetics who got the prize to me very quickly and well packaged as well. I am very happy with the product, and having not tried any MAC makeup before, I am impressed with the pigment.