With much of the United Kingdom still in lockdown and people unable to purchase their usual items for loved ones, I have decided to write this blog post to help people out. Mother’s Day is a special day for everyone who is classed as a Mummy, whether that is to furry children, human children, step children or children who may still reside inside us. It’s for Grandmothers, Nan’s and Great Grandparents too don’t forget, so why not make a loved one a card and let them know you’re thinking of them.
I have several ideas that should suit most people, because Mother’s Day Cards are usually floral or feminine, but you can personalise your design to fit the people in your life. If you can draw then even better! I’m not very good at drawing so I prefer to use paper and card to create pretty cards instead. This blog post is all about how I make cards using coloured card and paper.

WHAT YOU WILL NEED
Coloured Paper and Coloured Card
A Pencil
Items to Draw Around – to make the Circles for the Flowers
Scissors
Coloured Pencils or Crayons if you are Drawing
Pens – Mixed Colours and Thickness
Glue or Sticky Tape
Ruler
Coloured Tissue Paper
Pipe Cleaners
HOW TO MAKE YOUR CARD – 3D FLOWERS
Step 1. Take a piece of pale coloured card and fold it in half to get your card shape. Decide if your design is going to be a landscape or portrait style.
TOP TIP 1. When you come to make your shapes maximise the paper by doing them close to one another and along one edge. It makes it easier to cut them out but also and more importantly you’re not wasting any of the paper, and the leftovers can be used on your next awesome project!
Step 2. Draw around circular items in order to make your petals. Carefully cut them out and then fold them in half to create your three dimensional petals.
TOP TIP 2. The ideal size for the petals for an A4 Card design (an A5 when it is folded) are the size of a Nail Varnish bottle. Draw around the base of the bottle when it is stood up on the card. Another tip is to cut out one shape and use that as a guide to cut out the other petals so you get them the same size.
Step 3. Arrange your design on the Card first before gluing anything down, so as to make sure it all fits nicely.
Step 4. Glue or Stick the Card pieces down and finish decorating with any details or wording that you choose.


HOW TO MAKE A TISSUE PAPER FLOWER
You Will Need;
A Coloured Pipe Cleaner
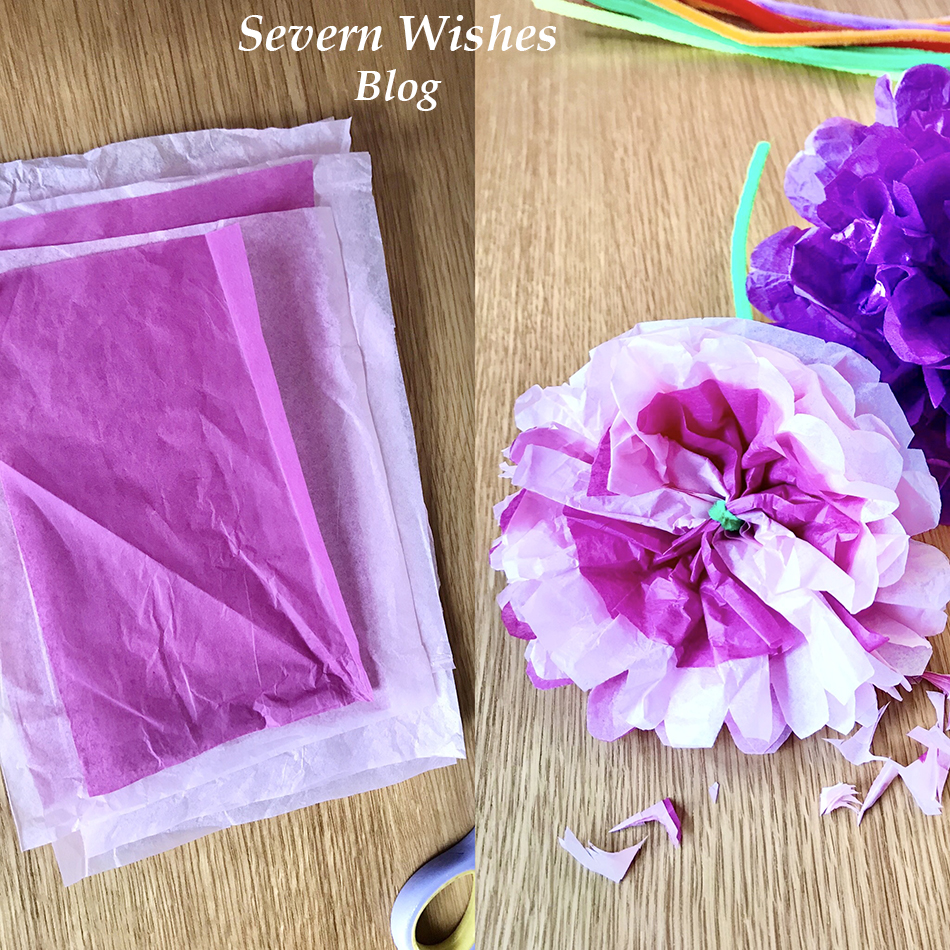
Sheets of Coloured Tissue Paper
Step 1. Lay out your tissue paper flat, you want to cut it into equal rectangles. Once cut you stack them one on top of the other.
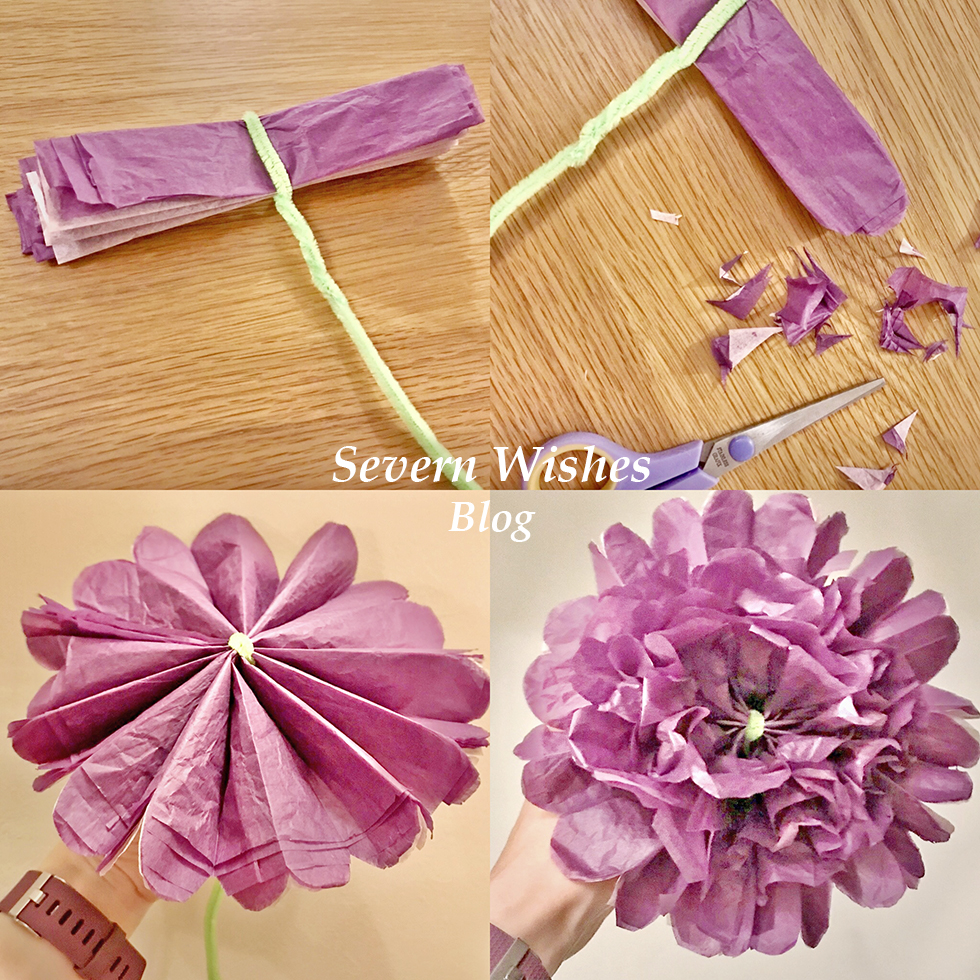
Step 2. Fold the tissue paper stack into a concertina, like a fan, until it is all folded and flatten it down. Stick the pipe cleaner in the middle, folding it over and under the stack, then wrap the remainder of it around.
Step 3. Next you need to trim the edges of the tissue paper, you can round them off or make them pointed, it depends on how you would like your flower to look like at the end. This determines the shape of the petals of your flower.
Step 4. Once the ends are trimmed lay the flower concertina across your hand with the pipe cleaner part pointing down. You want to gently and carefully tease the layers of the flower up and out. Once they are all up spread them out and make it look like the petal layers of a real flower.
(There is a video tutorial on this on my Facebook page as well).
Check out my images below!

My Tips for Opening your Flower: Open the tissue paper out gently and carefully, you should start to see a fan shape at first, and then you can raise the inner layers of the flower, just start by pulling upwards towards the middle part where the pipe cleaner is so as to make the flower look three dimensional.
Step 5. When you are finished it should look like my images below. Bend the pipe cleaner a little to make it look like a flower. Fan the petals out gently to make it three dimensional.
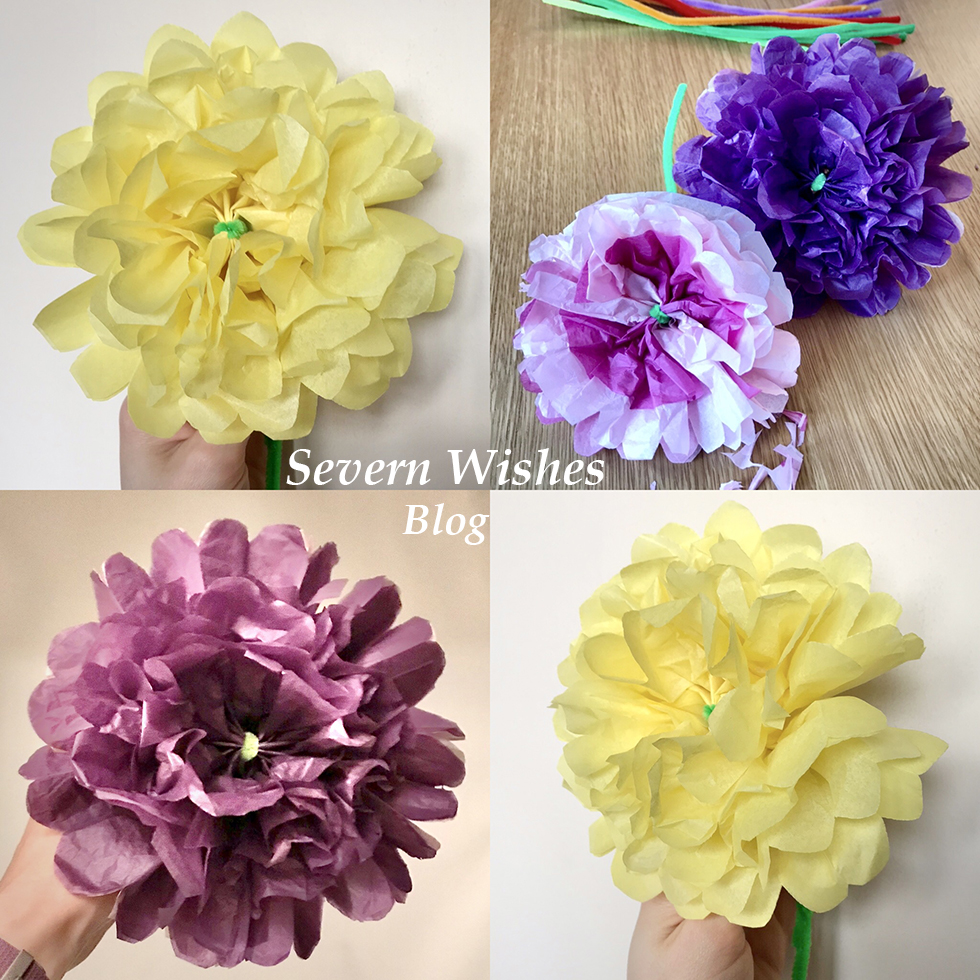
Paper Flower Dimensions
It depends upon how much you trim on the ends to create the petal shapes of your flower, but here are some rough dimensions of the size that your flowers will be. The larger the flower the easier it is to fluff up. Why don’t you experiment like I have below with different shaped petals and layering different colours of tissue paper too!
Rectangle Size 20cm equals a 17cm flower
Rectangle Size 15cm equals a 12cm flower
Rectangle Size 7.5cm equals at 7cm flower
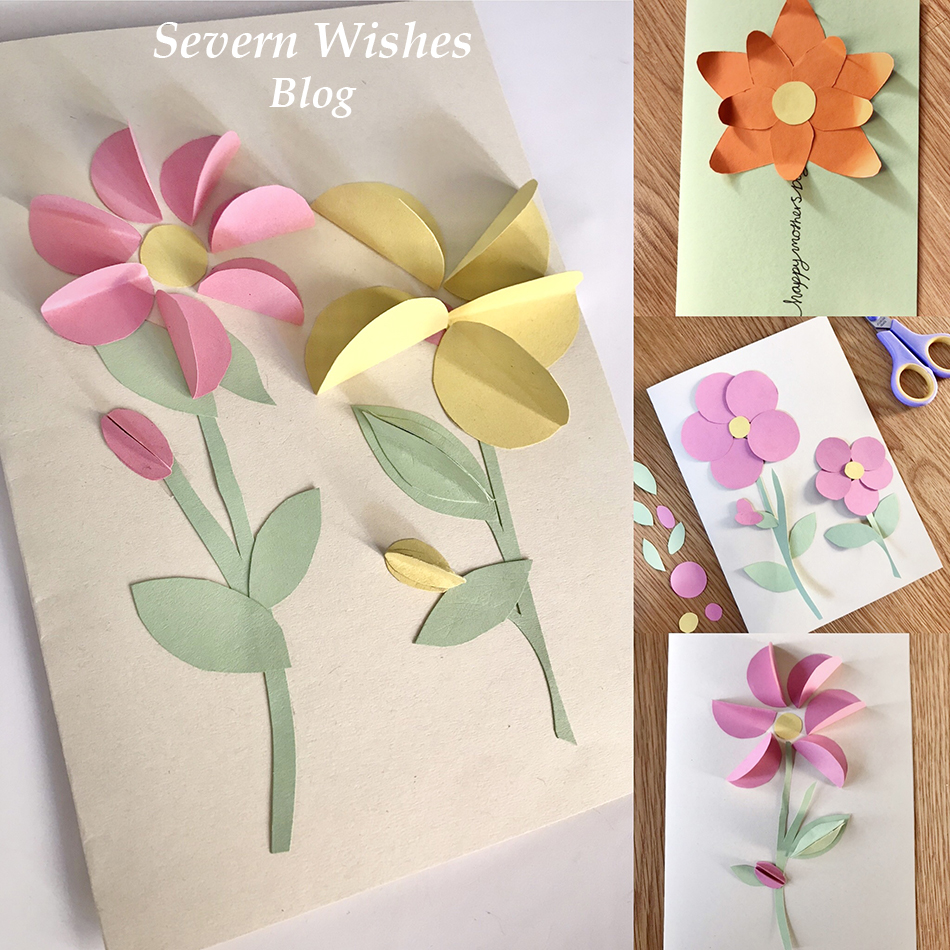
HOW TO MAKE YOUR CARD – Happy Mother’s Day – Their Favourite Flower or Favourite Item
Step 1. Work out what your loved ones favourite thing is, then you want to write the words Happy Mother’s Day either vertical or horizontal on the folded A5 card. You incorporate those words into the item, such as the stem of the flower, or the base of an item like a slice of cake. (See my photo below for inspiration).
Step 2. To make a flower you need to cut twelve identical coloured card petals. Layer them up on the card to make the flower, don’t forget the middle bit either.
TOP TIP 3. If you want the petals to all be the same cut one and then use that one to draw around to make the additional ones.
Step 3. Other things you could do include a slice of cake with a triangle piece of card decorated with smaller shaped pieces. Or draw an outline and let smaller children colour them in.
Other Card Designs that are Easy to Achieve are…
Flat Flowers
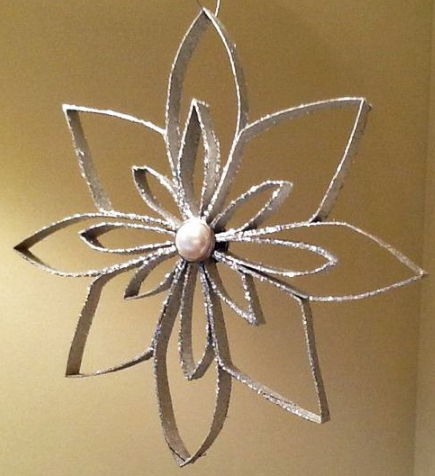
Three Dimensional Flowers
Drawing Bouquet of Flowers
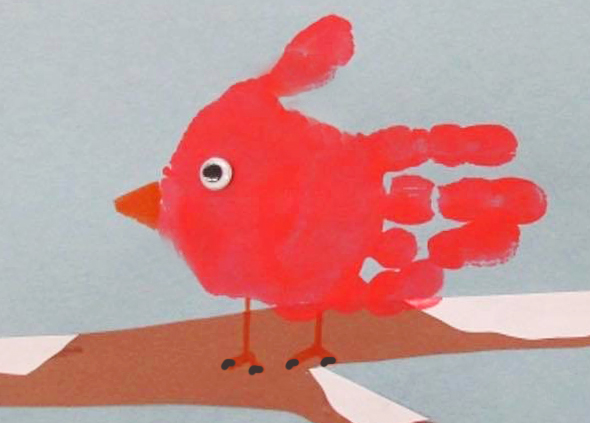
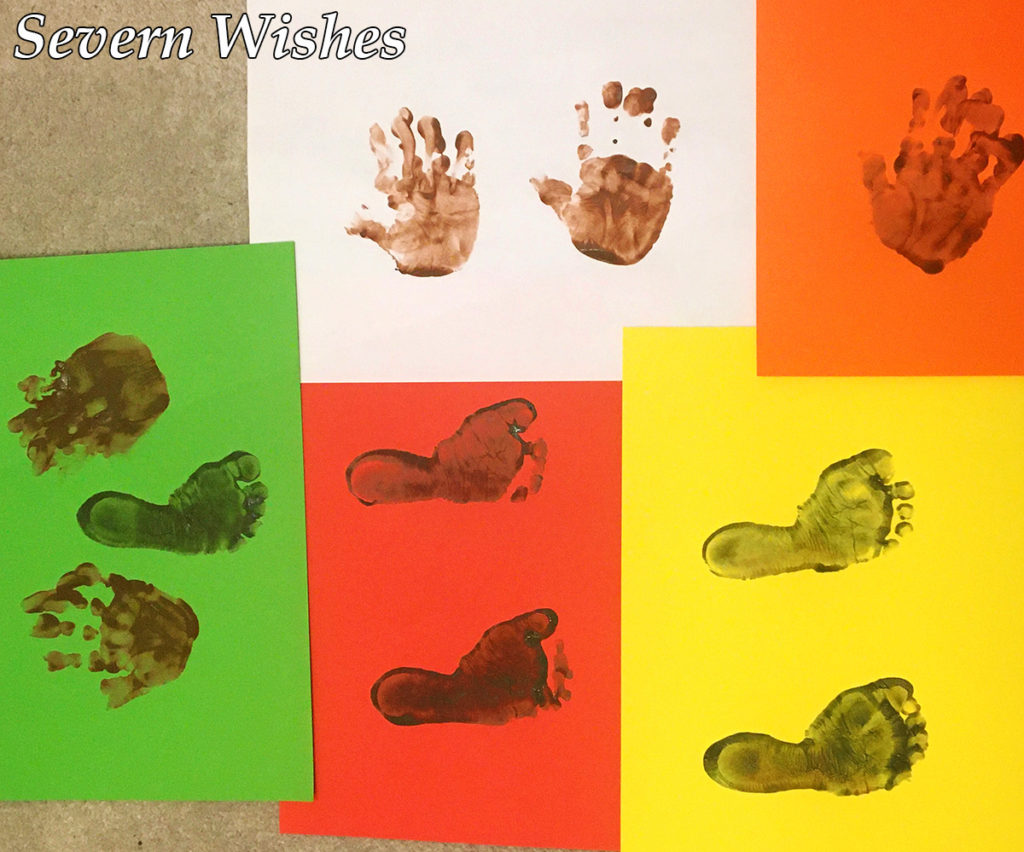
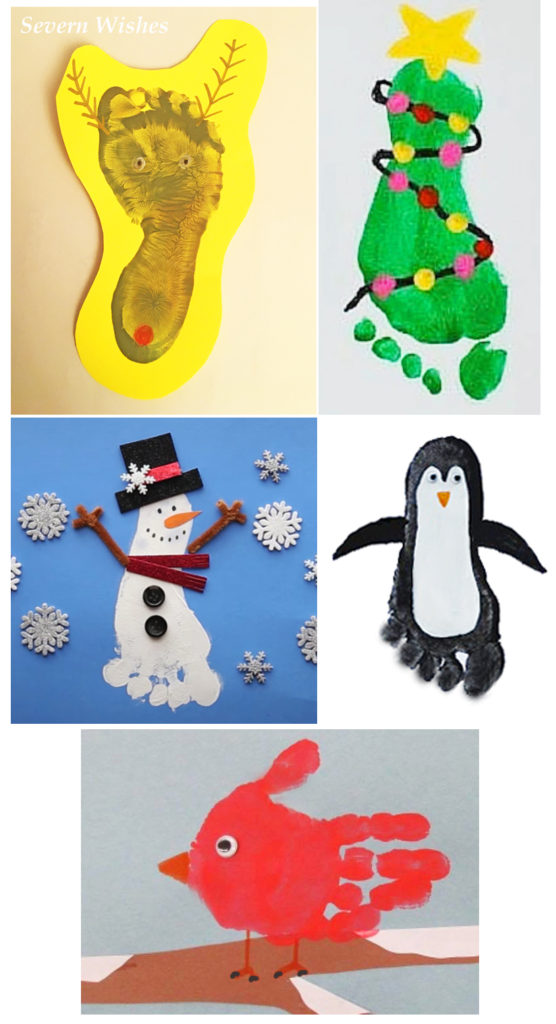
Family Hand Prints
Cake Slice Drawing
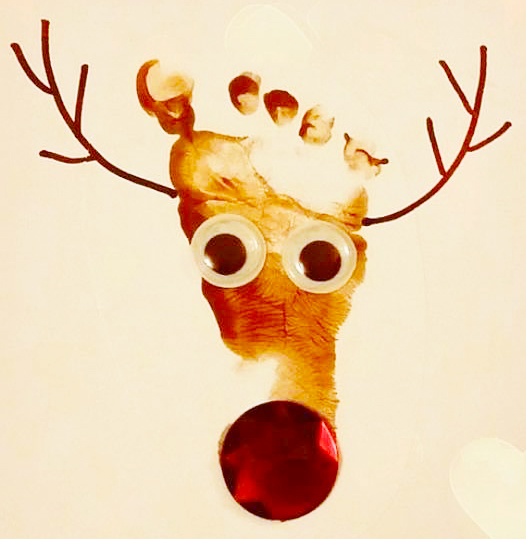
Favourite Animal

Use a Ruler and Pen to make the stem lines and the bow, colour them in with pens and draw little flowers on the end of the stems. I did daisy like shapes, but if you can draw better then me be creative with it! Do any colour combination that you like. Add some wording around your design like “Happy Mother’s Day”.
I really hope that you have enjoyed this blog post and find it beneficial. If you do make some cards I would love to see them! Please tag me on any of my social media using the hashtag #SabrinasArtandCrafts
Thank you and I wish you all a lovely Mother’s Day.
✩ Sabrina ✩