Hello! I’m Sabrina! I am an Argos Tester, this means that I often get items sent to me for the purpose of an online review. I thoroughly test the products and take photographs of them before submitting my findings and honest thoughts over to Argos. This latest campaign was to test out brand new LEGO Sets, and because we need to choose something we haven’t reviewed before, I chose the modular construction LEGO. Not sure what that is? Keep reading my review.
#ArgosTester #ArgosTesters #ArgosTestersCommunity
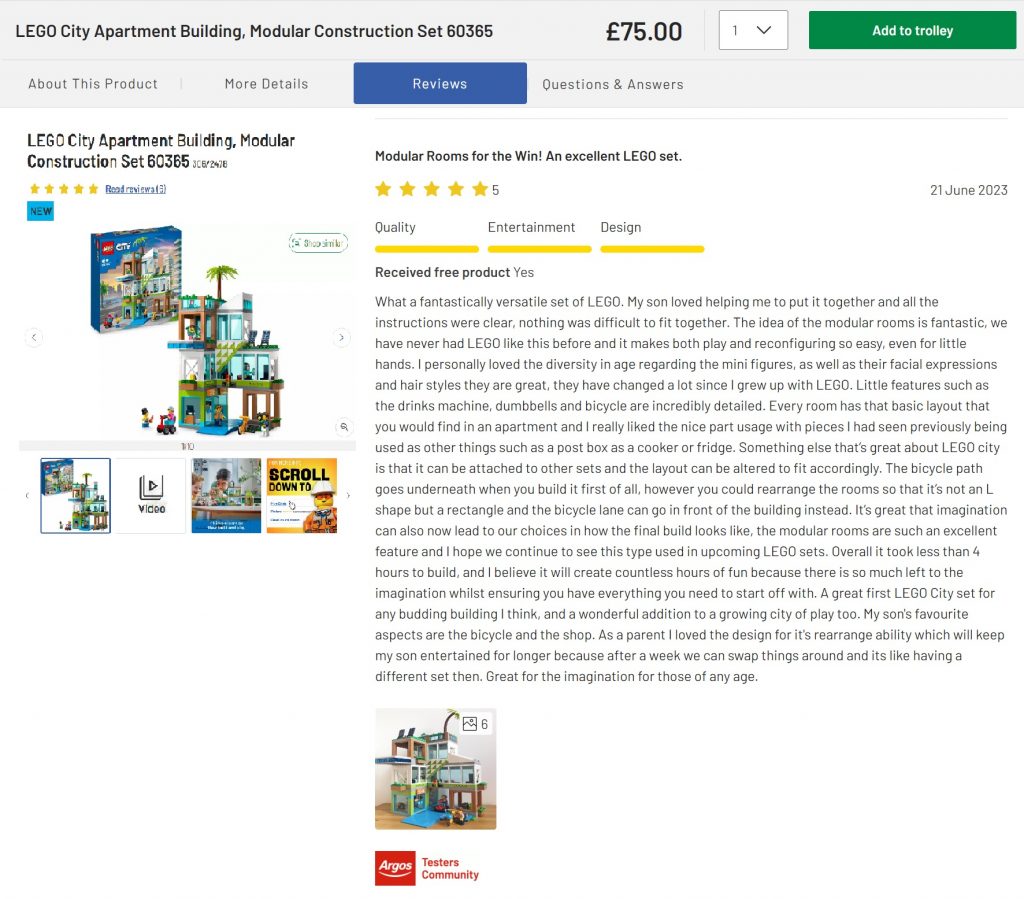
I have written this article about a product that I have been supplied for free, in order to test and then review it. This is my experience with said product and it is my honest review about the product listed below. I have already submitted my review to the Argos Website, and it has been accepted on to live public view when this blog post has been published. Please see my review on this screengrab below from the Argos website. All words and photography within this article are my own.
Product Details
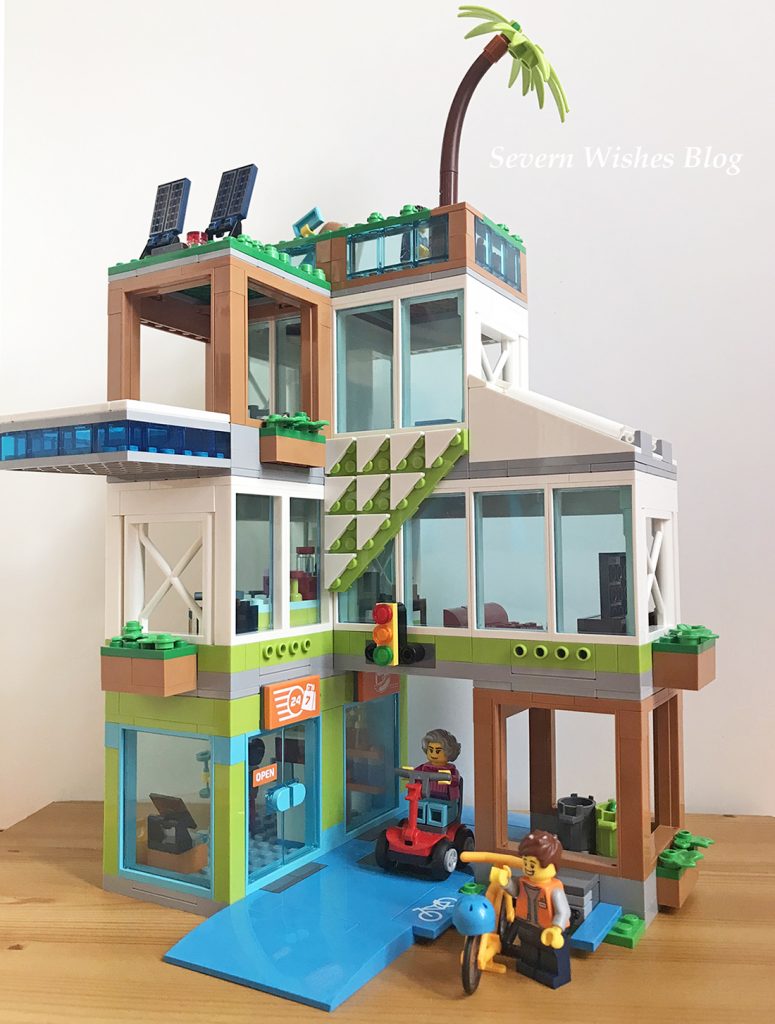
Name: LEGO City Apartment Building Modular Construction Set
Set No: 60365.
Ages: 6+
RRP: £75.00
Pieces: 688 pieces, including 6 mini figures, a bicycle and a mobility scooter.
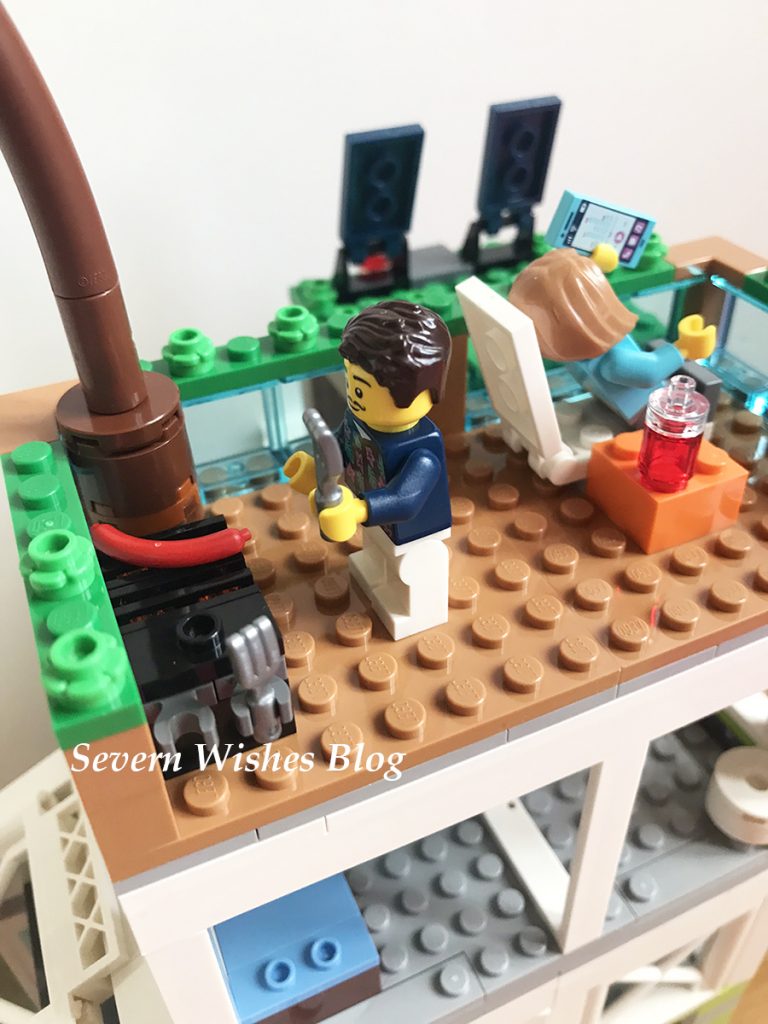
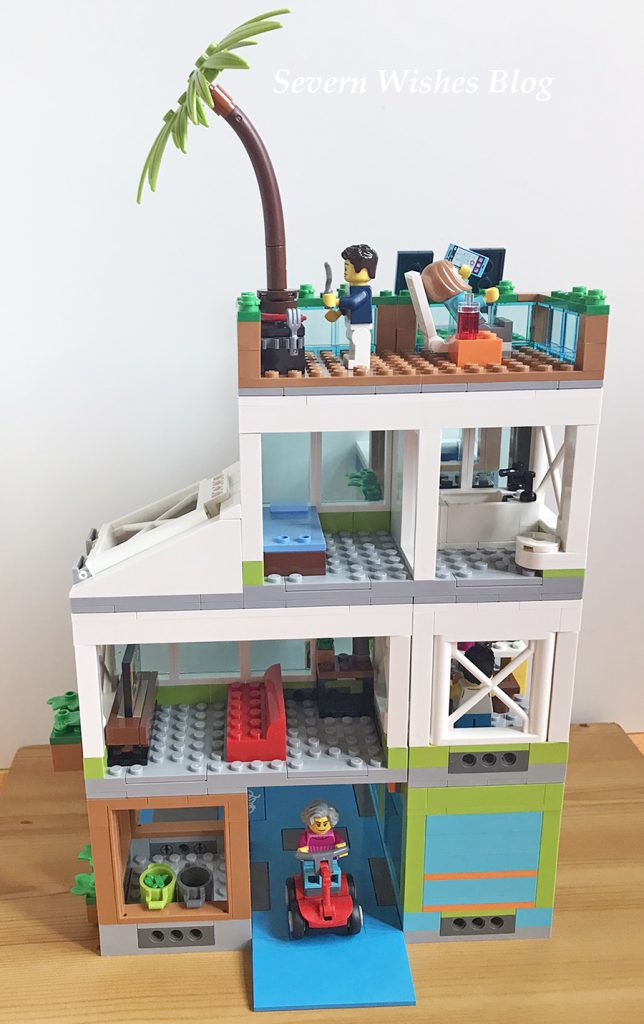
Description: Modular Rooms for easy reconfiguration and imaginative play, including roof terrace and swimming pool. Mixed age mini figures add to the play ability and the reality of the set. Excellent additional features such as stickers that add fun to some pieces like the signage and television set.
Argos Website: LINK
My Honest Opinion
Overall I would like to rate the LEGO Apartment Modular Construction set 5 stars.
Quality 5✩
Features 5✩
Design 5✩
Originality 5✩
Playability 5✩

My Argos Tester Review
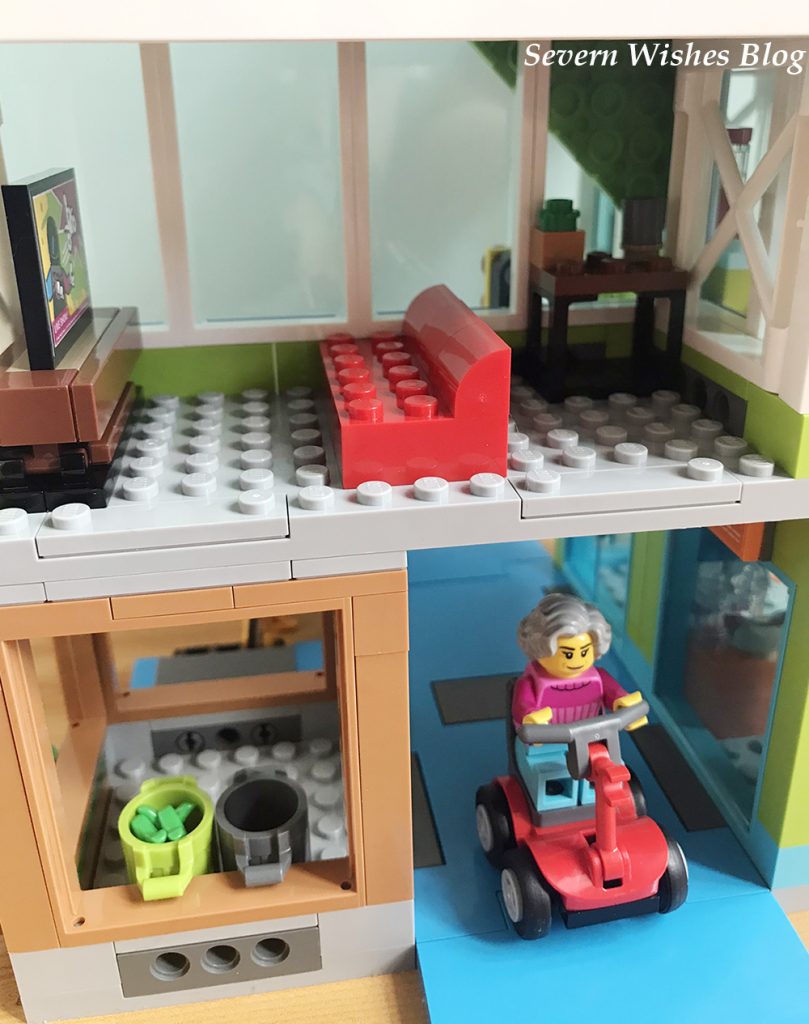
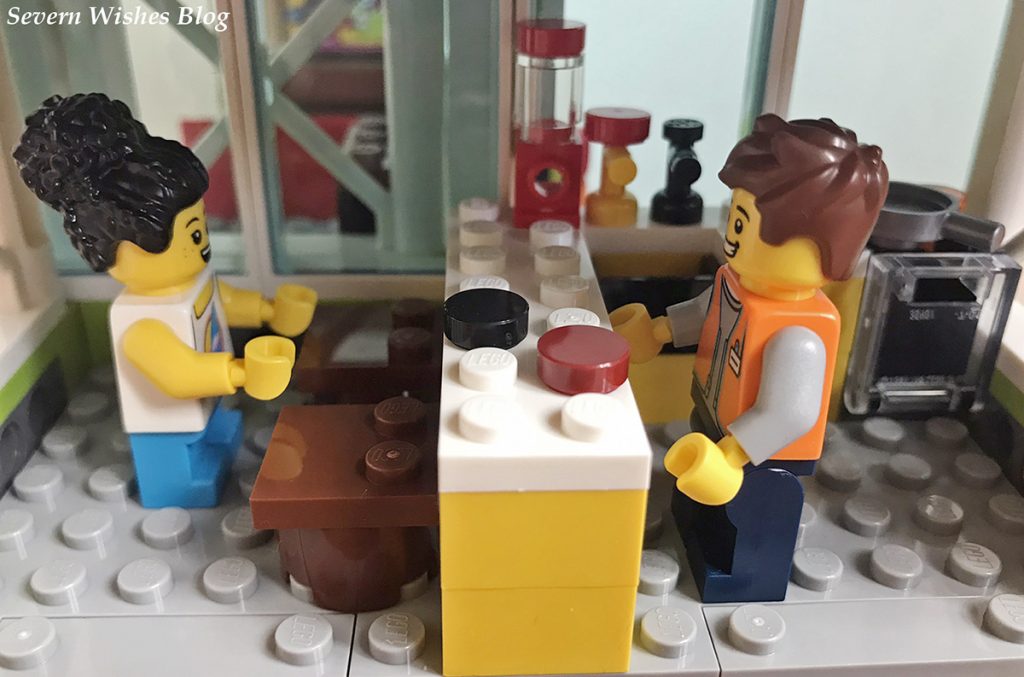
What a fantastically versatile set of LEGO. My son loved helping me to put it together and all the instructions were clear, nothing was difficult to fit together. The idea of the modular rooms is fantastic, we have never had LEGO like this before and it makes both play and reconfiguring so easy, even for little hands. I personally loved the diversity in age regarding the mini figures and their facial expressions and hair styles are great, they have changed a lot since I grew up with LEGO. Little features such as the drinks machine, dumbbells and bicycle are incredibly detailed. Every room has that basic layout that you would find in an apartment and I really liked the nice part usage with pieces I had seen previously being used as other things such as a post box as a cooker or fridge.
Something else that’s great about LEGO city is that it can be attached to other sets and the layout can be altered to fit accordingly. The bicycle path goes underneath when you build it first of all, however you could rearrange the rooms so that it’s not an L shape but a rectangle and the bicycle lane can go in front of the building instead. It’s great that imagination can also now lead to our choices in how the final build looks like, the modular rooms are such an excellent feature and I hope we continue to see this type used in upcoming LEGO sets.
Overall it took less than 4 hours to build, and I believe it will create countless hours of fun because there is so much left to the imagination whilst ensuring you have everything you need to start off with. A great first LEGO City set for any budding building I think, and a wonderful addition to a growing city of play. My son’s favourite aspects are the bicycle and the shop. As a parent I loved the design for its rearrange ability which will keep my son entertained for longer because after a week we can swap things around and it’s like having a different set then. Great for the imagination for those of any age.

Summary
Overall this LEGO City Set has hours of replay ability because of the fact it’s a modular construction, it’s so cool! By moving the rooms around you can create an entirely different layout, even move them every other day if you wanted to change it up. I feel like if my son was getting tired of the set I would simply reconfigure the layout and create a new look of the apartment for him.
More LEGO should be made like this to give users more choices on how they want the end result of the build to look like. As LEGO say “rebuild the world” and you can certainly do that with this box of bricks, and really easily too! Whoever designed it is ace!
I also loved the diversity in the LEGO figures, with different ages and jobs and many various faces, they are great new additions to the LEGO world. And the hair styles too, brilliant to see new ones!
I have nothing bad to say about this set, I give it 5✩ across the board. I would actually love to see more modular LEGO so that sets could be rearranged with ease and built on a similar scale.
Thank you for reading this product review today, I hope you have enjoyed seeing what we thought of this set. I have no doubt that we will have many hours of fun creating LEGO scenarios with the figures and the apartment block.
If you have any questions about this set then please leave me a comment below or on my social media posts and I will do my best to answer them with the knowledge that I have gained from reviewing this product. For anything else please refer to the Argos website the link I posted above.
Thank you, have a great day.
✩ Sabrina ✩
#LEGO #SevernSabrina #SevernWishesBlog #ProductReview #ArgosTesters #ProductReviewer #Photographer #Writer #Review #Reviewer #Toys #Play #Fun #LEGOcity #LEGOcityset #Argos