Hello! I’m Sabrina and Welcome to my Blog Severn Wishes!

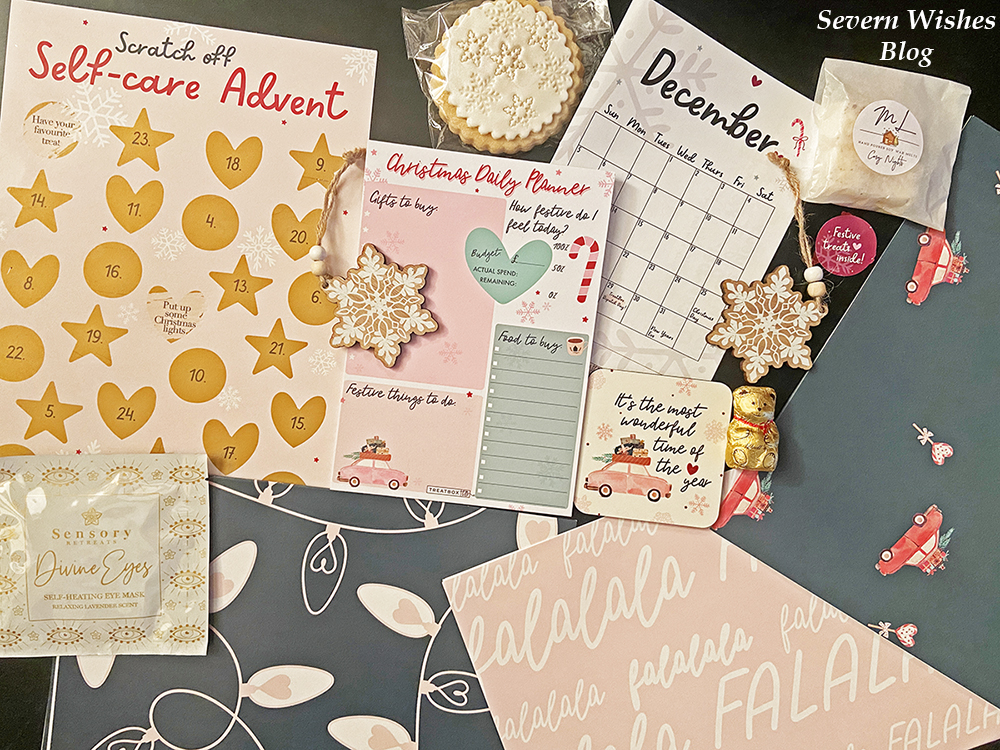
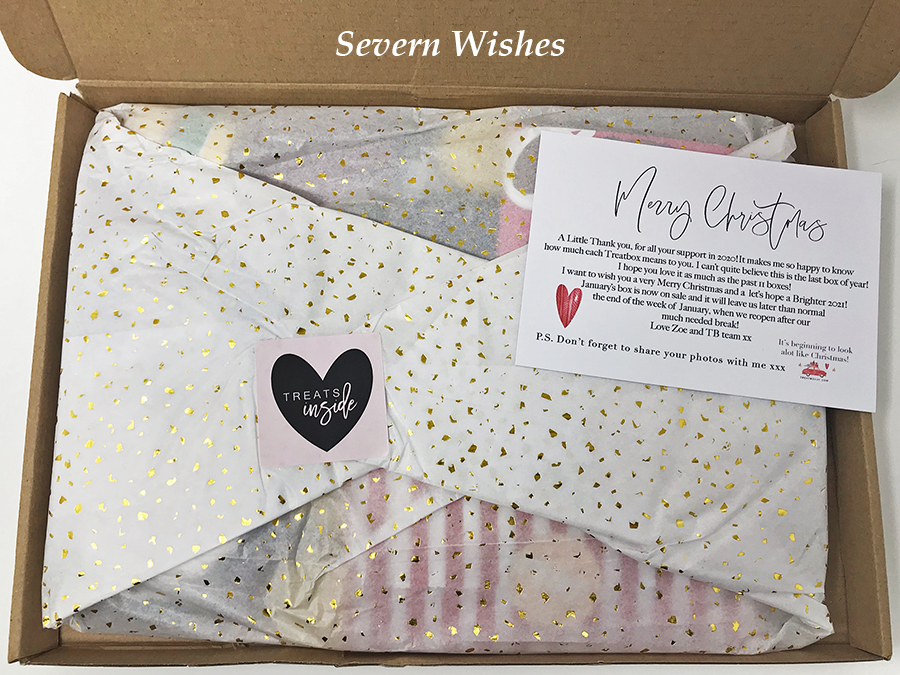
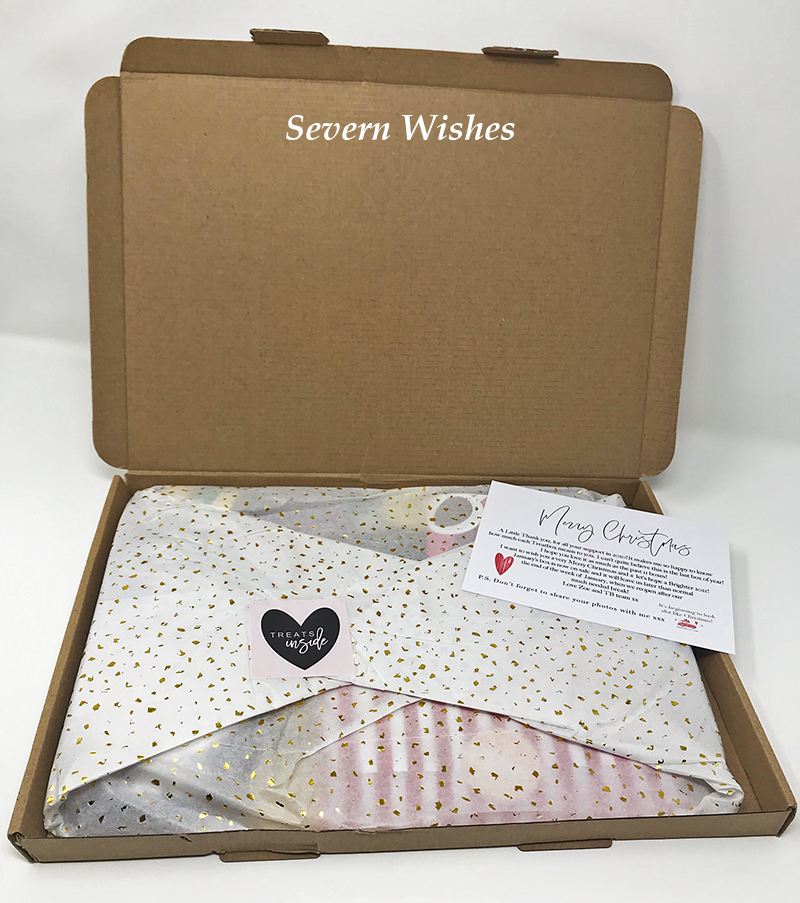
As I open the last Treatbox of the year for 2022 I’m greeted with Red paper and a Sticker that reads
“Fa La La La La”! I have held off on bringing this Review to the website because of all the postal strikes, some boxes have arrived much later than expected. I didn’t want to spoil the surprise for anyone.
Don’t forget that you can click my “Treatbox” tab under my blog categories to look back through all of the Treatbox UK unboxing, Reveals and Reviews from the very beginning up to now.
Without further ado! Let’s get into this last unboxing of 2022! If you would prefer to watch my video recorded live when I first unboxed this one then please head to either my Instagram feed or my Facebook page.

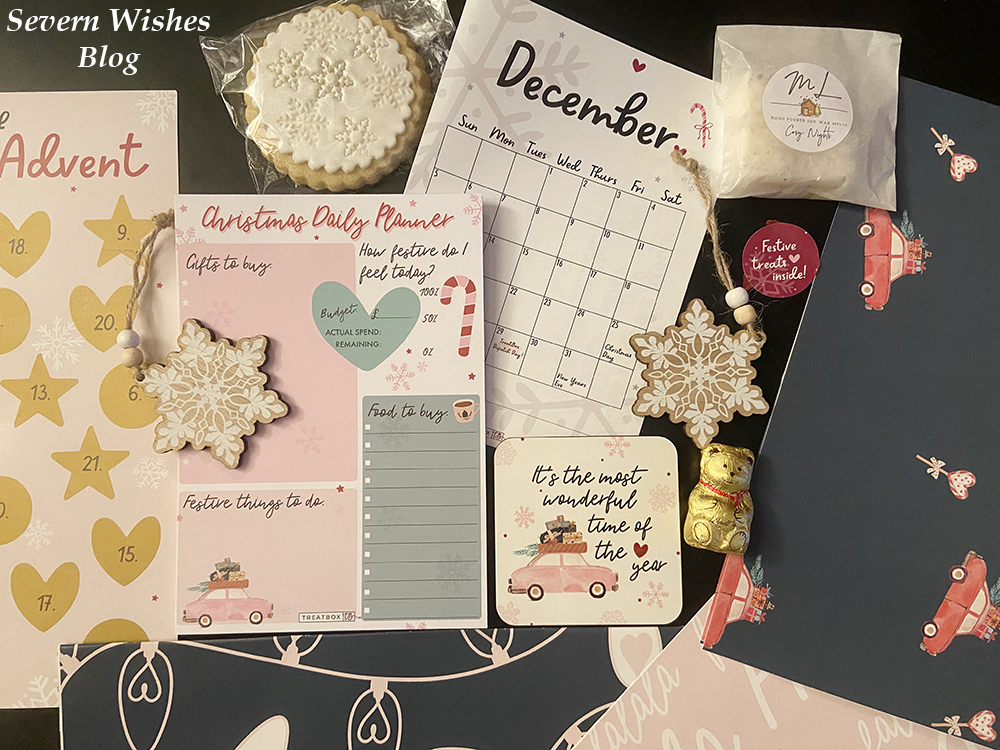
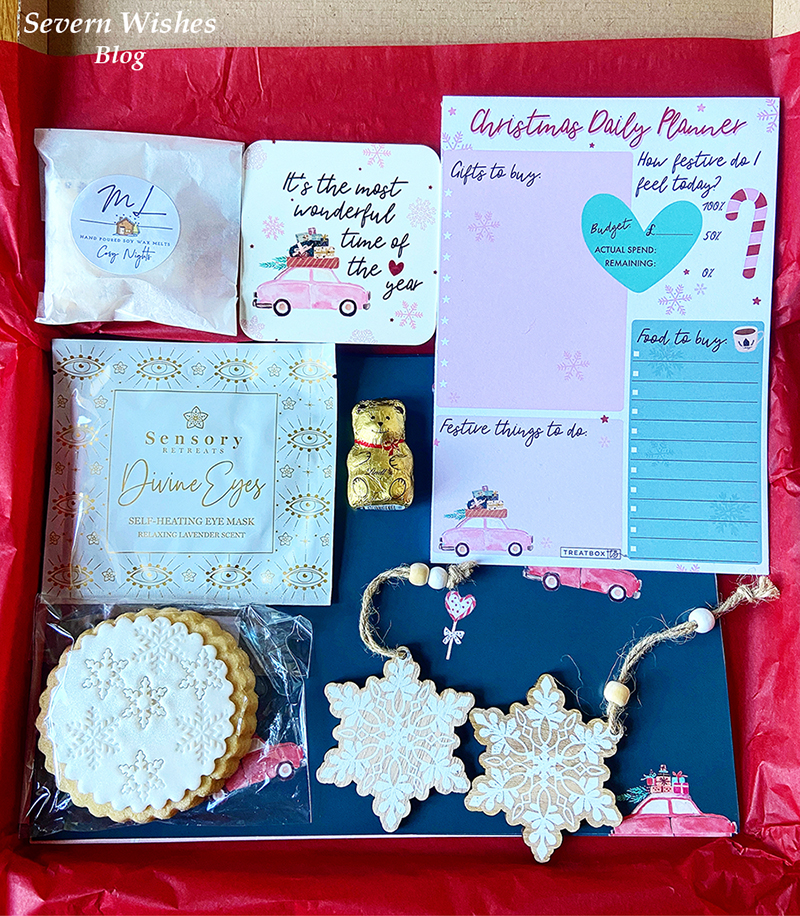
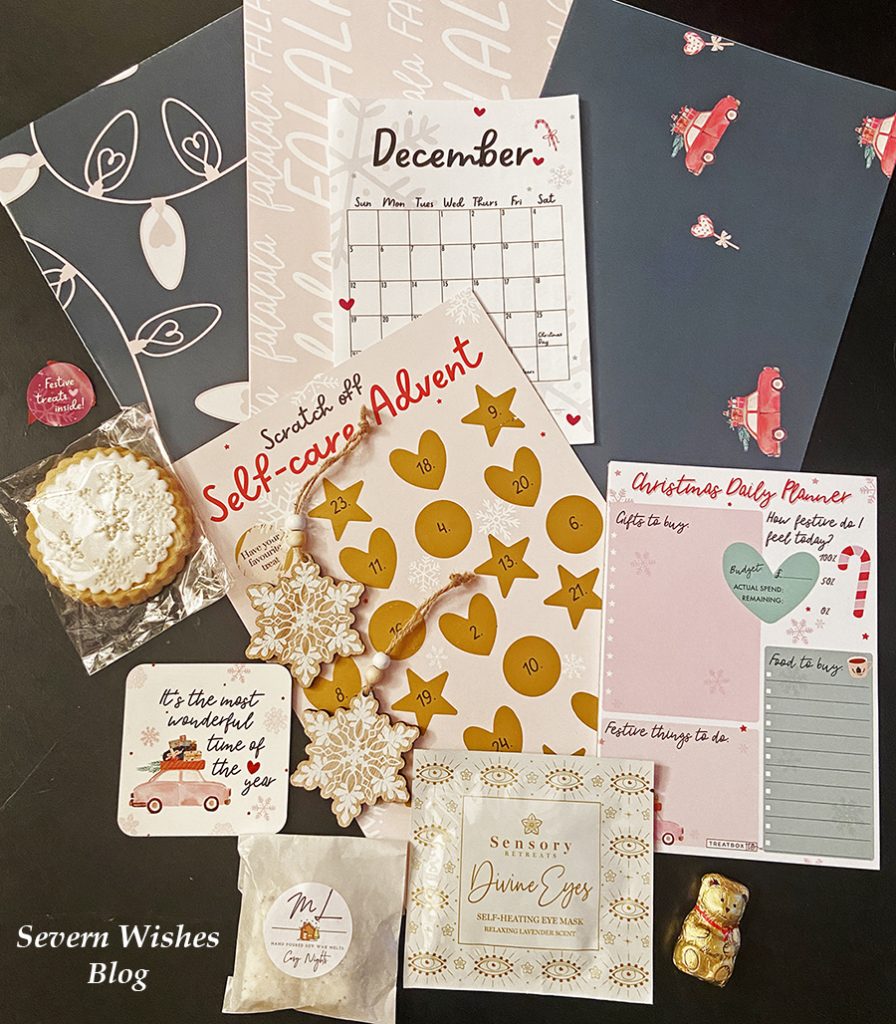
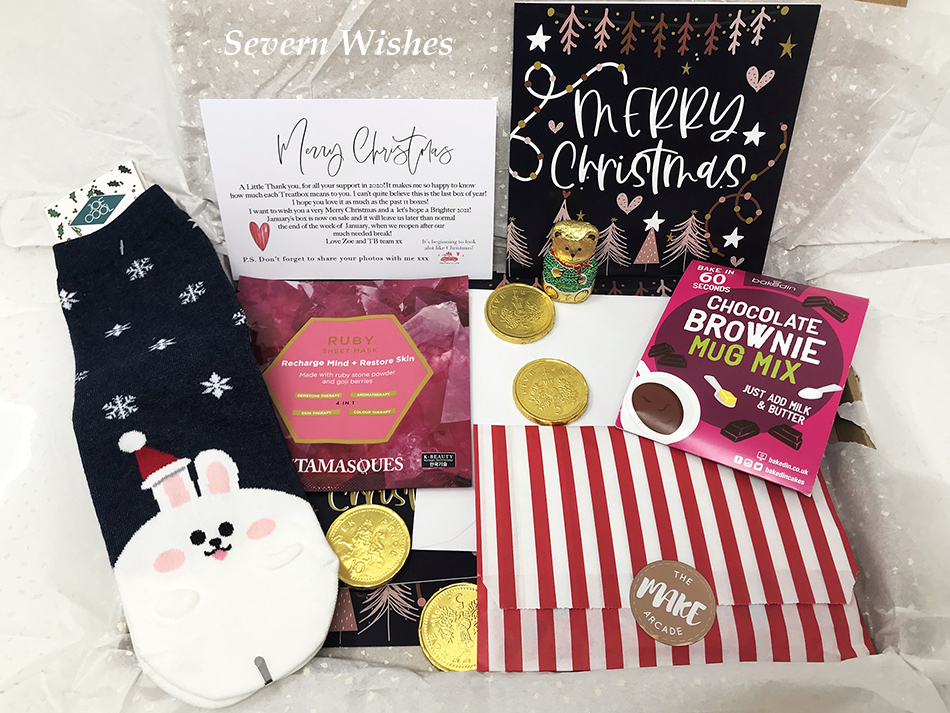
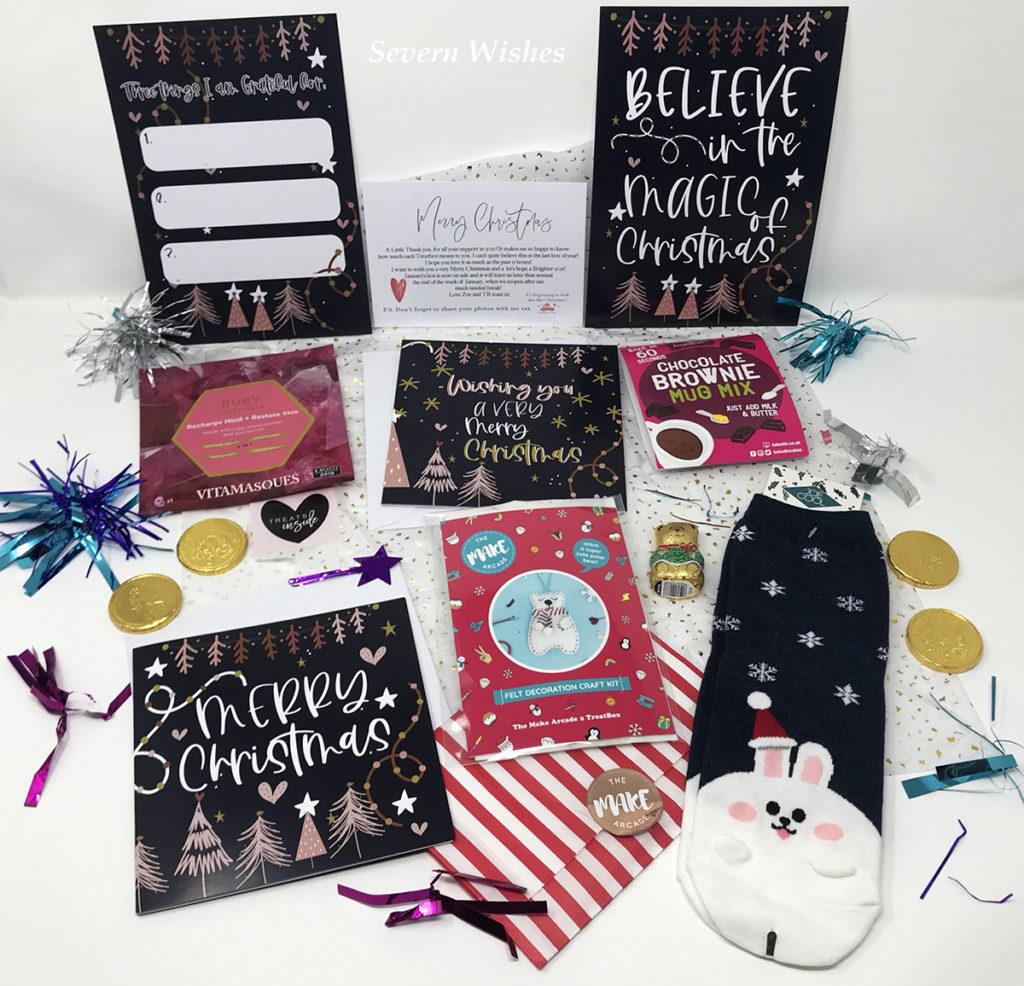
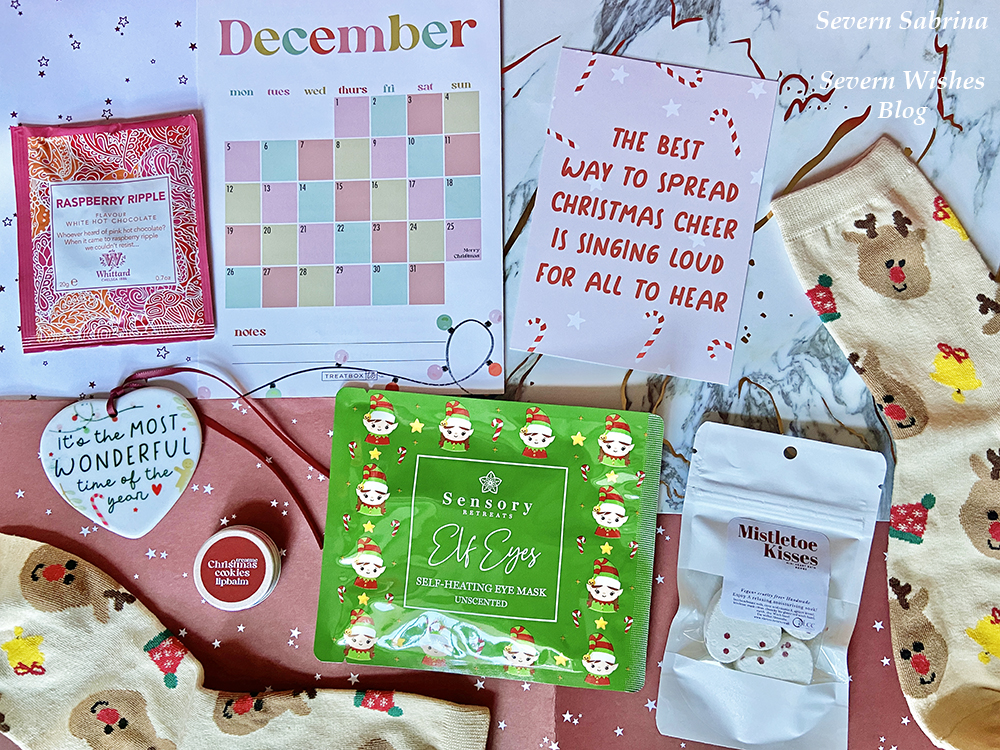
What is Inside the December box?
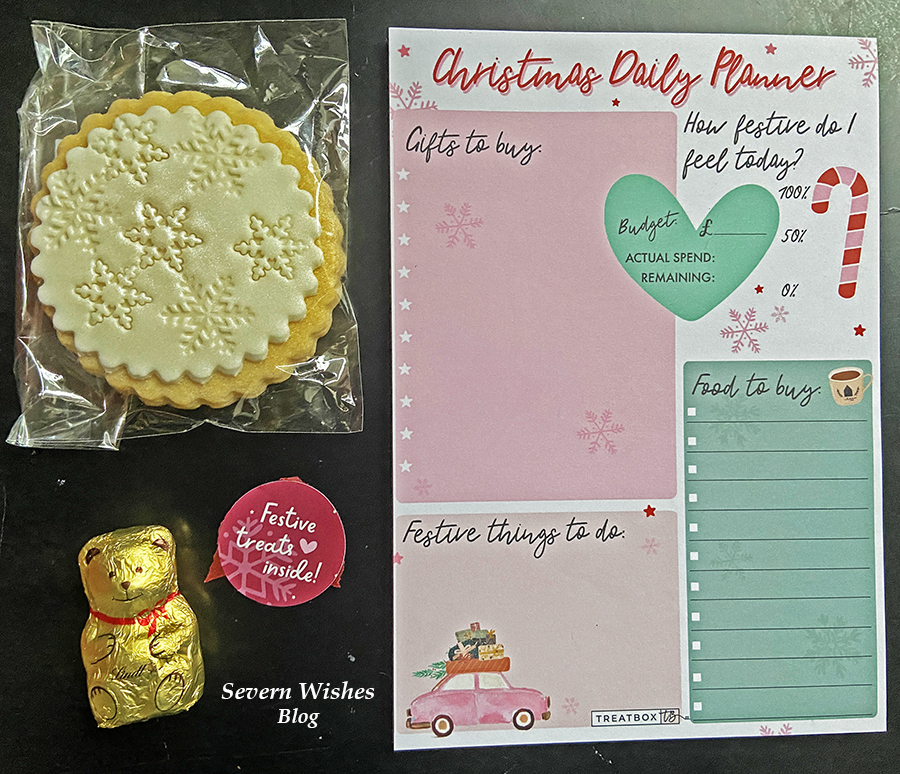
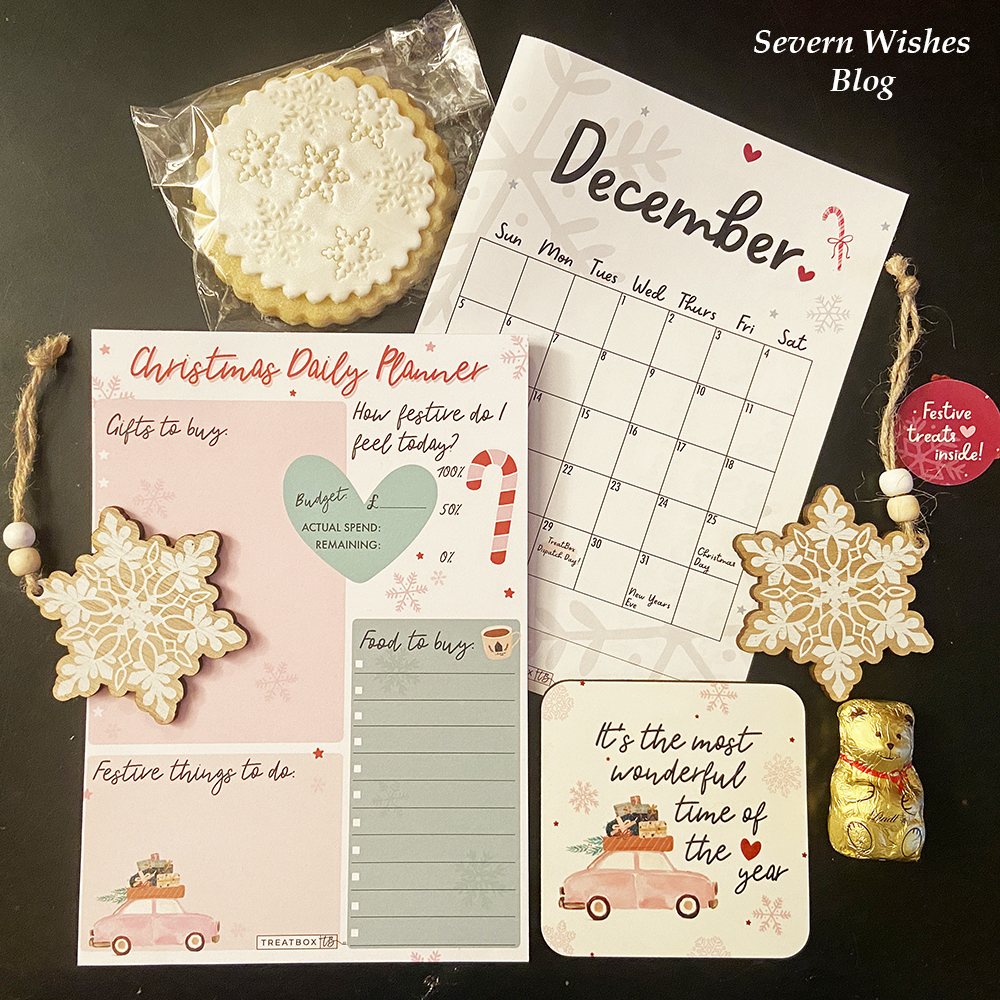
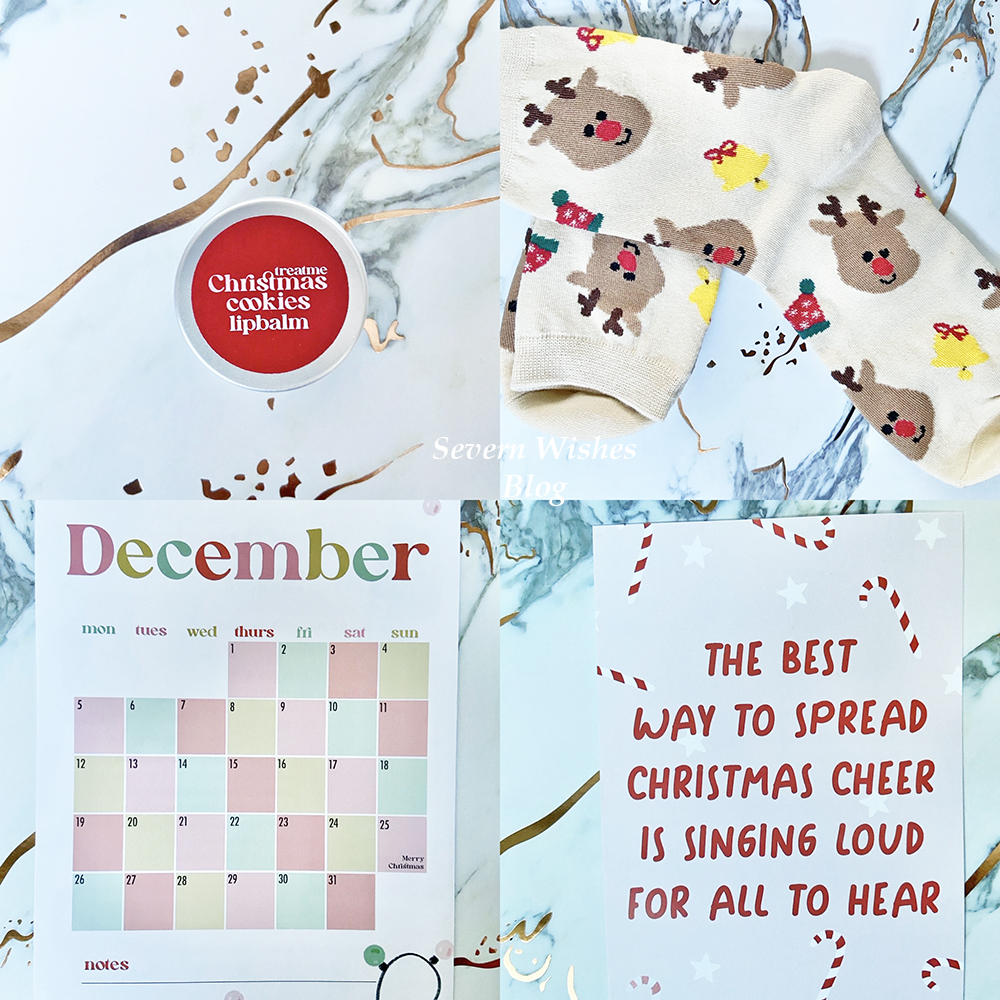
December Calendar Print
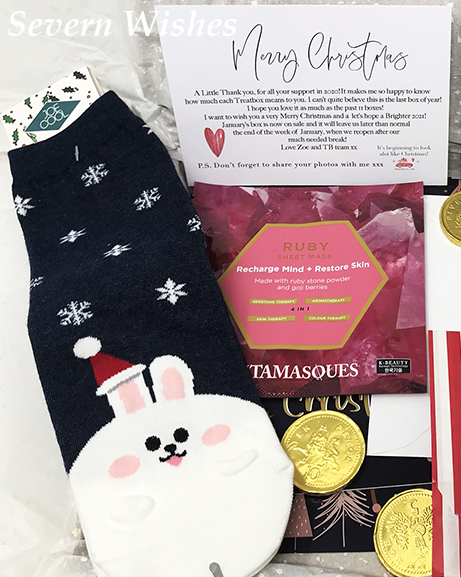
Treatbox Original Pair of Socks – Beige Reindeer Rudolph Christmas
Treatbox Original Christmas Decoration – Ceramic Heart “it’s the most wonderful time of the year”
Treatbox Original Print A5 “The best way to spread Christmas cheer is singing loud for all to hear”
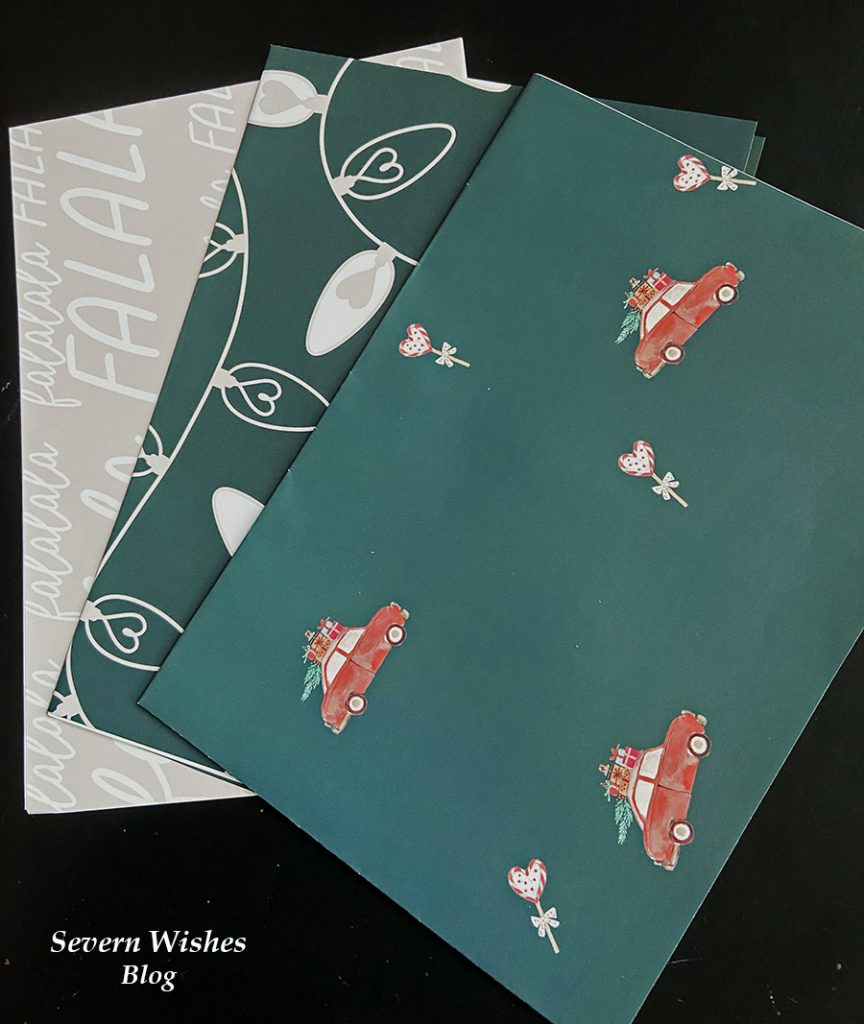
Treatbox Original Wrapping Paper x 2 Large Sheets – 1 x White Stars & 1 x Red Stars
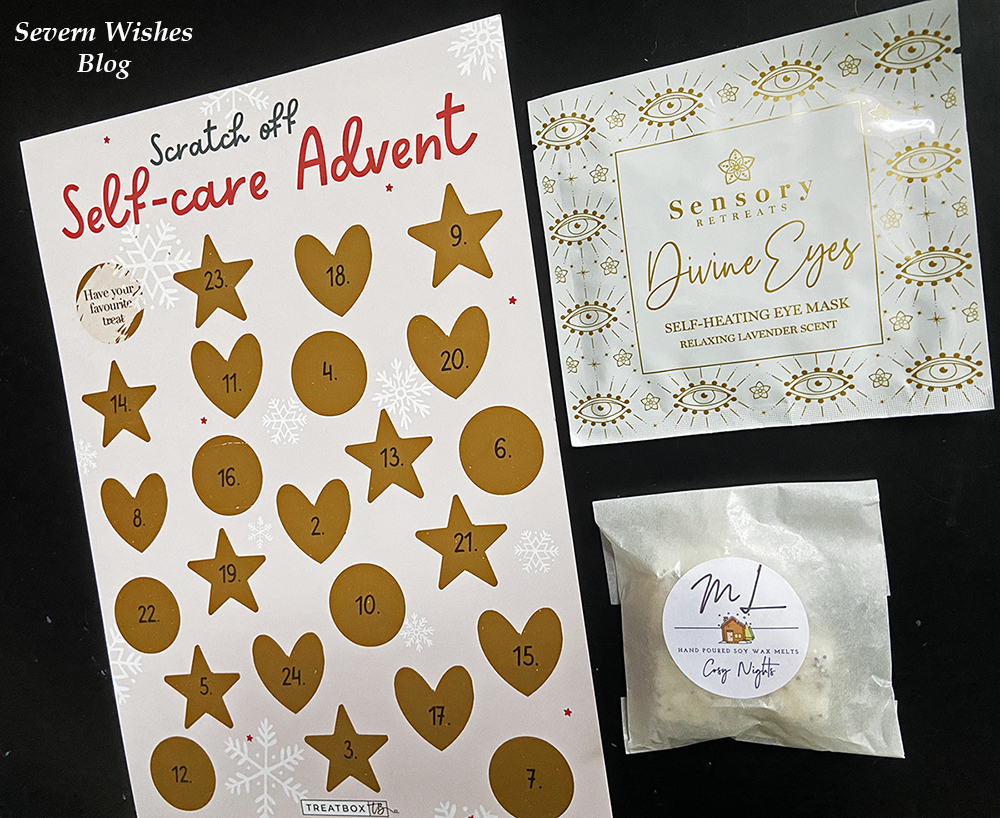
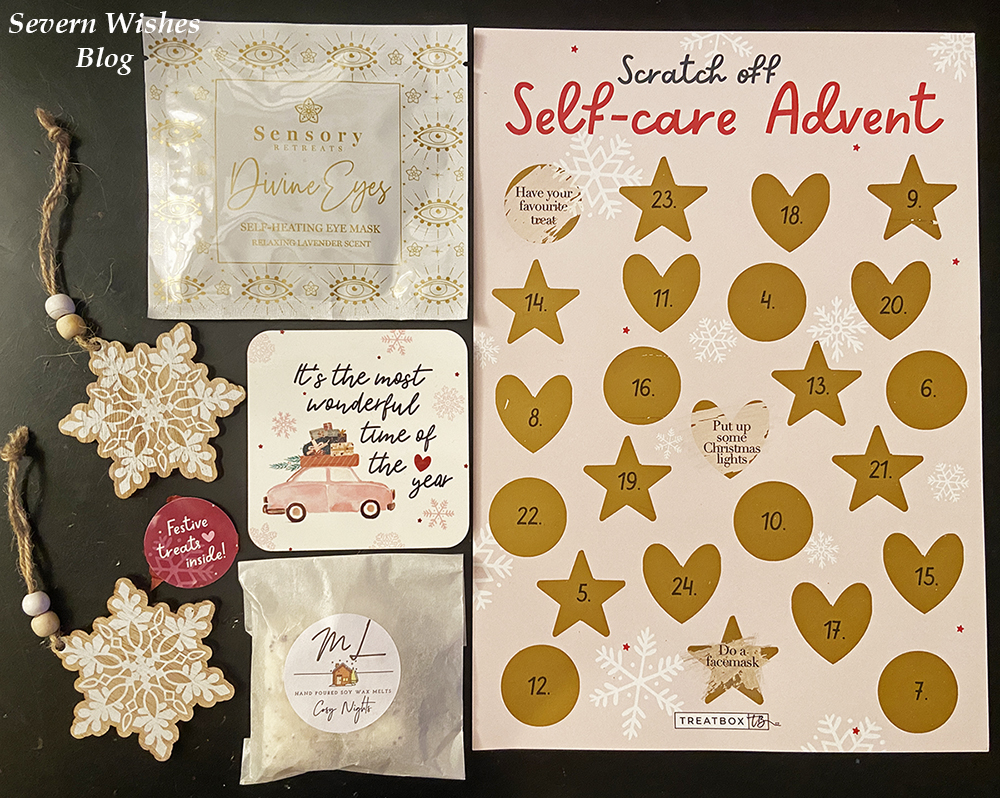
Sensory Retreats Elf Eyes Self Heating Eye Mask – Unscented
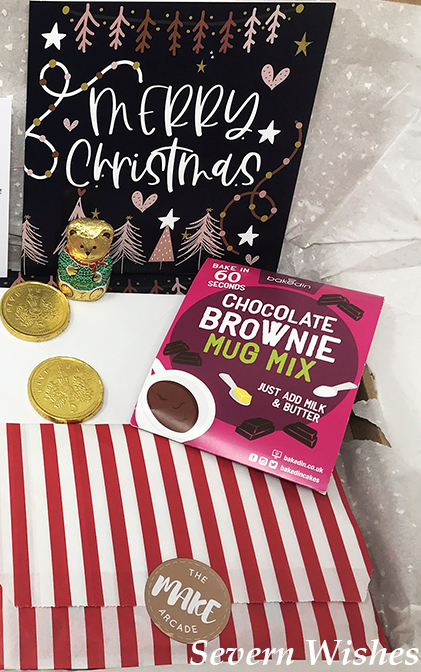
Whittard Raspberry Ripple flavour White Hot Chocolate Drink Mix 20g
Mistletoe Kisses Heart Bath Bombs x 4
Christmas Cookies Vanilla Lip Balm Pot

My Opinion on this Box
Well there we have it, that was the final Treatbox UK Reveal and Review of 2022!
It’s been a great box, one with a nice overall theme of Christmas and of Stars.
The items that I have liked the most this box have been the Hanging Decoration, the Socks, the Bath Bombs and the Lip Balm. I also love the Wrapping Paper because it is a sustainable paper item that can be recycled after use, or re-used for crafting. The assortment of products this month has been well considered and I really like the mix of self care and treats. My only wish would have been for an edible treat too like a tiny chocolate Santa!
We have something to drink, something to wear, something to put on our Christmas tree, something to keep track of the month, something seasonal to display and something to help us gift to others this festive season. Overall I really enjoyed unboxing this!
I will let you know on my social media when I get around to trying the hot chocolate and the bath bombs so watch out for those, I’m looking forward to some self care the other side of Christmas when I’m a little less busy! Today I am wearing last years Treatbox Christmas socks, it will be these lovely new Reindeer socks turn tomorrow!
Wishing all who read this a Merry Christmas and a Happy New Year too!
Thank you for reading my Reveal and Review today.
The December 2022 TreatboxUK is the final box of this year,
and I look forward to seeing what 2023 will bring,
I hope you will be able to join me to find out.
Don’t forget to follow me on my social media for more updates and individual
product reviews as well as witnessing the items in use too.
Search #SevernSabrina or #SevernWishesBlog
✩ Sabrina ✩
✩✩✩ At the end of December I plan to write a blog post outlining the ✩✩✩
✩✩✩ best of Treatbox UK seen throughout this year. ✩✩✩