
 ♡ One Year of Blogging, Over 100 Posts Celebration and A Giveaway ♡
When I realised I was getting close to a year of blogging I knew that I wanted to hold a giveaway to thank everyone who has been supporting me this far. Whether you follow me on a social media or you just read my blog regularly, it’s you who have helped me to be a better writer and photographer. I have been collecting items for this for quite some time, so I hope you’ll like the selection that I’ve gathered…
I have been so lucky in my first year, I have worked with many companies including Spectrum Brushes, Gift Company and many more. Not only that but I already have so much lined up for the Spring and Summer of 2017 to share with you all as well.
During the past thirteen months of Severn Wishes being live, I have posted more than 105 articles, most have been reviews and reveals, but other posts have been about my Lifestyle and Travel experiences.
During the next year I hope to continue writing in my honest fashion and to bring you even better photography as my knowledge and learning increases.
What can you expect over the Summer months from Severn Wishes?
Jewellery, Makeup, Homeware, Games, Fashion, Cooking and Craft posts, and so much more besides.
I am already speaking to some companies who want to collaborate with me, and I cannot wait to bring all of this excitement to my blog for you all to enjoy!
So from the bottom of my heart, thank you for supporting me and my blog.
♡ ♡ ♡ ♡ ♡ ♡ ♡
✩♡✩♡✩ Giveaway ✩♡✩♡✩
Without further ado I am going to tell you exactly what you can win in this new and latest Severn Wishes giveaway!
If you saw some of my recent posts you will have read the clues that I left revealing some of the items you could win!
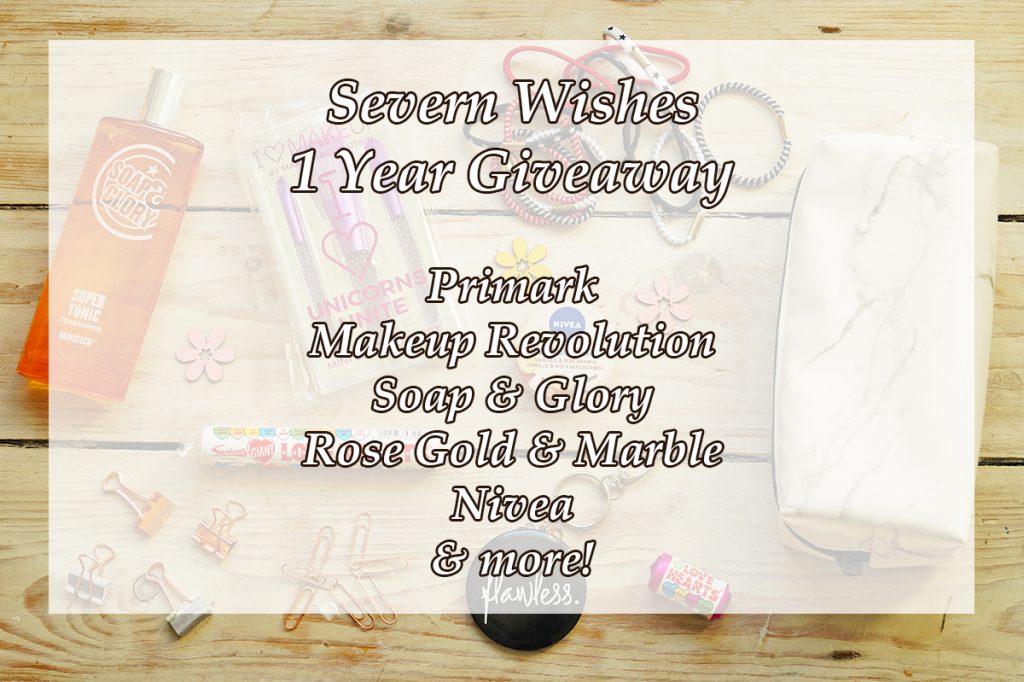
Featuring Soap and Glory, Primark, Nivea AND Makeup Revolution!
I give you my One Year Giveaway bundle!!!!
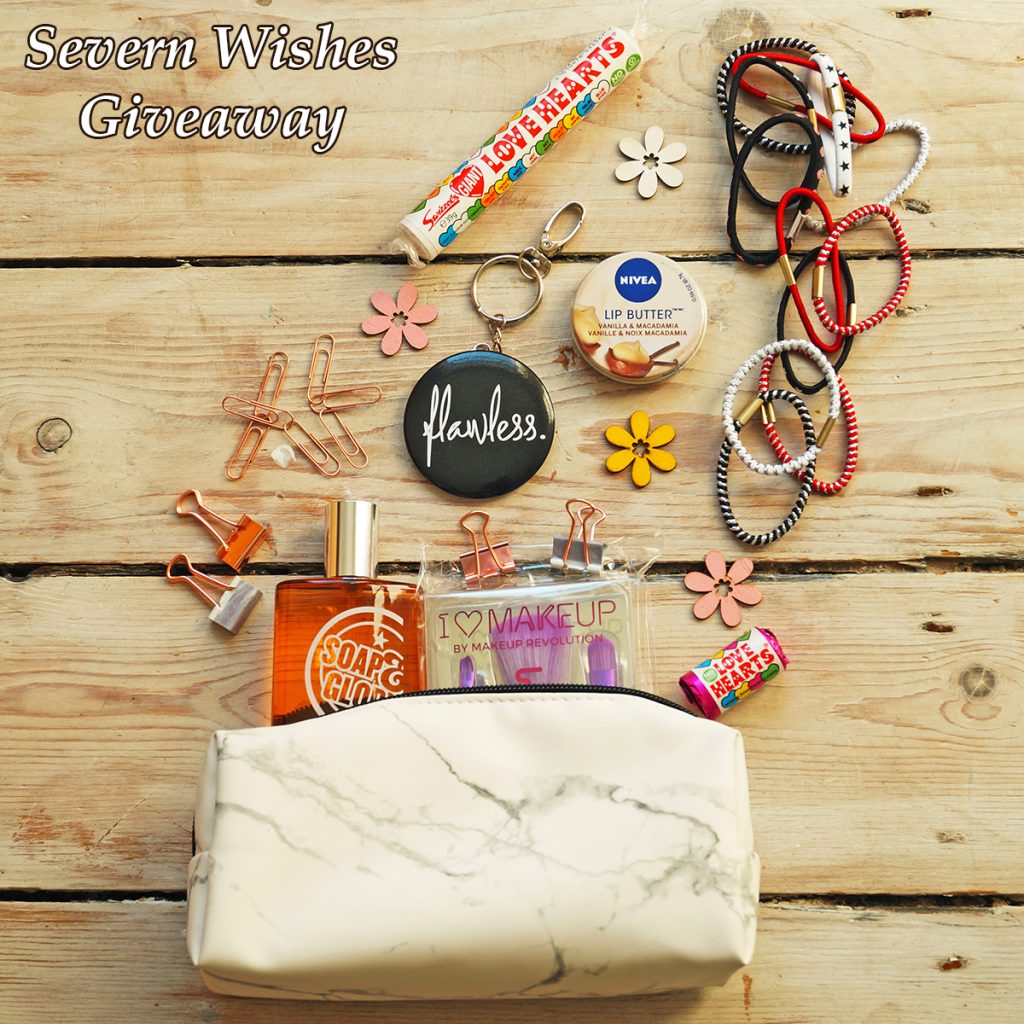
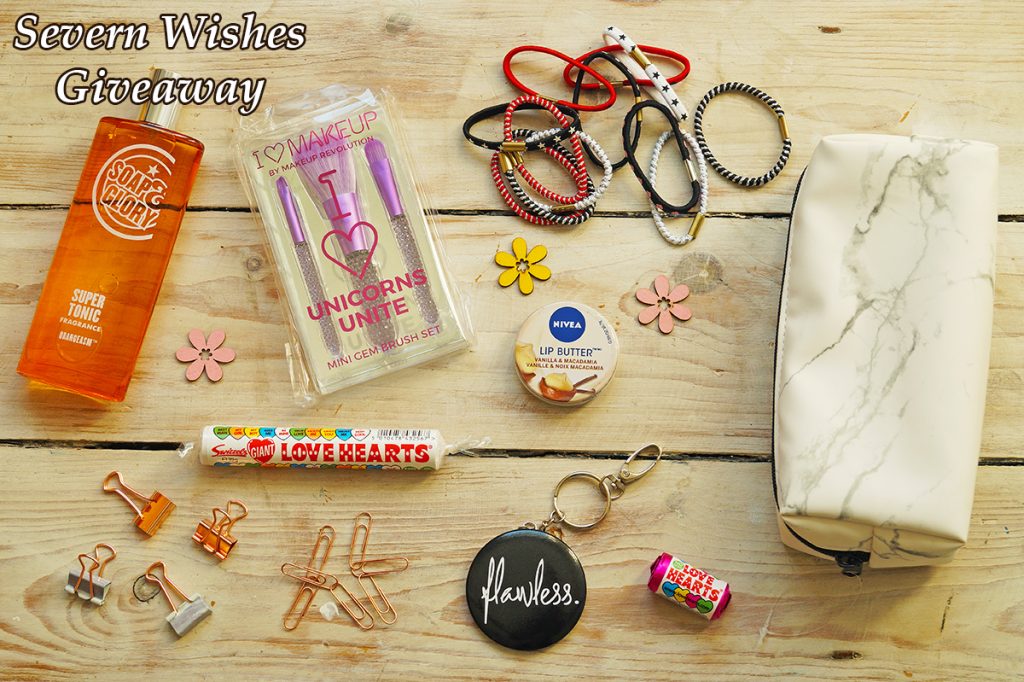
✩♡✩♡✩ What You Can Win ✩♡✩♡✩
✩ Marble Soft Cover Bag ✩
✩ Nivea Lip Butter – Vanilla and Macadamia ✩
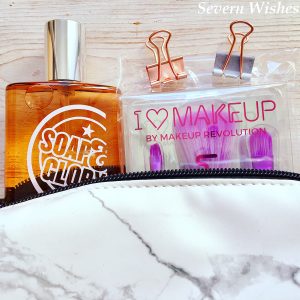
✩ Soap and Glory – Super Tonic ✩
✩ Makeup Revolution I ♡ Unicorns Unite Mini Gem Brushes ✩
✩ ‘Flawless’ Makeup Mirror and Keyring ✩
✩ Heart and Stars Hair Bands Selection ✩
✩ Marble and Rose Gold Stationary ✩
✩ Wooden Craft Flowers – Be Creative ✩
✩ Lots of Sweet Treats – Yum! ✩
 If you don’t know the drill by now click the link below to enter on rafflecopter, and all of the terms and conditions can be found at the end of my post!
♡ Good Luck! ♡
Severn Wishes One Year Blogging Celebratory Giveaway!
✩♡✩♡✩ Enter Here ✩♡✩♡✩
✩ Sabrina ✩
Terms and Conditions
This competition is running from April 23rd until May 31st 2017.
The winner will receive their prizes in June 2017.
This giveaway is only open to entrants from the UK.
Severn Wishes reserves the right to cancel or amend the competition and these terms and conditions without notice.
No responsibility can be accepted for entries not received for whatever reason, and all entries subject to verification.
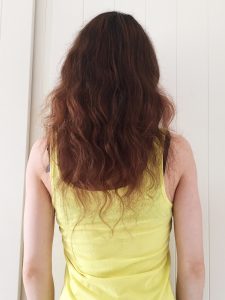
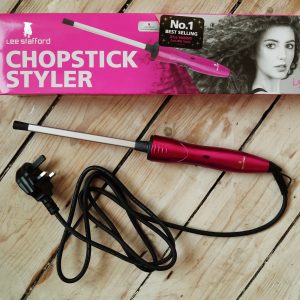 Today I am bringing you my review on the latest Lee Stafford Chopstick Styler. I have naturally curly hair, but it is not curly all over, more curly at the ends. I treated myself to this styler before Christmas when I saw it on sale, and thought I would give it a go.
 What do we get with the Lee Stafford Chopstick Styler? How easy is it to use? And, Is it worth the money?
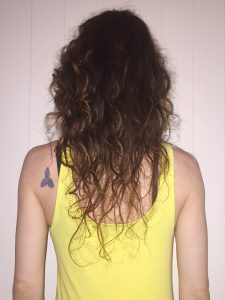
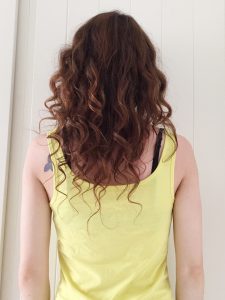
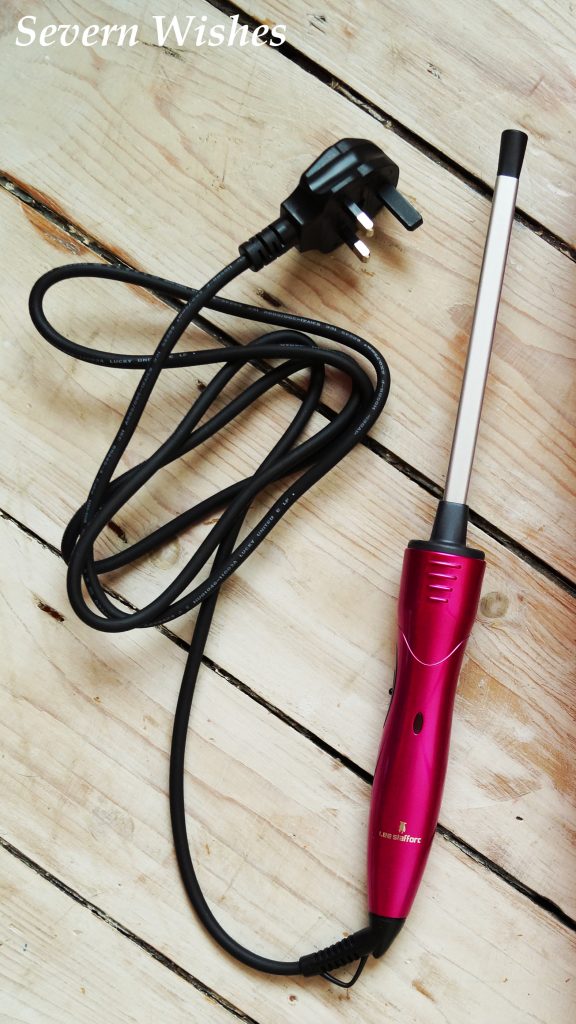 Here is a photograph of me once I had curled my hair with the chopstick. I chose to take the first 4 strands either side of my head and pull them back out of my face, and have their defined curls falling at the back of my head. It took me around 50 minutes to curl all of the hair on my head.
 Facts about the Lee Stafford Chopstick Styler
 Thank you for reading this review today, I know my thoughts won’t be the same as other peoples but that is the nature of a review, and honesty is the best policy.
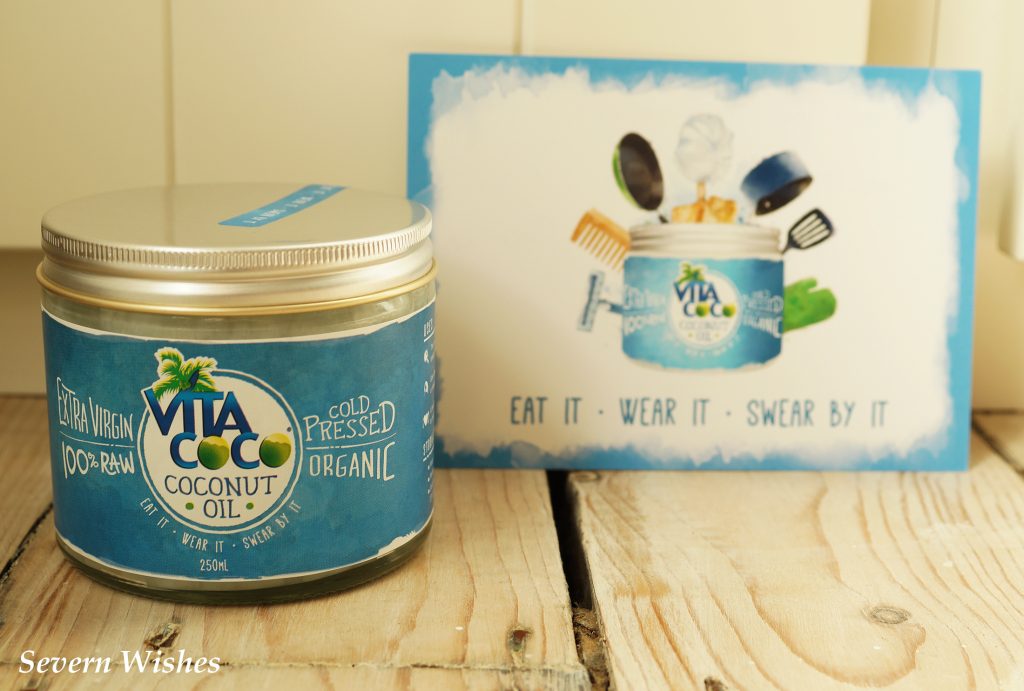
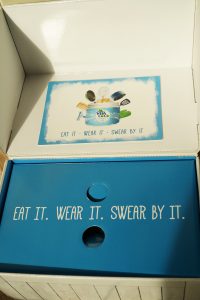 Vita Coco sent me this fabulous box with a sample for me to use. Its description reads, ‘Eat It • Wear It • Swear By It’. Even before it arrived to me I already knew how I first wanted to use the coconut oil.
 My hair is naturally curly and can be quite dry. I have read about a number of celebrities who swear by regular coconut oil hair treatments. After doing some reading I decided on the best way to test if the product would work on my hair. I would photograph myself during the initial day of testing to determine visual differences. What I hoped to see was shiny and smoother hair after the first use.
 So what else can you use this coconut oil for? Cooking is one option, and I have a wonderful curry recipe that I plan to use it on. I would normally buy dried coconut but I think that the raw coconut may mix better and be more cost effective, because it’s so versatile in this state.
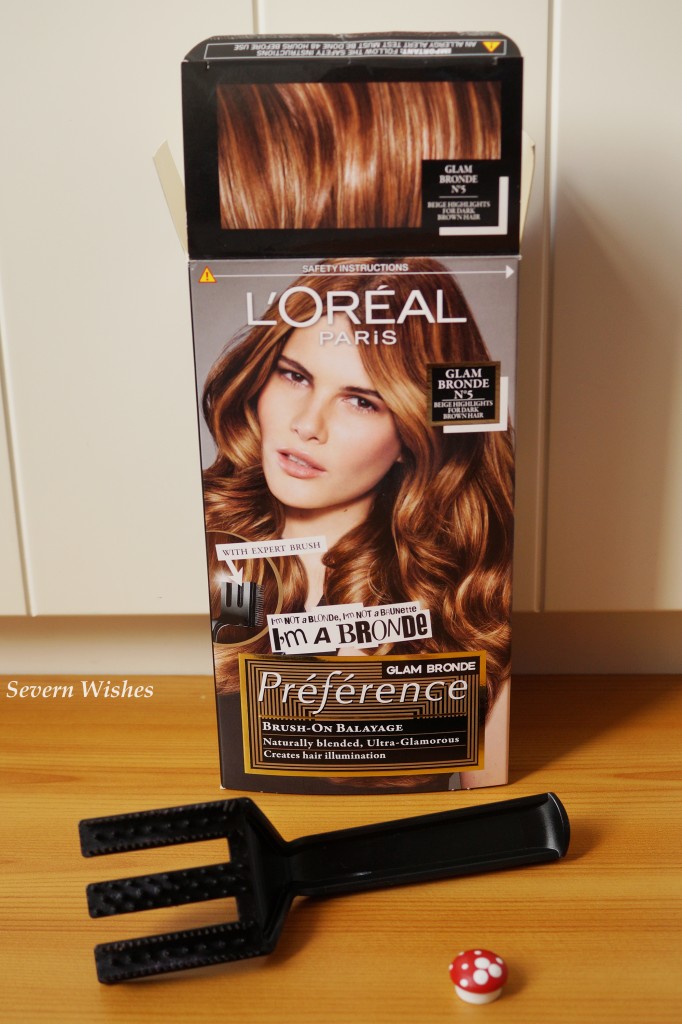 With help from my husband (for the strokes at the back of my head) I decided to use this hair product. Being L’Oréal Paris Préférence I was expecting great things. The brush that is used to apply the mixed product to your hair is really great. It allows you to safely and precisely work with your hair, as you would when brushing it, putting the highlights in where you want them. I thought it was a genius piece of kit and I have kept it (thoroughly washed) for future hair dyeing escapades.
 So that is my new look for spring and the end of my review. The pros are that as far as applying the product goes, the brush makes it easy, and providing you’ve got lots of mirrors or someone to help you with the strands at the back, it’s easy to achieve. The con is that it really did stink, you need a much ventilated room, and I’m not sure how much lighter it has gone on other people but it didn’t do much on my hair.