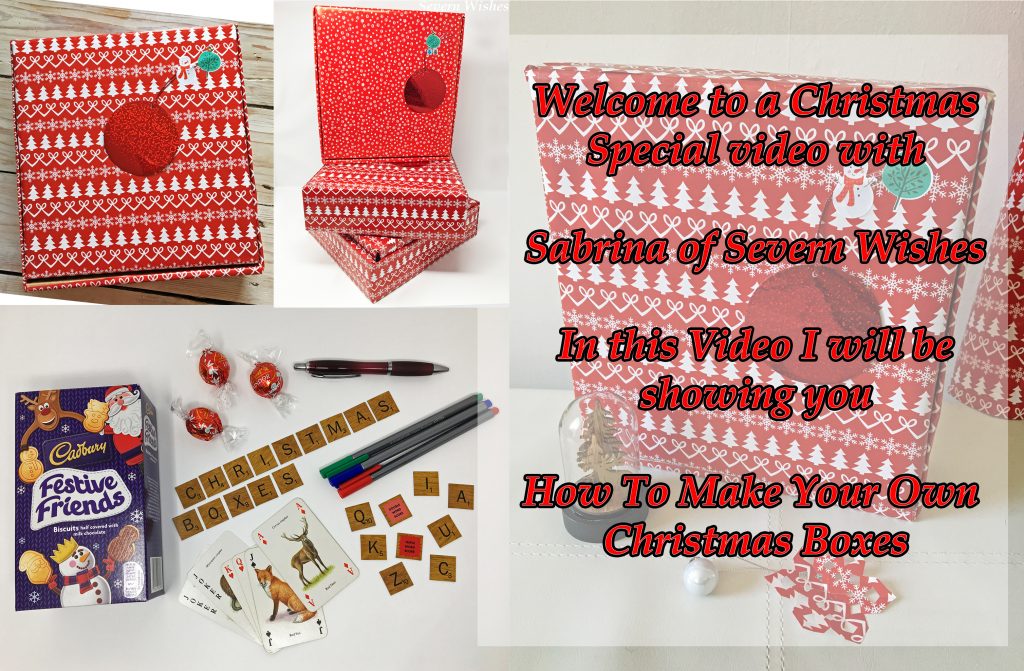
 ✩ Welcome to Sabrina’s How To Make Your Very Own Christmas Boxes ✩
I know that so many of you will be thinking, but why don’t I just buy a Christmas box? Well if you don’t have much time then of course by all means do just that. But let me first explain to you why I think you should give this little craft project a chance.
Having browsed the internet for other kinds of Christmas Boxes I was astounded to find that they can range between £5.99 to £15.00 for just an empty one! And if you wanted gifts inside it too? Well you’re looking at around £25.00 and upwards for boxes with items already packed.
It sounds like a lot to me and honestly it is, when you add in a delivery charge too. I think that companies like these are great if you don’t have any time or creativity, and the money to spend, but this craft project is so easy to do, why not try and make just the one box with me?
I will now tell you how much it has cost me to make one of my basic boxes… So nothing inside it, just the box all done up pretty and ready to be used…
Each Box has Cost me Around £1.50 to make! Yes just £1.50!
Here is how I worked it out… I bought a roll of 12 metre Christmas wrapping paper from Primark for 90p, the boxes themselves were free because I picked them up from my place of work and supermarkets, and the only other things that you’ll need you probably have in your house already, but in case not here is the list…
You Will Need… ✩ A Ruler ✩ A Pencil or Pen ✩ Sellotape ✩ Stickers ✩
You get the idea. You will also need some bits to decorate after and (if you’re gifting this box) a Christmas Tag. These are the things that make up the rest of those £1.50 worth of spent pennies! I have now made 6 boxes for my family, using half of two rolls of paper, one roll of sellotape and 6 gift tags… So you get how cheap it is right? Now you need time!
Is this an easy craft project? Yes it is, providing you have around an hour to two hours spare and all of the items mentioned. Children would need adult help and supervision with the cutting but they could do the sticking into place with some guidance. It’s more fun for them to decorate their boxes, add in some paper to the mix and they could do festive drawings that you could then cut out and stick on top of the box even!
What tips can I give? Take your time, cut correctly and carefully with the scissors. Remember you can do any sized box, so it could be really large to house a massive present, or you could make a jewellery box size one instead of using a gift bag. Write down a list of what you would use the boxes for and also what sizes you may need. Gather everything you will require to do this before you start, and make sure it’s somewhere flat surfaced and comfortable – we don’t want any bad backs!
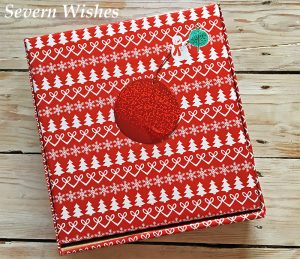
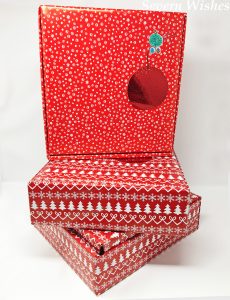
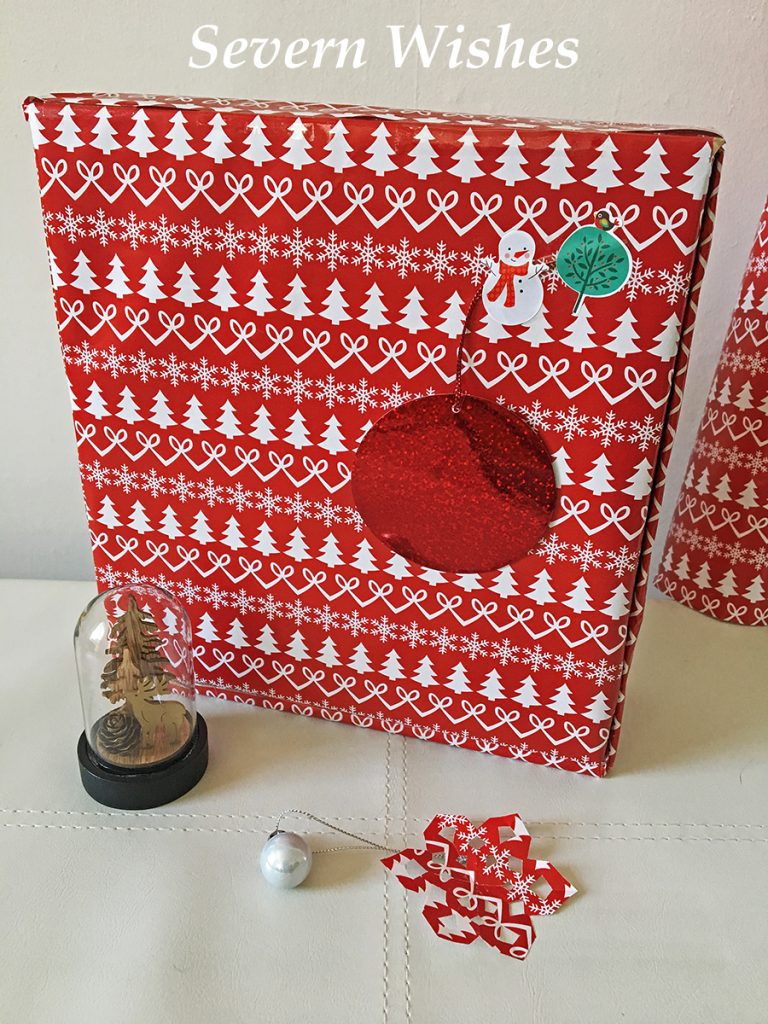
Here is a photograph of some of my finished boxes, you could make one even better using your imagination.
I think the best thing for you all to do is watch my video first, and then come back to the blog to go through the step by step. It’s easier than you think, plus then you can have the time to gather what you need (if anything) and work along with the post.
✩✩✩ SABRINA’S HOW TO MAKE YOUR OWN CHRISTMAS BOXES VIDEO ✩✩✩
✩ STEP BY STEP MAKING YOUR BOX GUIDE ✩
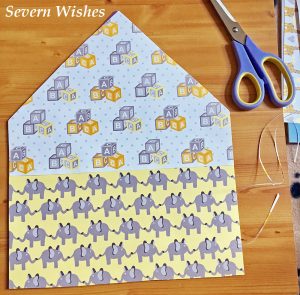
Step 1. Lay out your paper on a flat surface white side up, using a piece of scrap paper and a pen, take the box measurements.
Step 2. With a Ruler and Pencil mark down on the paper (with the white side up) what pieces you need to cut. (If you have a no hinge box you could draw around its lid and base and then just measure the sides).
Step 3. Carefully cut out all the paper parts and label the white side in pencil which part will stick to which part of the box.
Step 4. Begin to stick your pieces in place, remember the parts that need some over hang are the parts you stick on first (sides and top in my video).
Step 5. Once you have all the paper pieces in place, trimmed any over hanging parts and neatly taped it all on the box, you will be ready to decorate.
Step 6. Decorate depending on the theme you have chosen for your box.
Step 7. Fill your box accordingly… Enjoy!
✩✩✩
✩✩✩ HOW TO MAKE PAPER SNOWFLAKE DECORATIONS ✩✩✩
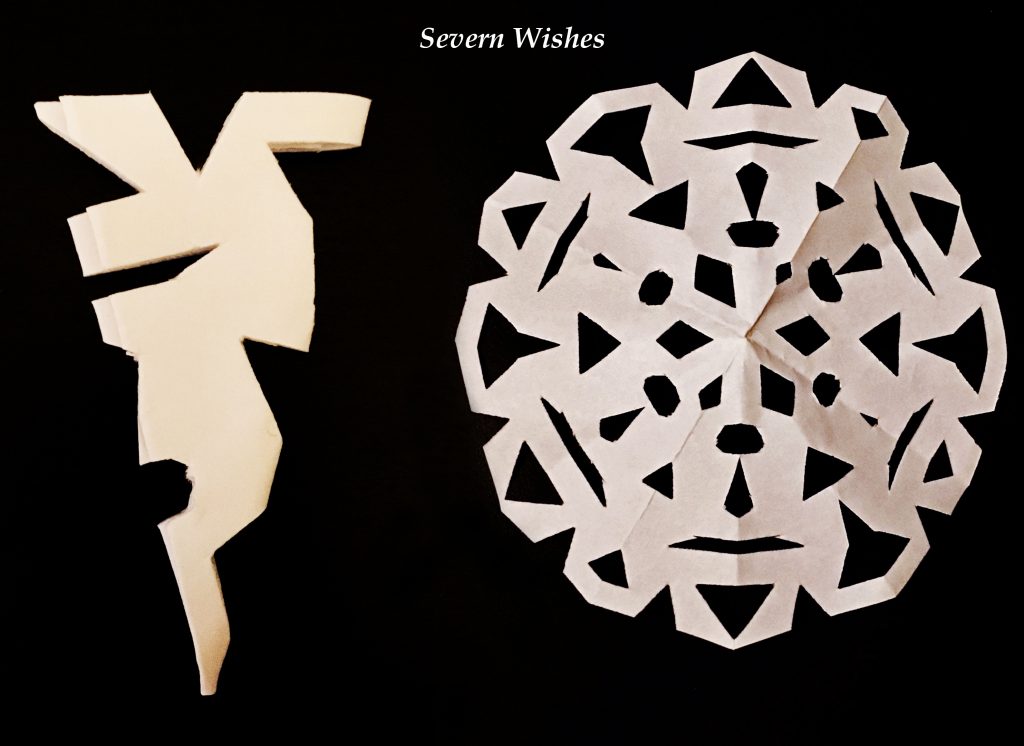
The most popular snowflakes are the six sided ones, follow this guide to make them, but remember that there are many folds, so don’t make your starting square too small or you’ll struggle to cut any pieces out of it…
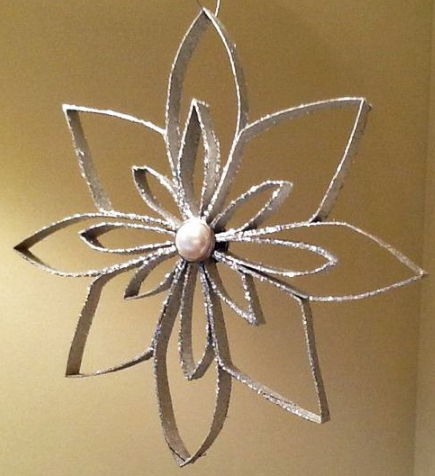
 Here is one of my designs (below) and it was fairly easy to make… this image on the shows you what the design would be (on the left) when you have cut the paper but not yet opened it and then (on the right) the finished paper snowflake…
 I would love to see what you come up with, tag me on social media if you decide to make any snowflakes after seeing mine…
✩✩✩
✩ WHAT CAN I USE MY BOX FOR NOW THAT I HAVE MADE IT? ✩
Why Make Them? 1. As An Alternative to a Stocking on Christmas Day
Why Make Them? 2. Use A Box Instead of a Gift Bag for Gifts
Why Make Them? 3. To Store All This Years Cards and Tags Inside
Why Make Them? 4. Use As A Christmas Eve Box For The Family✩✩✩
Christmas Boxes for Christmas Day – Sabrina’s Ideas
While making these boxes I had an idea, a great one if there are arguments between siblings on Christmas morning… I thought about putting all the families names in the box, the youngest of age picks out first and whoever gets their name pulled out gets the first present. Mum or Dad would have to count the gifts though and obviously write out the names corresponding to those gifts, but that way there would be no arguing. You could design the box as if it came from Santa, saying there will be no arguments and my magic box will decide who gets the next gift… It may have a treat inside too at the end of it… Think of it as a Pass the Parcel idea but with names relating to presents…
What to put Inside your Christmas Day Boxes
Mixed Festive Treats and Snacks
Game/s to play in a Group/s – Mini Jenga is great! Dominoes or Card Games!
Christmas Baked Goods from Christmas Eve if you made some!
A Festive Film to Watch together
Festive Coloured Paper so you can all make some Snowflakes
A Present or All Presents – Depending upon Size
If You Would Prefer To Make A Christmas Eve Box… designed for Families, Here are some of my ideas for putting inside yours…
A Christmas Book to read together – I loved the Snowman growing up!
A Christmas Cuddly Toy for each Child
Some Christmas Festive Snacks or Baked Items (1 per person)
A Game to play together – Junior Scrabble but you can only use Christmas words!
Christmas Cookie Cutters – if you’re bakers why not make something for Santa today
A Festive Film to watch before bed – there are so many now!
A New Decoration for each Family Member to put on this years Tree…
Food for Santa and his Reindeer – the kids can set it up on a plate before they go to bed
Pen and Paper – Get everyone to write down a wish for next year, roll it up and leave it for Santa to take with him…
Dependent on their age “A Project” – Writing A Wish / Thanking Santa for Something…
Here is one of my finished boxes… You can make the box any size you like! Perhaps you want one to hold a small present, perhaps to put some jewellery inside? You can use these boxes in so many ways, and you can make them whatever sizes you choose or need for your Christmas.
Remember you can decorate the top of it depending on what you decide to do with it. You can cut out letters or numbers that might be relating to your family, for example “Smith Family Christmas Eve Box” or “Christmas Memories for 2017″…
I know I keep explaining it but the possibilities are endless and I would personally have a little think as a family and jot some ideas down. It would make a lovely project to complete once school has finished too!
Christmas Boxes for Children instead of a Stocking – End of the Bed or By their Bedroom Door
If you have young children you might encourage them to stay in their bedroom on Christmas morning until a designated time. The best idea I had was inspired by something my mum did one year. That was to put our stocking in our room and tell us that we could have what was inside it, but we were not to go downstairs until a specific time on the clock. This keeps the child occupied for a while and allows the parents to get a well deserve lie in… hopefully! Here are my “Stocking Box” ideas…
An Edible Treat
A Short Game to Play
Christmas Drawing or Craft – Print off a Christmas Image and give them colours
A Recipe to Bake with Family Or Something You Can Use To Decorate from C-Eve
A Small Toy – Parents Choice
A Pack of Cards or a New Game – Teach Each Other Something New
One Small Present to Open in Bed
Instructions for the Day – Go Downstairs at a Certain Time…
A Fun Riddle or Quiz they have to get correct…
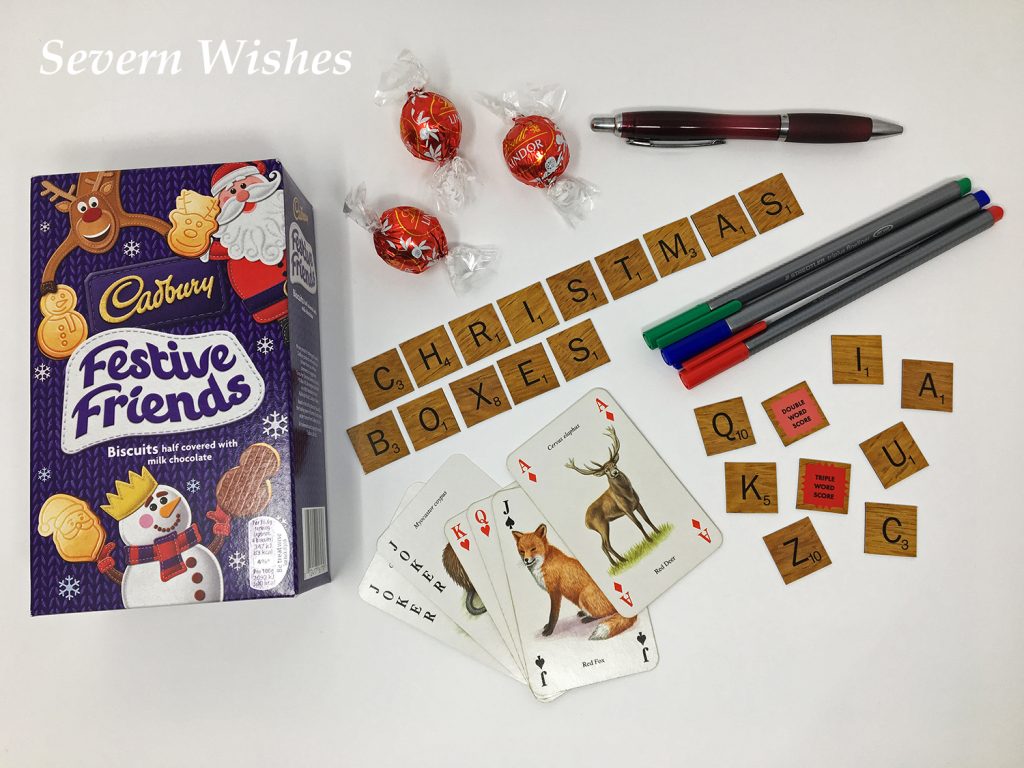 Here is one set of my Christmas Eve Box ideas, a pack of playing cards that have animals on them to teach your children while you play. Junior Scrabble is another great game for children! You could play but they are only allowed to put down Christmas related words! Cadbury Festive Friends are tasty chocolate biscuits shaped for the festive season that children can share. And the adults have to have something… Lindor Chocolates perhaps?! Festive Pens for some colouring thrown in there too… The box possibilities are as much as you can imagine!
✩✩✩
Some Little Extra Traditions That Are Fun
Ideas to make your children believe what happened the evening before…
Use flour or fake snow on the kitchen floor to make Reindeer and Santa footprints like they came in at the back door OR if you actually have a chimney then do it there, and don’t forget to take bites out of all the food before the kids see it! They will be amazed!
What Is Still To Come On Severn Wishes…
I have a ton more blog posts to bring you this month, many are Christmas related, Gift related or Craft Related! I hope that you’ll come back to Severn Wishes soon for the next latest installments.
If you enjoyed anything in particular on this post and plan to use any of my ideas practically this Christmas then leave me a comment with what you loved, it would make my day if I helped you out.
✩✩✩
I really hope that you’ve enjoyed this special blog post today, and perhaps I’ve given you some inspiration for making something too! Please let me know in the comments either on here or on my channel if you do decide to make a Christmas box. You can tag me in images on social media too I would love to see them! Happy Crafting!
✩ Sabrina ✩


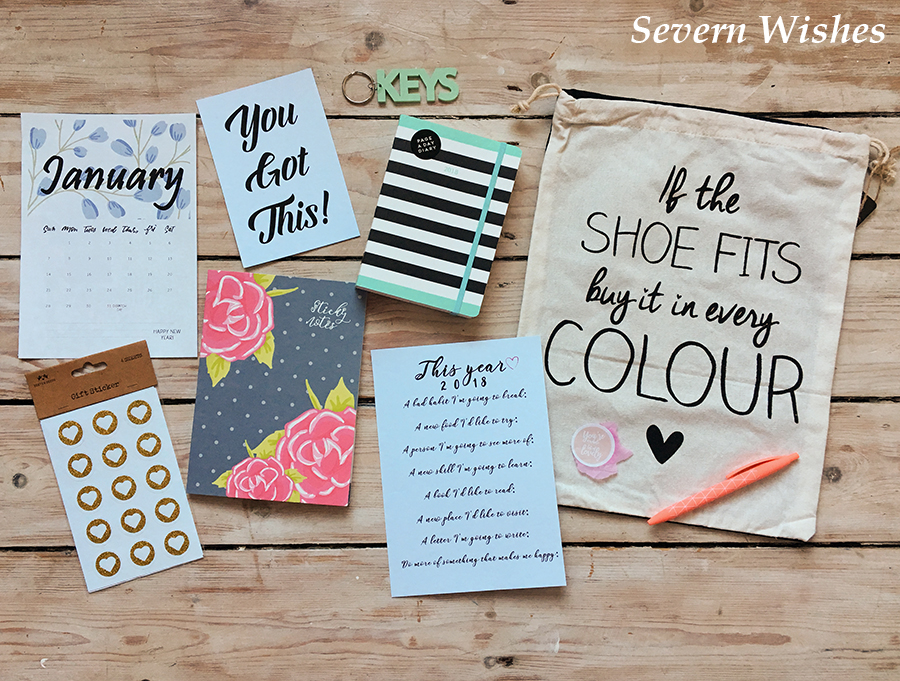

 ✩ Time Frame ✩
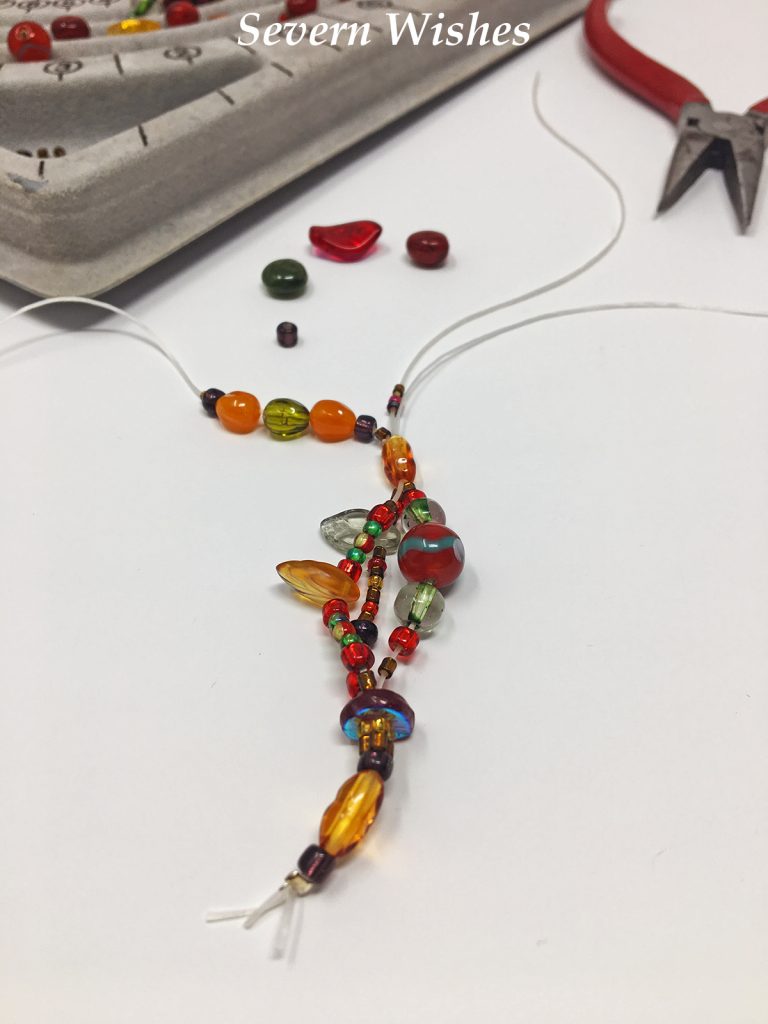 How To Make Your Own Triple Thread Autumnal Bracelet
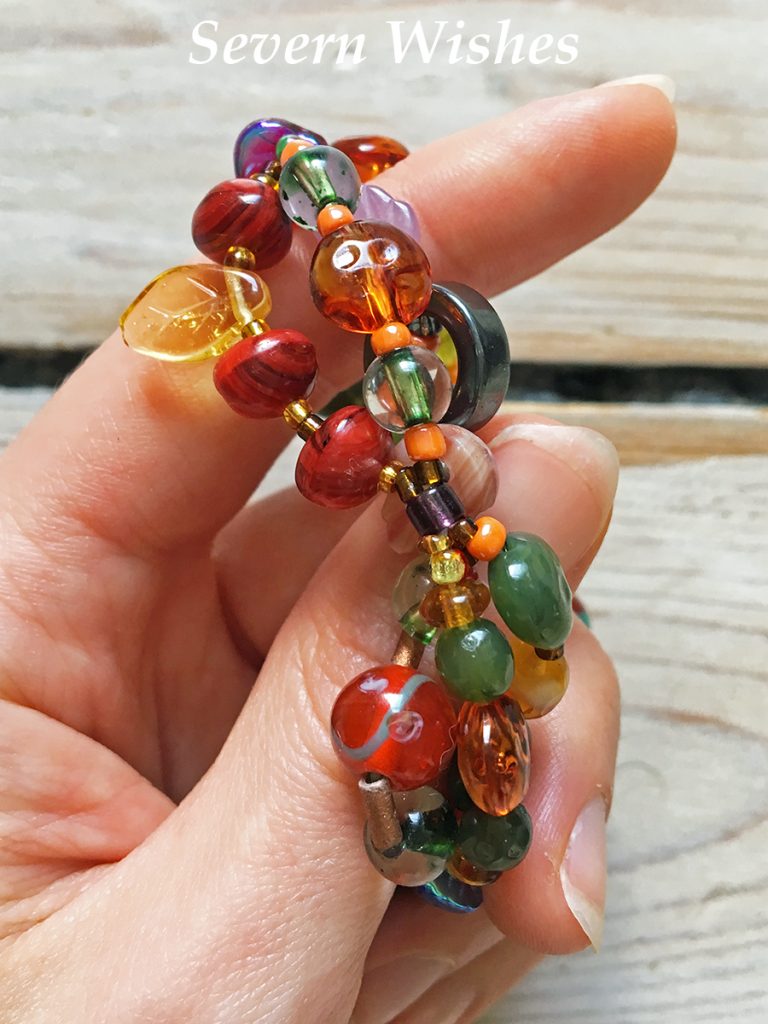 ✩ Step 2. ✩
 ✩ Step 3. ✩
 ✩ Step 4. ✩
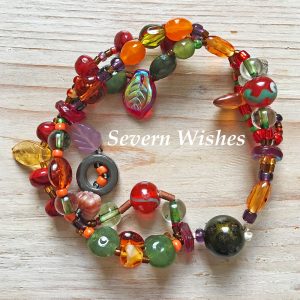 ✩ Step 5. ✩
 ✩ If you don’t know much about beads…
 ✩ Other Cool Beads To Look Out For ✩
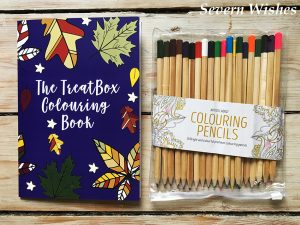
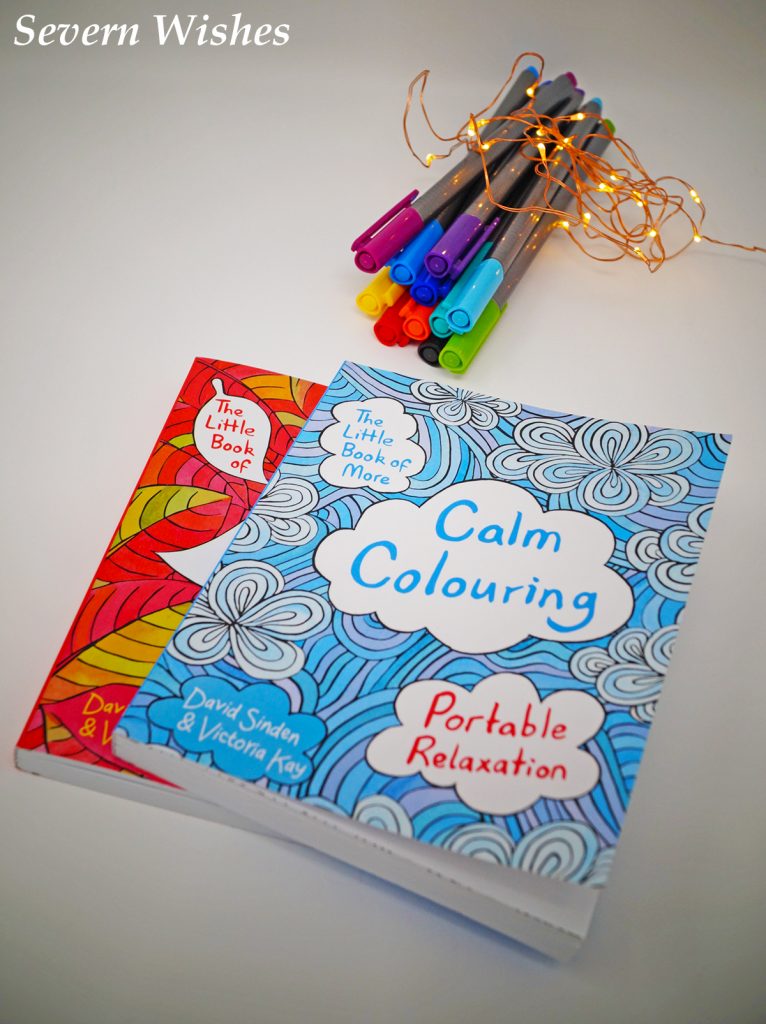 Today I am reviewing the “Calm Colouring” Books series created by David Sinden and Victoria Kay. Calm Colouring is an activity that I partake in regularly, it really helps me to relax. And when the images are as beautiful and as intricate as they are in these books, you’ll see why in a moment.
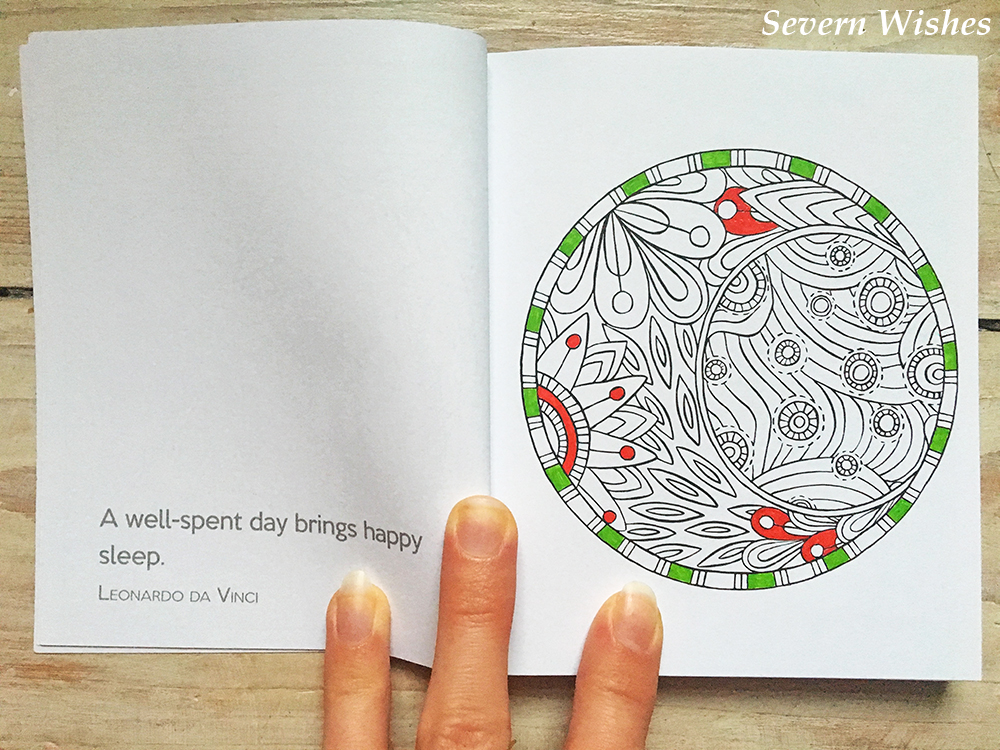

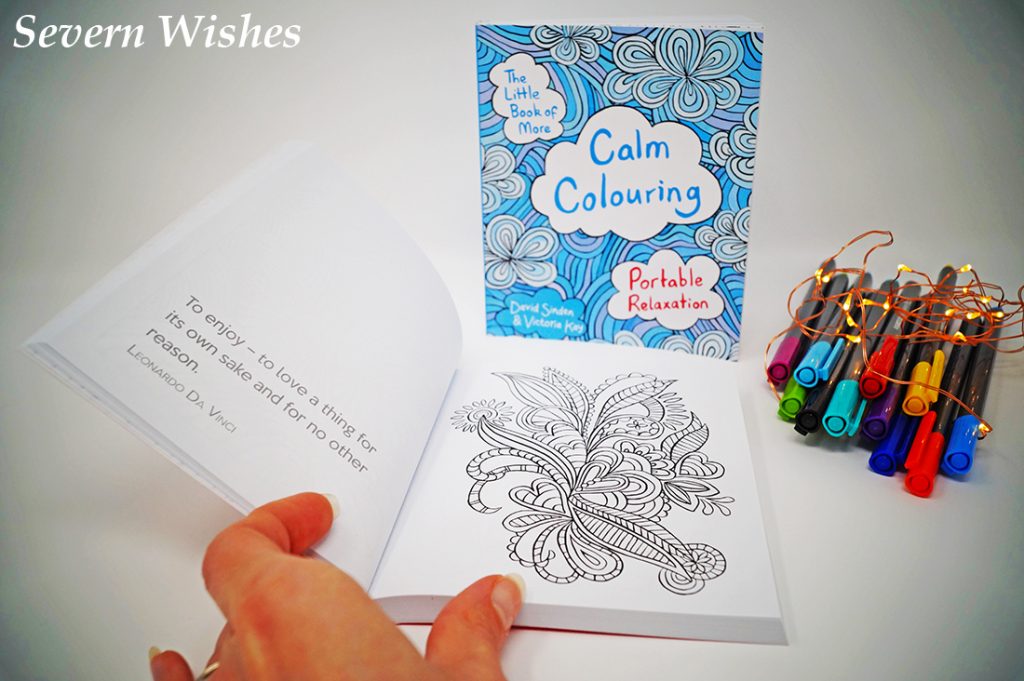

 (Here are a few of my examples to get you thinking…)

 ✩✩✩
✩✩✩
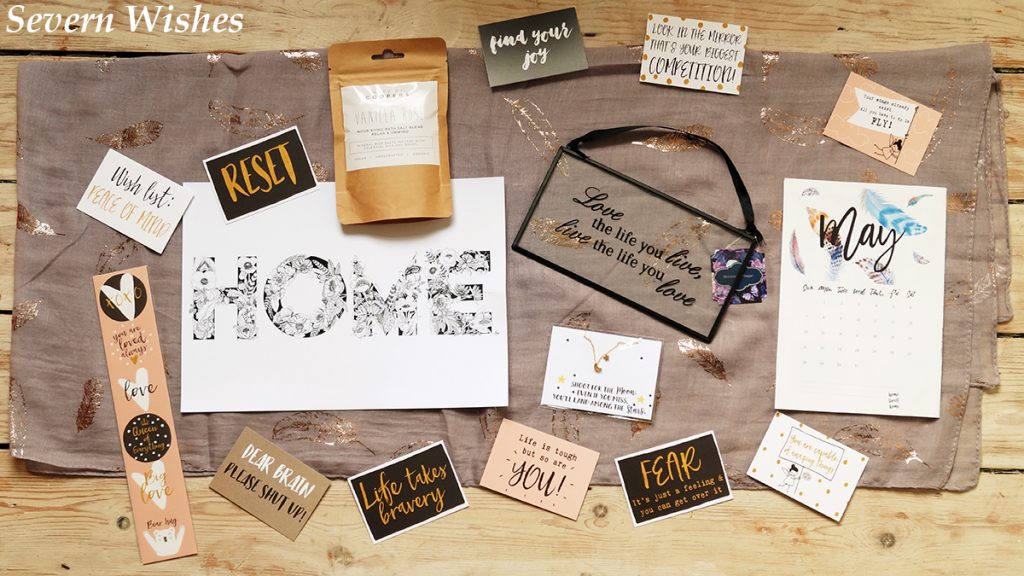
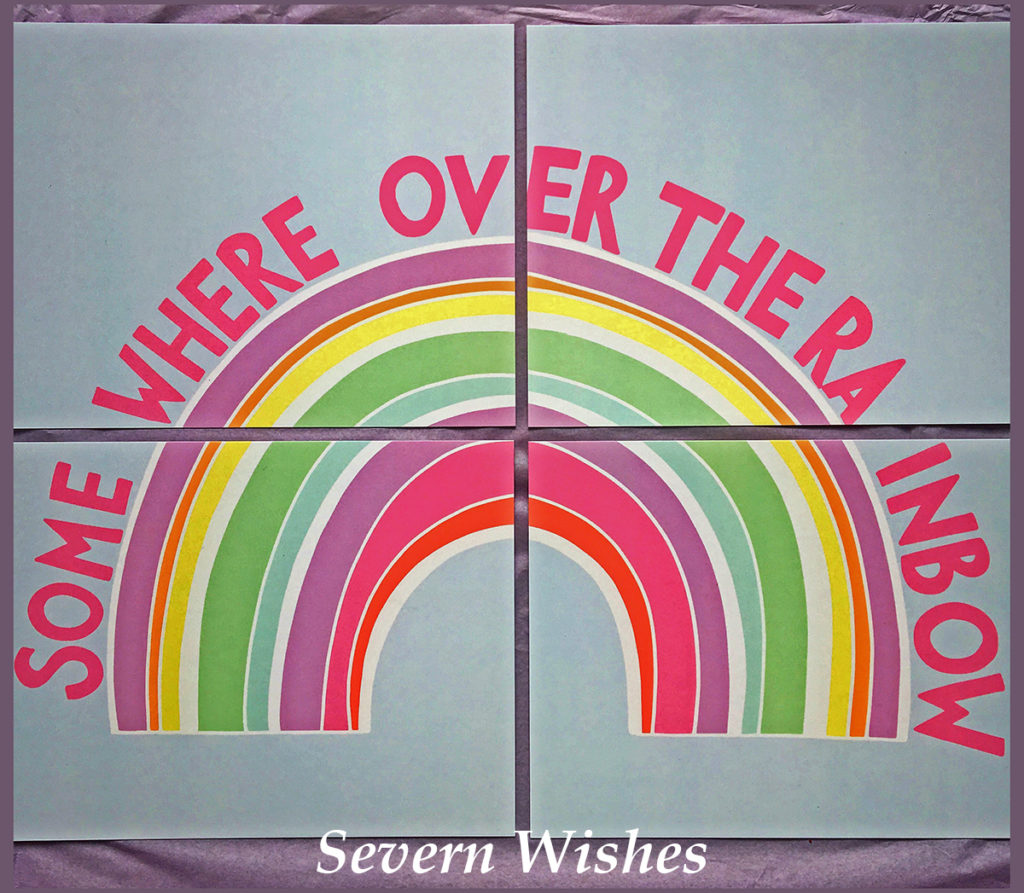
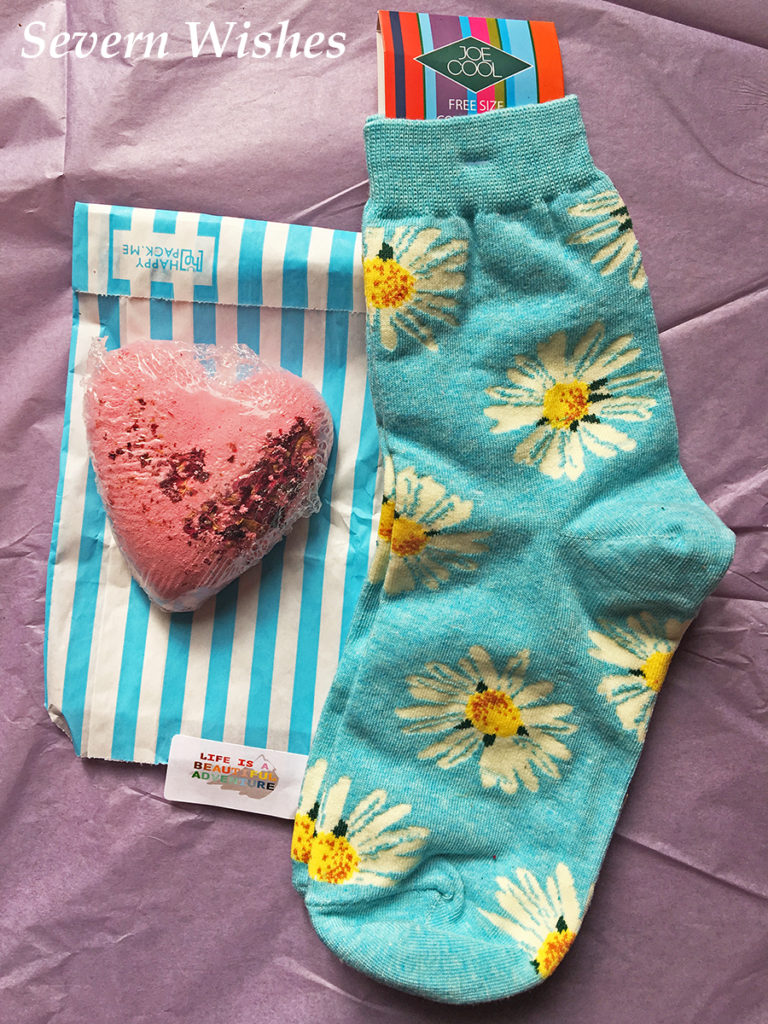
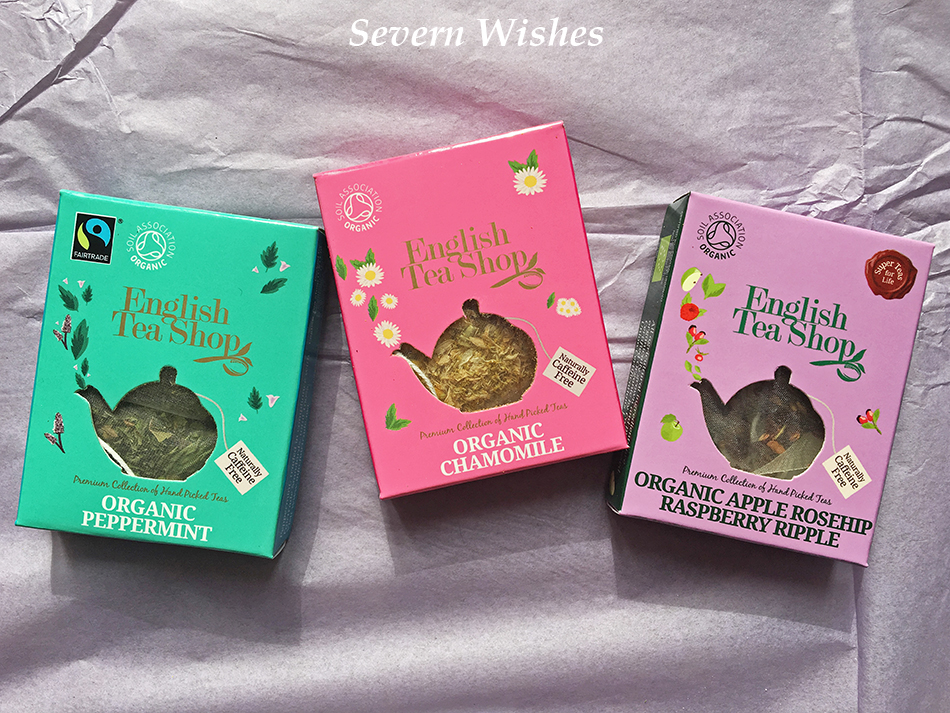
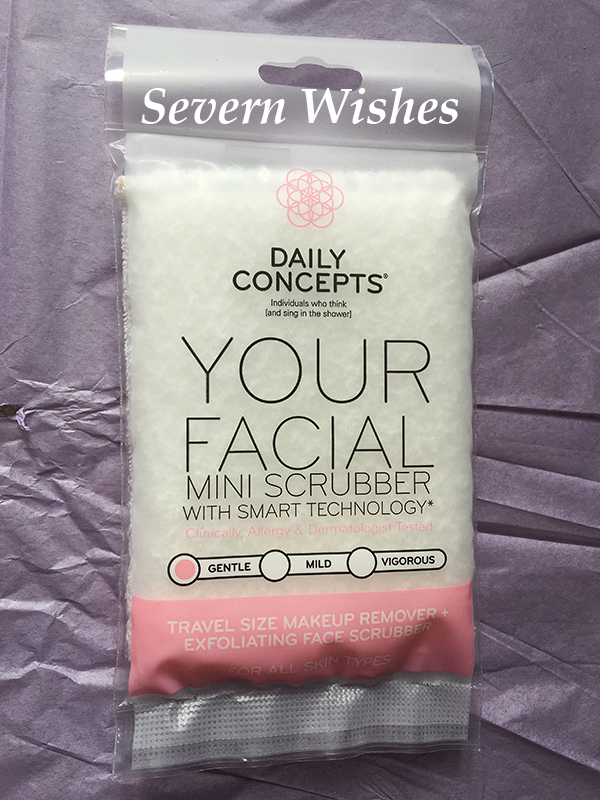
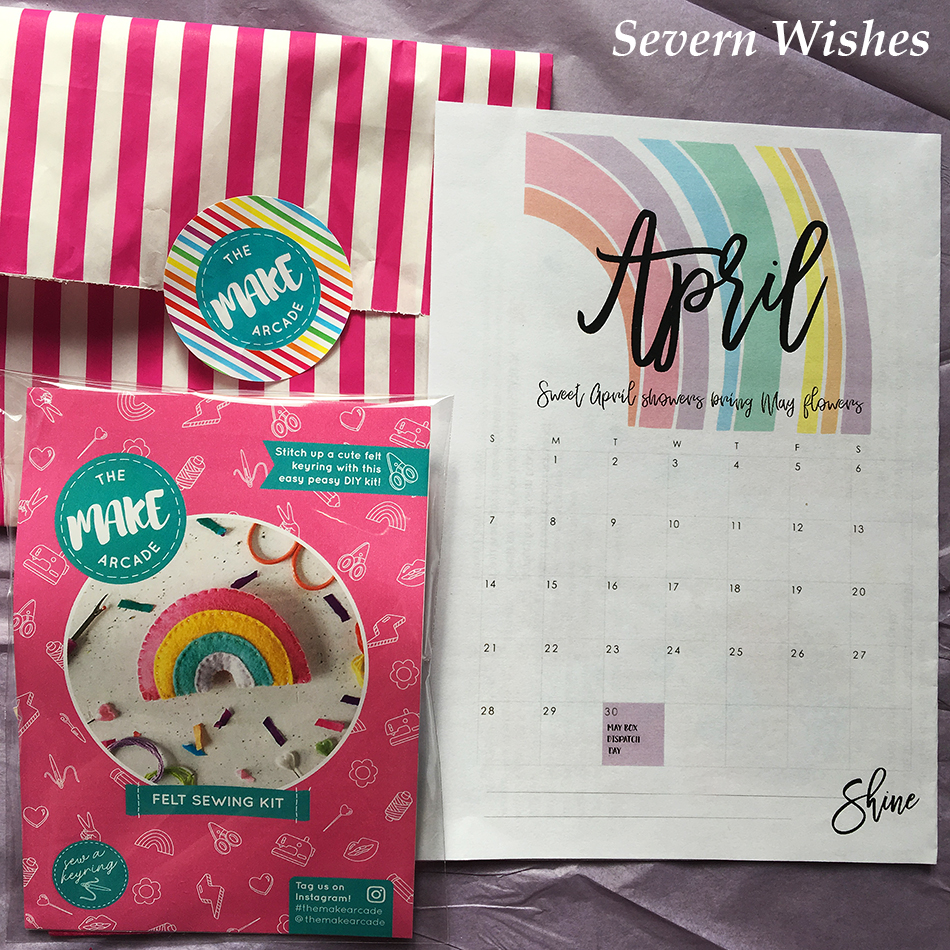
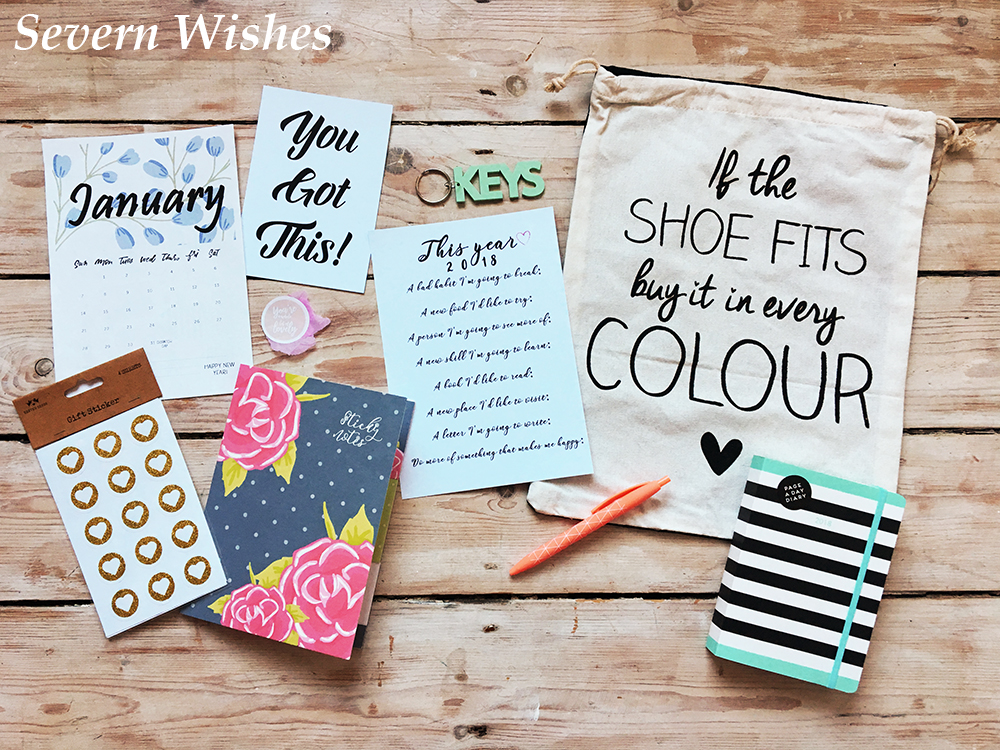
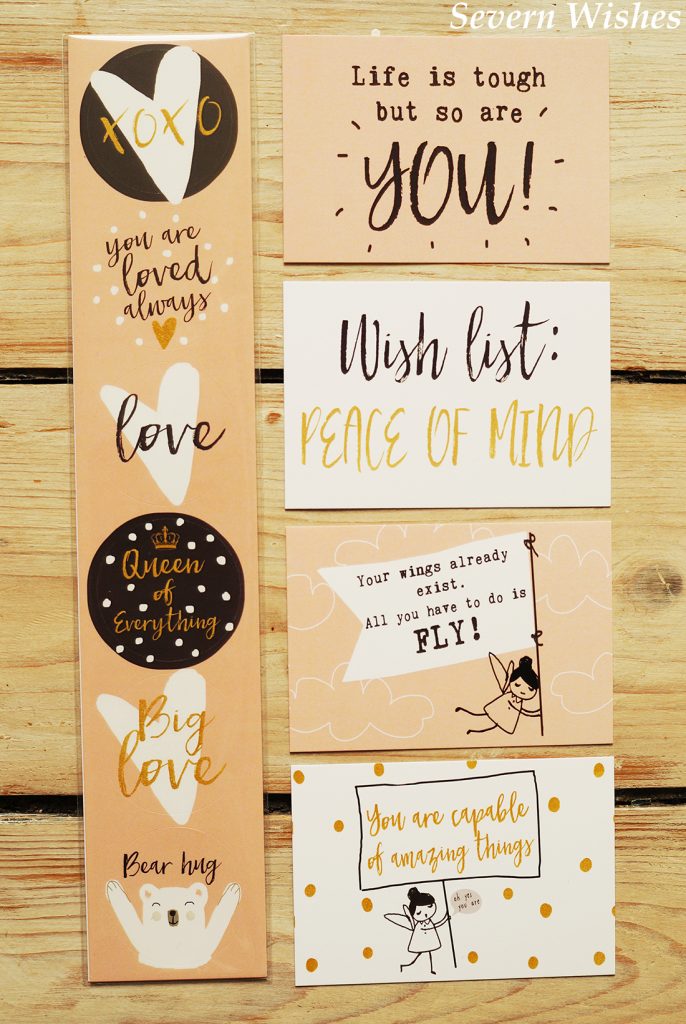
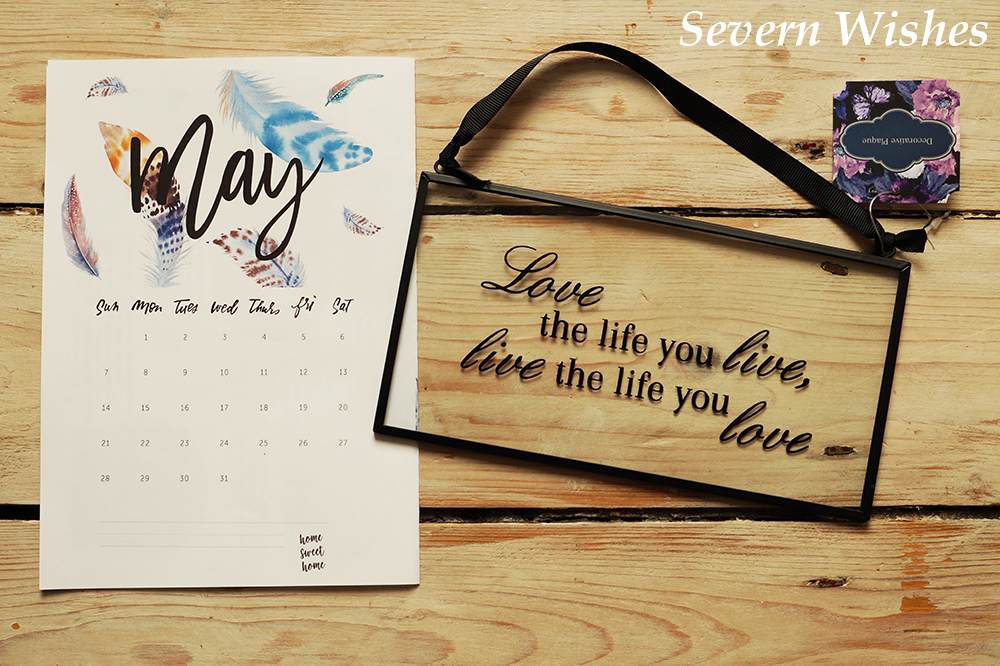
 Hello and Welcome to the May 2017 Treatbox Reveal.
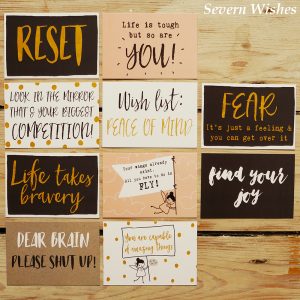
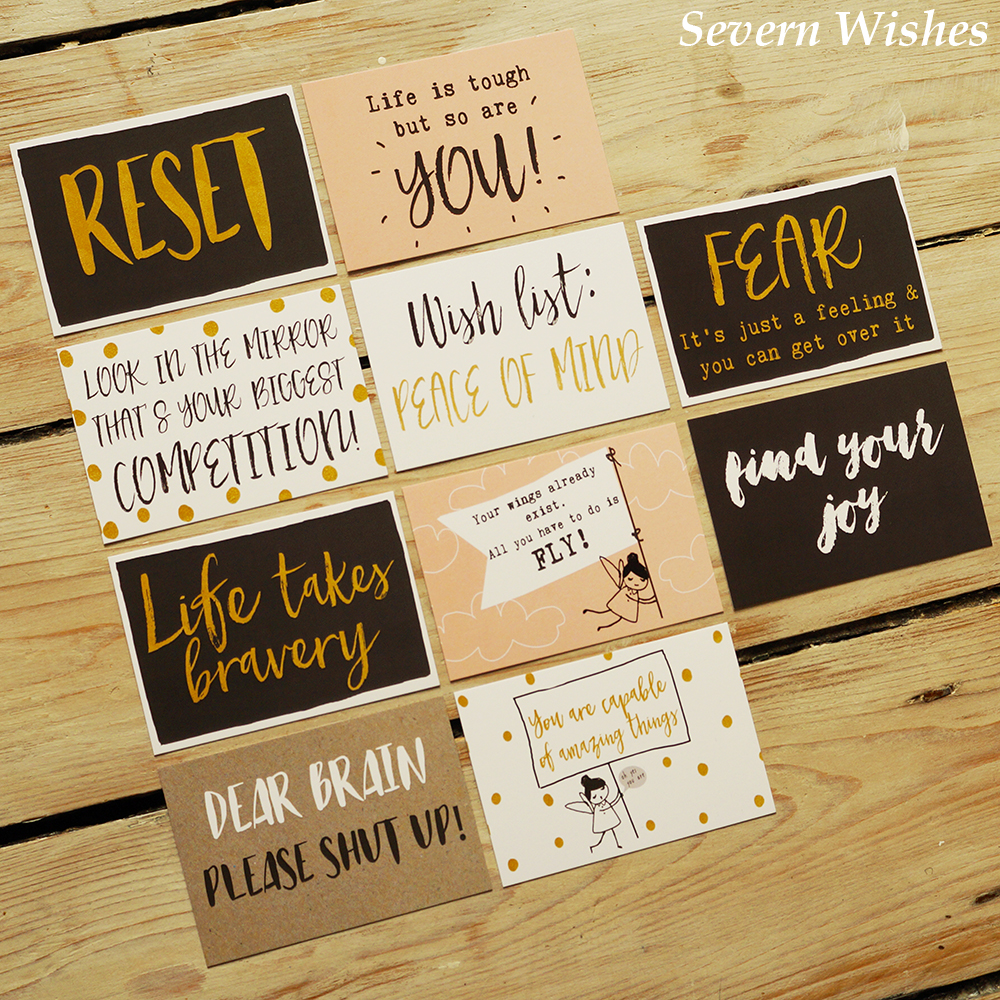
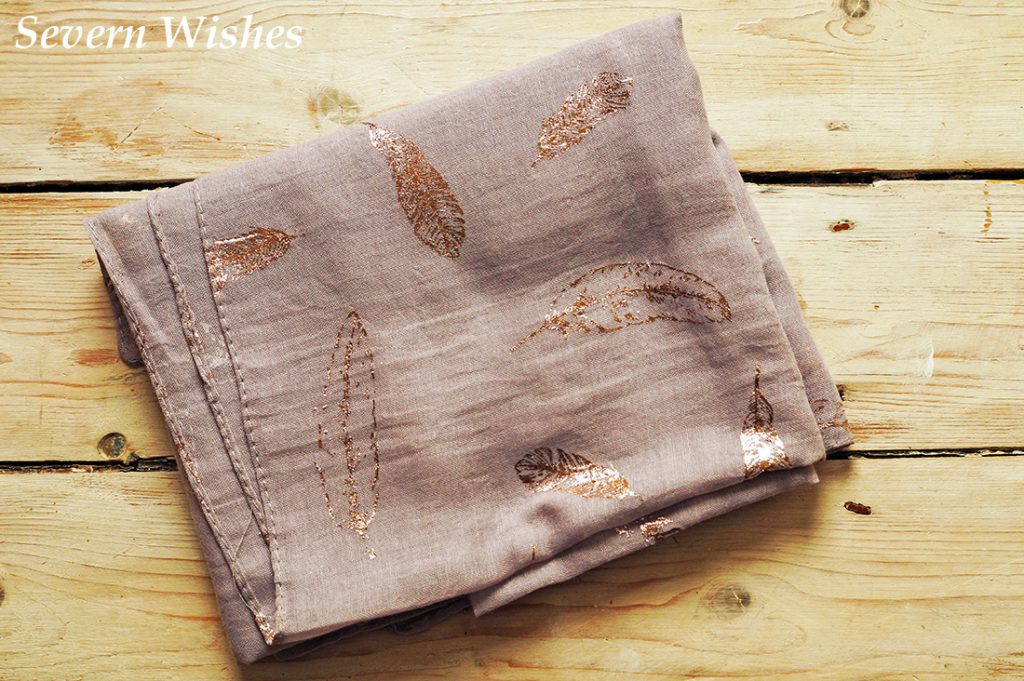
 For the May Treatbox theme we have feathers and relaxation. Positive energy and inspiration are at the forefronts of the box with postcards and bath salts. A beautiful scarf (which I am very thankful of because it is still cold here at the moment) and a quote plaque. Stickers for being creative and a gorgeous print showcasing the talent of a UK illustrator. This is the May Treatbox.
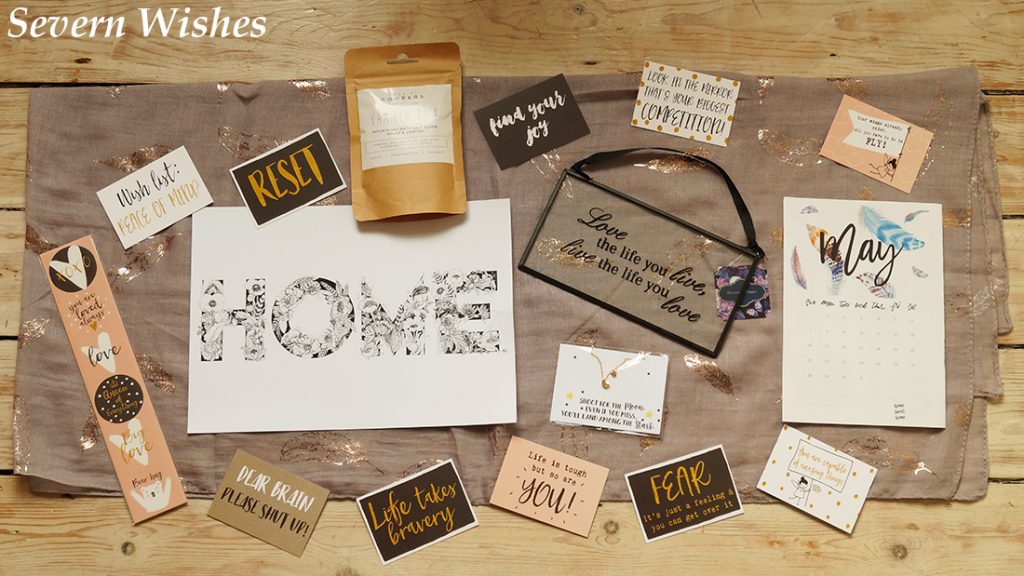


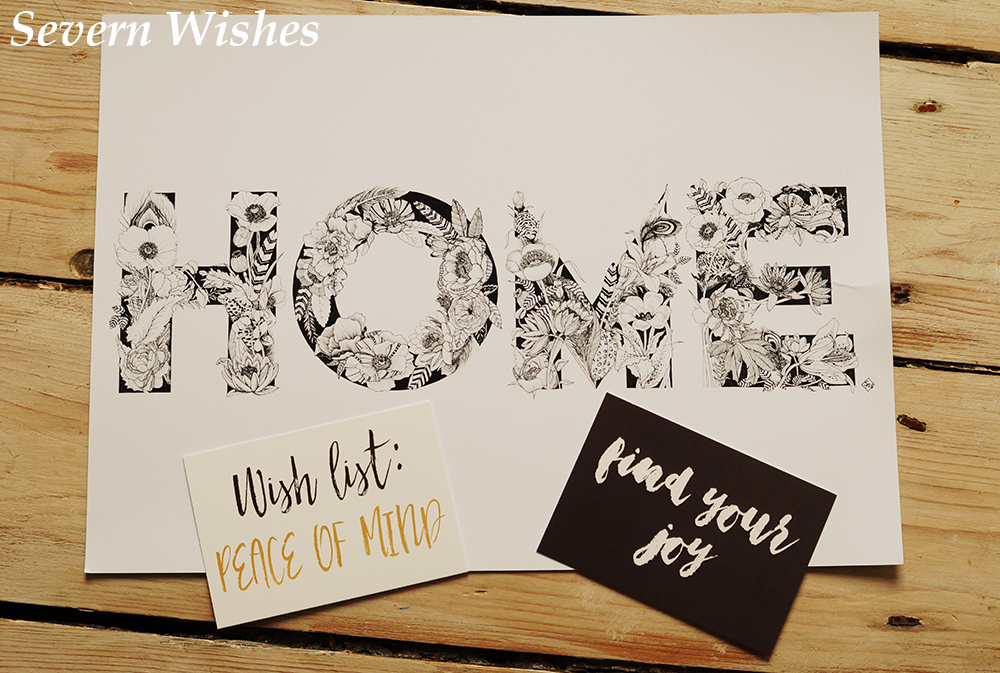
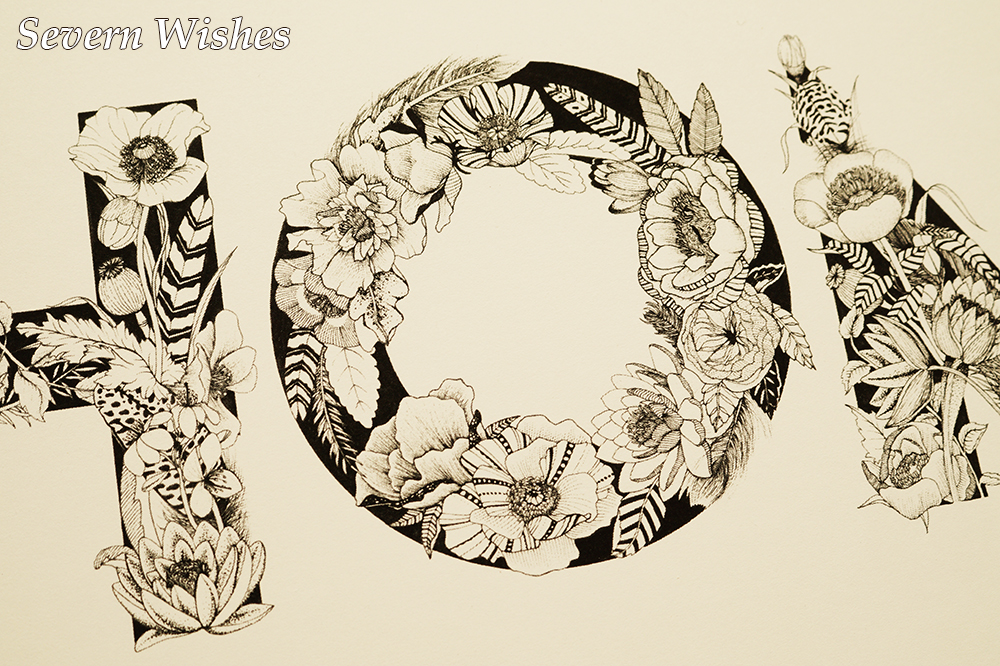 This beautifully detailed print is designed and drawn by Simona Matuozzo an illustrator based in Birmingham. She creates bespoke both hand drawn with ink and also digital illustrations. Her work is often highly detailed, and as with the print we have in our boxes this month, you can see from my macro photograph just how intricate the drawings are.
 Here are the details of the Feathers on the Scarf.
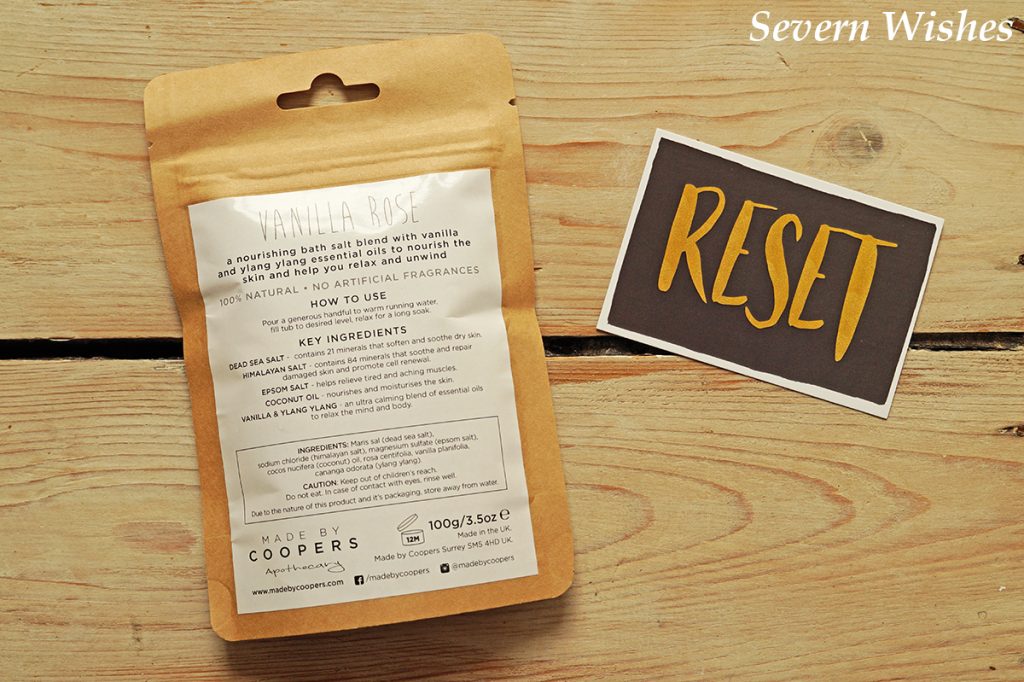
 Made by Coopers, these bath salts are 100% natural, made with Organic ingredients and no artificial fragrances, with 100 grams of salts to help relax you.