✩✩✩ Welcome to Sabrina’s How To Make! ✩✩✩
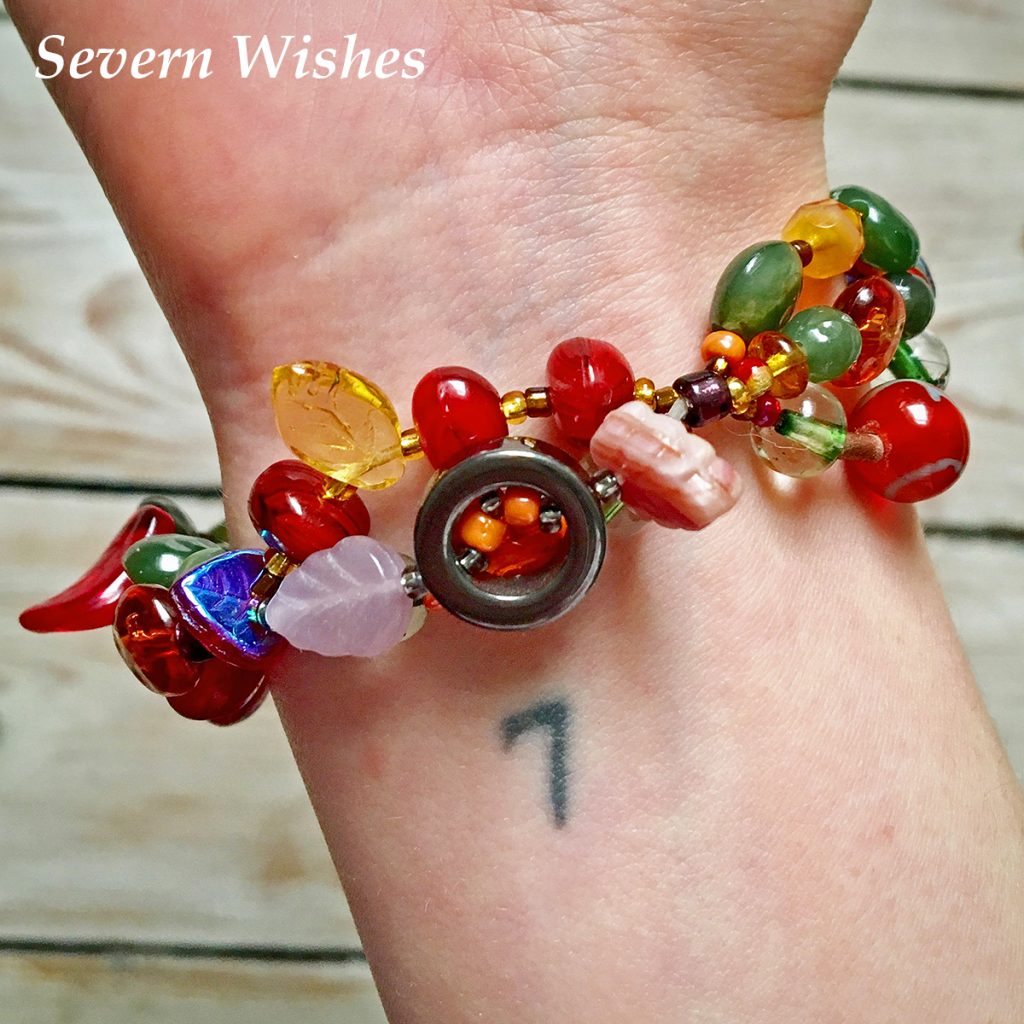
Today The Post Is “How To Make Your Own Autumnal Looking Bracelet”.
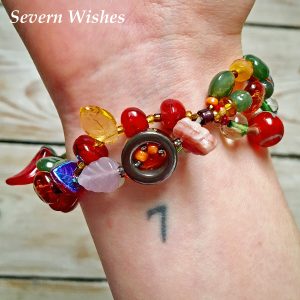
✩ Before We Begin… What You Will Need;
Elastic + Scissors to Cut
Seed Beads in Red/Orange/Yellow/Brown/Green
Leaf Shaped Beads – Any Colour That Matches The Seed Ones
Other Autumn Coloured Beads In Various Sizes – You Need A Few Large Ones
Crimp Beads – Large Enough To Thread (3mm approx)
Creative Inspiration from Nature or the Internet or Me!
Bead Board – Not Essential – A Pot or Bowl so Beads don’t roll away though…
 ✩ Time Frame ✩
A bracelet like this would usually take me around 2 hours to make from start to finish. That includes doing a basic design for it and placing the beads on to my board for a general idea of what the finished piece may look like.
✩ Video ✩
If you would prefer to watch my video first and come back to this blog post later on then by all means do. It might be easier to see how I make mine before you attempt your own, if you’re a first time maker.
The link to my channel is here.
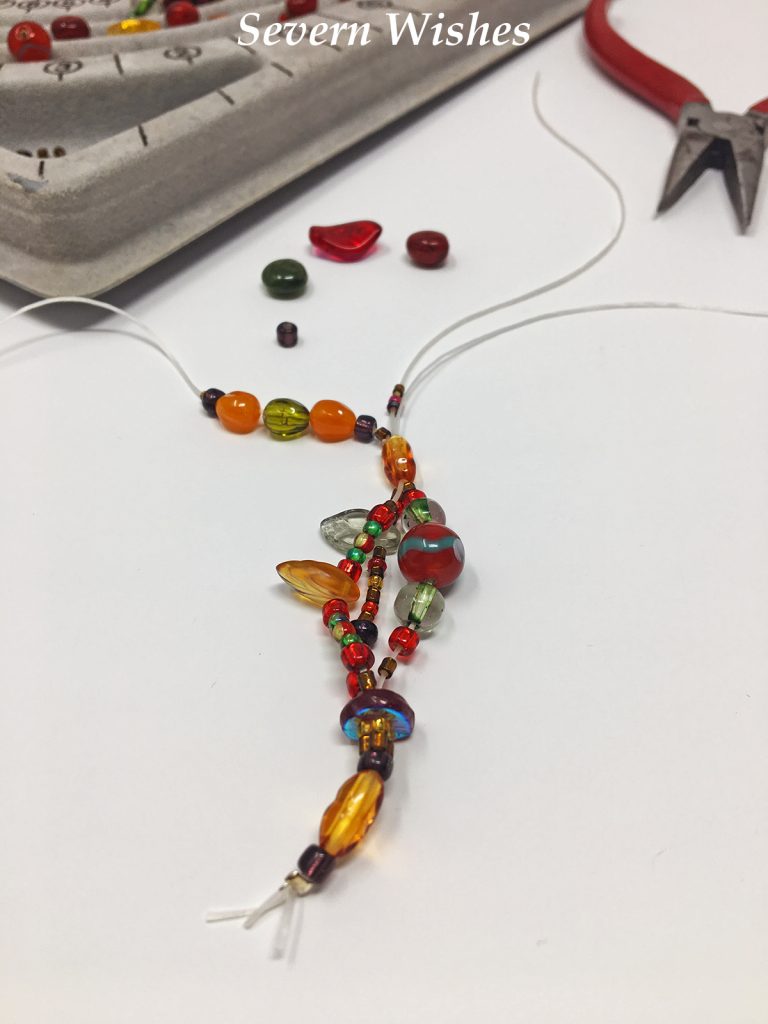 How To Make Your Own Triple Thread Autumnal Bracelet
✩ Step 1. ✩
Once you have designed your bracelet, be it in your head, on a bead board or on paper, assemble the components you will need in order to make it. Gather them all together in one place and make sure it’s well lit and a flat surface.
 ✩ Step 2. ✩
Begin by cutting your elastic to size. You will need three identical lengths if you wish to do a triple thread. If this is your first time beading then I would recommend you either try a single thread or a double if you’re feeling creative and adventurous. To start measure around your wrist, then leave at least an inch or 4cm of elastic over, in order to manipulate the beads and tie at the end.
If you’re not confident with using the elastic to pull on and off you can buy a bracelet clasp and attach that on to either end, it’s very simple and if anyone needs help leave me a comment.
Once you have the one, two or three pieces of elastic, you then need a 1mm/2mm/3mm crimp bead to hold them in place. Let’s say you’re doing a triple, you need to thread all three pieces of elastic into the crimp bead, make sure they are level and leave a 1cm over hang (at least), then using flat edged pliers, squash the crimp bead flat into place.
You’re now ready to start your bead design.
 ✩ Step 3. ✩
There is NO Wrong way to have designed it, it’s your bracelet!!! Go for it! Start by using a small bead, remember that symmetry often looks good at times but you can literally do whatever you want!
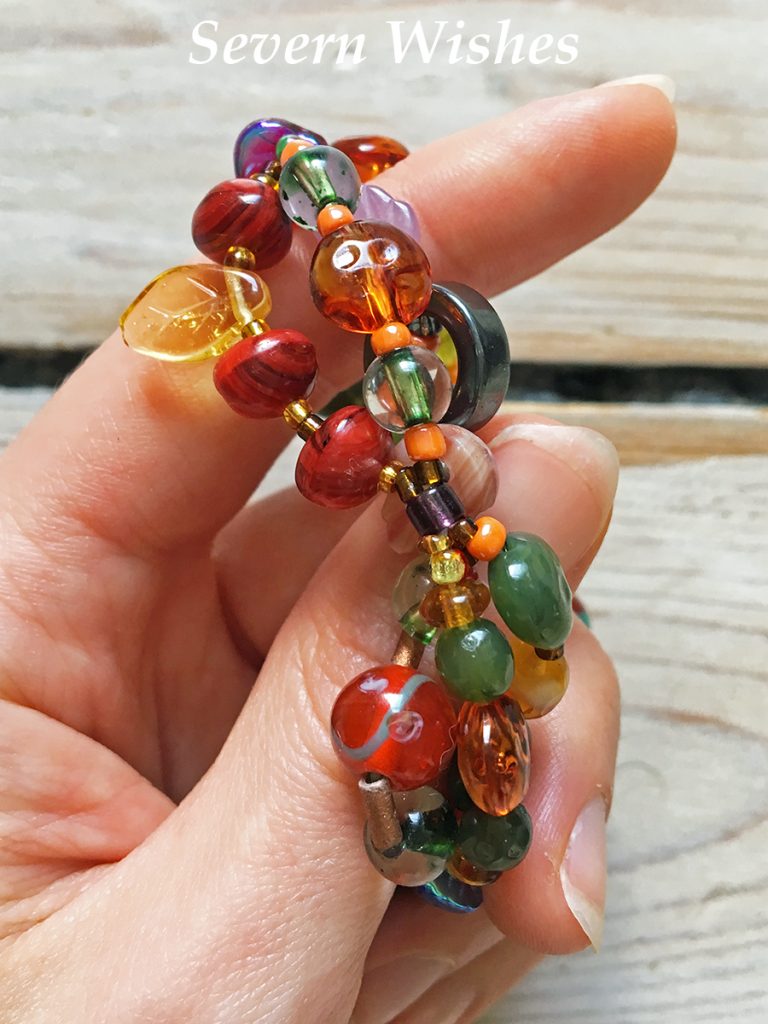
TIP: Remember if you’re doing a triple thread to work out matching lengths between the sections. If you want one that looks like mine then figure out what beads go together, larger and smaller, before you thread them. That way you can make the bracelet look more 3D and it will stand out as the sections don’t lie flat against the skin.
 ✩ Step 4. ✩
Keep working your bracelet until you are 100% happy with it. Remember by doing a crimp at one end nothing will fall off while you’re working (providing you’re the one holding the other end!!!). And that way if you don’t like a section you can just slide them all off and start again.
TIP: Once you’ve finished your bracelet pop it down and look at it carefully. Make sure there are no sharp beads that may hurt you when you wear it. Also make sure that you have enough room to tie at the end but it also will fit comfortably over your wrist.
 ✩ Step 5. ✩
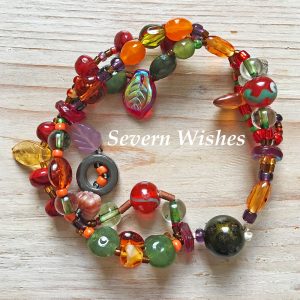
Once you’re finished with the design, happy with it, and you know that you have plenty of room to finish the bracelet, then you need to choose a large bead in order to cover up the ends. I ended up having to change my plans during the end of my video, I had a large red and black bead picked out, but it wouldn’t fit. I ended up having to use a dark green, which was fine, it still fitted in with my Autumn theme.
Push the large bead on to the end of the bracelet that you just completed, and ensure it’s large enough to contain all the threads. (If you’re not sure see my video or one of the photographs).
To complete your bracelet you will need a large crimp bead, and some pliers and a steady pair of hands. What you need to do is gently remove the first original crimp bead from the end that we began with using the pliers, you should now have two sets of loose ends, each have between one and three elastic strands.
You need to thread all (up to six) pieces through the new crimp bead. Once through you clamp it down hard using the pliers, and then you pass the ends through that large final bead you placed on. The ends should fit through the larger bead so they cannot be seen now. You’re finished!
 ✩ If you don’t know much about beads…
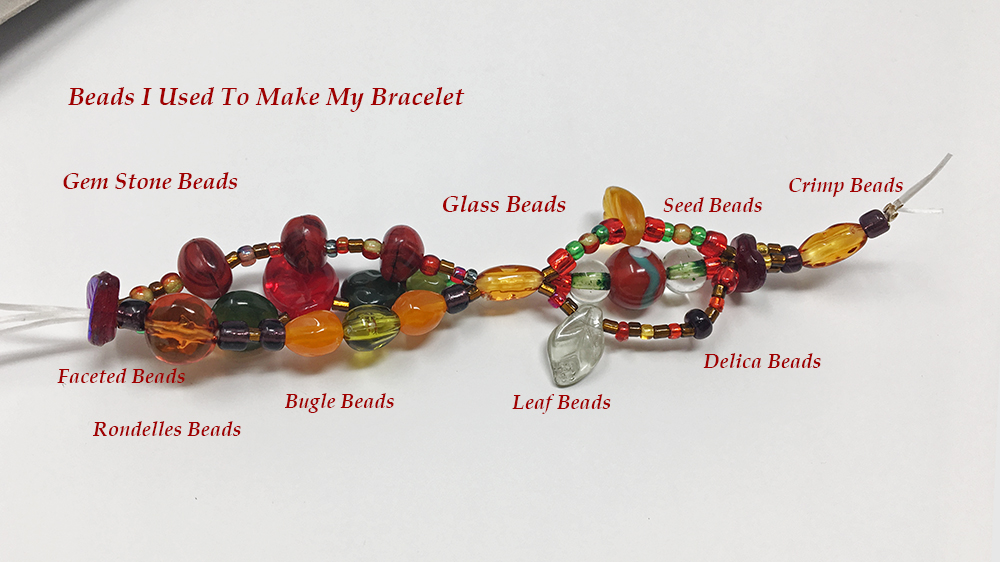
There will be some of you out there reading this and thinking, what are all these?! Well here is a little guide from me about the basic types of beads and then I will do a list of my top places to get beads from too!
✩ Types of Bead ✩
Seed Beads
Small beads in every colour you can possibly imagine! Also known as just “Round Beads” they can be very tiny or they can be up to 3 or 4mm wide. I used a variety of colours and sizes in my bracelet, take a look at the images. Nowadays you can get a range of Seed Beads, some in Triangular Shapes and even Square! These are hard to find but so fun! Usually made from glass that is heated and cut and molded until it is smooth.
Glass Beads
Completely made from Glass they are often more expensive and quite heavy compared to plastic. They can often be incredible colours and patterns though, depending on what you’re making worth the price for a couple. Usually quite large in size and oval or round is easy to find.
Bugle Beads
Small but long cut beads, Bugle beads are found in many colours and lengths. Usually round ended tubular shapes, they can be as small as a couple of millimeters (0.5) but also very long up to 2cm.
Crimp Beads
Usually only a couple of millimeters in diameter, they are used to hold jewellery sections in place. They are used by being squashed using pliers. Delicate and often in silver colour, they range in sizes and are usually sold as a small packet.
Gem Stone Beads
Gem Stone Beads are just that, made from actual rock, stone or precious gems. Usually more expensive than your standard plastic ones but you cannot believe the quality and the beauty of some available.
Faceted Beads
Beads that are cut so they that have many sides to them. They are often shiny because of their multiple faces and are usually made from fire polished glass.
Delica Beads
Delica is the modern term for a Japanese bead that is perfectly cylindrical and often small in size. They are thinly produced so they have large holes through them.
Rondelles Beads
Very compressed originally round beads, often have many sides and make great finishing beads. Also ideal as spacers, thin ones can often be made of wood or glass.
Shaped Beads
Such as Flowers and Leaves. Usually made from Plastic or Glass in varying sizes and colours. Pick them up at good bead shops or online.
 ✩ Other Cool Beads To Look Out For ✩
Pearl Beads
Crystal Beads
Drop Beads
Wooden Beads
✩ Where I Get My Stock From ✩
Amazon Sellers
Bead Shops
Hobby Craft
The Works
Dunelm
After Something Specific? Search Online.
I’m happy to answer any questions about how I do things or if you get stuck pop and message me on social media, I would be happy to give you advice.
Thank you for reading this blog post today, I hope you have all enjoyed an insight into my lifestyle as a hobby jewellery maker! I love making things and experimenting, why not give it a try if you have the time 🙂 If you enjoyed this a lot and would like to see more posts like this then please leave me a comment letting me know, I would really appreciate the feedback.
✩ Sabrina ✩
