I bought this product on a bit of a whim actually! There were two reasons why, the first was because I kept seeing it advertised on Facebook and it intrigued me.
And the second reason was that I was so fed up with spending an hour a week hoovering my chairs, sofas and the beds of my cats. Their fur was getting over all of my home when it was hot, because they were malting everywhere! So I thought what the heck, let me give this a go!
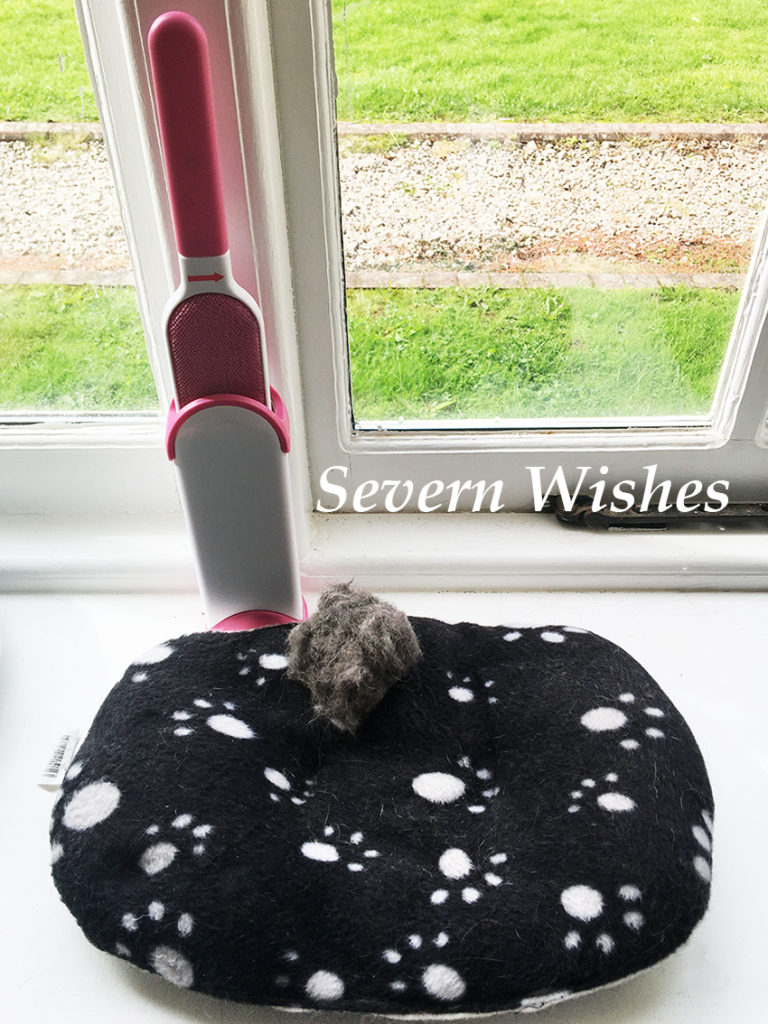
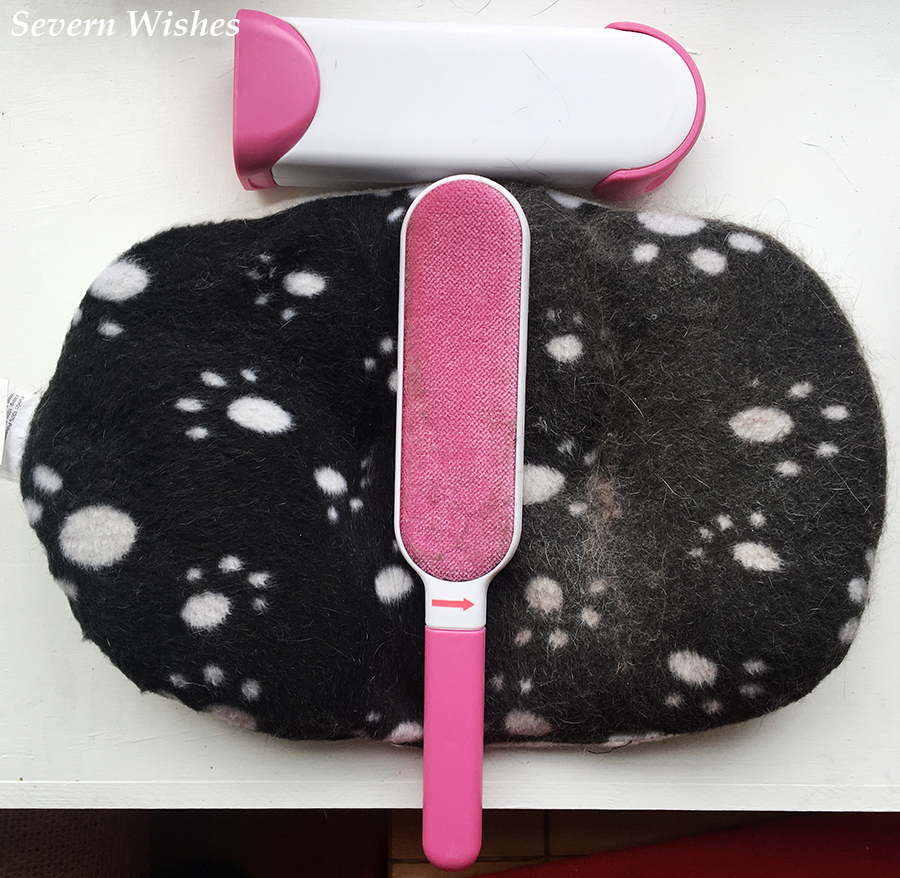
I bought from the UK based company Must Have Ideas, and the item is called Fur Friend. It was advertised as being able to lift hair from most soft furnishings and it will stick to the Fur Friend. The handheld product also comes with a holder, which is not only to store the handle inside when not in use, but it also acts as a cleaner. The static of the fluff and fur that initially sticks to the handle, gets pulled inside the holder when the friction happens between the handle and the sides inside of the device. Please see my images below which may help to explain this all a little better.
You follow the direction of the arrow as you move across the furniture and furnishings and then when your handle is getting full up you insert it into the handle. It will be a tight fit, the friction of the micro bristles between the sides and the handle will pull the fluff off as you remove it. Gently pulling the end of the handle off will reveal all of the hair and dust that you’ve collected. Easy to empty by hand and put into your bin then. This device is reusable infinitely so long as you keep cleaning it out after every use.

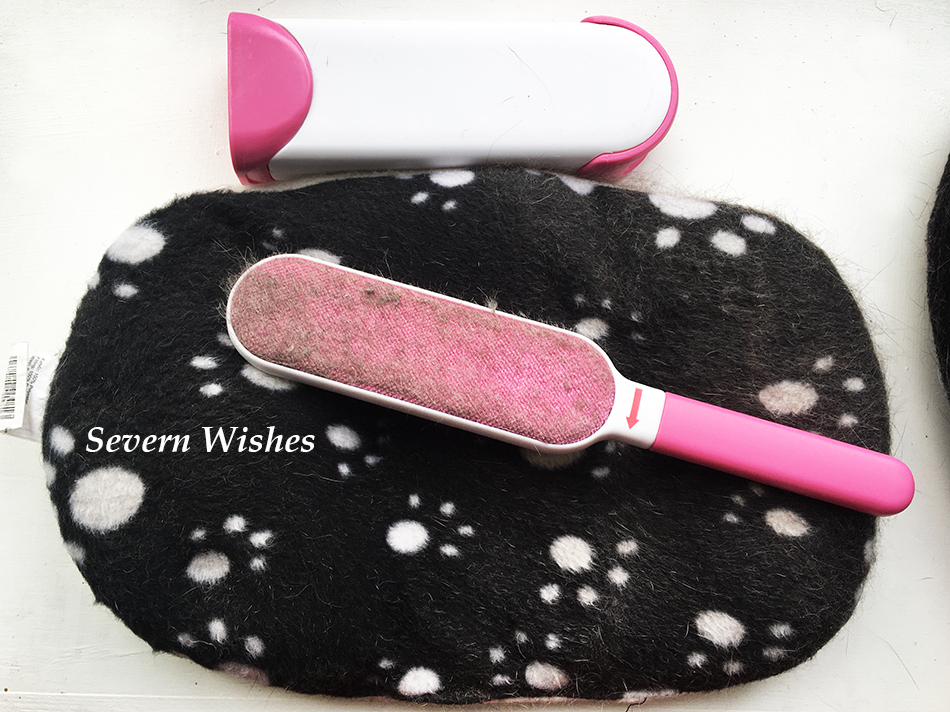
As you can see in this image of my cats bed, I have cleaned the one side of it only, you can really see the difference between the sides. This didn’t take me more than a couple of minutes to clean the hole bed either. This product saves me time, and it also gathers all the hair neatly at the base of the holder so that I can remove it and bin it easily.
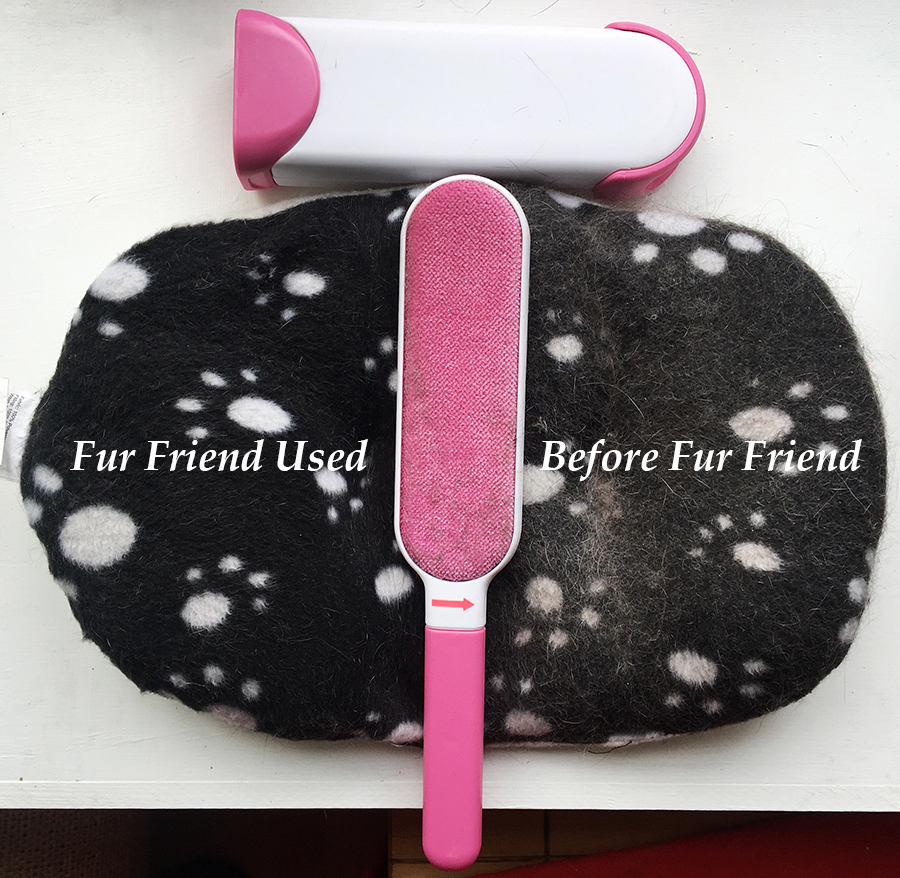
I have used the Fur Friend on Cushions, My Sofa Suite, Cat Beds and Throws. It has removed 99% of hair, fur and fluff. It is so much more effective than lint rollers (which I had bought previously) and there is no waste with this either. Better for your wallet, better for the environment and it’s actually faster and more effective than hoovering too! It used to take me an hour to hoover all the cat beds and cushions with the brush attachment. This takes me between 5 and 10 minutes to do all the beds and then just 30 seconds to empty it.
I can highly recommend this product to everyone, and especially if you have pets with long hair and fur. It has changed my cleaning routine for the better.
Thank you for reading this Review today, I hope you have enjoyed reading about the Fur Friend. Search Must Have Ideas online to find out more about this product and where you can purchase it.
I bought this item for £12.99 with £2.99 Postage in August 2020.
✩ Sabrina ✩


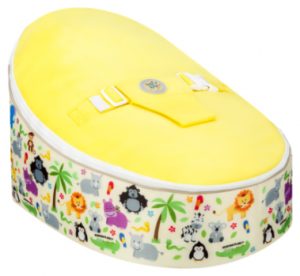
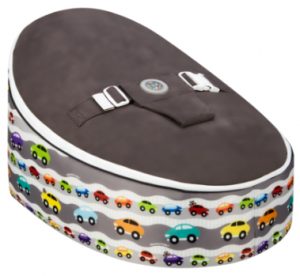
 I purchased the Cars version of the bean bag in Grey, where as our friends got us the Safari one in Yellow.


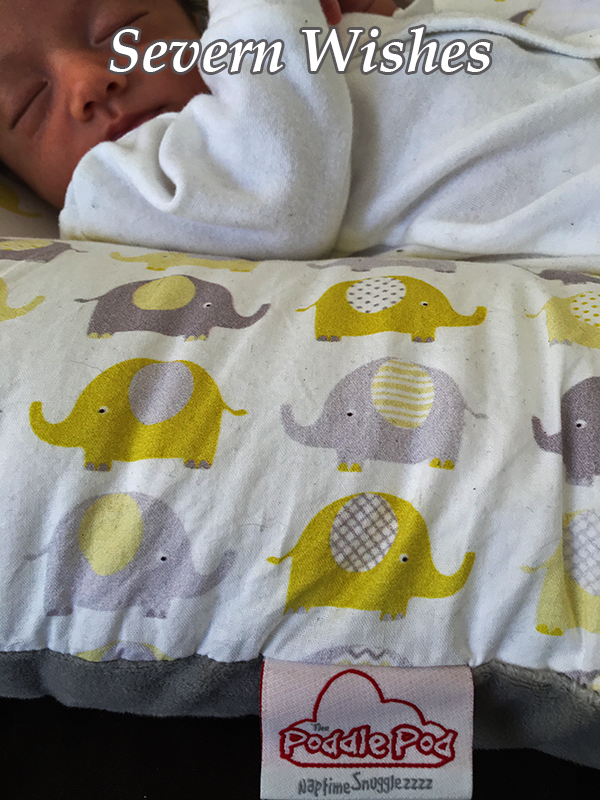
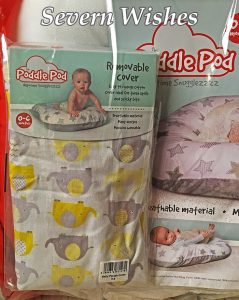
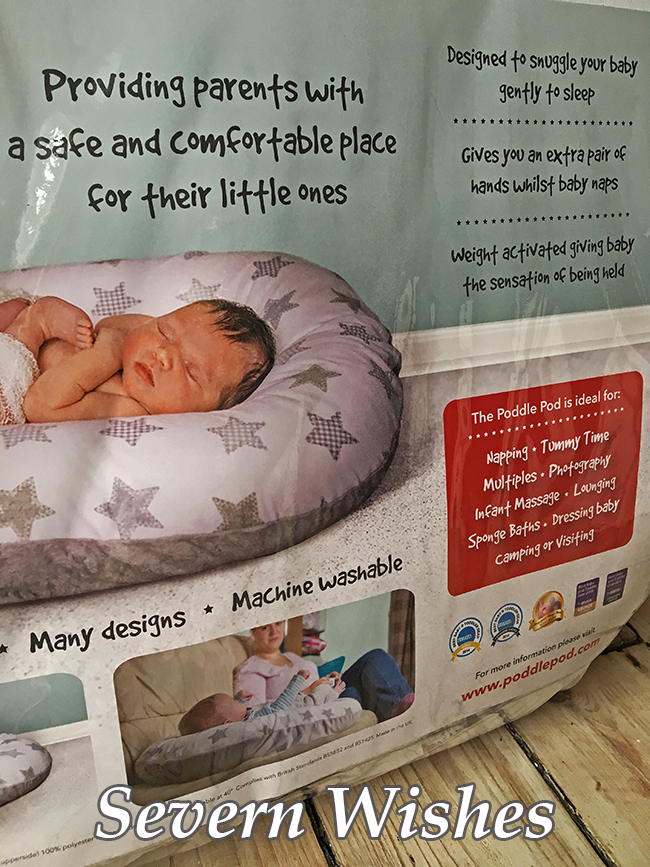
 Reviewing Baby Items – Poddle Pod